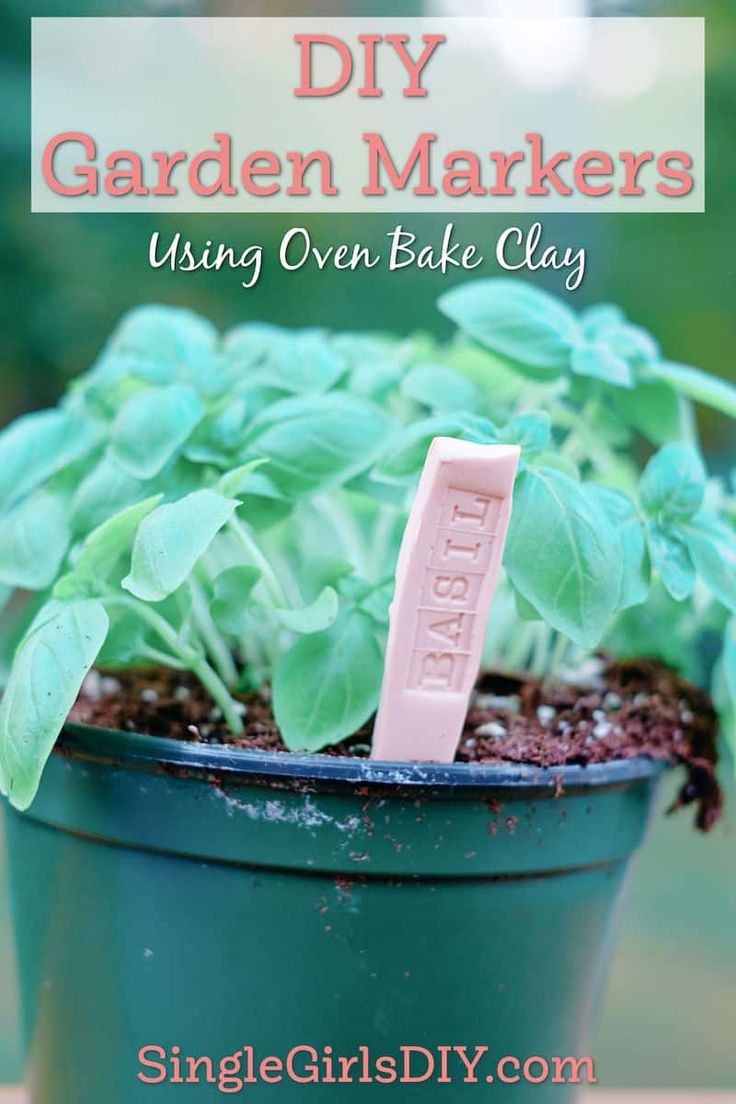
DIY Garden Markers from Oven Bake Clay
If you love gardening and want to add a touch of creativity to your plant beds, try making DIY garden markers from oven-bake clay! It's a fun and simple project that will not only help you keep track of your plants but also add a personal touch to your garden. You can customize the markers by shaping them into cute designs or writing the names of your plants on them. Once you've created them, just bake the clay according to the instructions, and voilà, you have yourself some adorable and practical garden markers ready to be placed in your garden. Happy crafting!
Supplies
Oven Bake Clay
Rolling Pin
Rubber Stamps
Knife
Instructions
Roll out the clay into a thickness that’s not too thin (you don’t want them to break in half) and not too thick (you want them to bake). Your package instructions might offer suggestions for thickness.
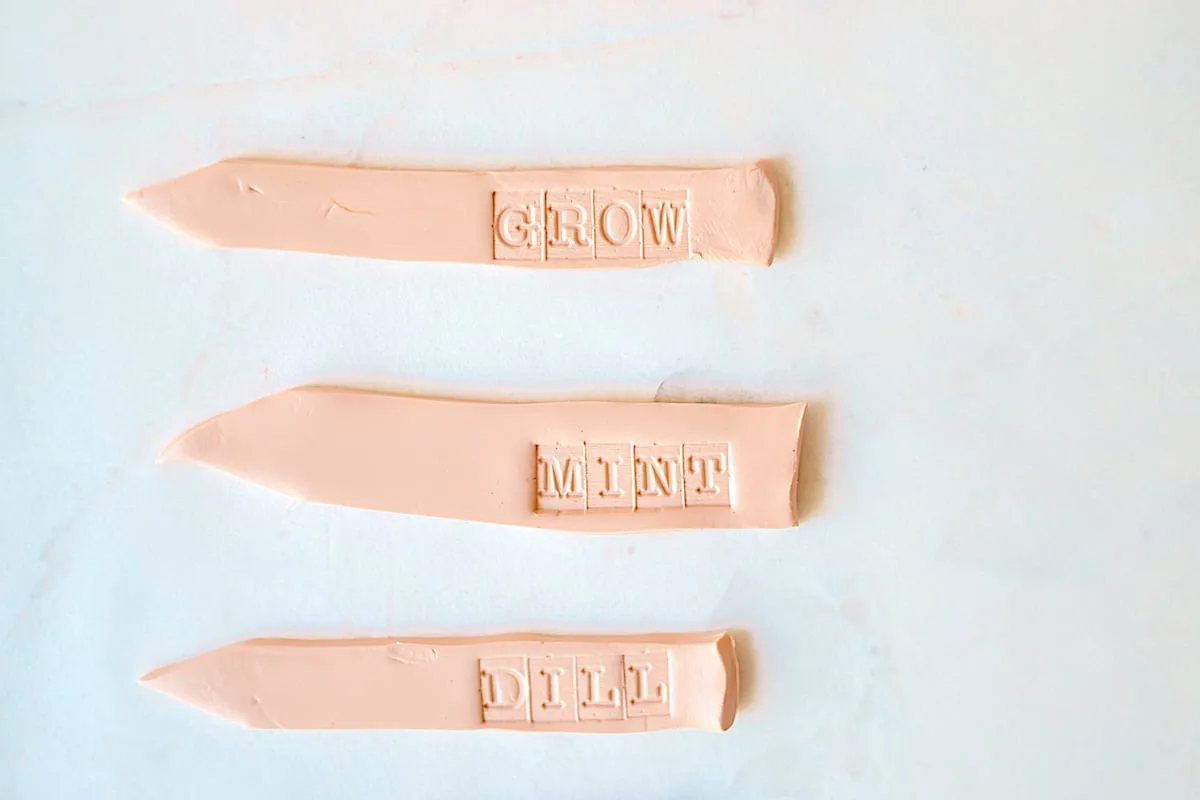
Cut the clay into thin strips with the knife. I made mine about 4 inches long and about ¾ inch wide. Cut the bottom of the strip at an angle on each side to make a point, so that it is easier to put into soil.
Using your rubber stamps, add plant names or cute sayings onto the clay. Be sure to allow enough space to add all of the letters. (You might want to line up the stamps to the side before you start pressing them into the clay to make sure that all of the letters will fit.)
Place on a parchment lined baking tray. Bake according to the clay package instructions. I baked mine at 250 degrees for 25 minutes in the oven.
Remove and let cool fully. You could paint these afterwards if you would like.
No comments
Write a comment