DIY Relax Vintage Sign
Looking to add a touch of vintage charm to your space? Why not try creating your own DIY Relax Vintage Sign! This fun and creative project allows you to unleash your artistic side while also crafting a unique piece to enhance your décor. Whether you're a seasoned crafter or just starting out, this project is perfect for anyone looking to add a personalized touch to their home. Get your materials together, unleash your creativity, and watch as your DIY Relax Vintage Sign becomes a standout piece in your space, spreading good vibes and relaxation wherever it's displayed.
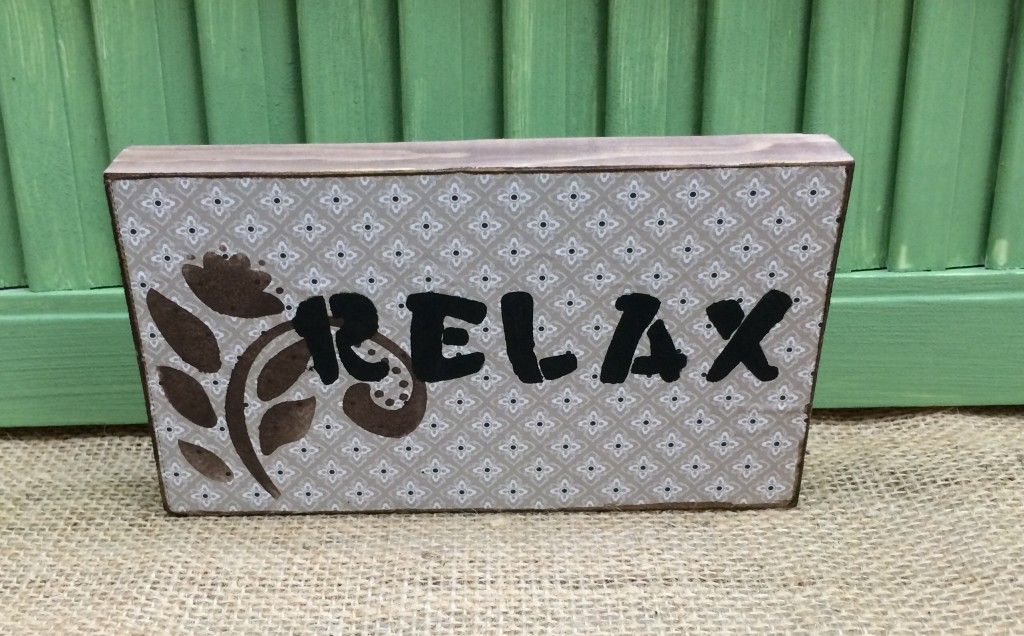
My easy relax vintage sign is a quick and easy way to add a little vintage charm to any home.
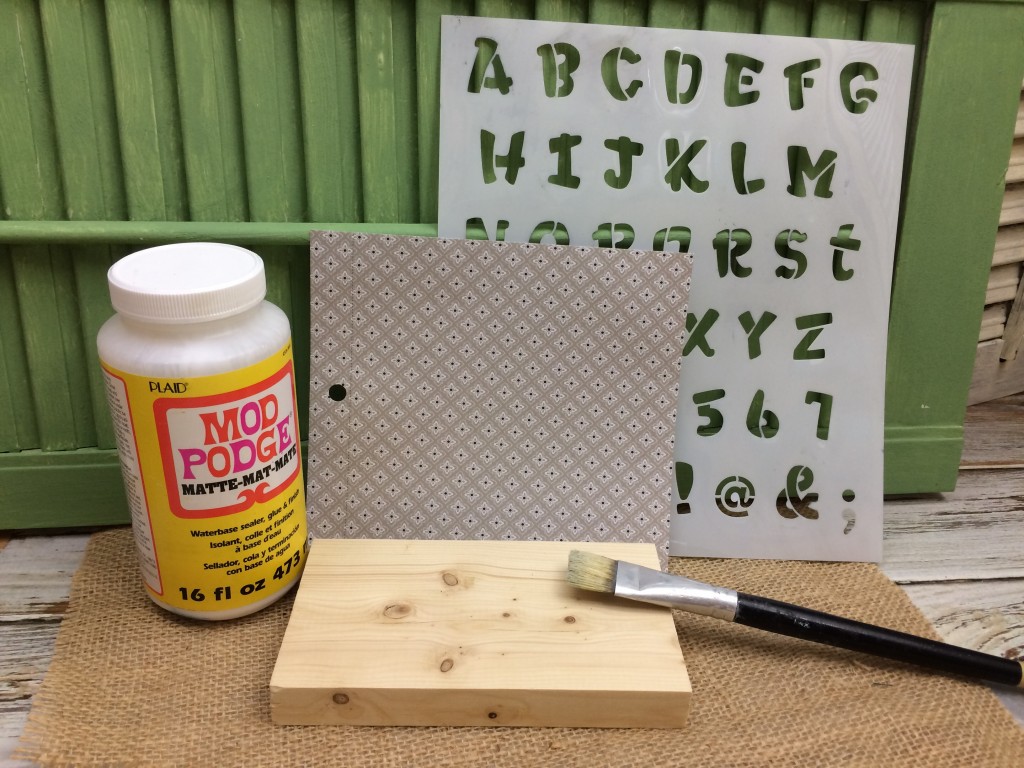
When making this relax block sign I got a little ahead of myself and forgot to stain my wood first. So start off by staining or aging your block of wood.
Then glue your scrapbook paper to your block of wood using Mod Podge, and smooth out any wrinkles. Flip over and sit something heavy on it till it dries.
Now place on a cutting board and using an Exacto knife trim off the scrapbook extra paper.
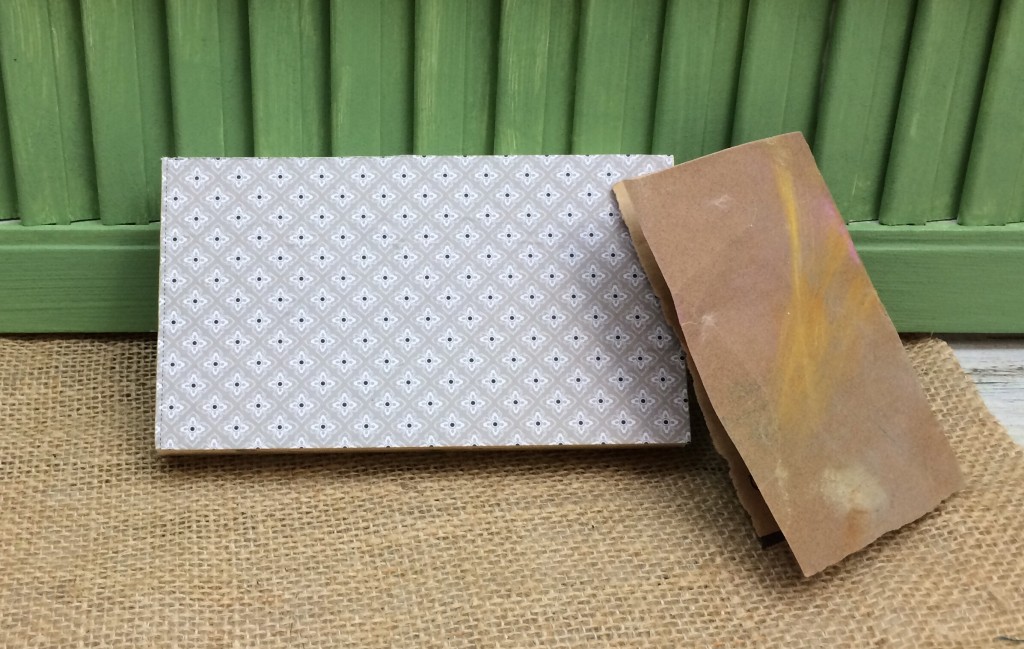
Take some sandpaper and rough up the edges.
Now it’s time to add the design
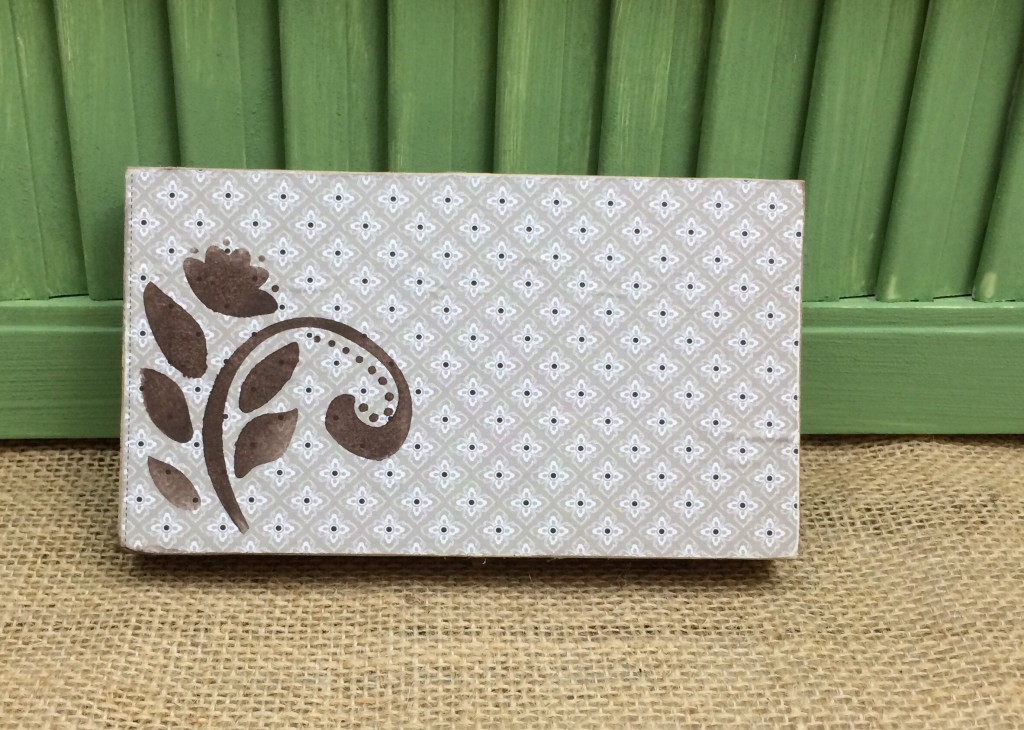
to the left side of the block.
Then stencil the word Relax.
Adding some Distress stain around the edges of the block will enchants the vintage look of the relax block sign.
That’s it! These scrapbook paper vintage blocks are so easy and you can change the lettering of my relax vintage sign to say anything you choose.
Then just sit on a shelf, table or mantel to add a little vintage charm.