Sunflower Sun Catcher Garden Art
Looking to add a pop of cheer to your garden? Look no further than the Sunflower Sun Catcher Garden Art! These vibrant and whimsical pieces will bring a burst of sunshine to any outdoor space. With their eye-catching design and colorful petals, these sun catchers are sure to brighten your day every time you see them glimmering in the sunlight. Whether you hang them from a tree branch or display them in a flower bed, these delightful sunflower garden art pieces will add a touch of warmth and happiness to your outdoor oasis.
Supplies Needed


Paint the center of the sunflower black.
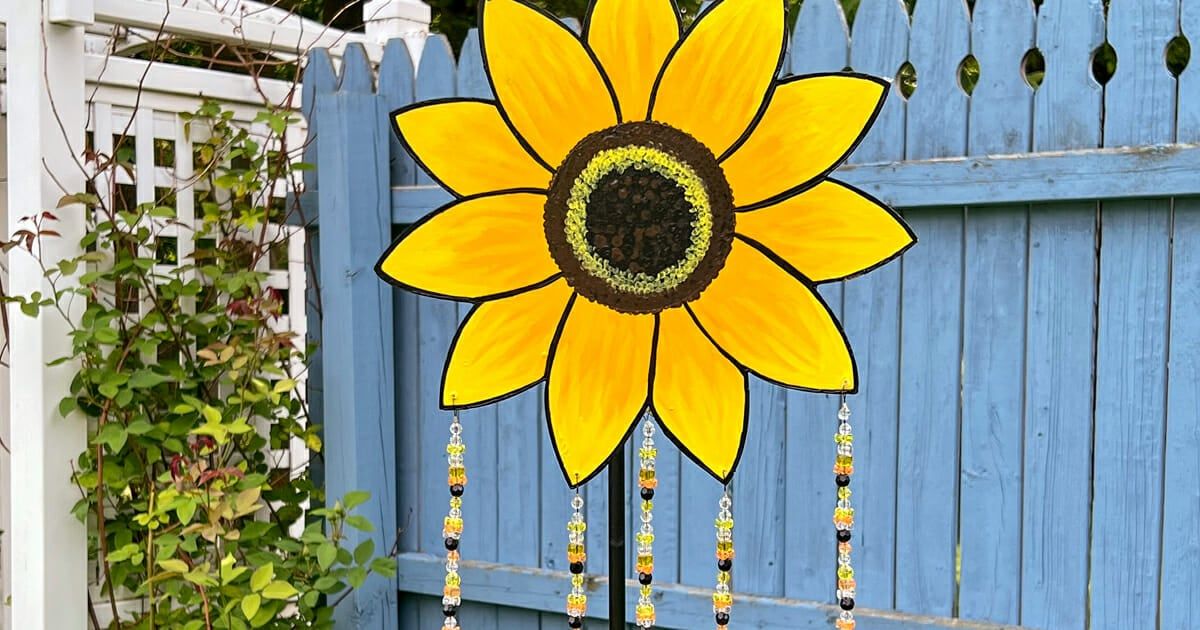
Use a cue-tip fill in the center of the sunflower with dots. I used Woodland Brown along the outside of the circle then did a few layers of yellow dots with Sunshine Yellow. Finally, I filled in the center with a combination of black and brown dots. You can look at a picture of a real sunflower to help create the center.

Finally, I carefully outlined the petals with black paint. This really makes the sunflower pop with each individual petal becoming clearly defined. I wasn’t originally planning to outline the petals but I’m so glad I did!
Once you are happy with how the painted sunflower looks, you have the option of sealing it on both sides. The DecoArt Patio Paint says you do not to seal it and I did not seal it on my stepping stones or painted doormats…but I usually seal my garden art. Figure it can’t hurt!
Since I like my strands to match, I create one strand and then count my beads to make sure I can repeat that pattern four more times for a total of five strands. I started with just four strands but later decided it really needed a fifth one – thankfully I had enough beads! I made the center strand longer so I repeated part of the pattern at the top.
Place one of your larger beads and a crimping bead on a piece of cut wire that measures between 14″-17″ long. Slip the end of the wire back through the crimping bead so your first bead is held in a loop. Use the crimping tool to crimp the crimping bead, placing it first in the hole closest to the handle of the tool. It will be crimped into an “m” shape with two humps.
Next move the crimping bead to the next hole of the tool that is furthest from the handle and crimp again. This will close the “m” shape and secure the bead on the wire.

Start adding beads making sure they are positioned over the wire tail until it is covered up.
Repeat for each strand of beads you will be adding to your flower. Below you can see my four strands of beads (before I added the fifth!)
Place a crimping bead at the top of the bead strand, then thread the wire through one of the holes in the bottom of your flower.
Pass the wire back through the crimping bead and through as many beads as you can get it to pass through.
Use your crimping tool to secure the crimp bead, just like in the earlier step, then trim any extra wire with a wire cutter. Repeat until all of your bead strands are added!
Adding the Hanging Loop