Embroidery Hoop Pumpkin
Embroidery hoop pumpkins are such a delightful and creative way to add a touch of fall charm to your home decor! By using an embroidery hoop as the base and incorporating different fabrics, ribbons, and embellishments, you can easily create a unique and personalized pumpkin that will surely stand out. This craft project is not only fun and easy to make, but it also allows you to showcase your artistic flair and ingenuity. Whether you're a seasoned crafter or just starting out, the embroidery hoop pumpkin is a great choice for an enjoyable DIY activity that brings a cozy autumn vibe to any room. Get your creative juices flowing, gather your materials, and let's get crafting!
Hot glue stick
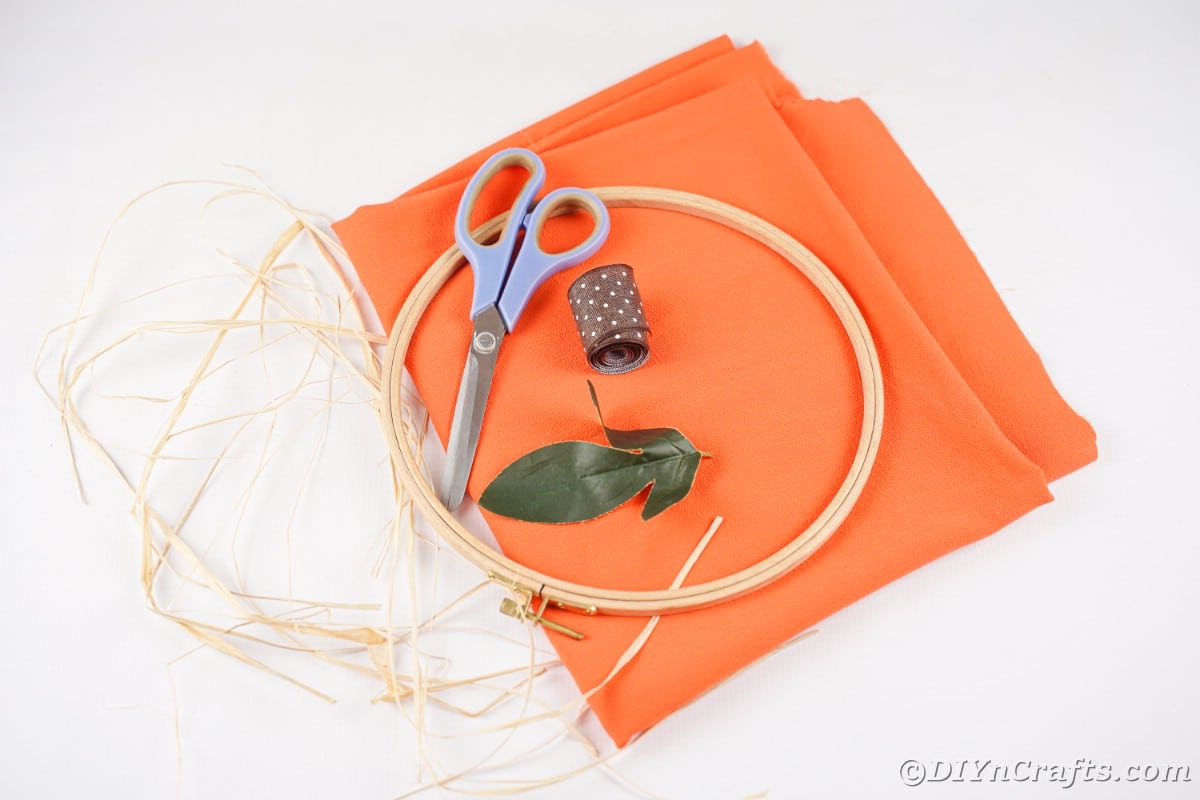
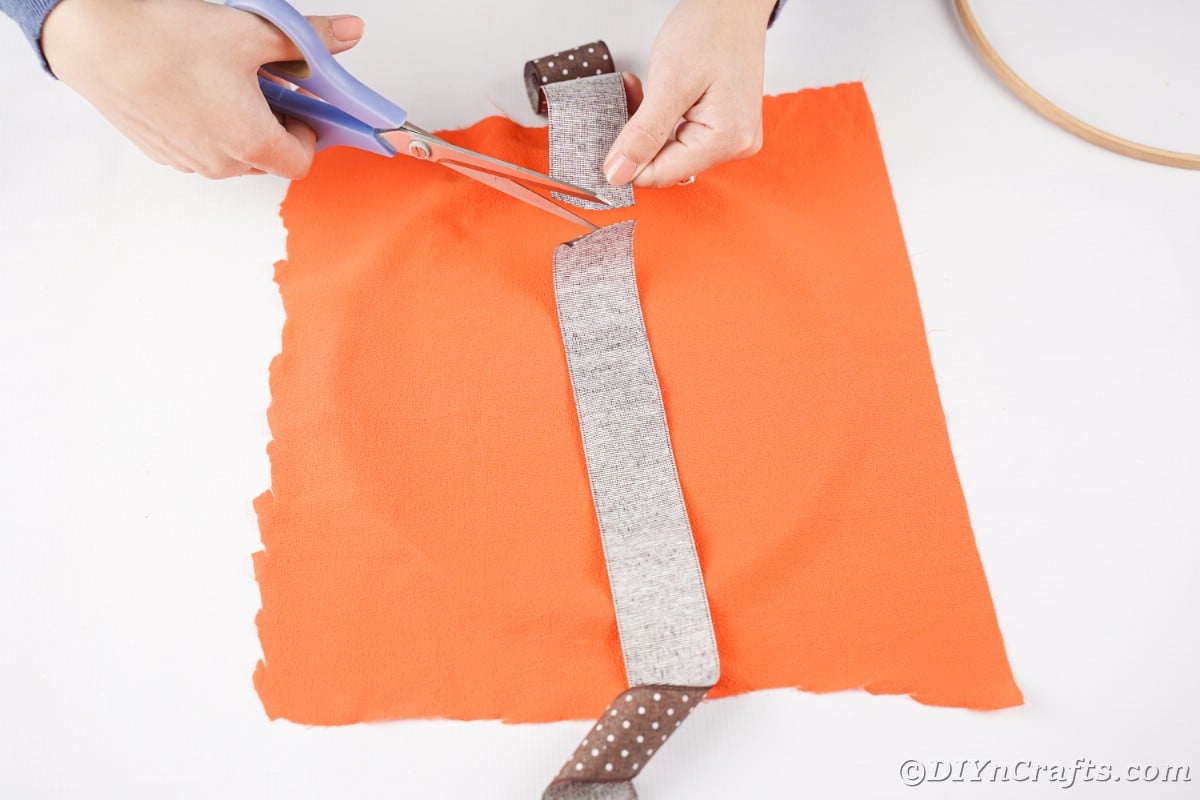
Place the ribbon onto the back of the hoop over the fabric. Trim, the ribbon to twice as long as the hoop is "wide".
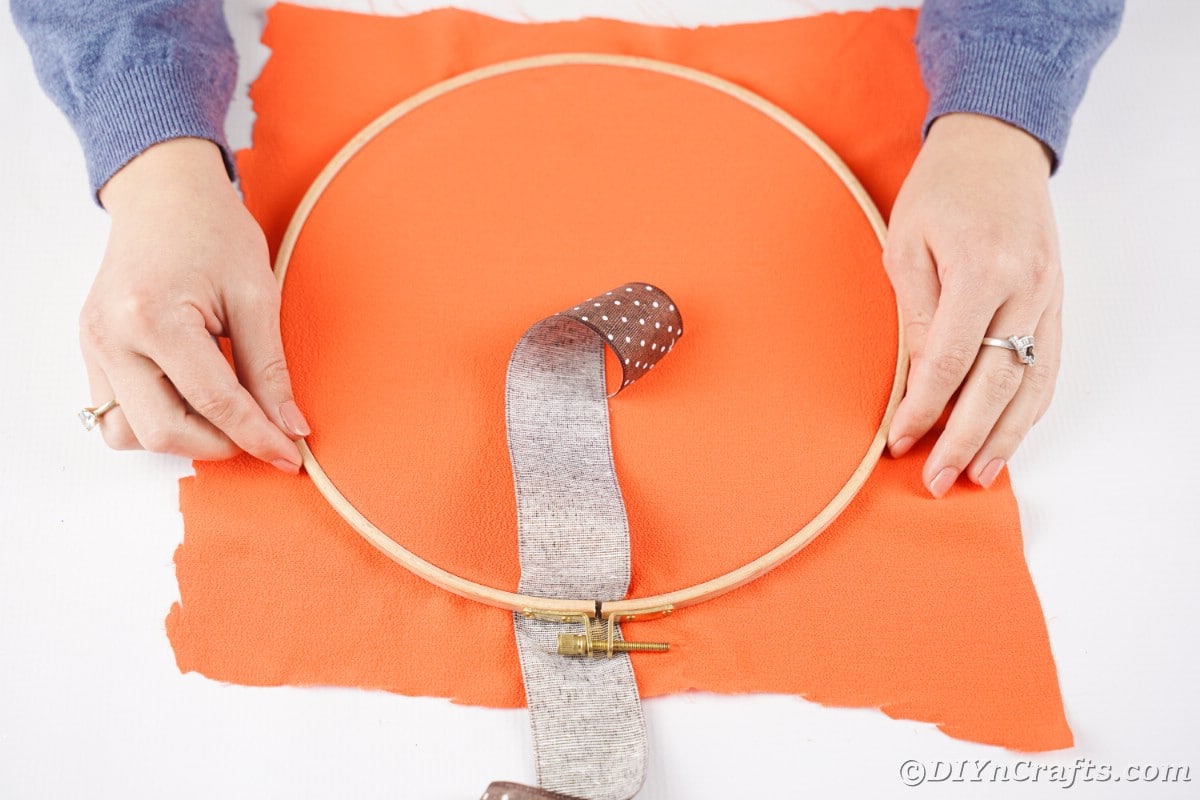
Then place the second piece in place to seal both the fabric and ribbon inside the hoop.
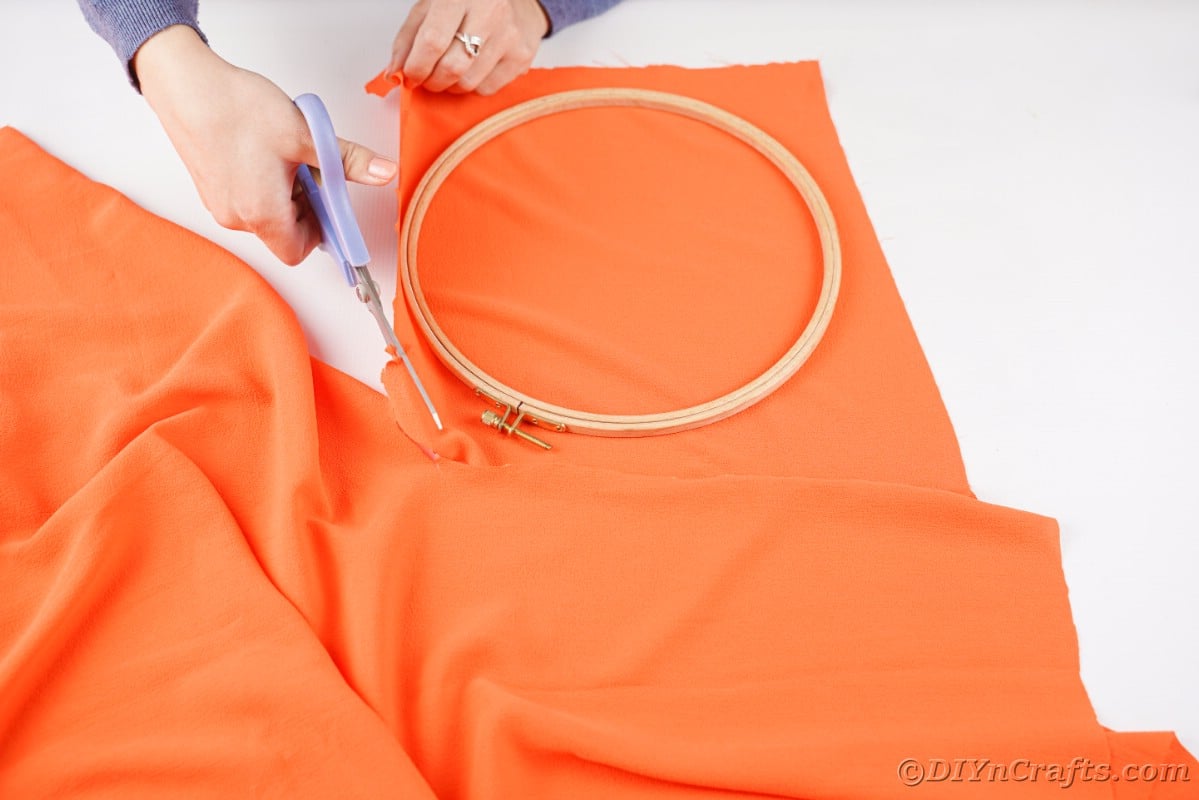
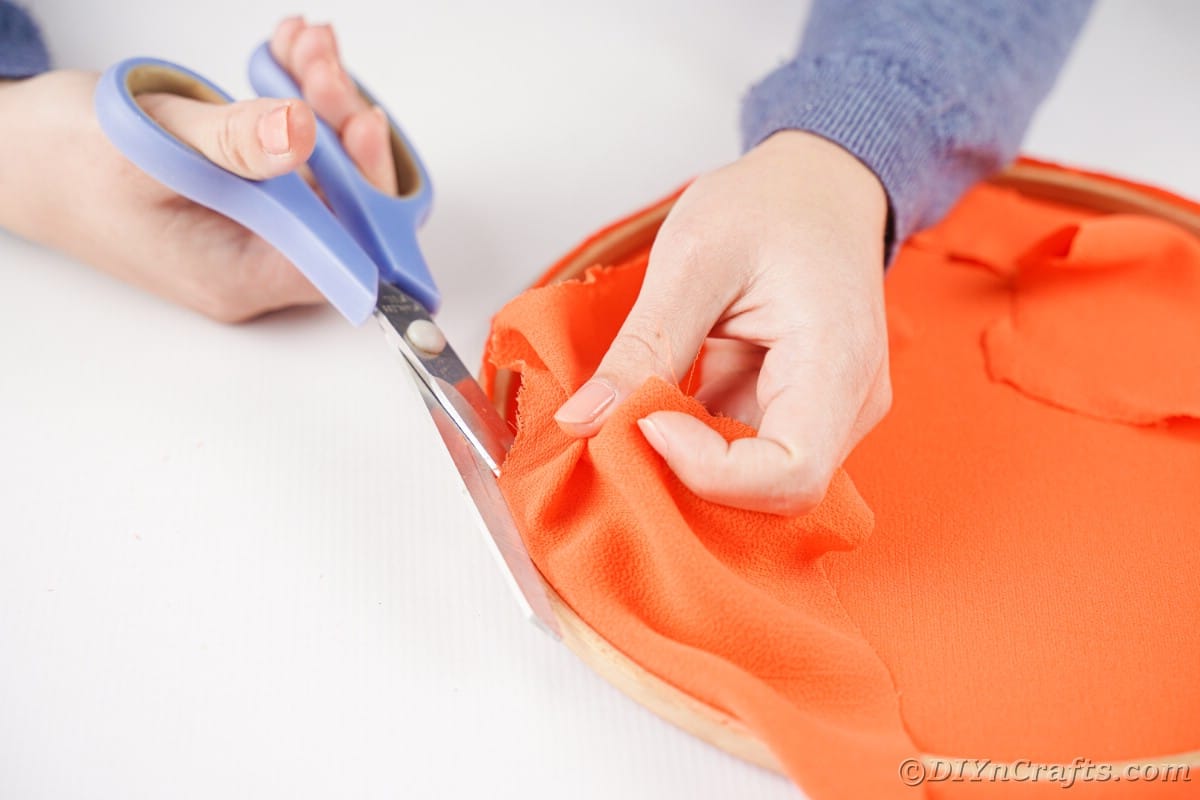
Trim off the excess fabric around the edges and flip over the pumpkin.
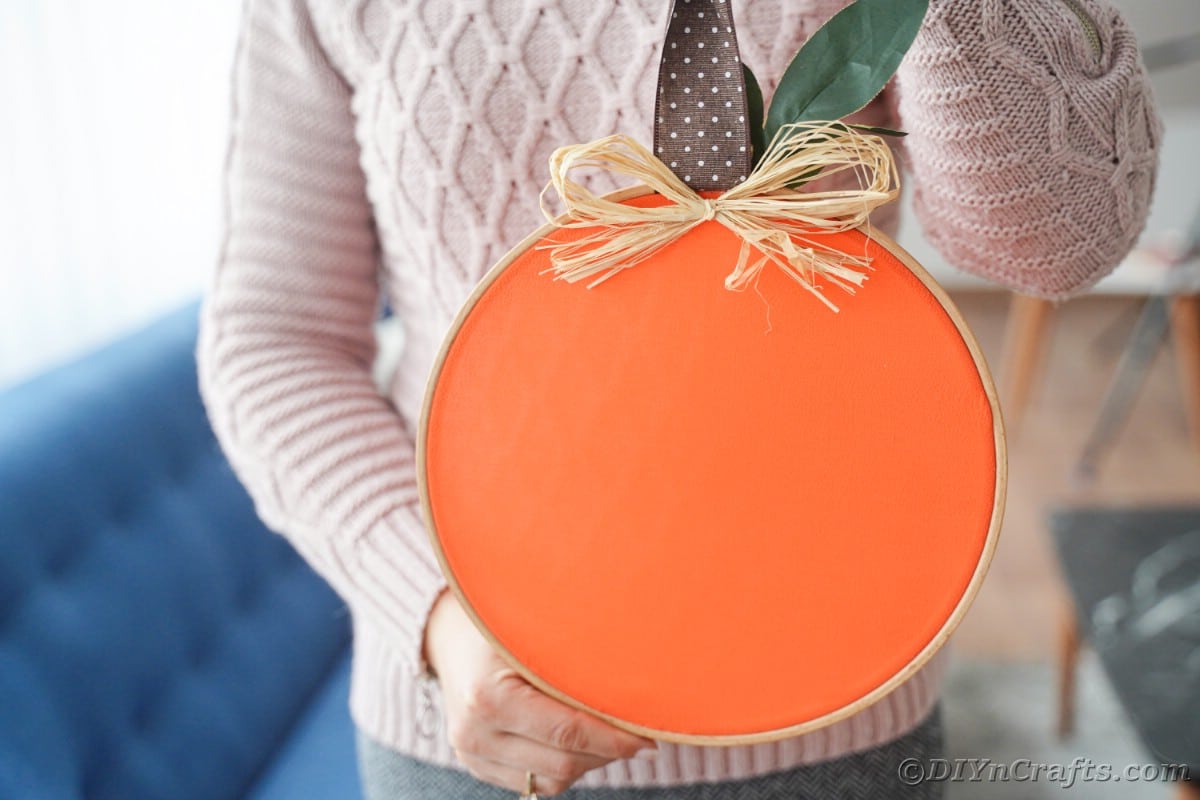
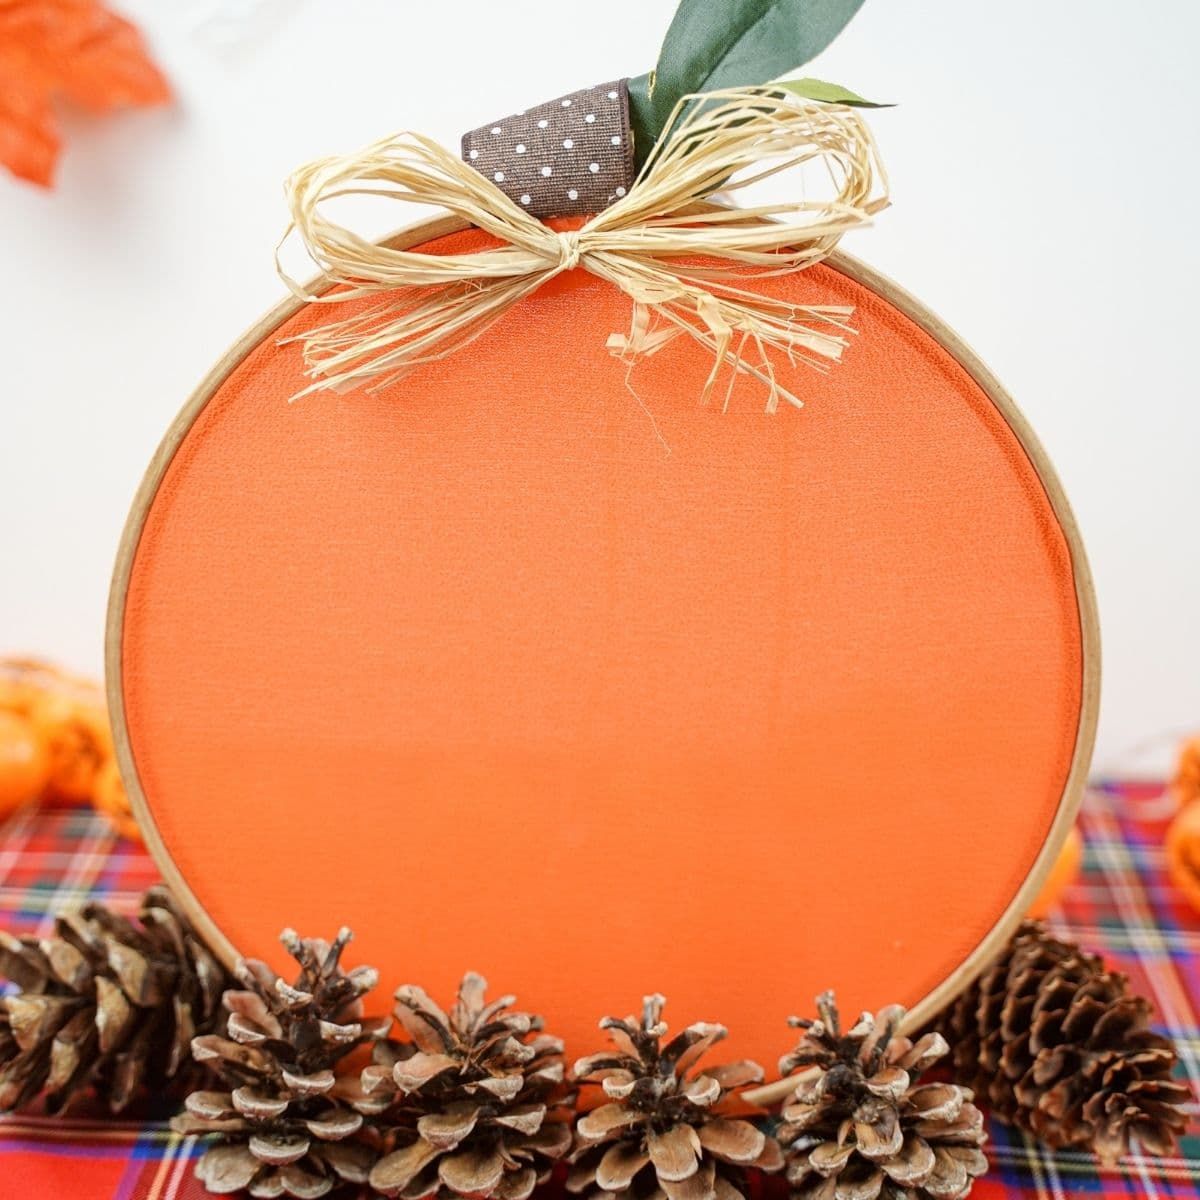
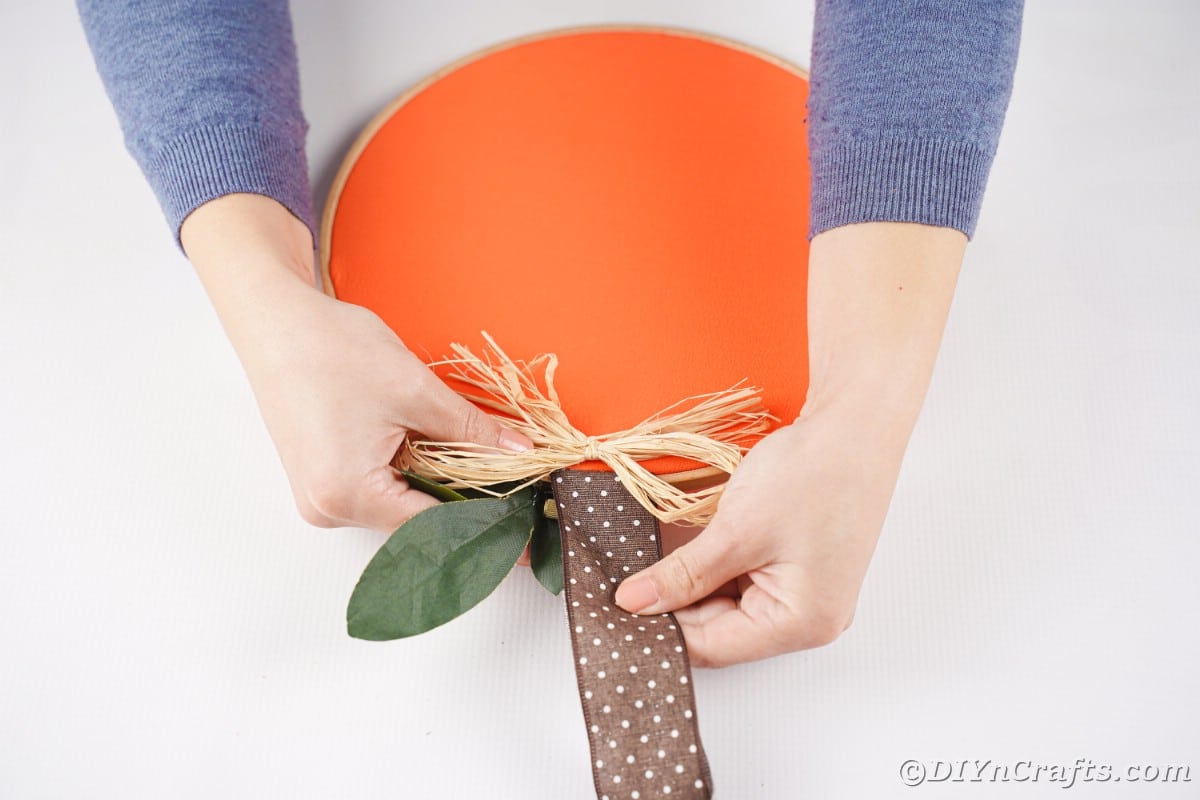
Make a bow from raffia and glue at the top of the pumpkin, just below the ribbon.
Glue a small green fake leaf behind the raffia.
Tie off the end of the brown ribbon or secure with an additional rope so it is sturdy for hanging.
Now you can display your pumpkin!