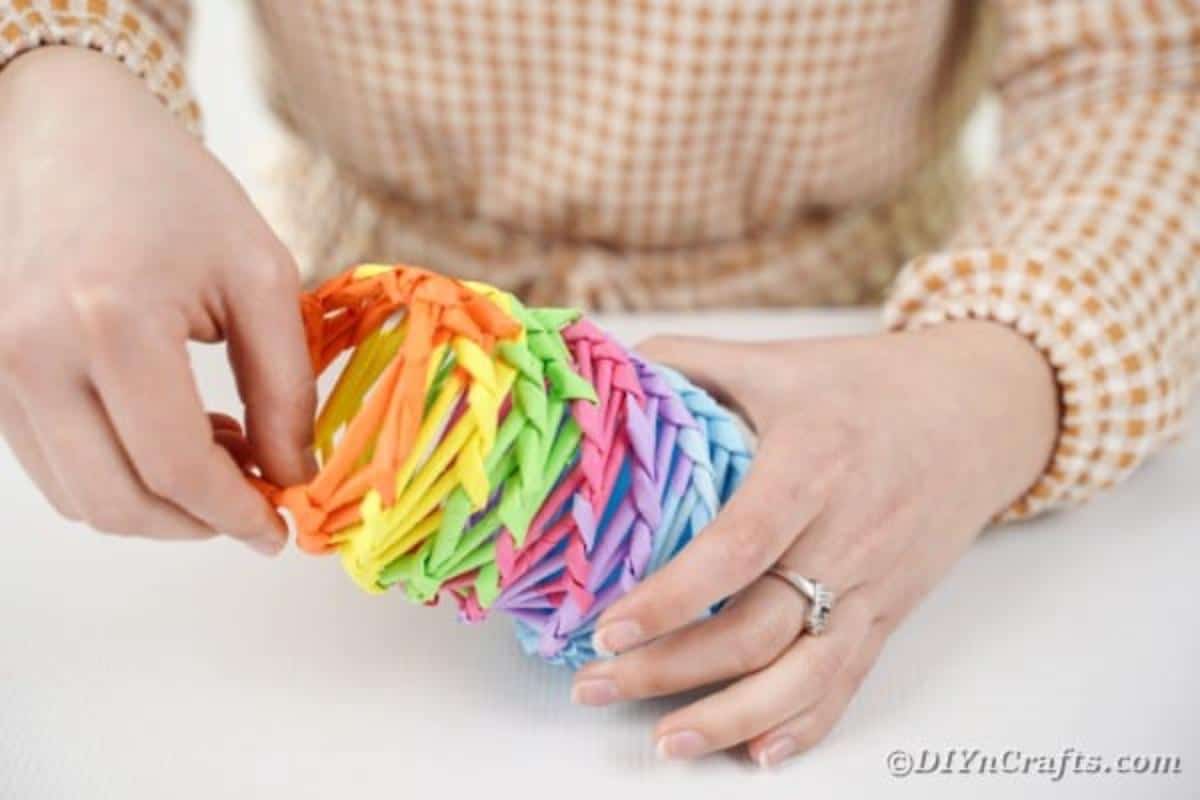
DIY Paper Straw Rainbow Organizer Can
Brighten up your space with a fun and practical DIY project like the Paper Straw Rainbow Organizer Can! This cheerful organizer not only adds a pop of color to your desk or shelf but also keeps your pens, markers, or brushes neatly in place. So, grab your crafting supplies and let your creativity shine with this delightful and eco-friendly project!
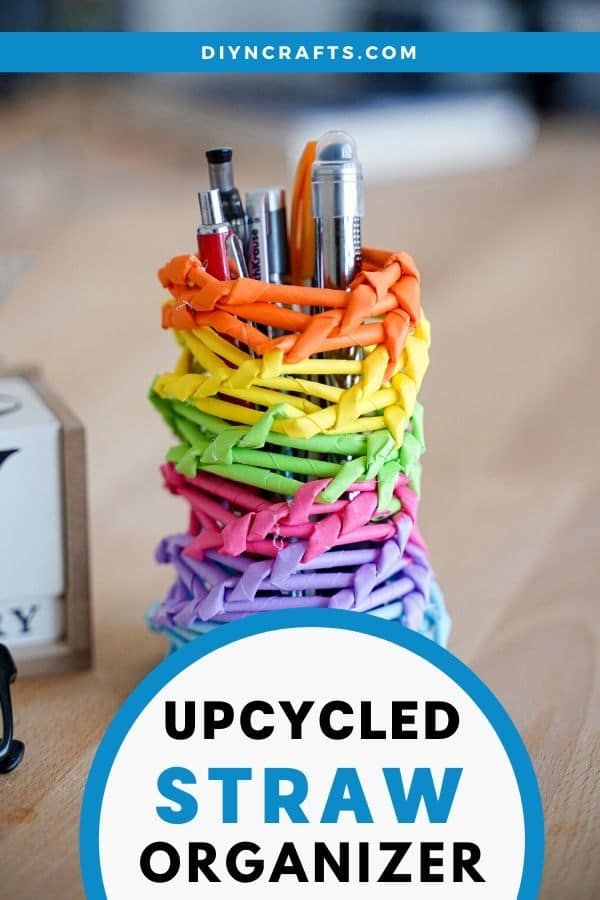
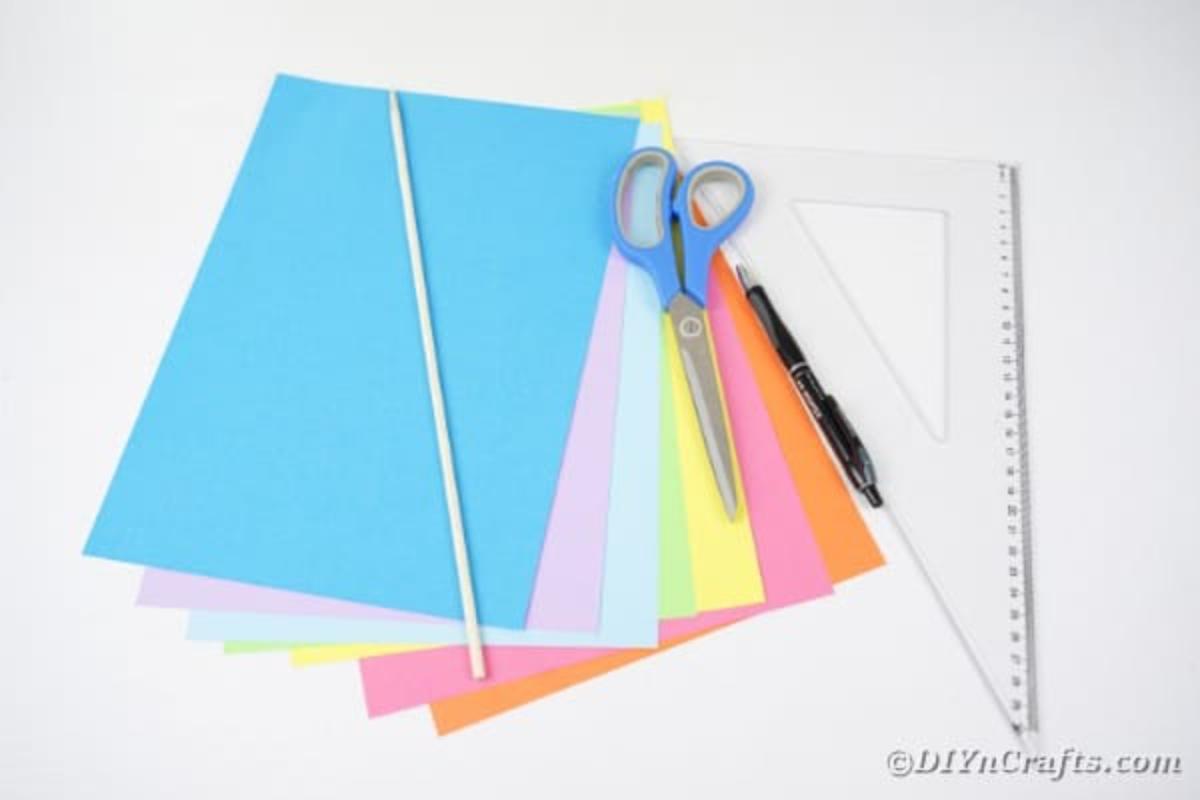
Supplies Needed
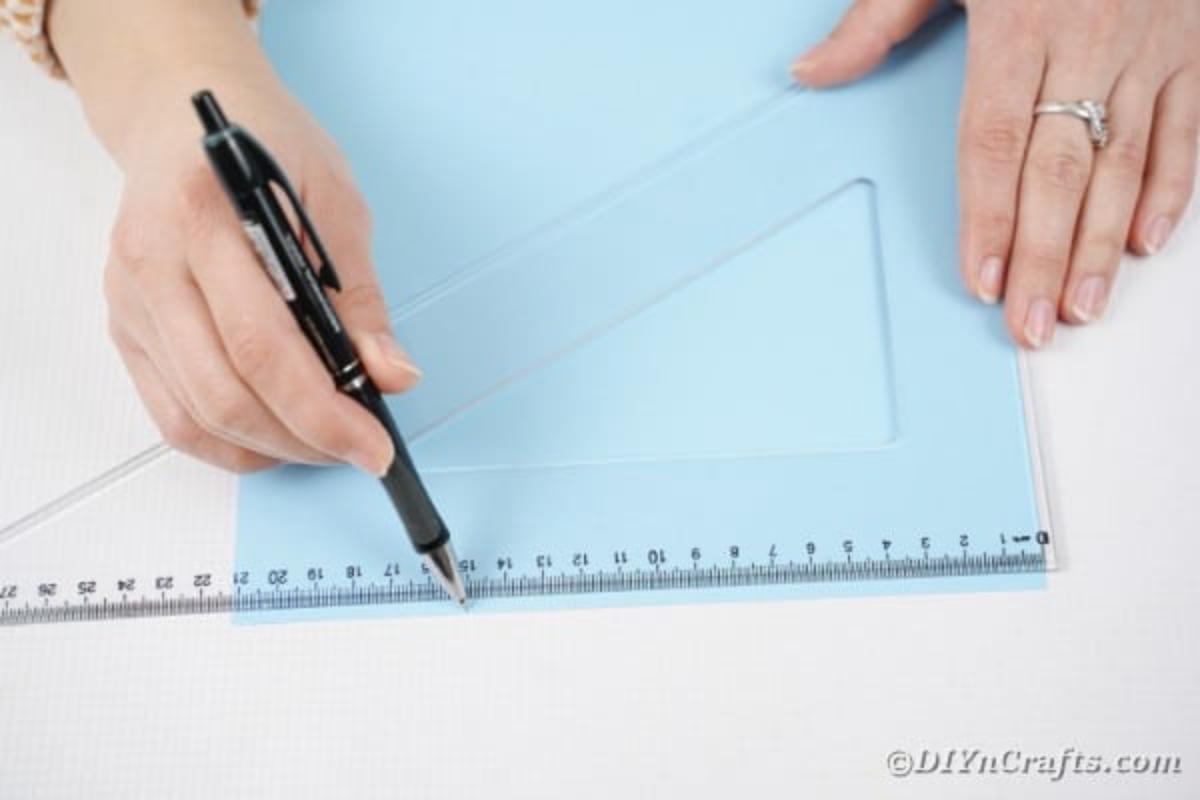
Then, you will divide each of these sections in half so you have 6 sections marked off on vertically on each paper.
Cut the paper in half along the line.
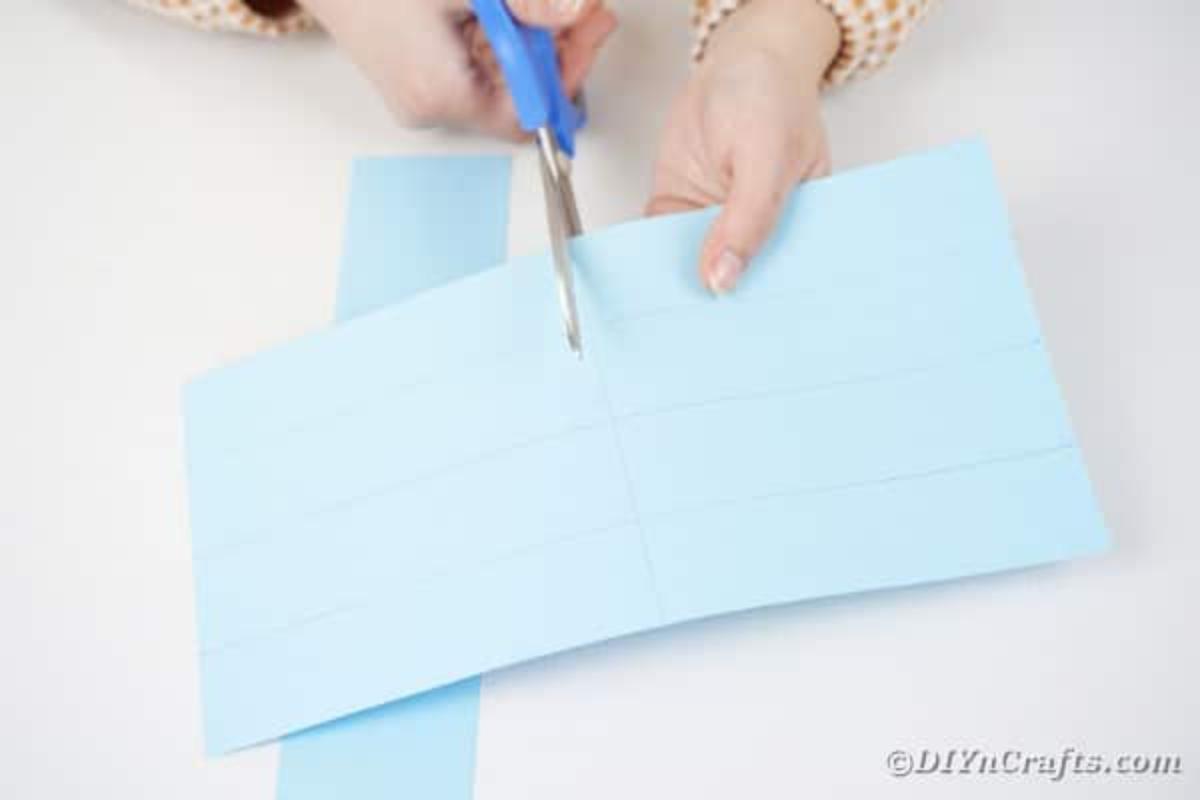
Then cut out each strip of paper. You will end up with 12 strips of paper per piece of paper. Repeat this process for all 7 pieces of craft paper.
Now, you will use your chopstick, skewer, or similar stick and start rolling the paper over it to form a straw cylinder.
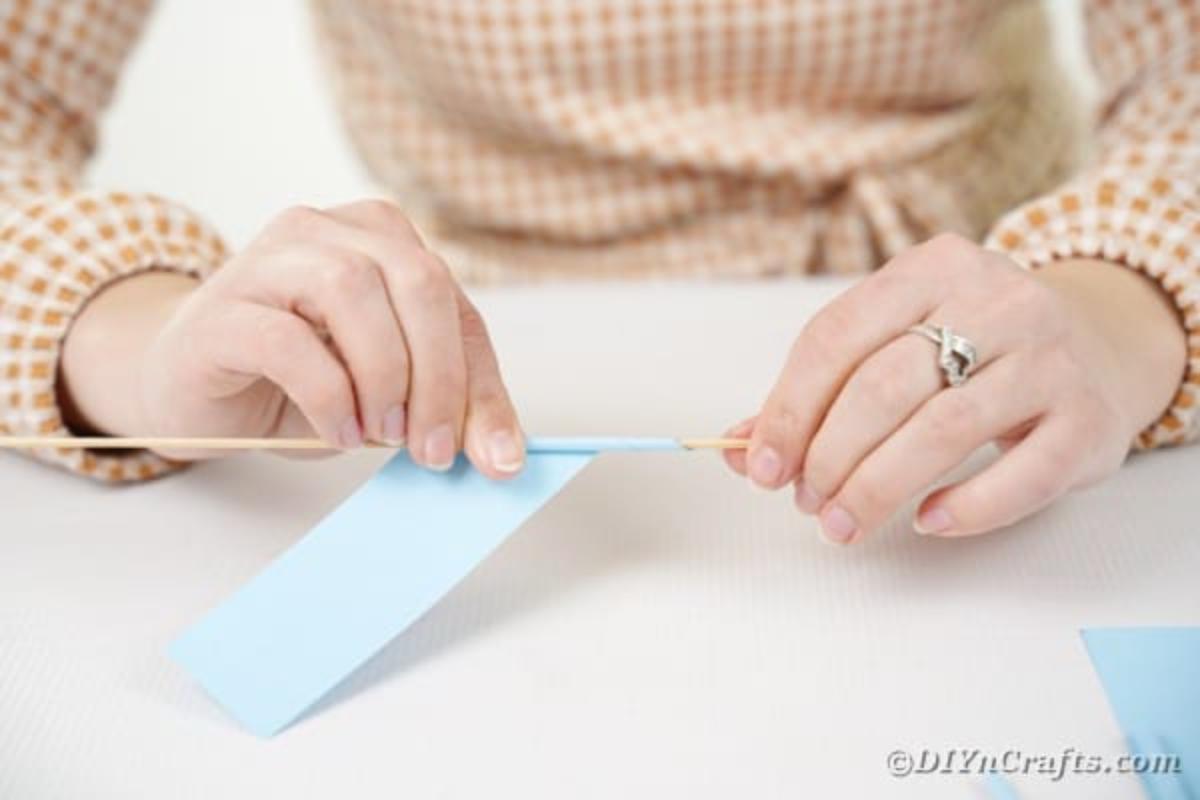
Glue the end of the paper onto itself so both ends are open, but the paper is secured together and stays in place.
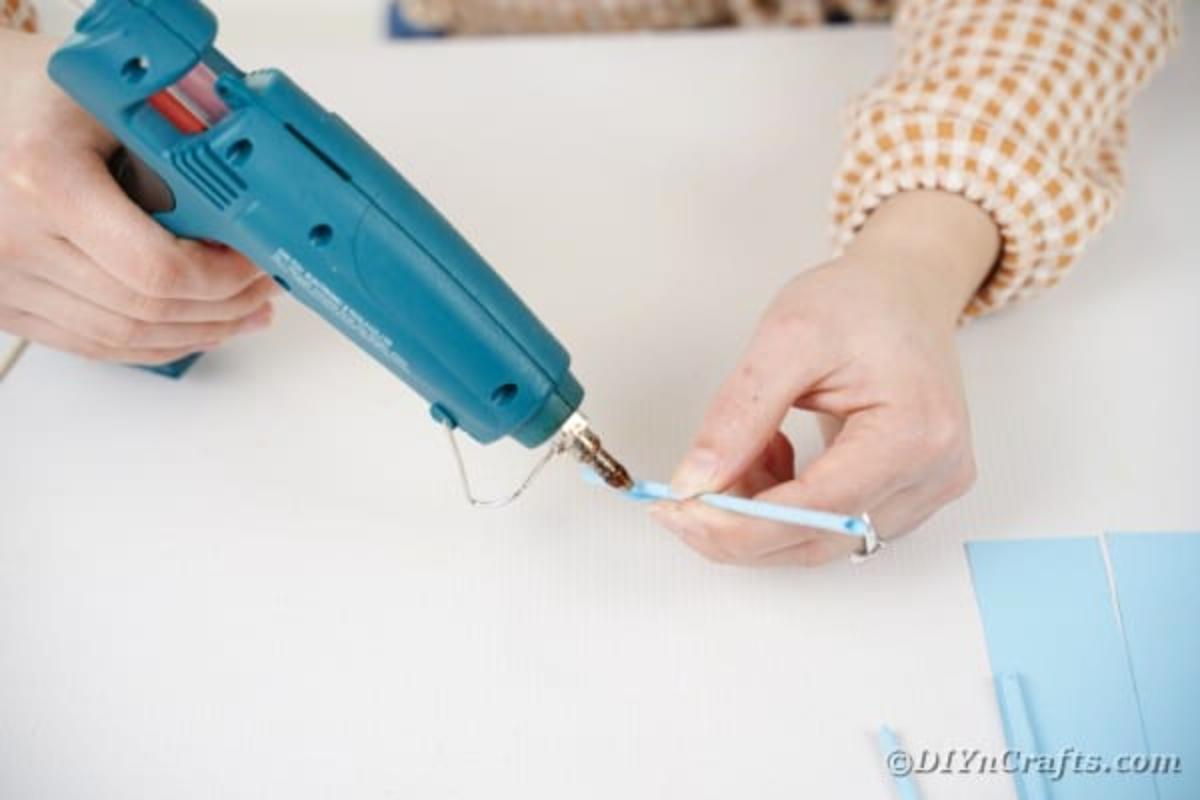
Repeat this process for all of the individual strips of paper.
Now, cut out a square of paper around 8"x8".
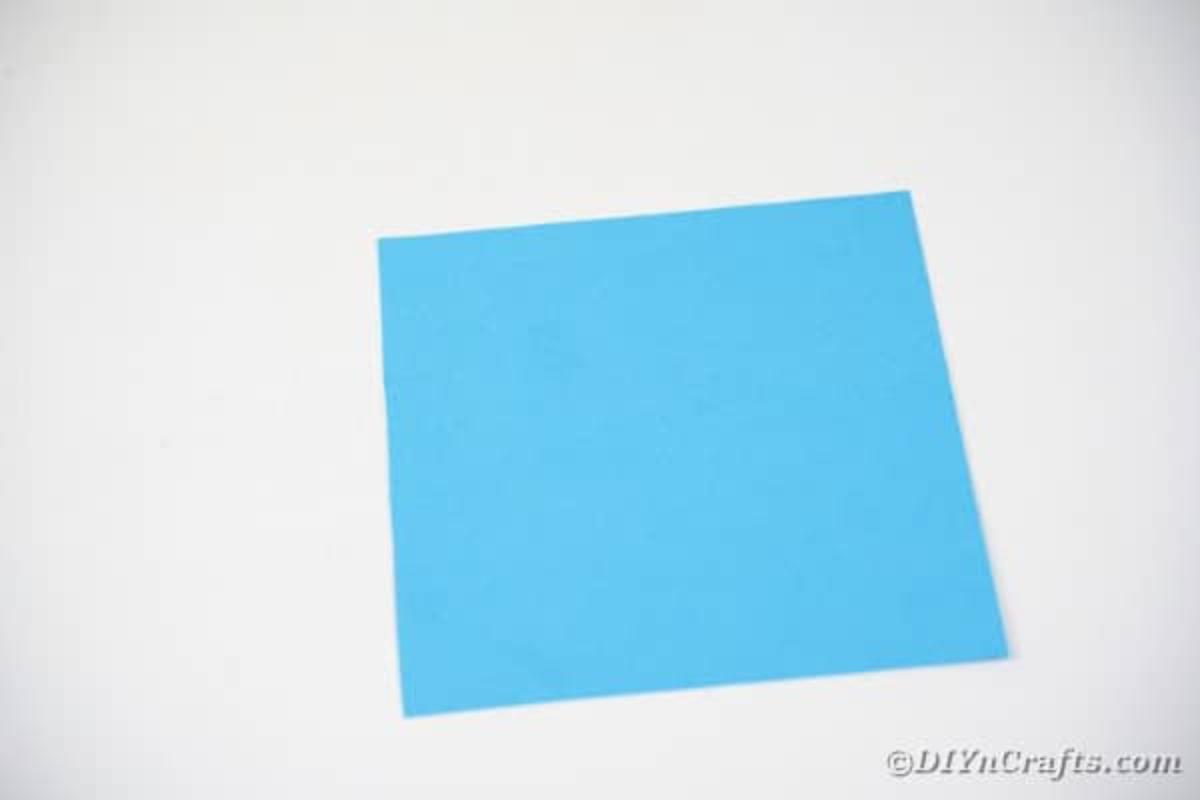
Fold this paper in half.
Unfold that paper, and fold it over in a triangle. Fold the pointed end of that triangle over.
Then, fold the bottom side up.
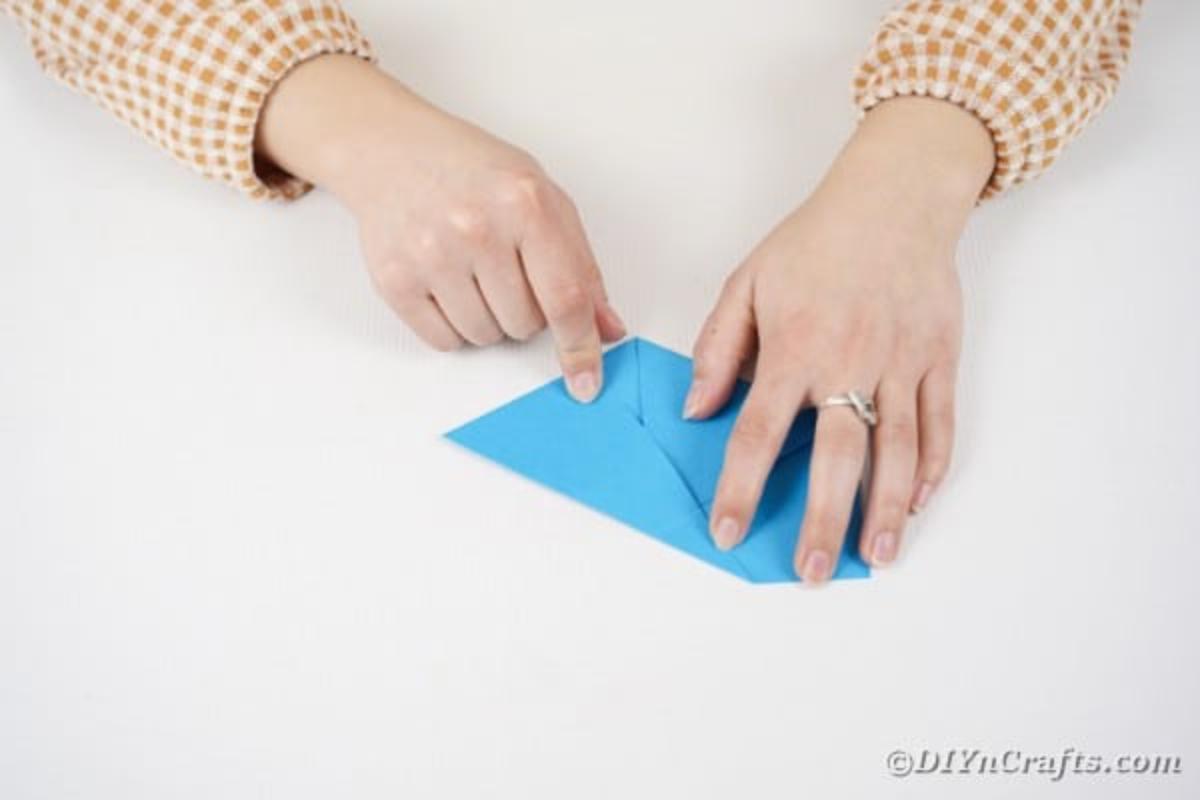
And the other side up. You'll have a diamond shape at this point.
Finally, fold all corners inward so you end up with a six-sided polygon piece of paper.
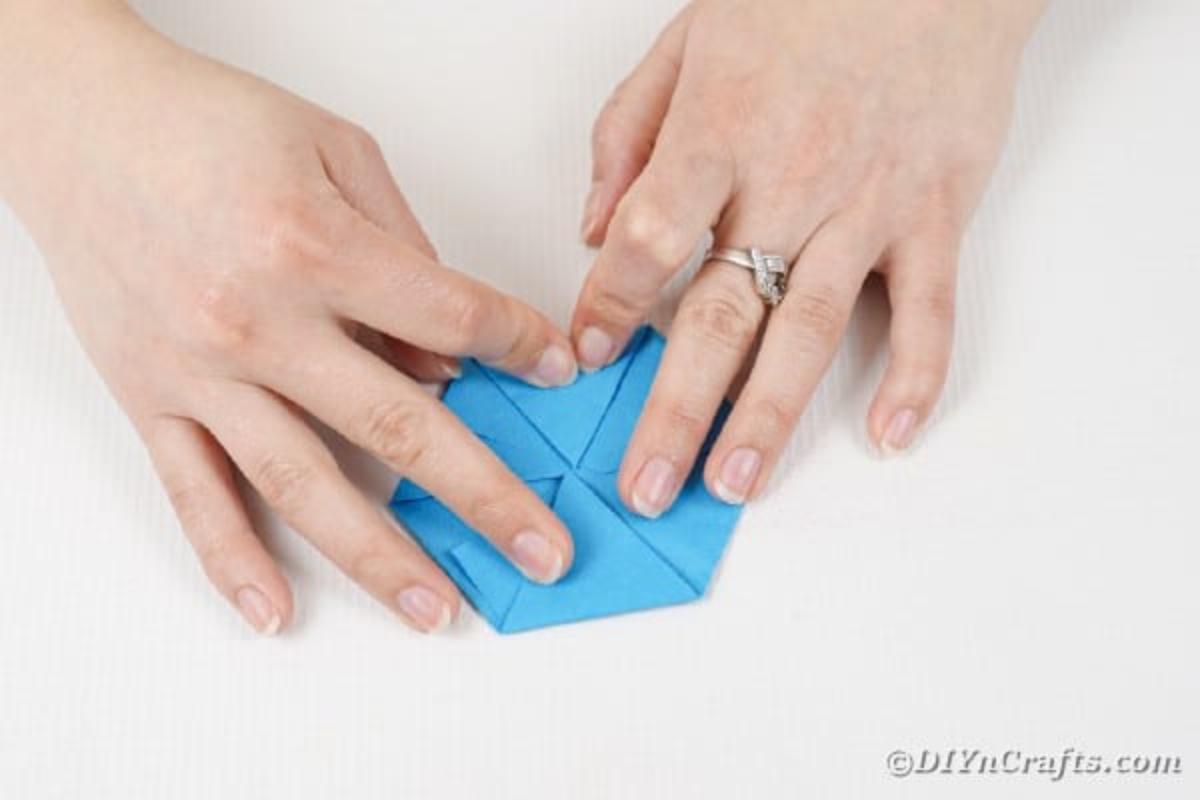
Glue the folds together to secure them, and repeat this process for another piece of paper so you have two of these six-sided pieces.
Now, you will glue a straw on each point of this paper.
Add a second straw next to one of these.
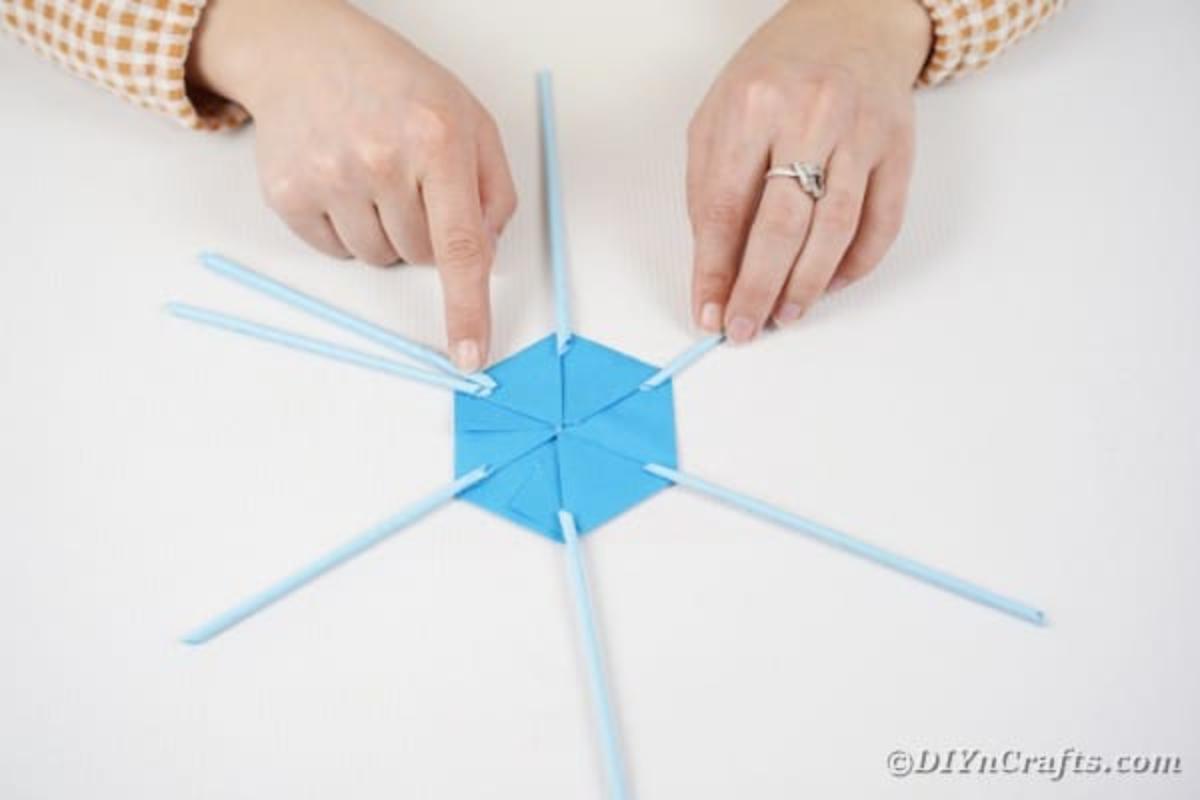
Now, top this with the second polygon and glue in place.
Your next step will be to fold each of these straws over to the left lining it up against the bottom of the polygon.
Continue this wrapping over-each-other method and add in additional straws connected to each one as you move upward and run out of paper straws.
Once you go through all of one color, move to the next. I used the blue straws first, then purple, pink, green, yellow, and orange. You can create yours with any color pattern you prefer.
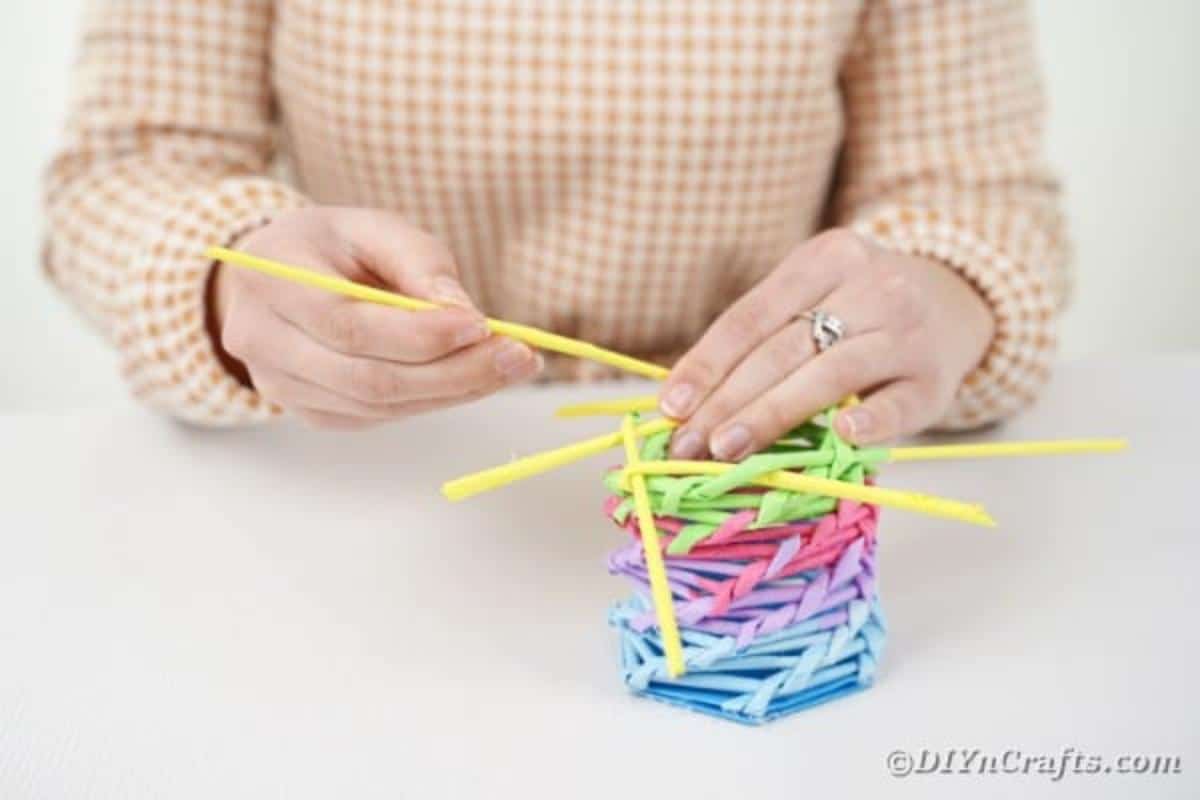
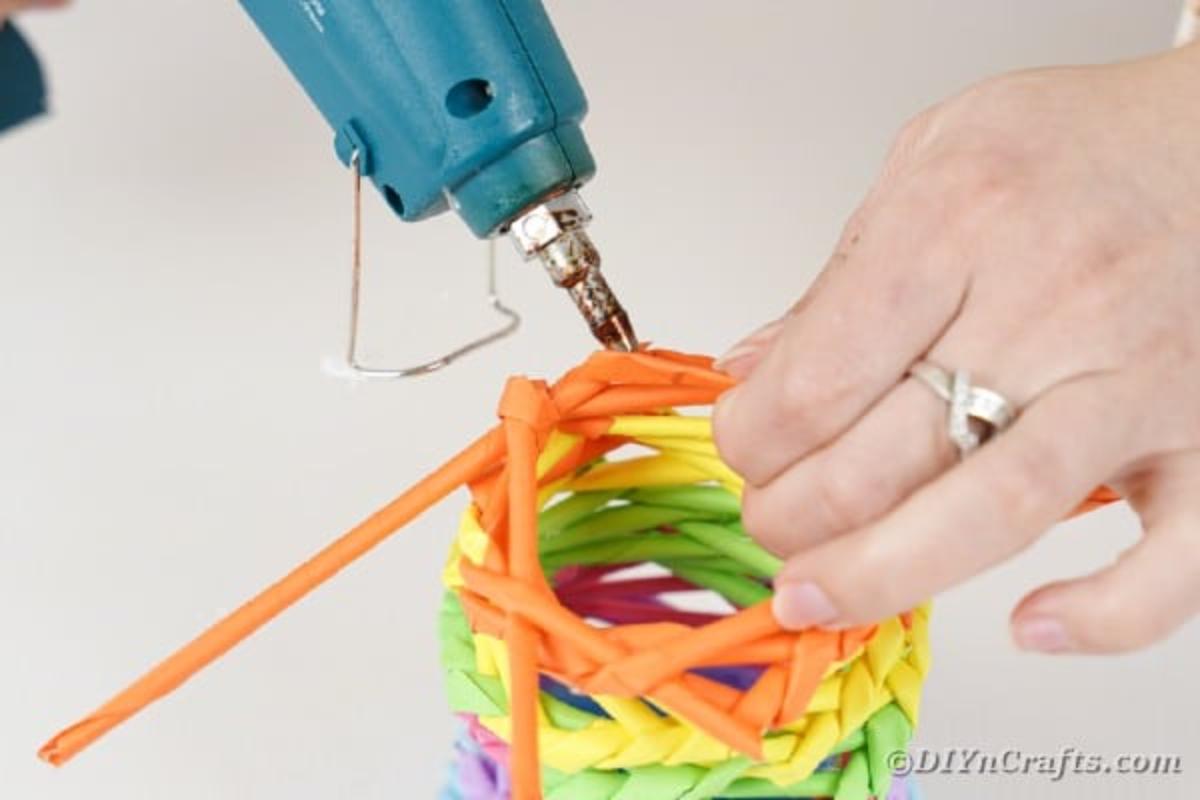
Once you are done and have used all of the paper straws you made, you will secure the very end with glue.
Let this dry, and fill it with your pens, pencils, or makeup brushes!