DIY Pumpkin Topiary
Pumpkin topiaries are a delightful way to add a festive touch to your home during the fall season. To create your own DIY pumpkin topiary, start by selecting three pumpkins in different sizes. Carve out the centers to stack them on top of each other, securing them with wooden dowels. Then, decorate the pumpkins with faux leaves, ribbons, or even fairy lights for a whimsical touch. These topiaries make a charming addition to your porch or mantel, bringing a warm and welcoming autumn vibe to your living space. So, grab your pumpkins, get creative, and enjoy crafting your very own pumpkin topiary to showcase your love for the season!

You will need:
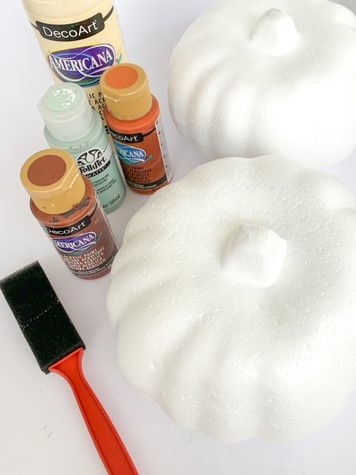
First, paint the pumpkins and let dry completely. If you use the white pumpkins, I only had to use one coat of paint.
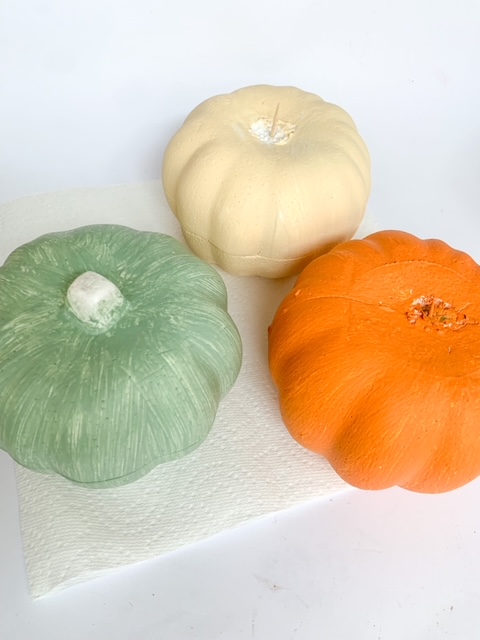
Next, I used a dry brush with a little brown paint to weather the pumpkins a little after they were dry.
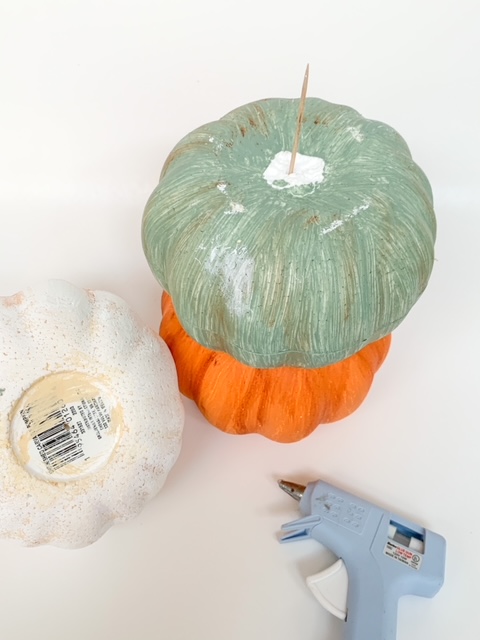
Now cut off the stem of 2 of the pumpkins. Place a toothpick in the top middle of the bottom pumpkin and put a little hot glue around it. Push the middle pumpkin on top of the toothpick. Do the same for the top pumpkin
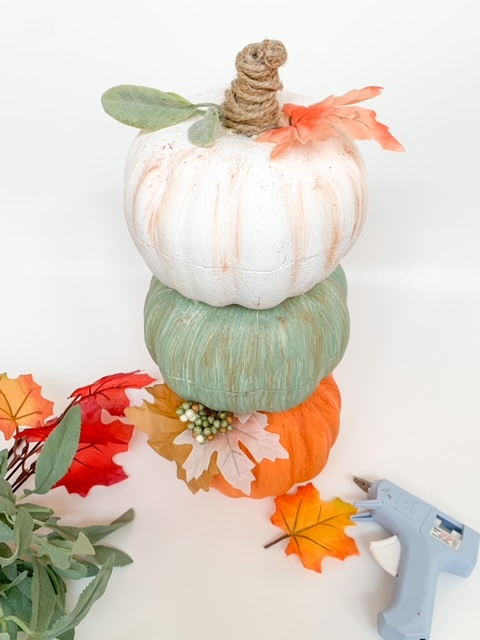
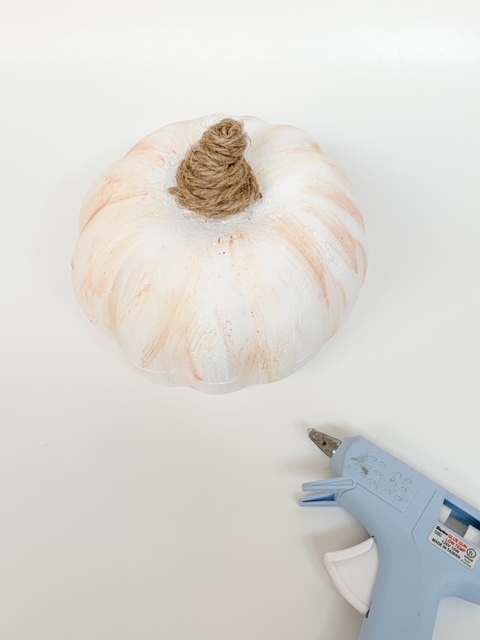
Now wind the twine around the stem of the top pumpkin and secure the twine with hot glue.
Finally, attach leaves and greenery to the pumpkins