Easy Watercolor Easter Eggs: Mess-Free Marker & Bag Method
Make bright, watercolor-style Easter eggs at home using a simple, low-mess marker-and-plastic-bag technique. This quick method uses ordinary markers, a sandwich bag, and a bit of water to create soft blended washes on hard-boiled or craft eggs—no cup dyes required.
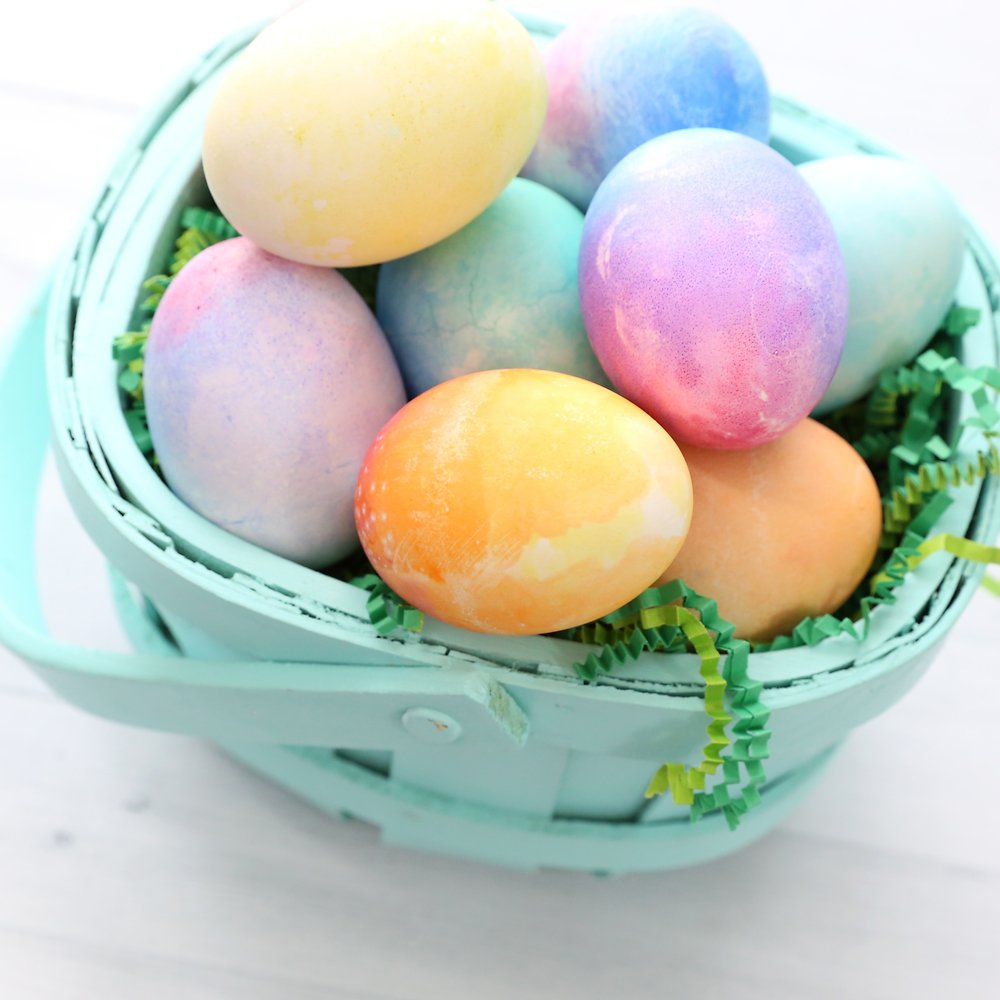
Creating Easy Watercolor Easter Eggs is a delightful way to add a fun and creative touch to your holiday celebrations. To make these colorful eggs, simply grab the materials listed below and let your imagination run wild as you work on this project. These vibrant eggs make cheerful decor or a playful addition to an egg hunt.
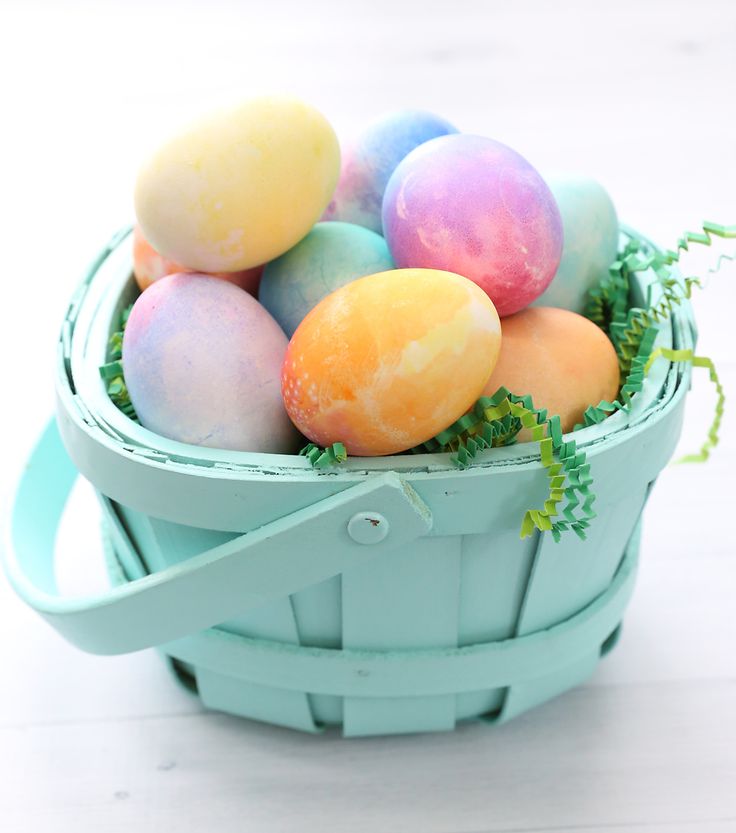
Bright watercolor Easter eggs created with the marker-and-bag technique.
Supplies:
This is what you’ll need to make watercolor Easter eggs using markers:
- Crayola Markers (classic markers work better than washable; generic markers also work)
- Ziplock sandwich bags (you can reuse one bag for multiple eggs)
- Small bowl of water
- Napkins or paper towels for cleanup
- Hard boiled eggs or craft eggs
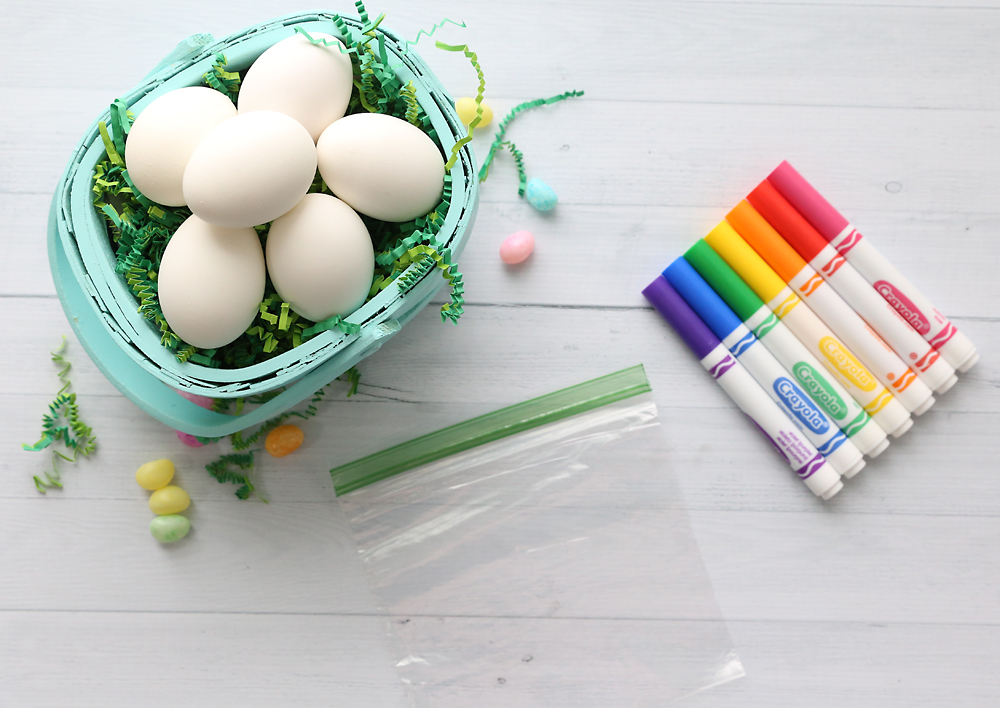
Gather your markers, a plastic sandwich bag, water, napkins and eggs before you begin.
Step 1: Color on the Bag
Start by scribbling marker color directly onto the plastic sandwich bag. Use a few colors in splotches, stripes or rows—these marks will become your watercolor washes.
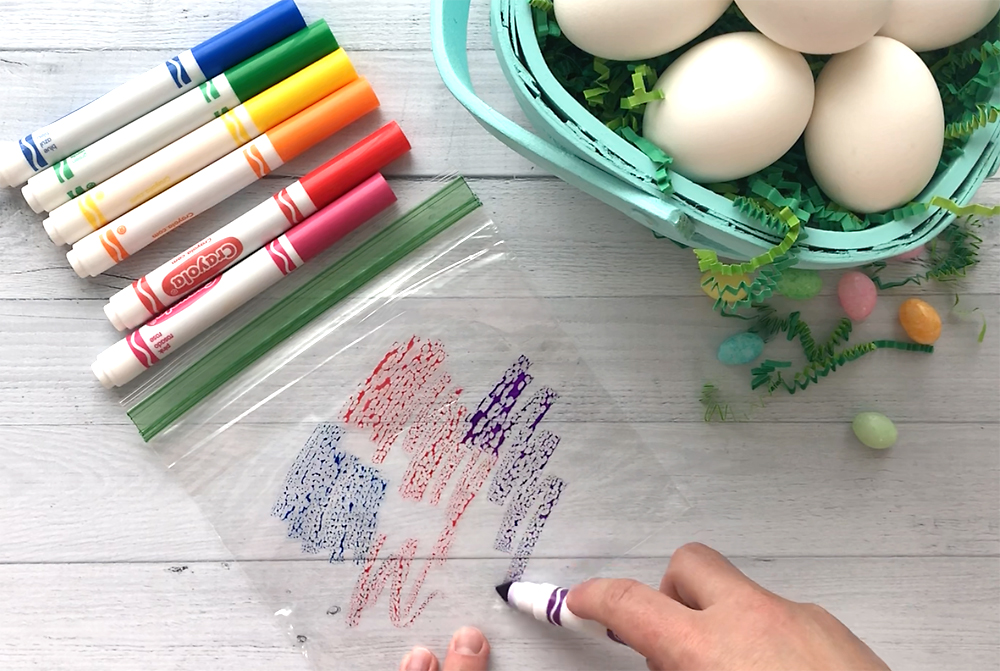
Step 1 — Scribble marker colors onto a plastic sandwich bag.
Step 2: Transfer Color to the Egg
Dip your egg in water so the shell is wet, then place it on the colored side of the bag. Pull the bag up and around the egg and gently smoosh or roll the egg inside the bag so the wet shell picks up the marker ink, turning it into watercolor-like paint.
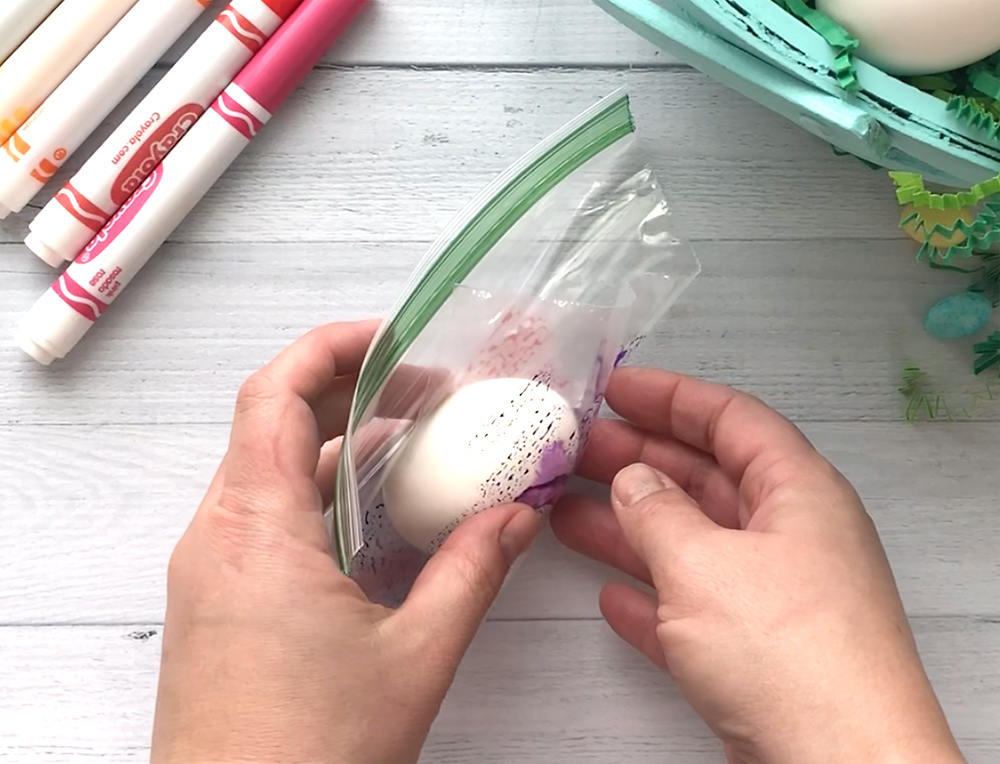
Step 2 — Place the wet egg on the colored bag and wrap it to transfer the ink.
Smoosh the egg around inside the bag to get color over the entire shell (be very careful with blown-out eggs). When you’re satisfied with the coverage, set the egg down and open the bag.
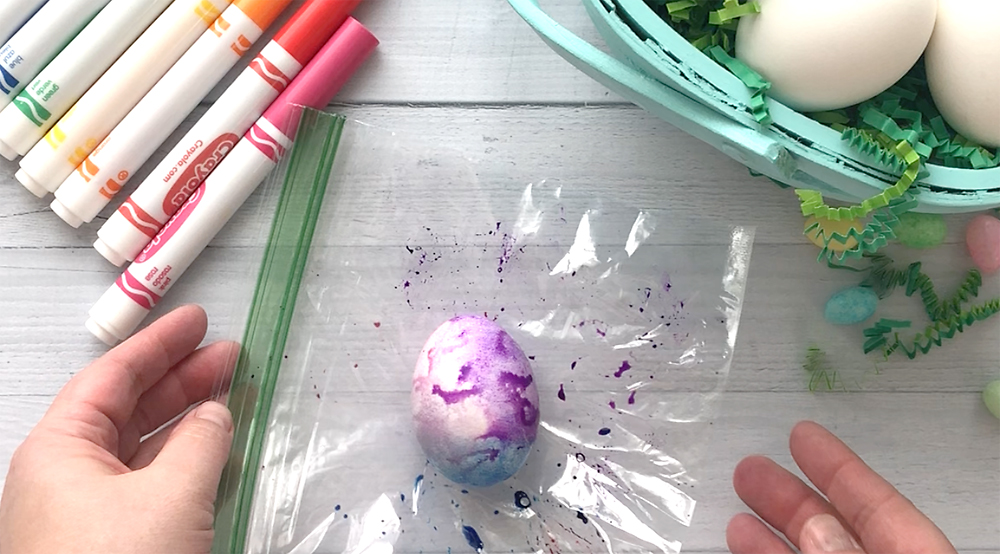
Rub the egg inside the bag to blend and cover the shell with color.
Step 3: Dry the Egg
You can let the colored egg air-dry on the bag or dab it dry with a napkin so you don’t have to wait. Napkins will absorb a little color but leave a vibrant finish; you can also use a low-speed blow dryer to speed drying.
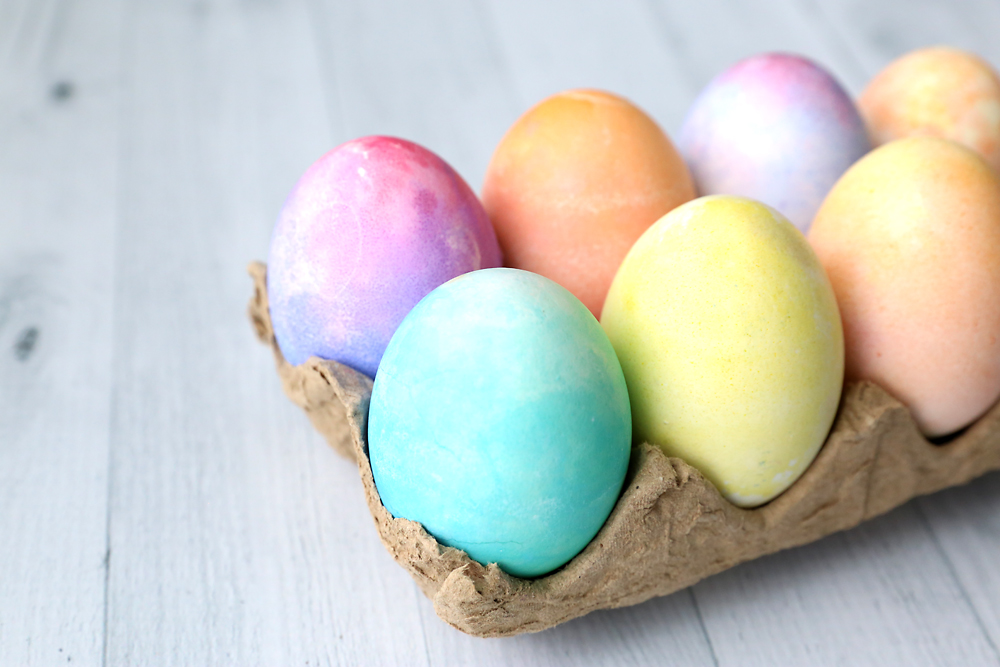
Step 3 — Dry eggs with a napkin or let them air-dry in the carton.
Tips & Tricks
Experiment with color combinations to get different effects—colors will mix on the egg, so choose palettes that blend nicely (for example, pink–purple–blue or red–orange–yellow). Two colors often give beautiful results. The pretty turquoise egg shown below was made by using blue and green markers. Avoid pairings that tend to mix into brown tones (such as certain green + red mixes).
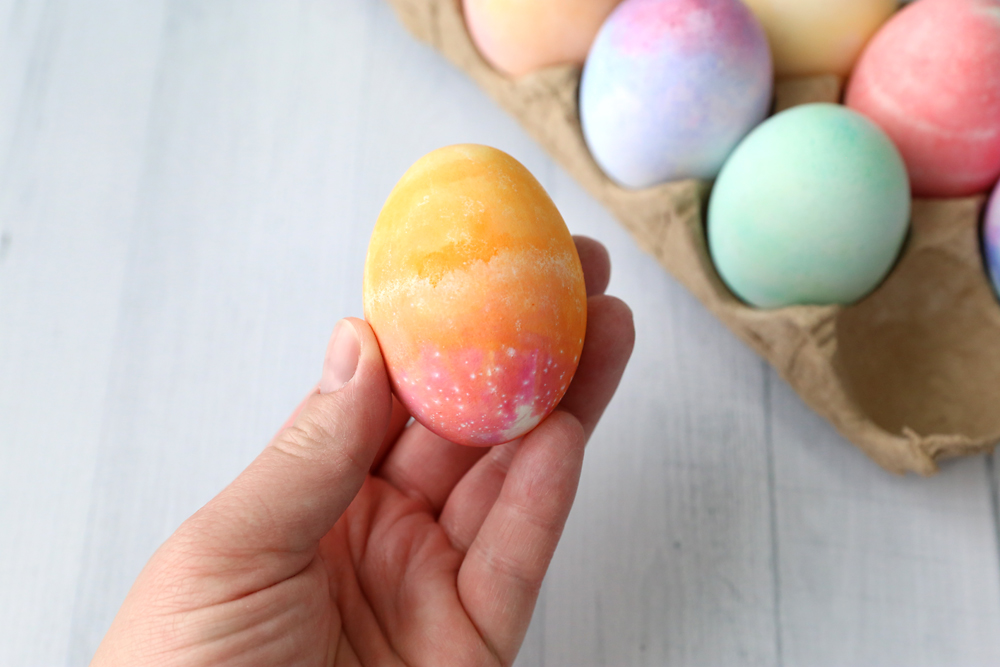
Try different color mixes—blue and green make a pretty turquoise wash.
You can also vary how you draw on the bag. For some eggs we used random splotches; for others we drew deliberate rows of color (for example, yellow at the top, orange in the middle, pink at the bottom) to achieve a soft gradient effect.
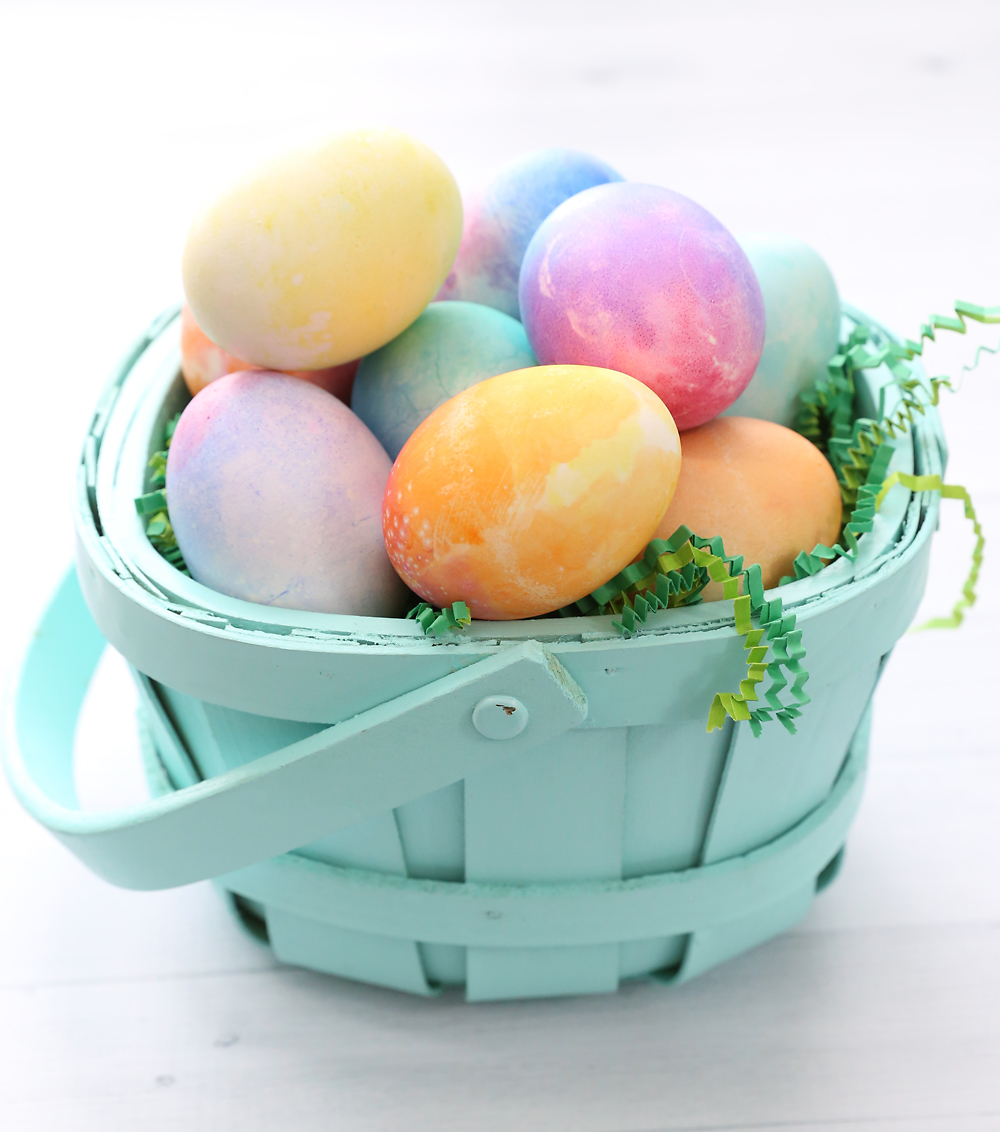
Layering rows of color on the bag creates a gentle striped or gradient watercolor effect on the egg.
This method is tidier than dye cups, but expect some messy bags and a few drops of marker “paint.” Keep paper towels or wipes handy. You can wipe the bag clean and reuse it for another egg, or start with a fresh bag for each egg.
Keep wipes or paper towels nearby—this technique is low-mess but not mess-free.