DIY Cupcake Liner Flower Cards — Quick, Cute & Budget-Friendly Tutorial
Turn ordinary cupcake liners into charming, dimensional flower cards with just a few basic supplies. This quick, budget-friendly project takes about 10–20 minutes per card and makes a cheerful handmade greeting for birthdays, thank-yous, or just-because notes.
Turn ordinary cupcake liners into charming, dimensional flower cards with just a few basic supplies. This quick tutorial shows how to layer and secure liners to a plain index card for an affordable, handmade greeting perfect for birthdays, thank-yous, or just-because notes.
Supplies needed
- Cupcake liners in a variety of colors (use 3 per flower)
- Brass fasteners
- Yellow paper (for the flower center)
- 1 inch hole punch
- 1/4 inch hole punch
- Plain white index cards
- Green paint (for the stem)
- Scissors
Step-by-step instructions
- Nest three cupcake liners together (choose different colors or patterns). Cut petal shapes through all three layers at once so they form a layered flower when separated.
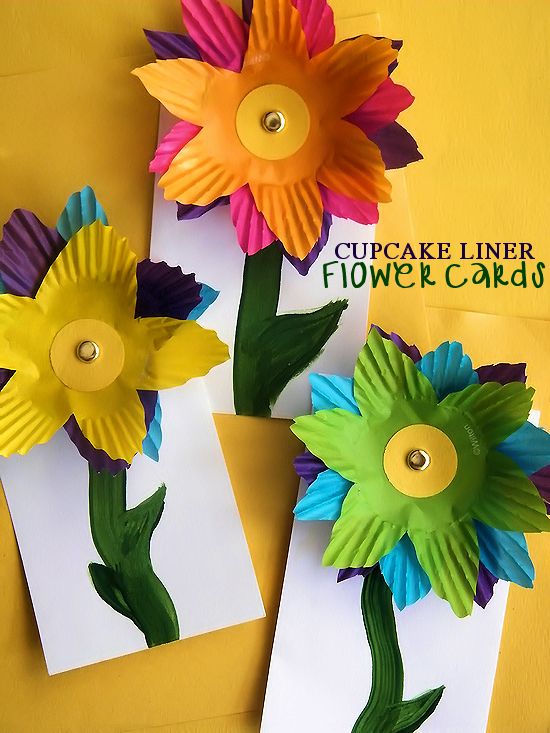
Three nested cupcake liners ready to be cut into layered petal shapes.
- After cutting, use the small (1/4 inch) hole punch to make a hole through the center of the stacked liners. Turn the liners inside out so the petals lift up for dimension.
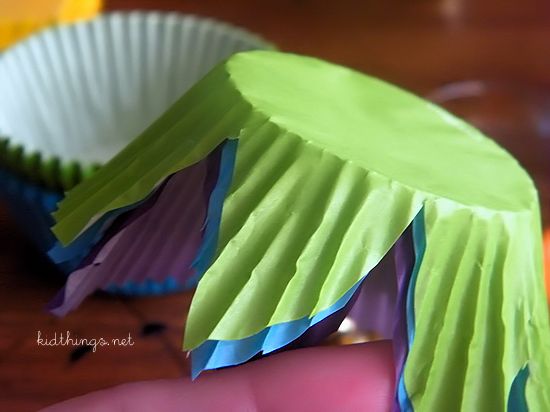
Petals cut and liners flipped inside out to create a lifted, dimensional flower.
- Punch a 1 inch circle from yellow paper for the flower center, then punch a small hole in its middle. Punch a small hole in the white card near the top where you want the flower to sit. Align all holes and insert a brass fastener to secure the liners and center to the card.
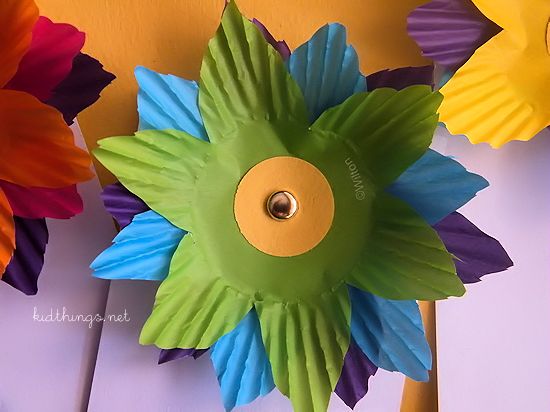
Yellow paper center punched and brass fastener securing the layered liners to the card.
- Paint a green stem and any leaves under the flower on the card. Let the paint dry fully before handling.
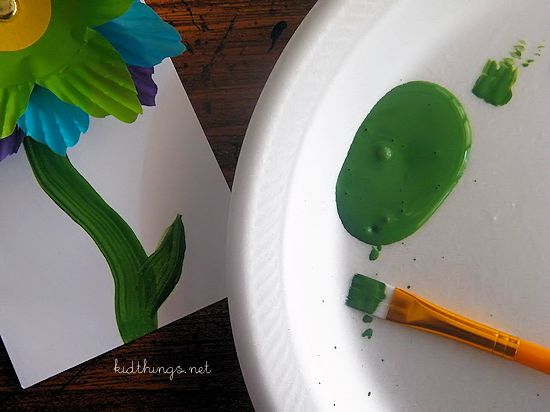
Painting a simple green stem and leaves under the cupcake liner flower.
- Fluff the cupcake liner petals to your liking and add a message inside the card. Your handmade cupcake liner flower card is ready to gift.
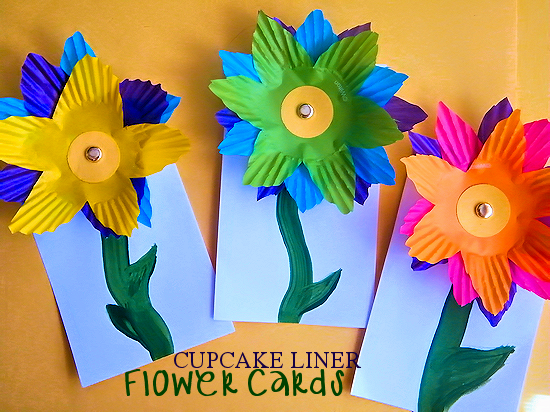
Finished cupcake liner flower card with layered petals and a painted stem, ready to gift.
Tips and variations
- Mix patterned and plain liners for contrast and extra visual interest.
- Use glitter, a small button, or a fabric sequin for the flower center instead of paper for added texture.
- Create a bouquet by attaching several flowers at varied heights on one card for a fuller design.
These cupcake liner flower cards come together quickly and make a cheerful, handmade touch for any occasion. Experiment with color combinations and centers to create unique cards for friends and family.