Sparkling DIY Tinsel Fringe Pillow — Easy Festive Makeover
Looking to add a touch of sparkle to your living space? Transform a plain throw pillow into a festive statement piece with a DIY Tinsel Fringe Pillow. This quick, budget-friendly project layers tinsel fringe streamers across a pillow cover for instant texture and shine. Use contrasting or coordinating colors to match your decor and decide whether to glue or sew depending on how permanent you want the finish.

Supplies:
- Tinsel fringe streamer garland (choose colors and widths you like)
- Pillow cover and insert
- Hot glue gun (or needle and thread for a sew-on option)
- Scissors and a ruler or measuring tape
Instructions:
Step 1: Prepare and measure. Lay your pillow cover flat and measure its width. Cut pieces of tinsel fringe to the correct length so each row will wrap cleanly across the face of the cover. If using multiple colors, plan the order and spacing before you begin.
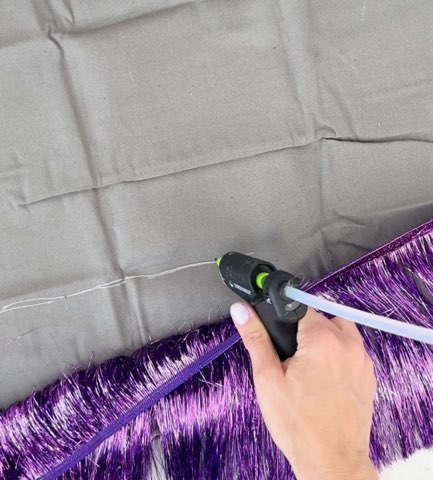
Step 2: Attach the fringe. Starting at the bottom edge of the pillow cover, attach the first row of tinsel fringe. If you prefer a removable option or a cleaner finish, sew the fringe on with needle and thread. For a quicker method, use a hot glue gun—apply a thin, even bead of glue and press the fringe into place. Overlap each subsequent row slightly so the pillow cover does not show through.
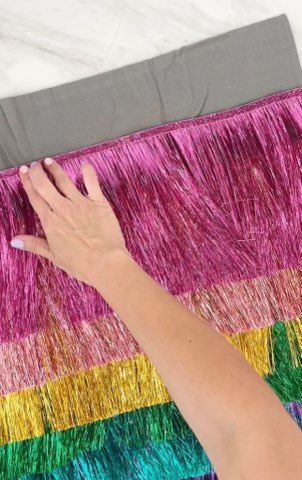
Step 3: Finish and fluff. Once all rows are attached, trim any uneven edges and let glue fully dry if used. Insert your pillow form into the cover and adjust the fringe so it lays evenly. If you sewed the fringe, trim loose threads. For care, spot-clean or gently hand-wash depending on your materials—tinsel can be delicate, so avoid aggressive machine washing.
Sit back and admire your DIY pillow in all of its fringey, sparkly glory! Display it on a sofa, chair, or bed for a quick seasonal update.