DIY Felt Fringe Easter Basket — Easy No‑Sew Hot‑Glue Tutorial
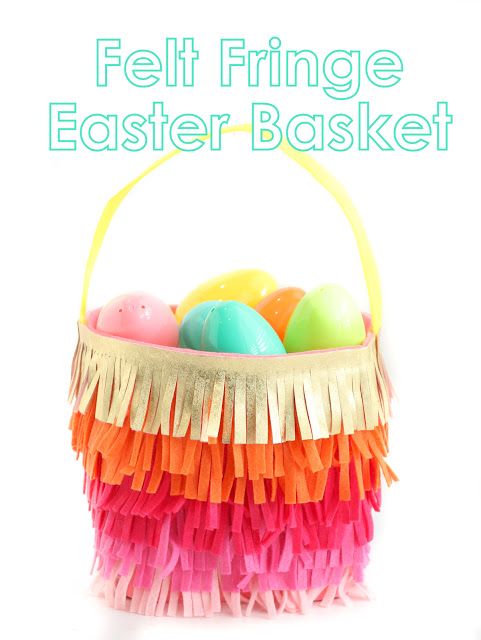
Make a charming, colorful Easter basket in under an hour with this simple no‑sew felt fringe technique. Using basic craft felt and hot glue, you layer fringed strips around a plain basket for a whimsical, textured look that’s perfect for egg hunts, gift displays, or spring décor.
Supplies:
- 5 sheets of 9" by 12" felt (choose colors you like)
- Plain felt or wicker Easter basket to cover
- Hot glue and scissors
Steps:
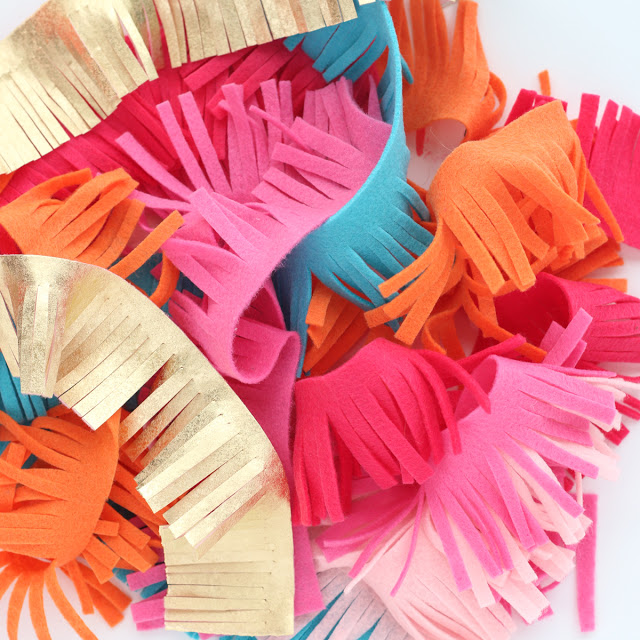
- Cut each felt sheet into 2" wide strips. Then cut fringe into each strip, leaving about 1/2" uncut at the top. Fringe width can be roughly 1/8" to 1/4" depending on the look you want.
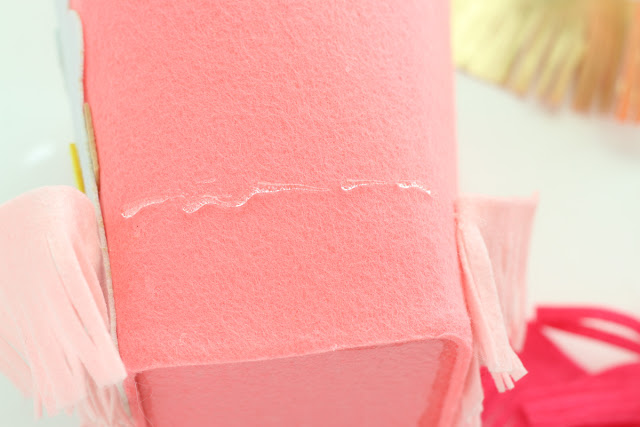
- Start at the bottom of the basket. Apply a thin line of hot glue along the uncut top edge of the first fringe strip and press it onto the basket base, working slowly so the fringe lays flat.
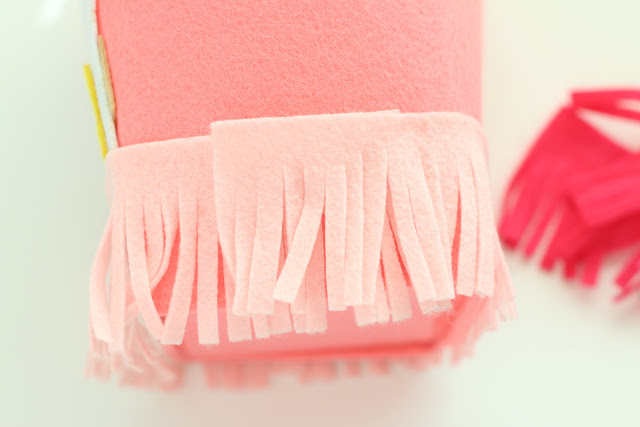
- When you reach the starting point, trim the strip and begin the next strip slightly overlapping the end so there’s no gap. For the next row, glue about 1/2" above the first row so the layers overlap and hide the glued edge.
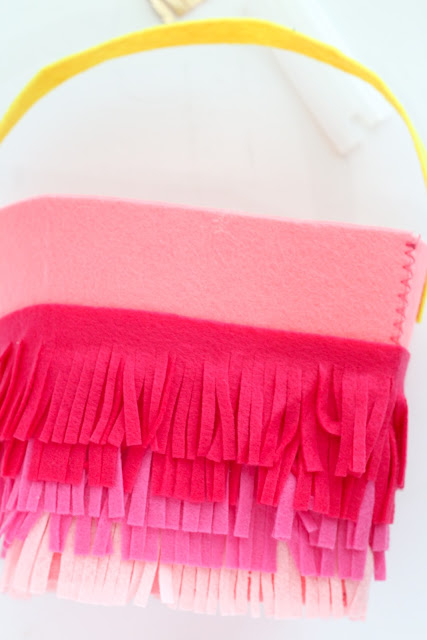
- Continue layering fringe strips and working your way up the basket until you reach the rim. Trim any excess and tuck the last row neatly along the top edge. If your basket has a handle, you can wrap a narrow fringed strip or a plain felt strip around it.
- Allow any glue to cool fully. Optionally, add a bow, pompom, or felt flower for extra decoration.
Tips:
- Use tweezers or a craft stick to press small areas if the basket has tight curves.
- Mix and match colors for an ombré or rainbow effect. Thinner fringe gives a finer, fluffier look; wider fringe is chunkier.
- If you prefer less glue fumes, do this in a well‑ventilated area and supervise children closely around hot glue.
Below are photos showing the cutting, layering, and finished basket to guide you through the process.
No comments
Write a comment