DIY Patchwork Fabric Easter Eggs — Easy No‑Sew Step‑by‑Step
Patchwork fabric Easter eggs are an easy, no‑sew craft that adds color and texture to your Easter decorations. Using fabric adhesive sheets and blown eggs (or lightweight craft eggs), you can create charming, personalized eggs to hang on a tree, nest in a bowl, or use as table centerpieces.
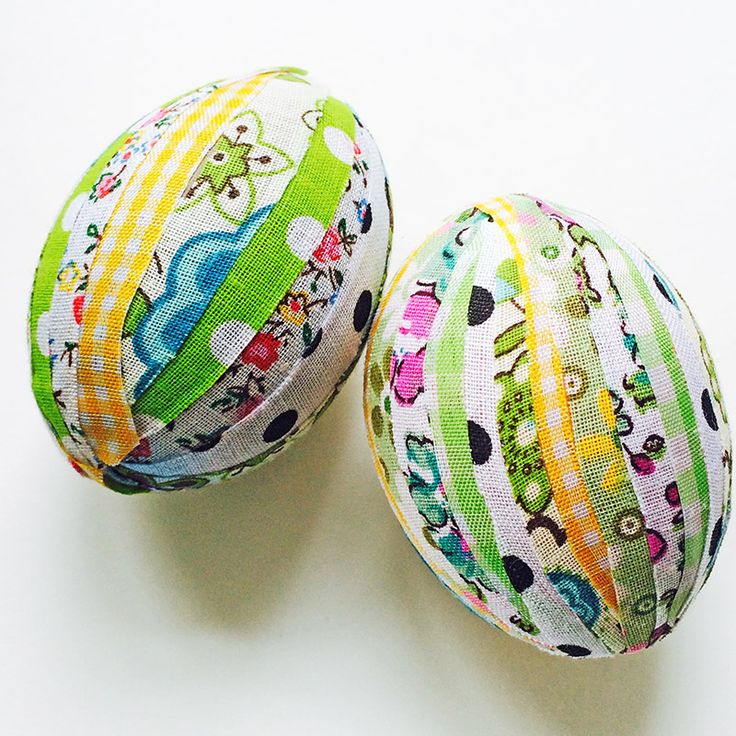
Materials:
- Eggs — the author used real eggs which were blown.
- Fabric adhesive sheets
How to make fabric Easter eggs
- Prepare your egg: If using real eggs, carefully blow and clean them so they are hollow and dry.
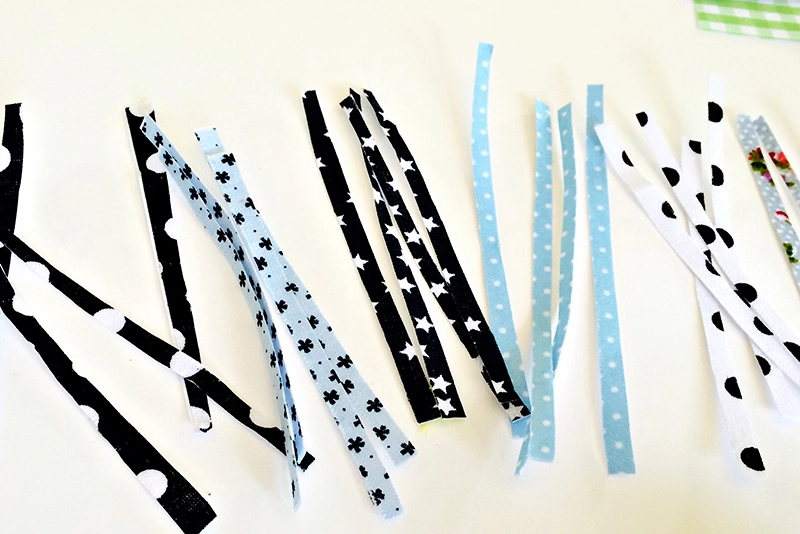
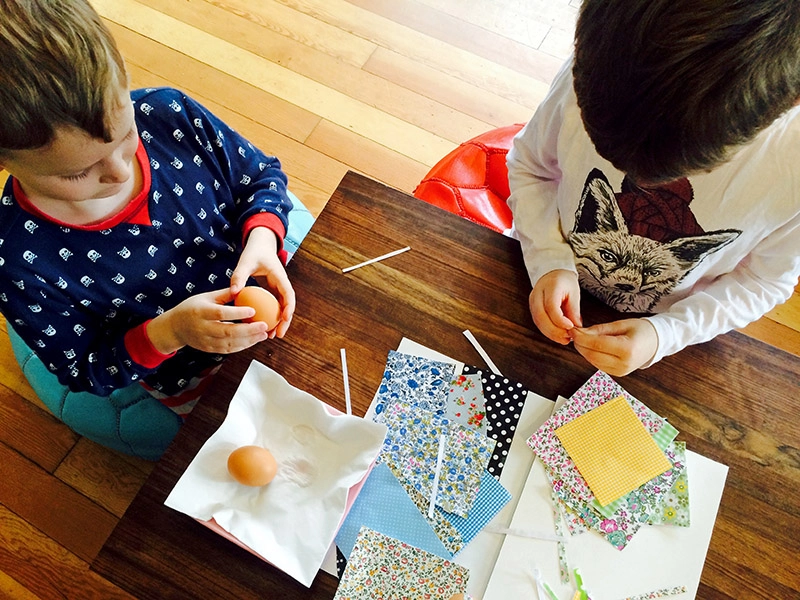
- Cut the fabric adhesive sheets into thin strips about 5 mm wide and roughly the length of your egg. A variety of patterns and colors makes the finished set more interesting.
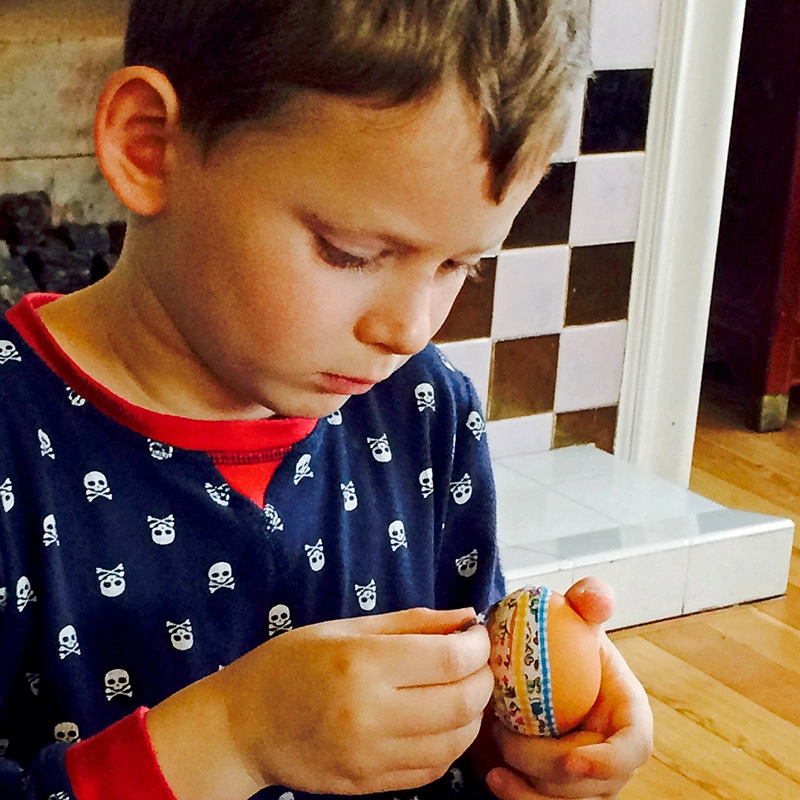
- Peel the backing from a fabric strip and position it on the egg. Smooth the strip down from one end to the other to remove air pockets. You can place strips vertically, horizontally or at angles to create different effects.
- Continue applying strips, slightly overlapping edges as needed. If strips are too thick they may pucker; thinner strips conform more smoothly.
- For a more traditional patchwork look, cut the fabric adhesive sheets into small squares instead of strips and stick them in a tiled pattern.
- Finish and display: Once covered, gently press all seams and allow any adhesive to set. Hang the eggs with thread, place them in a bowl, or arrange them as a centerpiece.
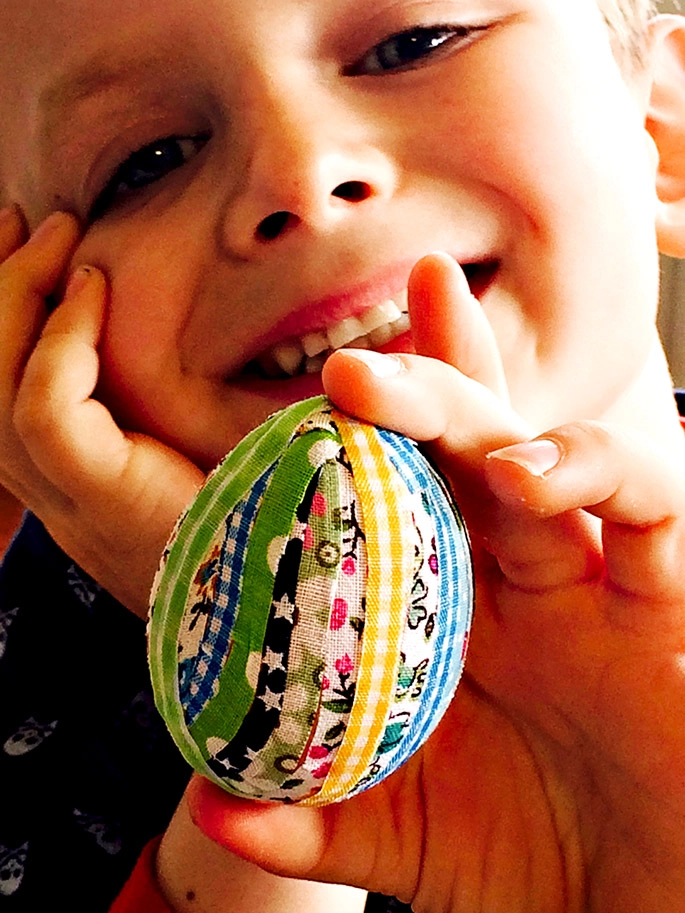
These patchwork fabric eggs are forgiving and quick to make — have fun mixing patterns and colors to suit your décor.
No comments
Write a comment