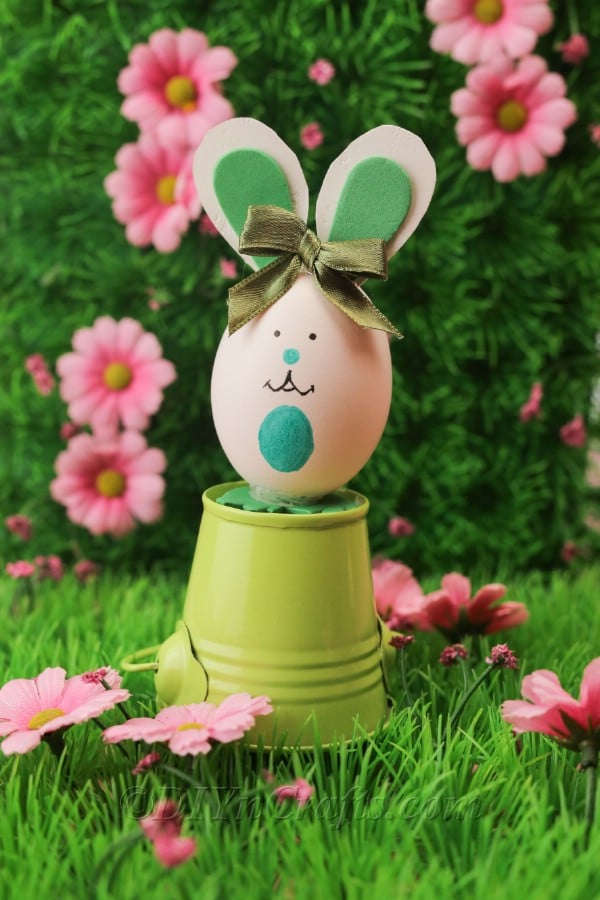
Easy DIY Easter Egg Bunny Decoration — Step-by-Step Tutorial
Create charming Easter Bunny decorations from plain eggs with just a few craft supplies. These quick, low-cost bunnies are perfect for mantel displays, table centerpieces, or hanging on an Easter tree. Follow the step-by-step photos and instructions below to make your own seasonal décor.
Decorating your home with Easter Egg Bunny decorations is a sure way to add a touch of whimsy and charm to your space. Whether scattered on the mantel, placed on the dining table, or adorning your Easter tree, these cute bunnies are the perfect way to welcome springtime and spread cheer throughout your home. So, hop to it and let these charming decorations bring a smile to your face this Easter season!
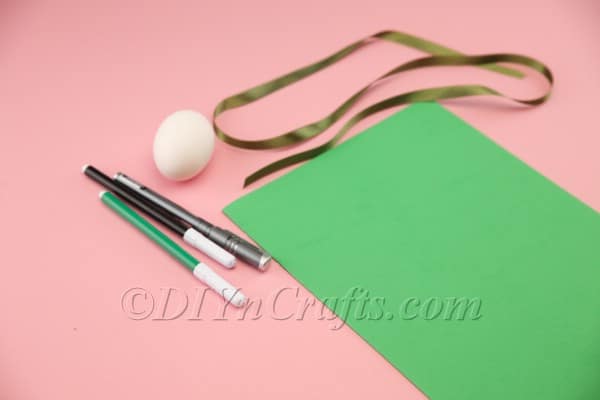
Materials
Egg
Black pen
Green marker
Green foam sheet
Ribbon
White cardboard or cardstock
Tools
Hot glue and glue gun
Scissors
Instructions
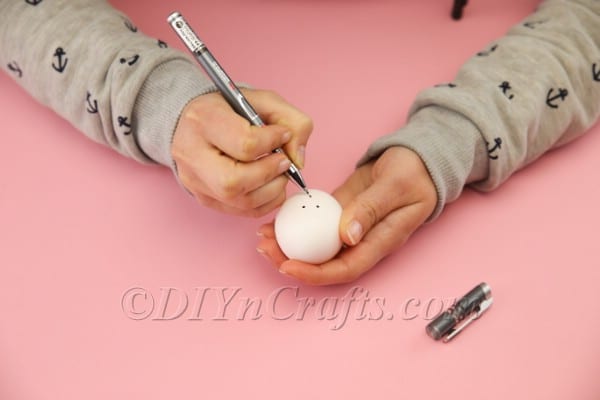
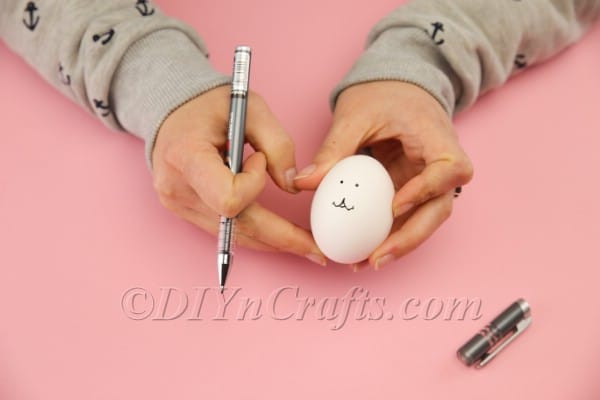
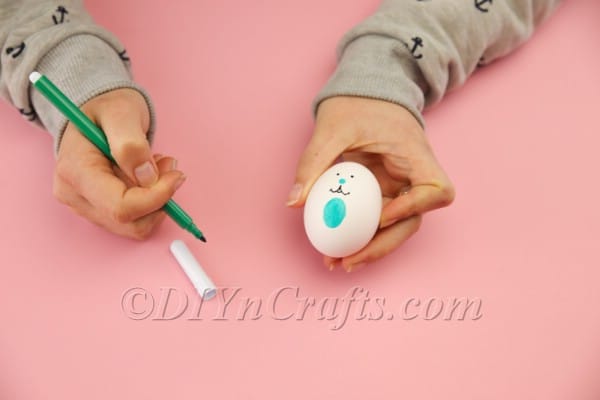
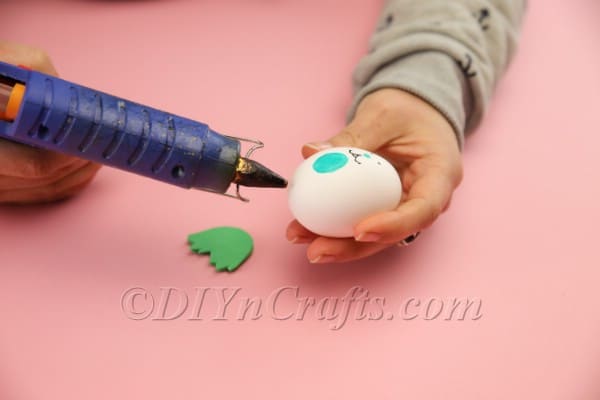
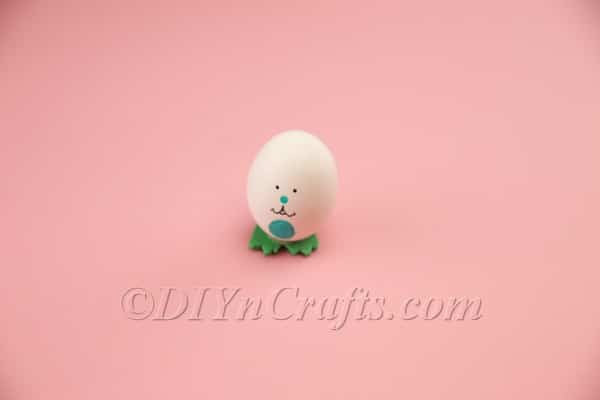
Take your egg and use a black pen to draw on the eyes and mouth. Then use the green marker to draw the nose and the belly of the bunny.
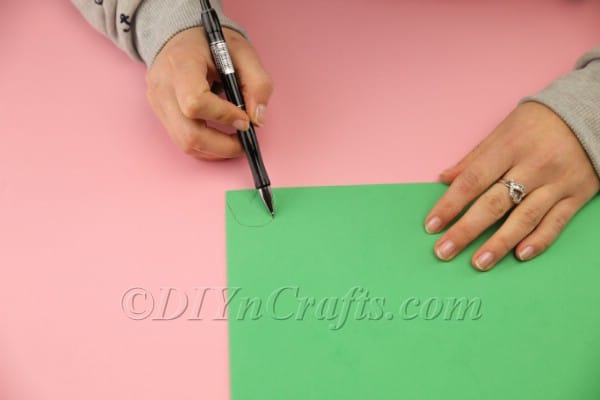
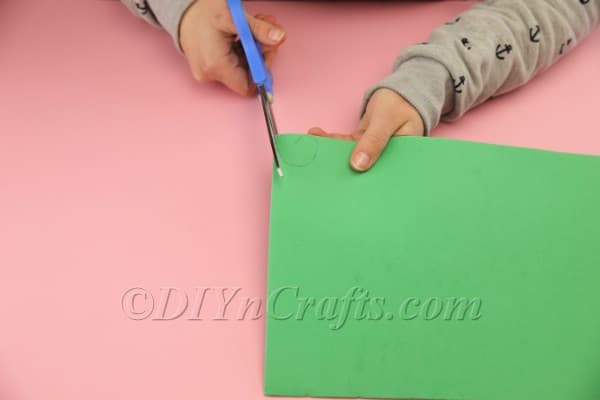
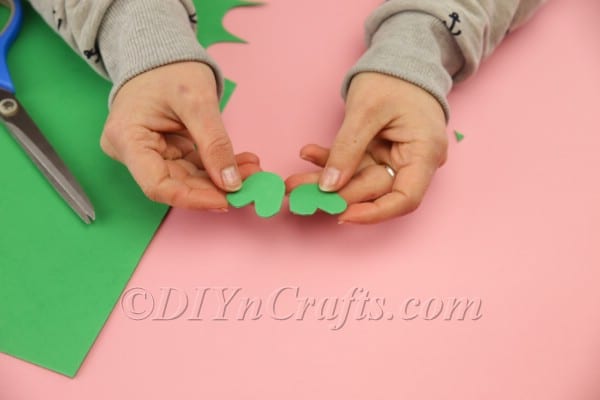
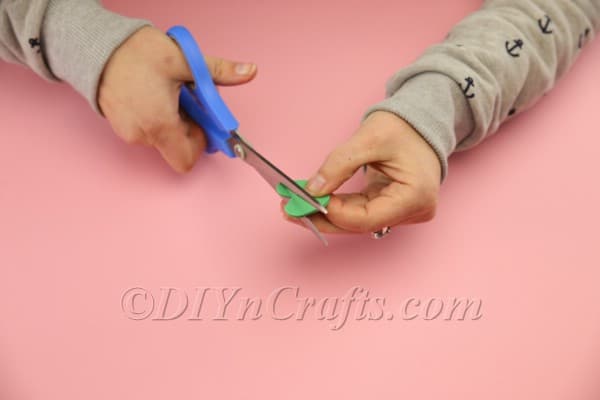
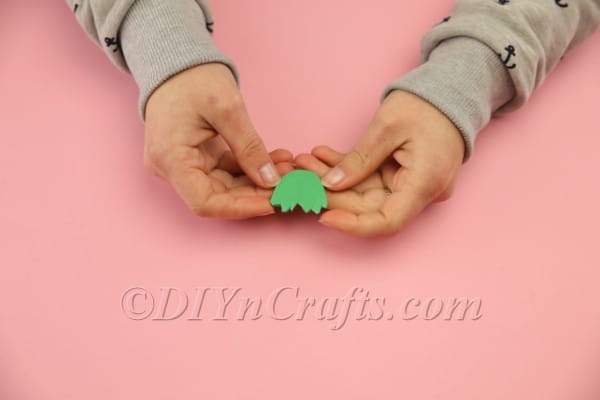
You next need to cut out the shape of the bunny's feet from the green foam sheet. This is pretty much self-explanatory, but you will notice that I did it twice, and glued together the two identical pieces before gluing them onto the bottom of the egg. I decided to do this so that they would be more substantial, but you could use just one layer if you preferred.
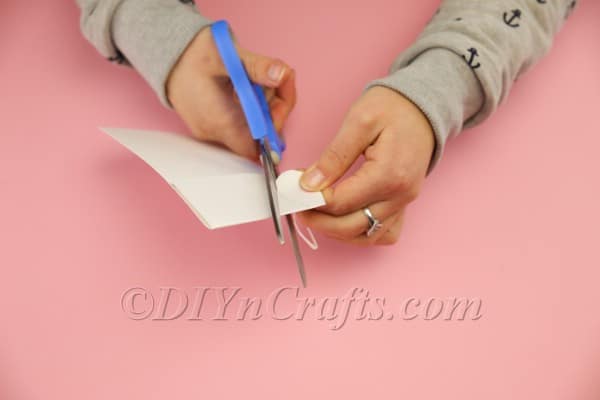
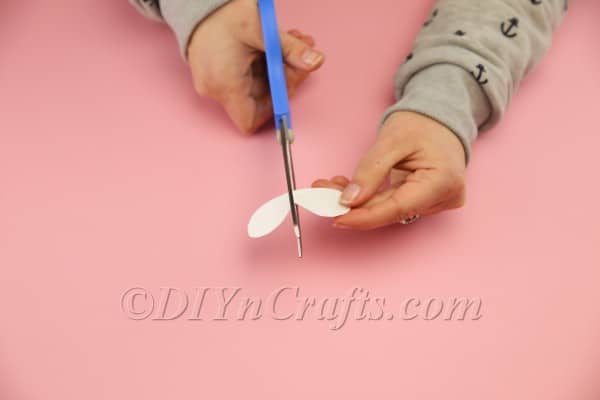
Now you need to prepare the bunny's ears. Get the white cardboard or cardstock (construction paper is also acceptable) and cut out the shapes of the bunny's outer ears.
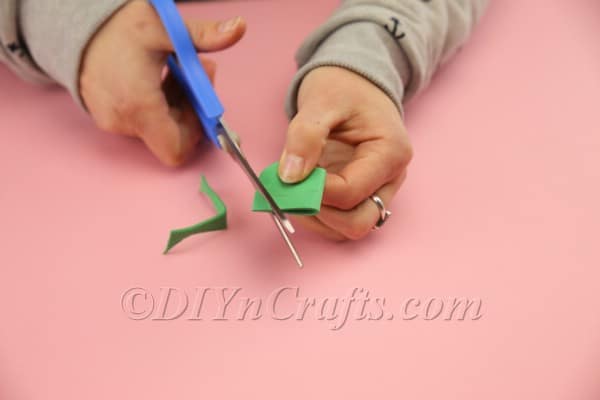
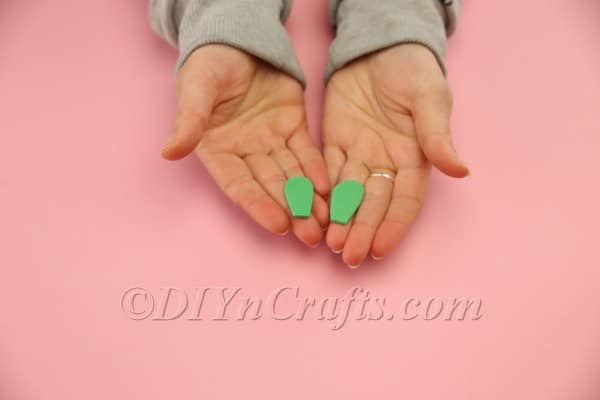
Now we turn to the green foam sheet and cut out the shapes of the bunny’s inner ears.
Glue the inner ears onto the outer ears
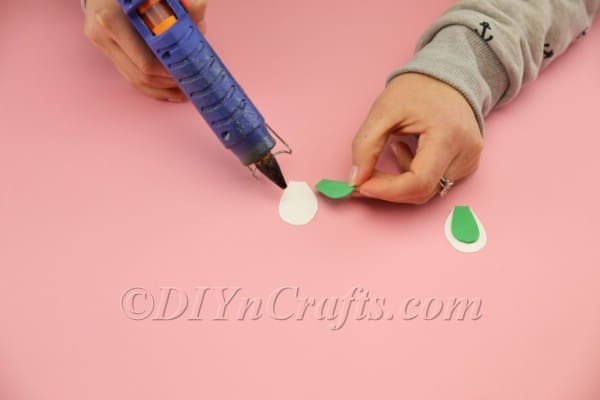
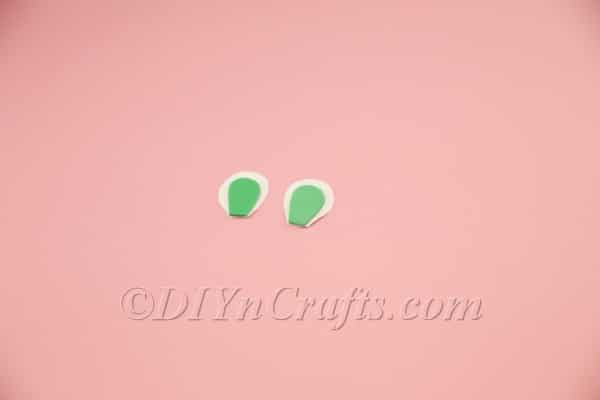
Glue the bunny's ears onto the top of its head. Note that if you use hot glue for this, you do not need little tabs at the bottoms of the ears to attach them to the top of the egg. But if you are using a regular glue stick, you will need to create this little tabs when you're cutting out the ears, or just fold the very bottom parts of the ears under in order to attach them.
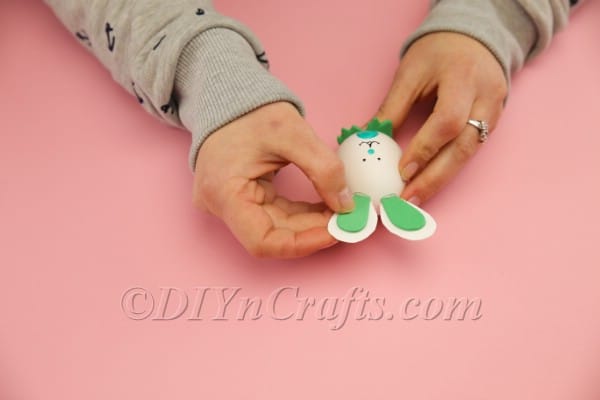
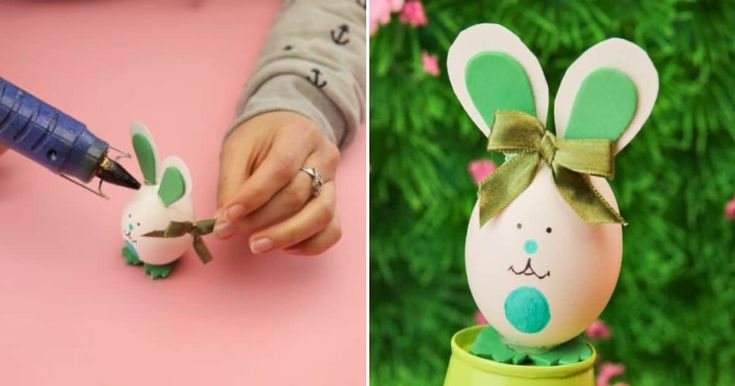
As one last step, you can attach a bow to the top of the bunny’s head between its ears. If you do not have one handy, you can tie a ribbon like I did to create one. Now your Easter Bunny is all ready to display for the holiday.