Easy Egg Carton Easter Bunny — Step-by-Step Kids' Craft
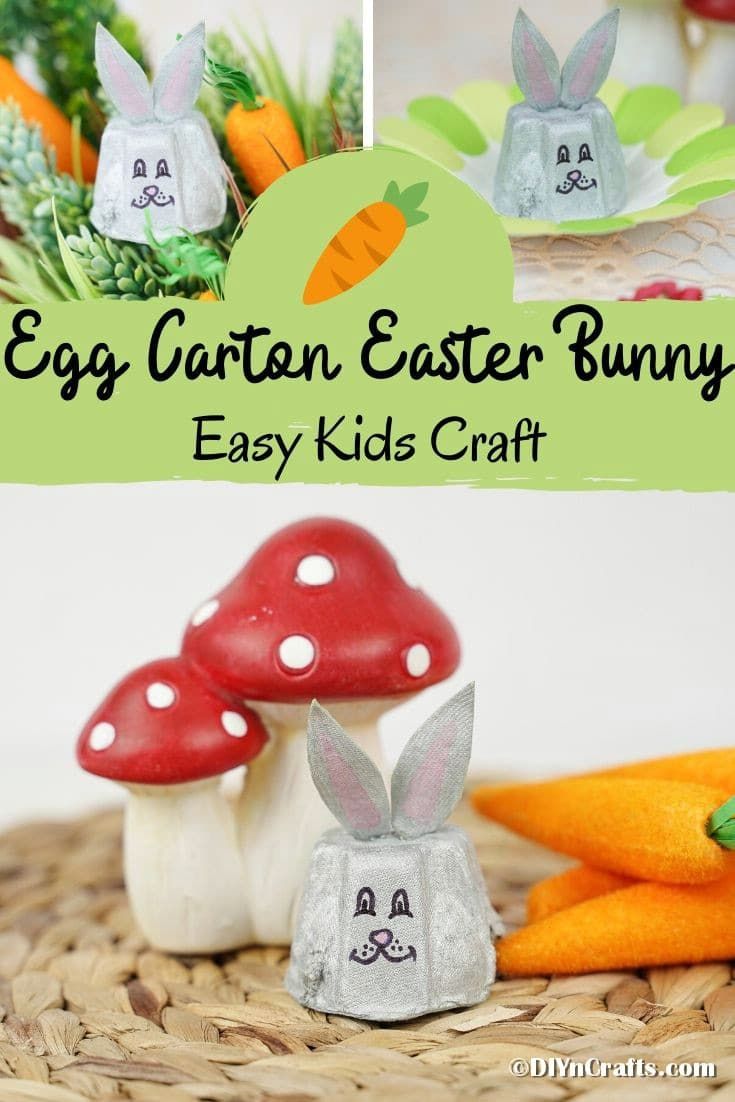
Turn a cardboard egg carton into a cute Easter decoration with this simple, family-friendly craft. This Egg Carton Easter Bunny is perfect for kids and beginner crafters — all you need are basic supplies and a little paint. Follow the step-by-step instructions below and use the photos as a visual guide.
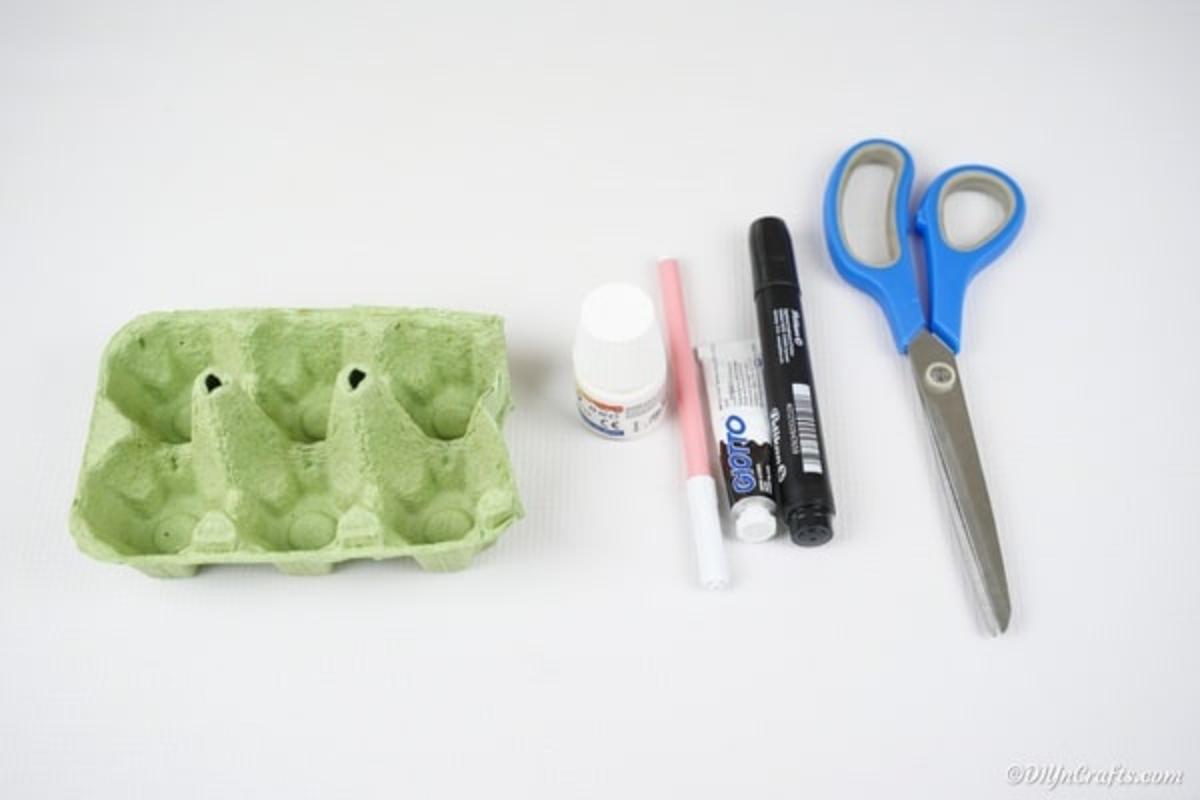
Supplies Needed
- Cardboard egg carton
- Craft paint
- Black paint pen
- Pink paint pen
- Scissors
- Craft glue
- Paintbrush
- Optional: cotton balls, googly eyes for extra decoration
How to Make an Egg Carton Easter Bunny
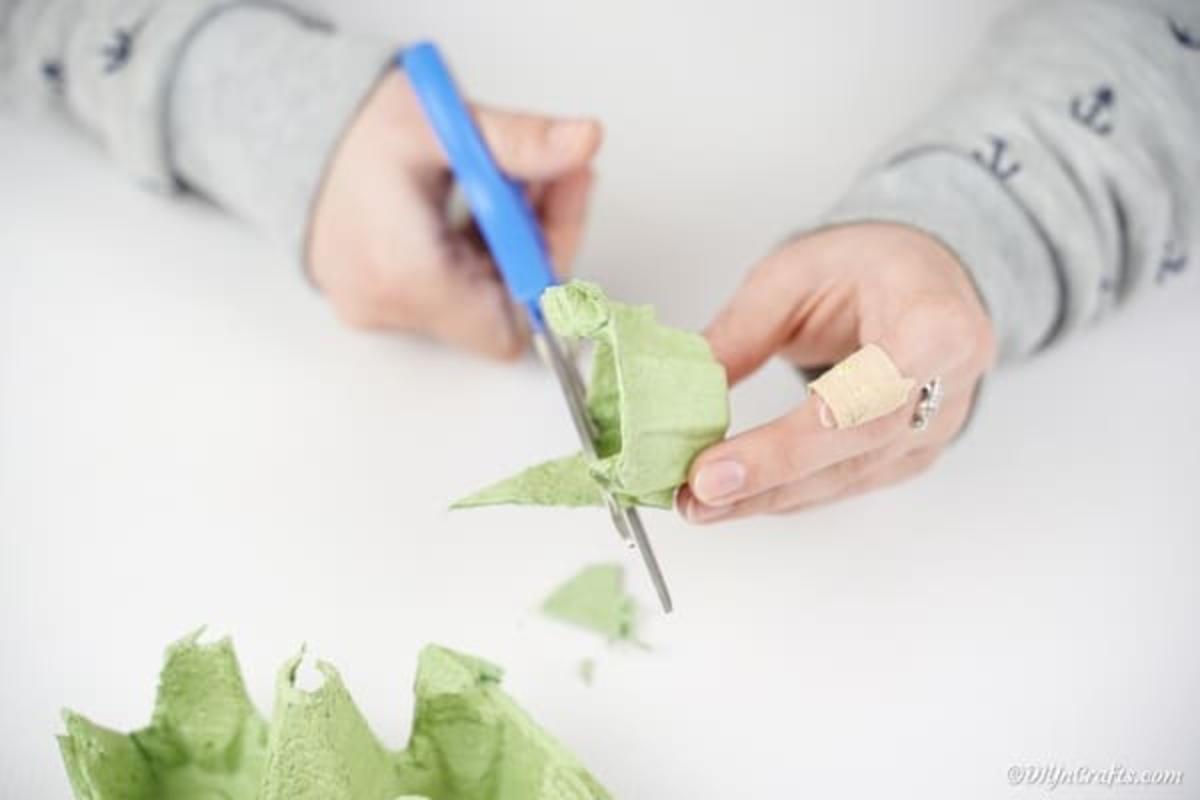
- Cut one cup from the egg carton to form the bunny's head/body. Trim extra edges from the carton; use some of the trimmed pieces to cut and shape the ears.
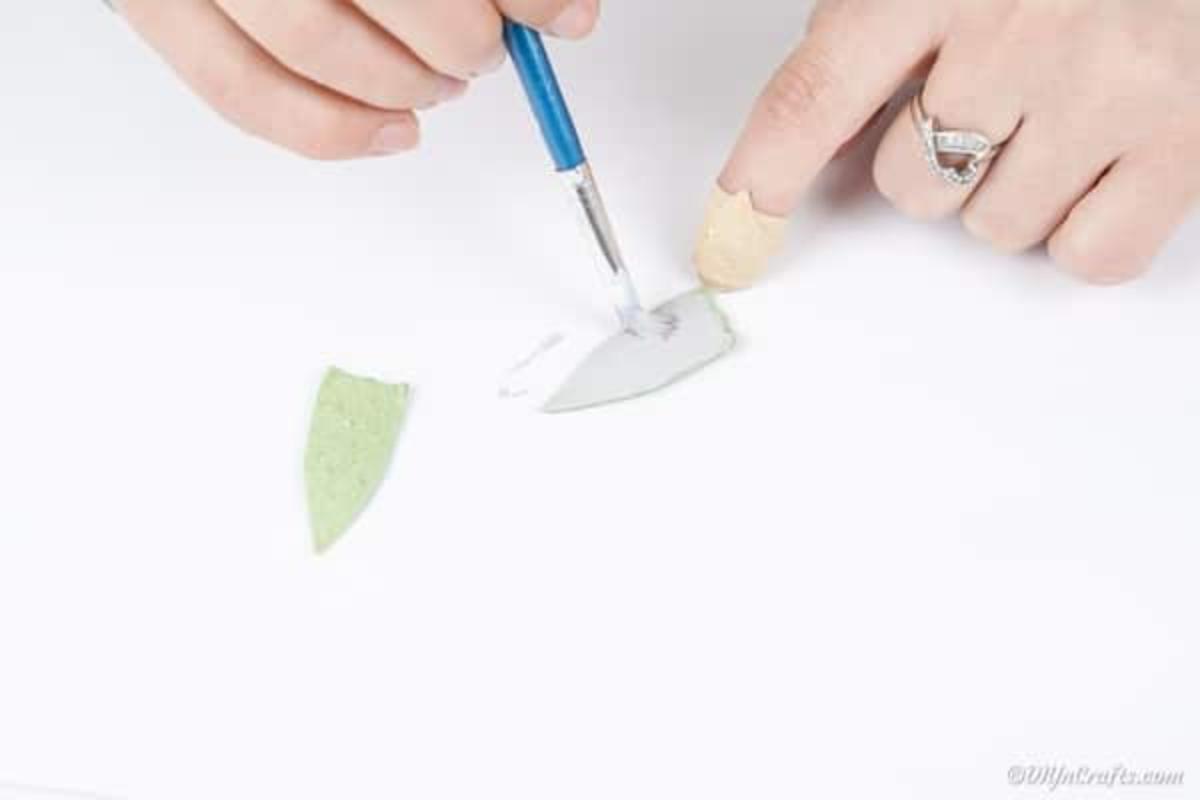
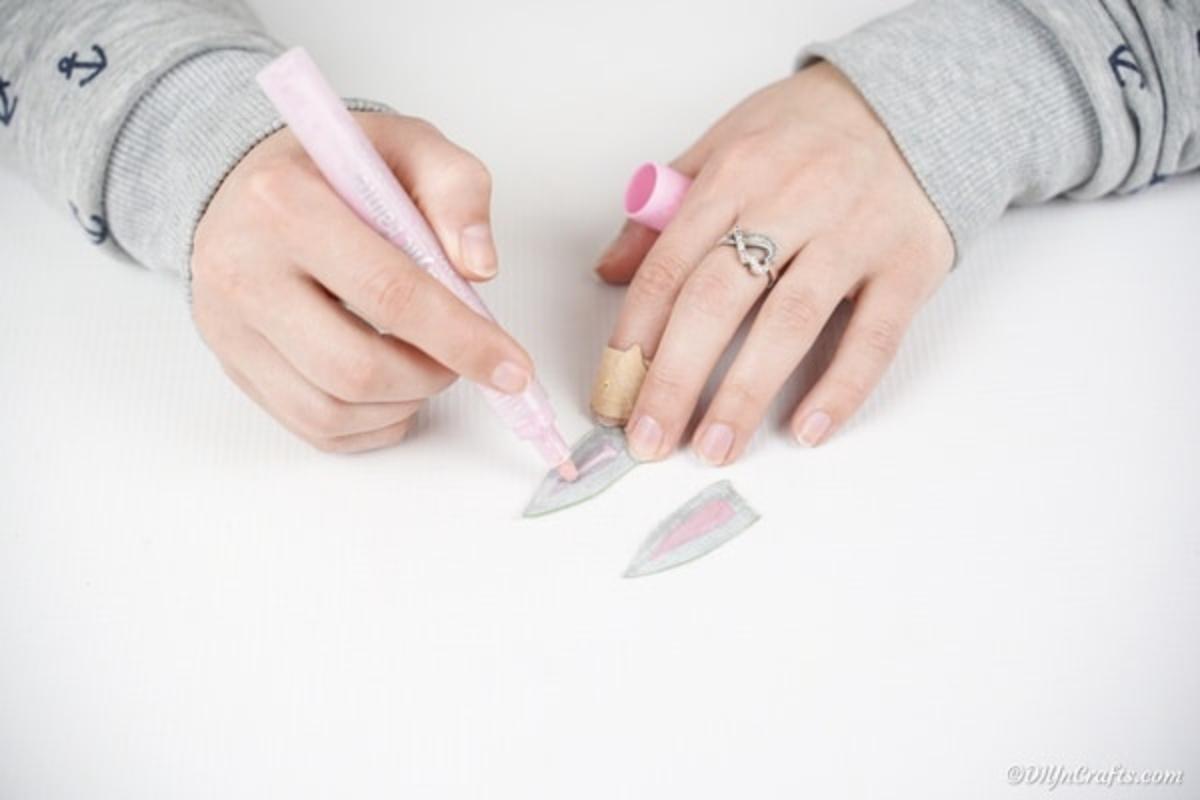
- Paint the ear pieces with your chosen craft paint colors and set them aside to dry.
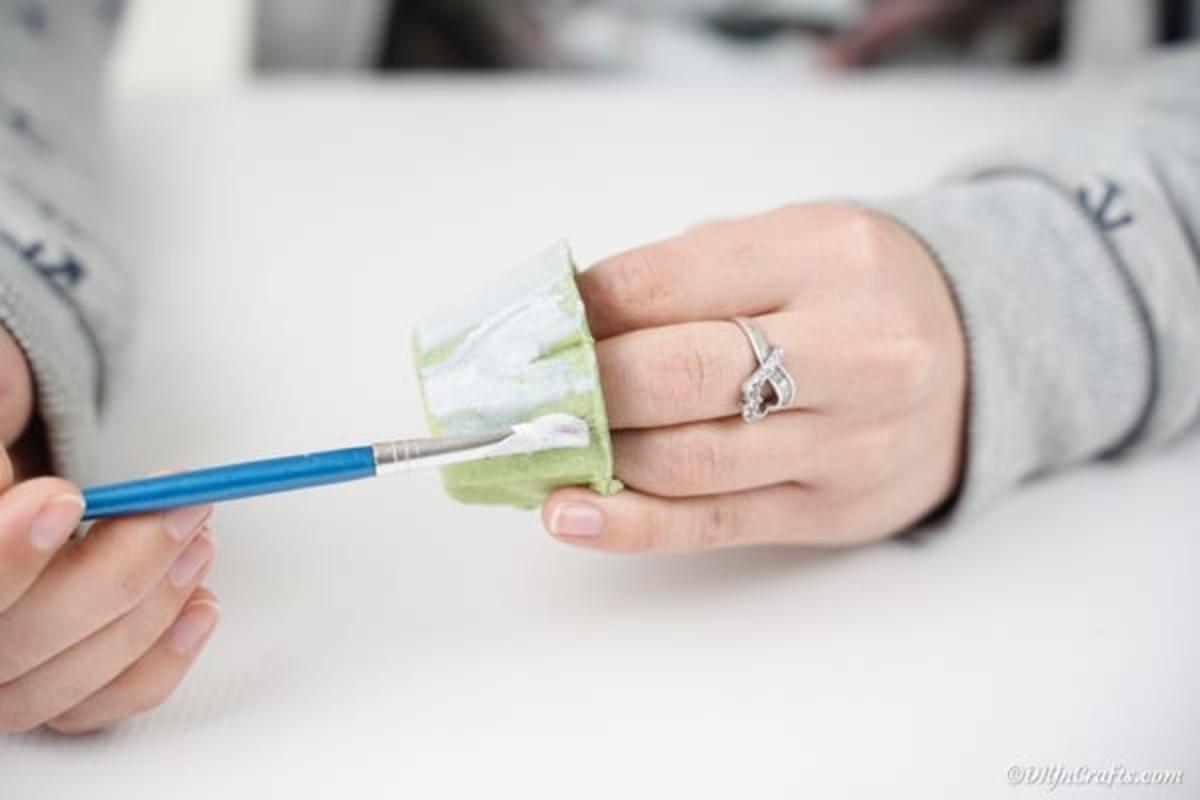
- Paint the outside (and, if you like, the inside) of the egg carton cup on all sides to create the bunny's body. Allow the paint to dry completely before the next step.
- Use a pink paint pen to add inner-ear color or other accents once the base paint is dry.
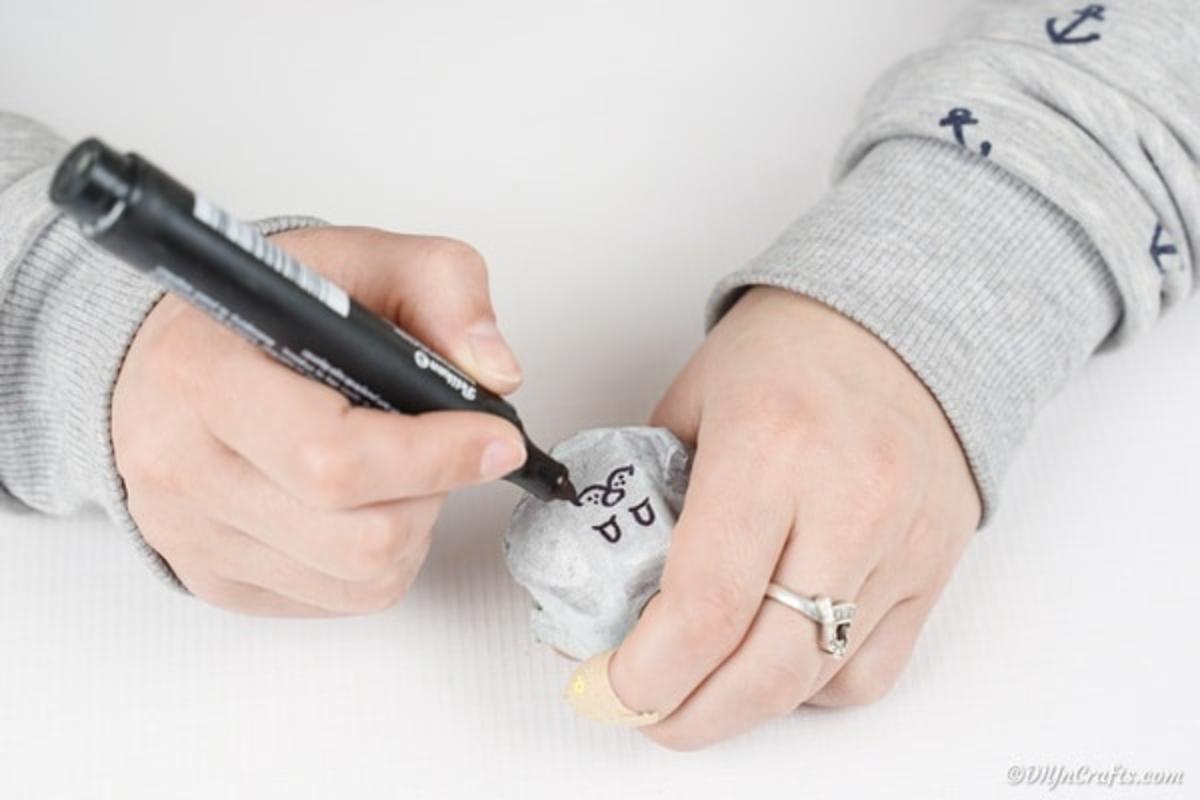
- Use the black and pink paint pens to draw the eyes, nose, and mouth on the bunny. If you prefer, glue on googly eyes and a cotton-ball tail for extra texture.
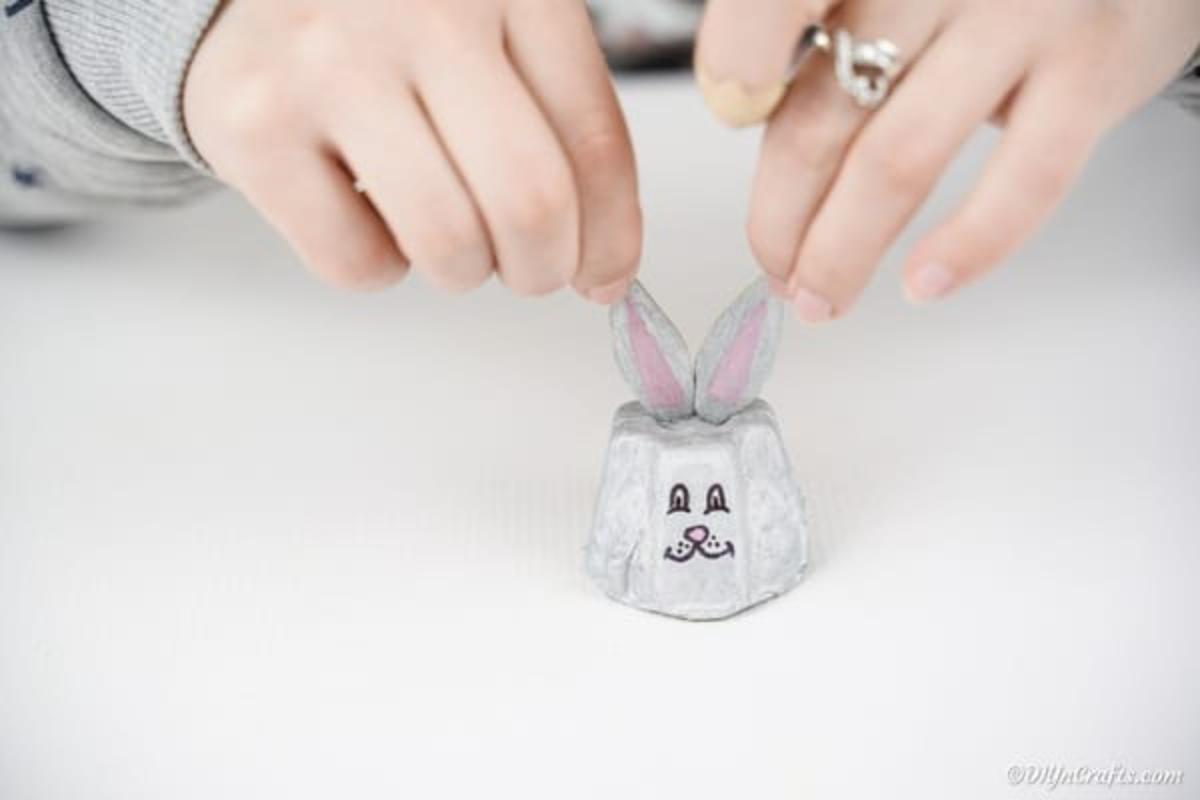
- Glue the ears in place on the top of the painted egg carton cup to complete the bunny shape. Press gently and let the glue set.
- Once everything is dry and secure, add your finished Egg Carton Easter Bunny to your holiday decorations or use it as a small gift or table accent.
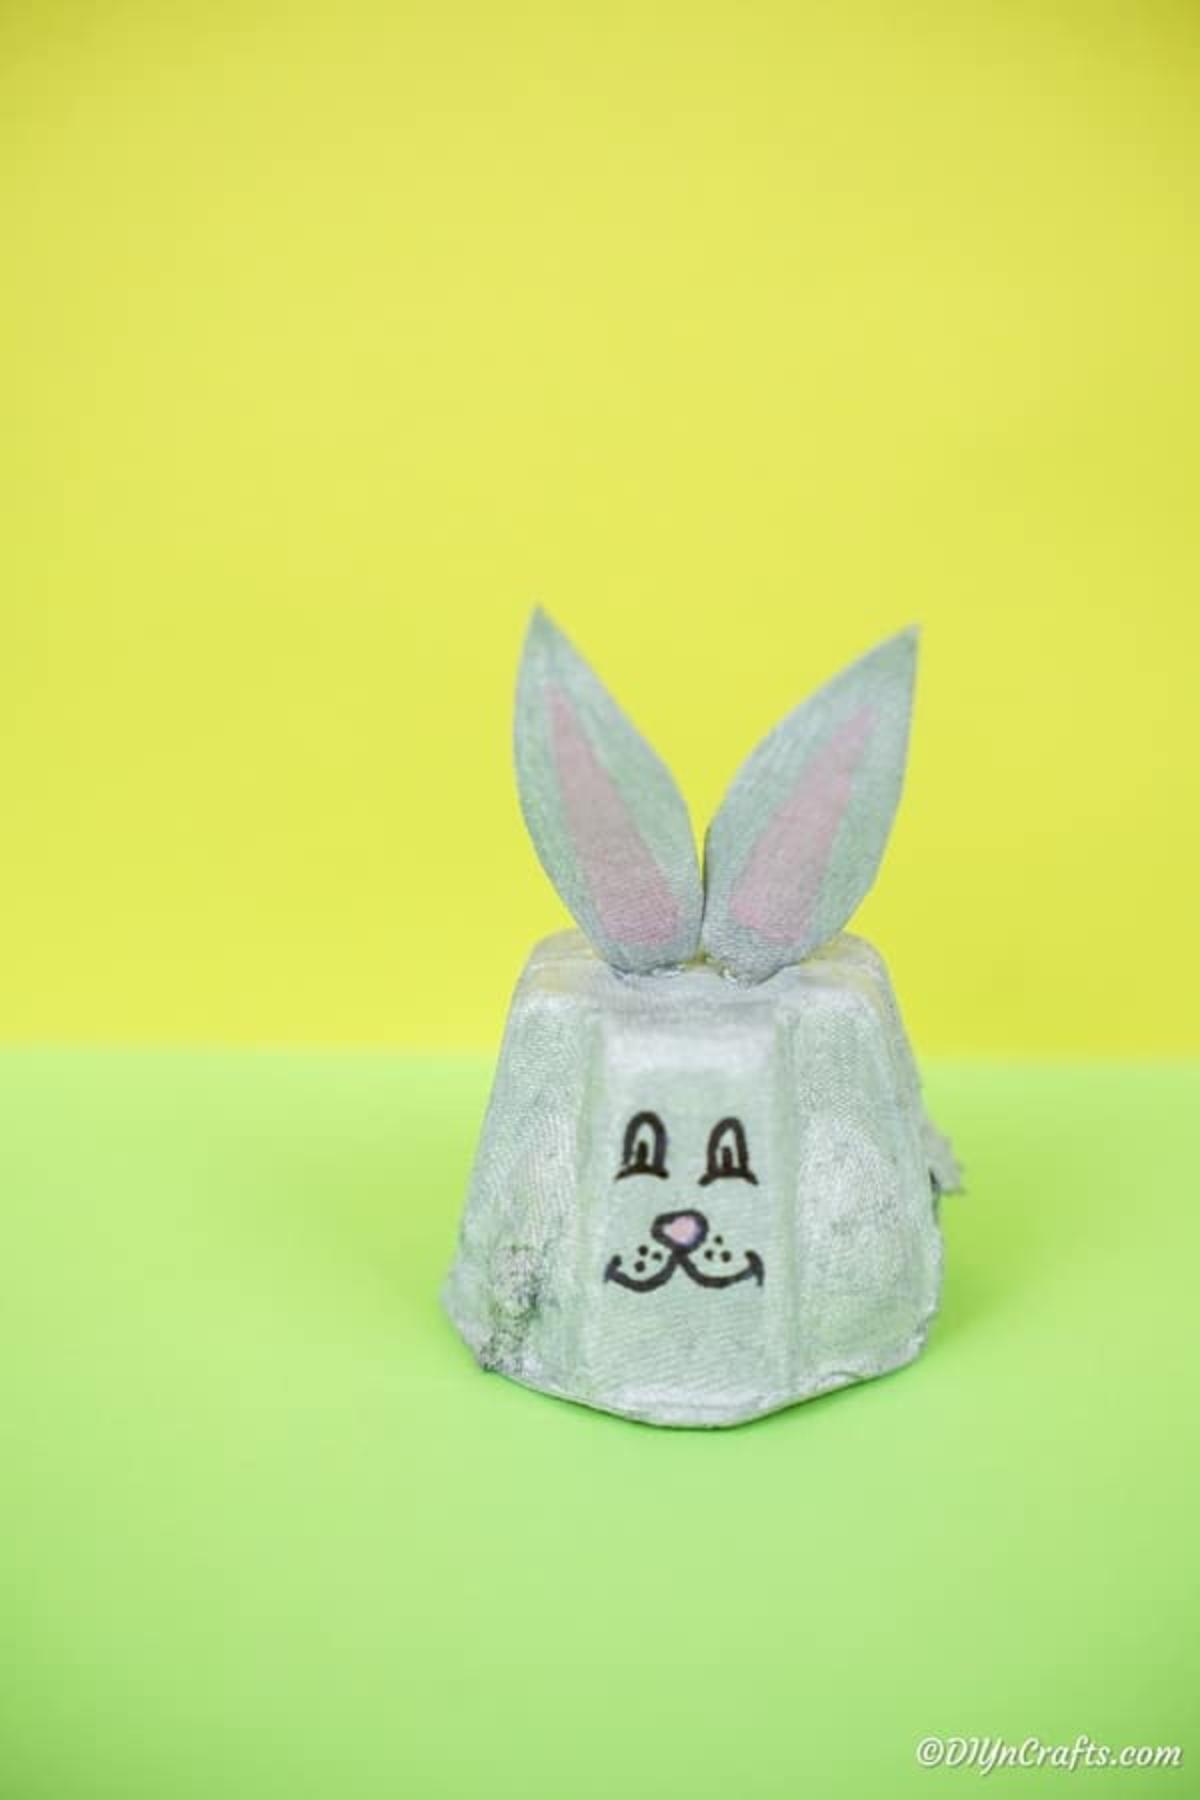
Tip: Let each painted layer dry thoroughly to avoid smudging, and supervise young children when using scissors and glue. Have fun experimenting with different colors and faces to create a whole family of bunny characters!
No comments
Write a comment