Quick & Cute DIY Easter Bunny Egg — Easy Step-by-Step Craft
Make a charming Easter Bunny Egg in minutes with simple craft supplies. This quick, family-friendly project turns ordinary eggs into adorable bunny decorations using food coloring or paint pens, glue and pipe cleaners. It's perfect for Easter baskets, table displays or a kids' craft activity.
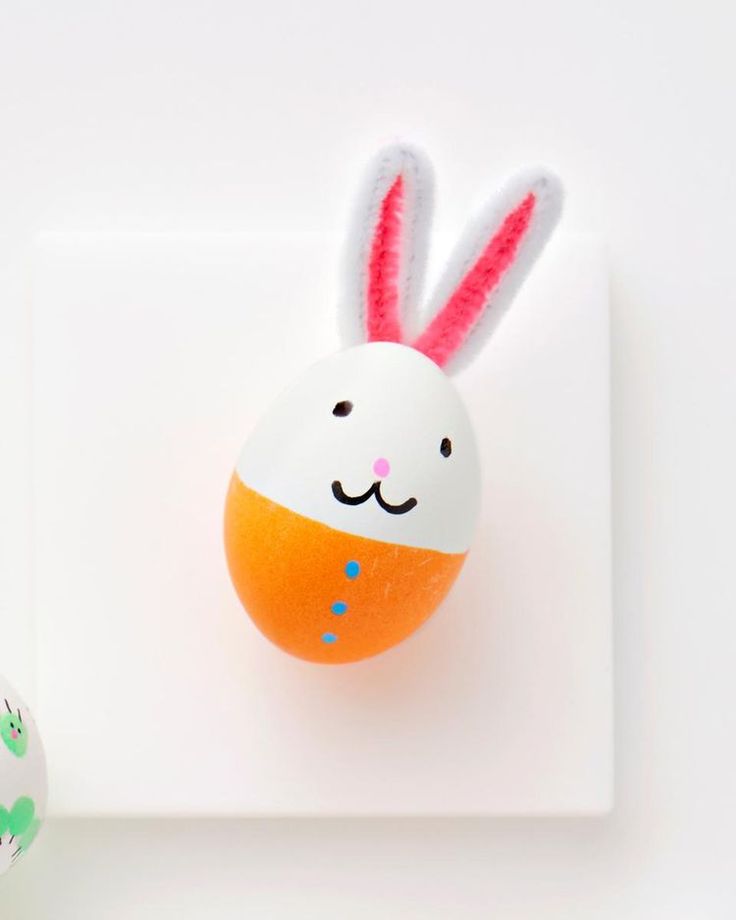
Caption: A cheerful DIY Easter Bunny Egg decorated with pipe-cleaner ears and painted face.
Materials needed: eggs (hard‑boiled, blown or plastic craft eggs), food coloring or paint pens in bright colors, glue, and pipe cleaners.
To make your bunny egg, follow these simple steps:
- Color the egg: Dip half of the egg into dye or use a paint pen to color the bottom half. Let the dye or paint dry completely before moving on.
- Add ears: Shape two pipe cleaners into ear shapes and glue them to the top of the egg on the white (undecorated) half. Hold in place until the glue sets.
- Draw the face: Use paint pens to add eyes, a nose and whiskers on the white half. Add small dots or painted buttons on the colored bottom half for extra detail.
Quick tips: If you're working with children, use plastic craft eggs or make sure real eggs are hard‑boiled or properly blown out. Allow glue and paint to dry fully before handling. For a glossy finish, consider a clear craft sealant if using non-edible eggs.
Display ideas: Arrange your bunny eggs in a basket with shredded paper, use egg cups to showcase them on the table, or attach small name tags for a playful place setting.