DIY Cute Button Bracelet: Easy Step-by-Step Tutorial
Create a charming, customizable bracelet using buttons and a narrow ribbon. This quick DIY project is perfect for beginners and makes a lovely handmade accessory or gift — simply choose buttons in colors and styles you love and thread them onto ribbon for an instant, playful bracelet.
Below is a simple step-by-step guide with photos to help you make your own cute button bracelet.
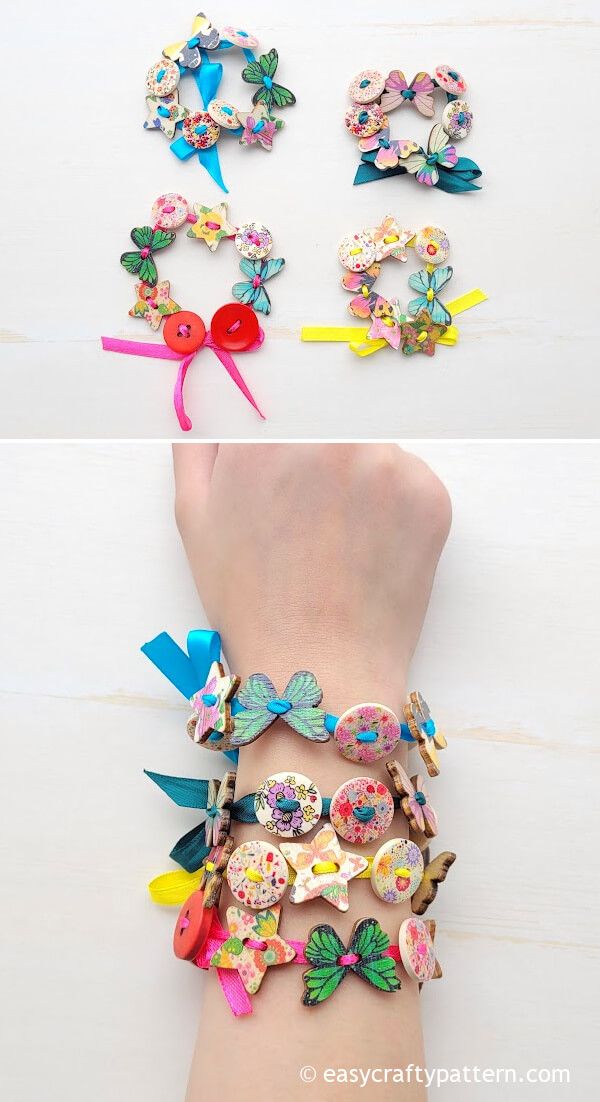
Supplies to Make the Bracelet
Use colorful mismatched buttons or buttons of the same color for a monochrome look. The original project used a mix of plastic and painted wooden buttons.
Choose a thin, narrow ribbon so it will pass easily through button holes. Wrapping one ribbon end with transparent tape or trimming it to a point will make threading simpler. Sealing the cut edge with a lighter prevents fraying.
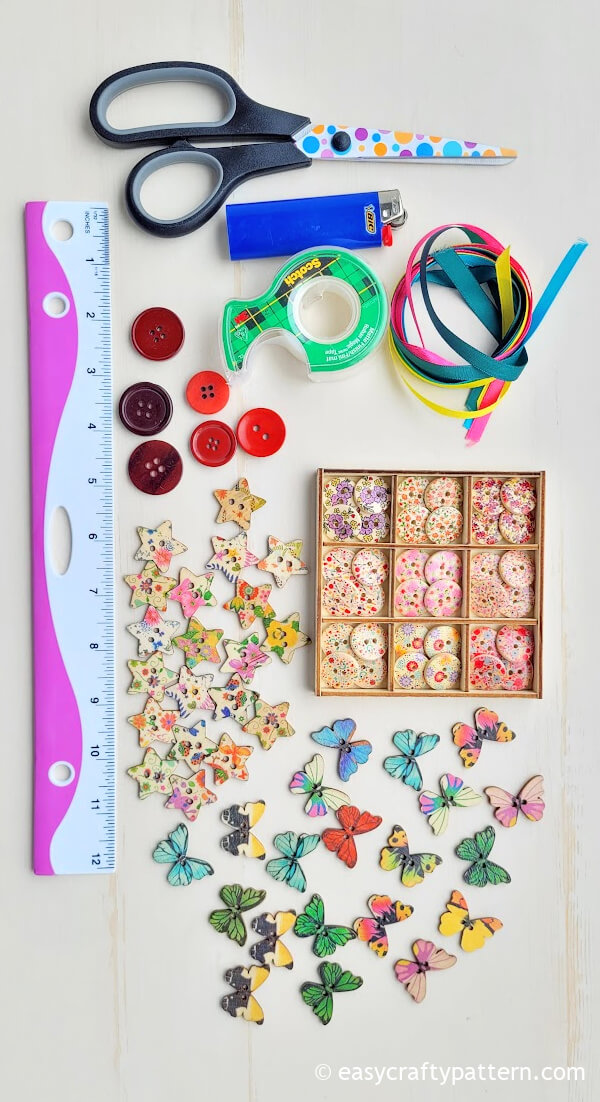
- Thin narrow ribbon
- 6 to 8 buttons (or as many as you like)
- Lighter (to seal ribbon ends)
- Transparent tape
Button Bracelet Tutorial
1. Prepare the ribbon: Seal the raw edge of the ribbon with a lighter to prevent fraying and make threading easier.
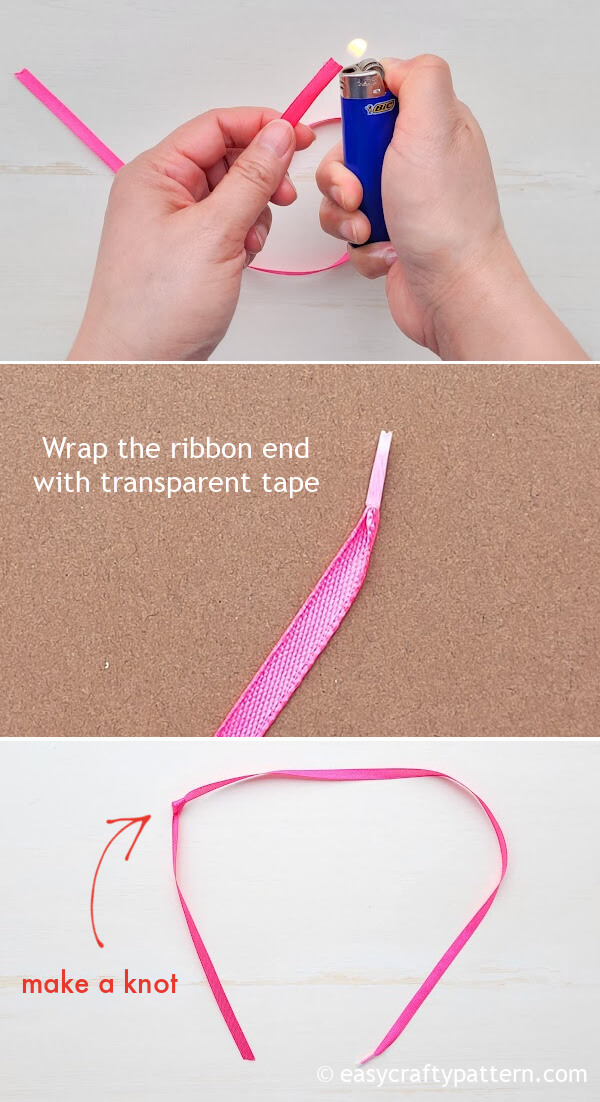
2. Make a threading tip: Roll one ribbon end into a tiny point and wrap it with transparent tape to form a stiff tip for easier threading. Measure the ribbon by wrapping it around your wrist, then add about 12" for tying. Knot the ribbon on one end around the 6" mark so buttons won't slide off.
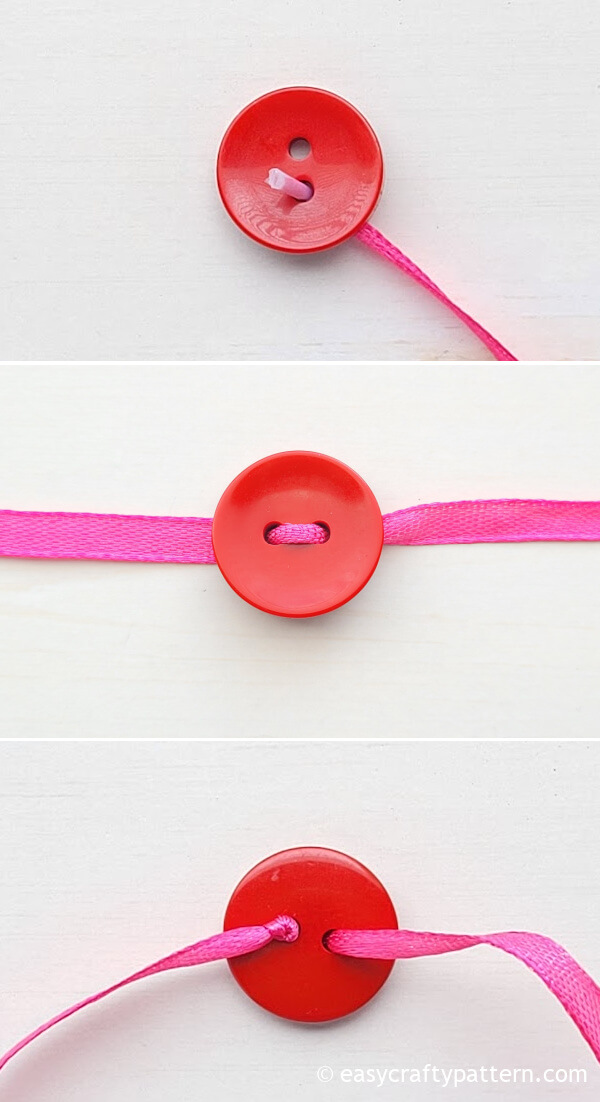
3. Thread buttons: Slide the first button onto the ribbon through its holes.
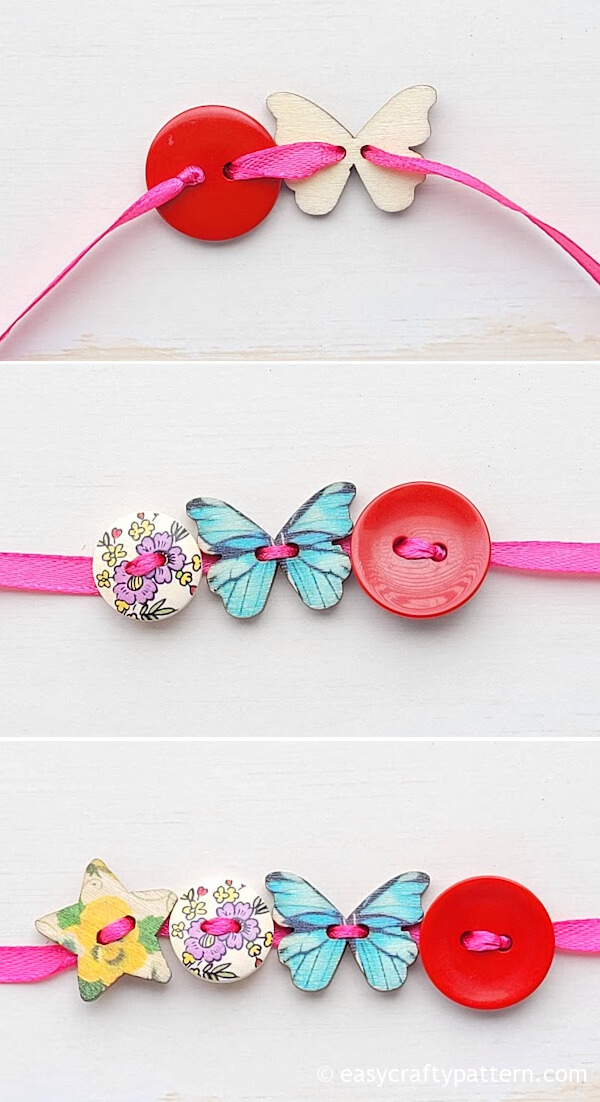
4. Continue adding buttons until you reach the desired look and length.
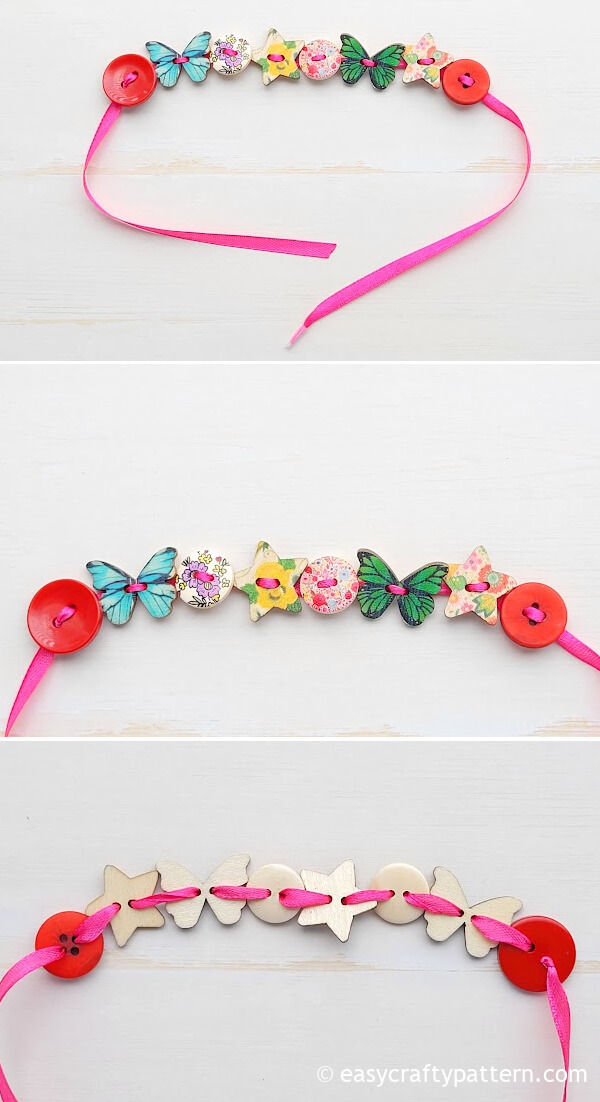
5. Fit and adjust: Put the bracelet on your wrist to measure and determine if you need to remove or add buttons for the correct fit.
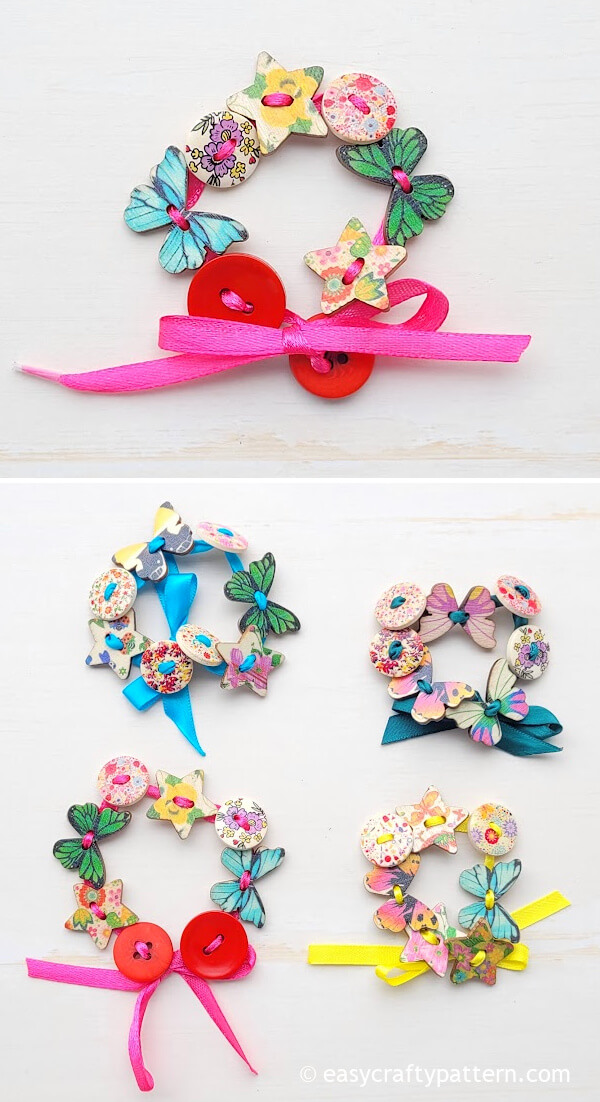
Wrap the bracelet around your wrist and tie a bow with the extra ribbon on both ends. Trim any excess ribbon if needed.
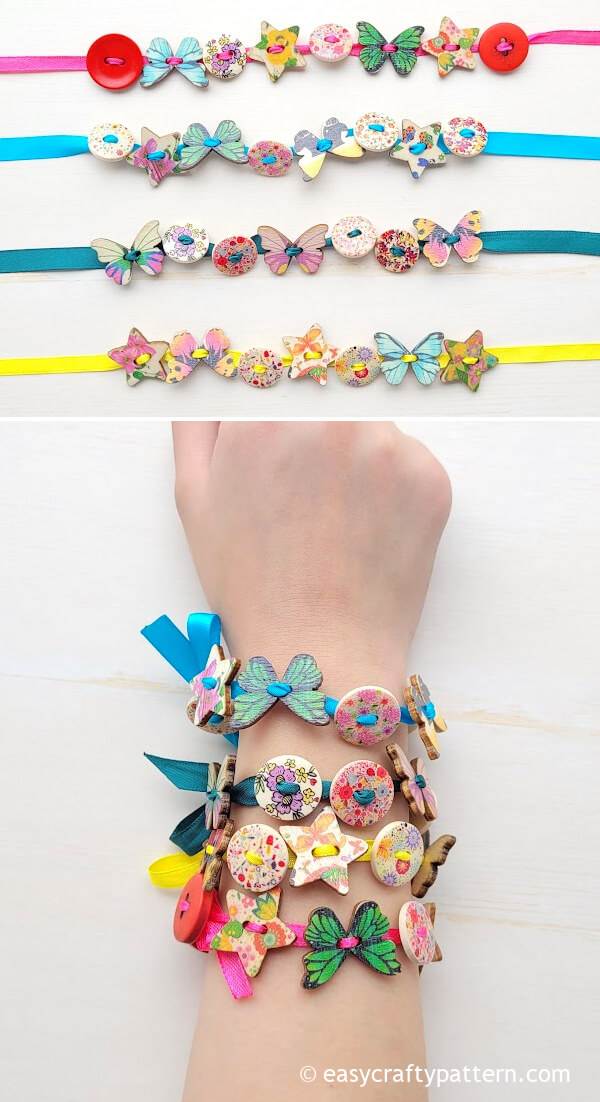
6. Final touches: Slide buttons along the ribbon to change spacing. Optionally add small charms (bells, shells, clay charms, or beads) between buttons for more personality.
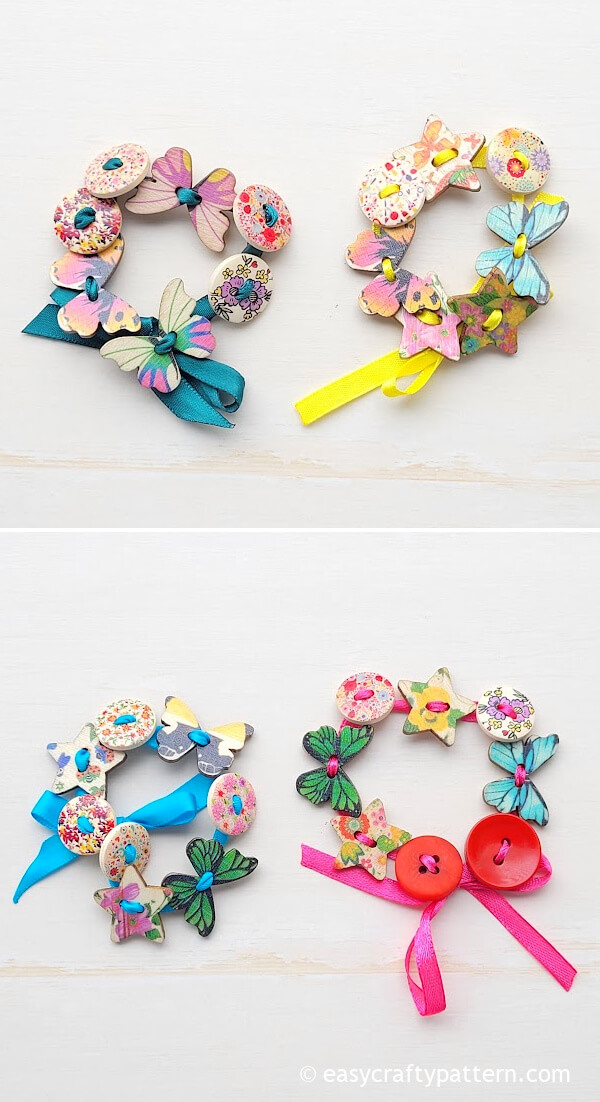
Enjoy your new handmade bracelet — it's simple, fast, and fully customizable to match any outfit or mood.