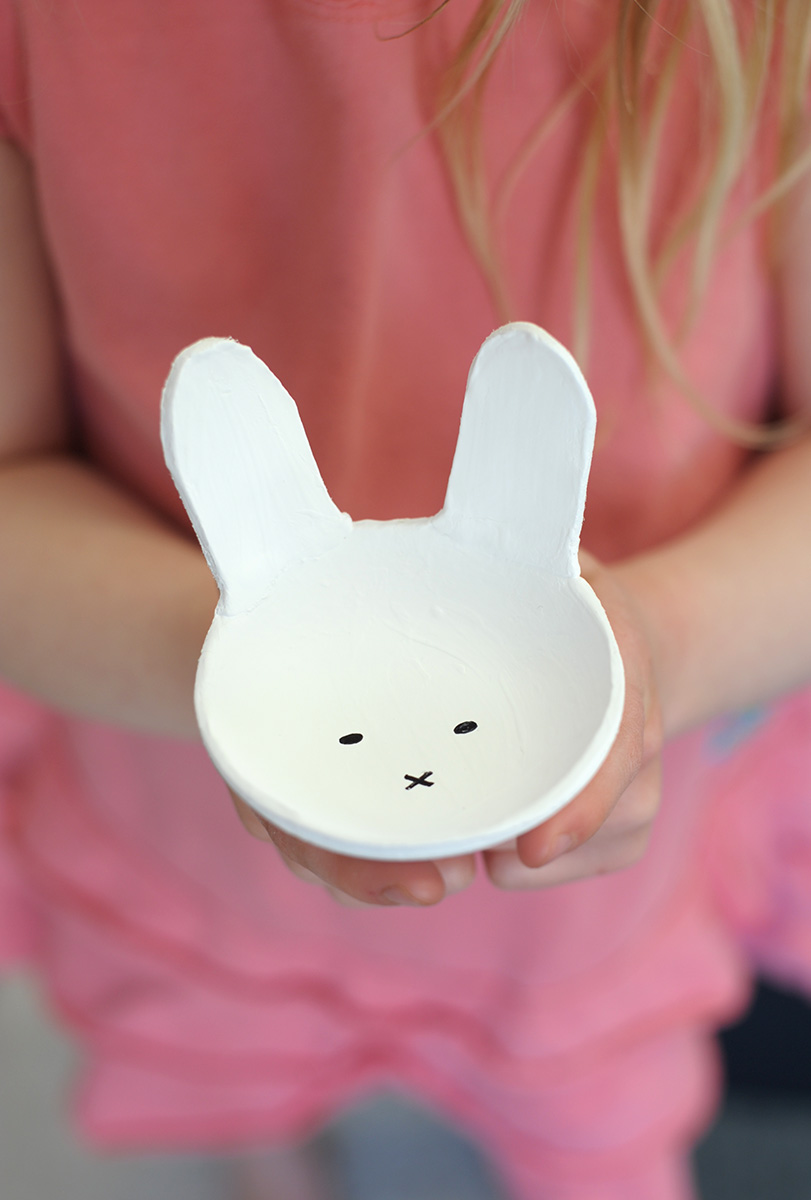
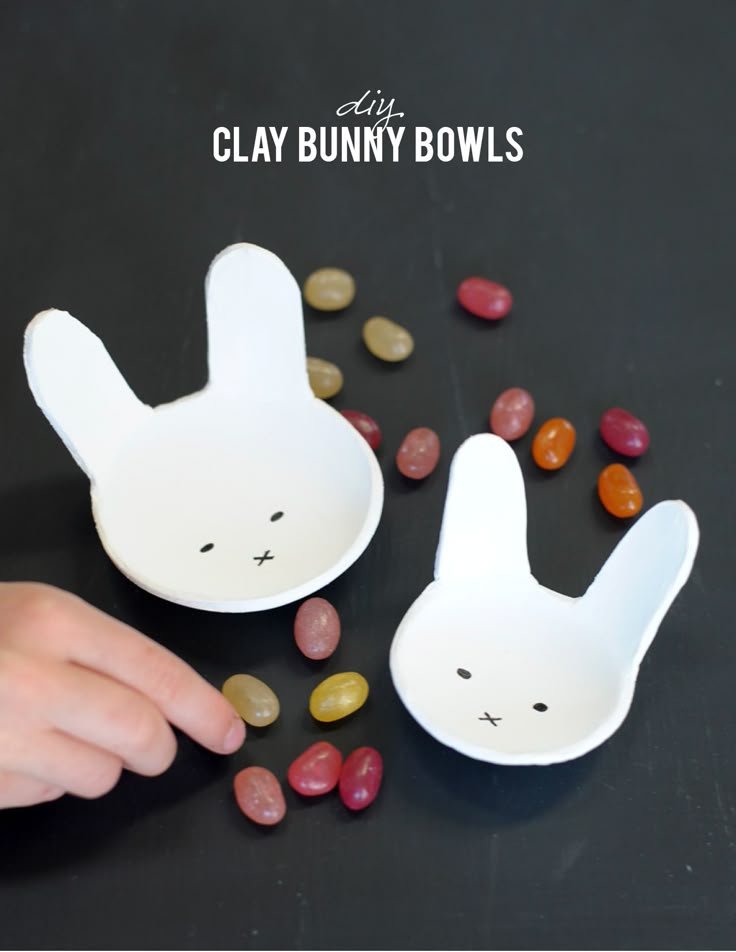
Adorable DIY Clay Bunny Bowls — Easy Step-by-Step Tutorial
Make a sweet, handmade accent for your dresser or a thoughtful gift with these adorable DIY Clay Bunny Bowls. This simple project uses air-dry clay and common craft supplies to create small bowls with bunny ears — perfect for holding rings, paperclips, or other tiny treasures. Follow the step-by-step instructions below and personalize the paint and faces to match your style.
These bowls are quick to shape and dry overnight, and they’re great for crafters of all skill levels.
Supplies:
- Air Dry Clay
- Acrylic craft paint – white (or color of your choice)
- Rolling pin
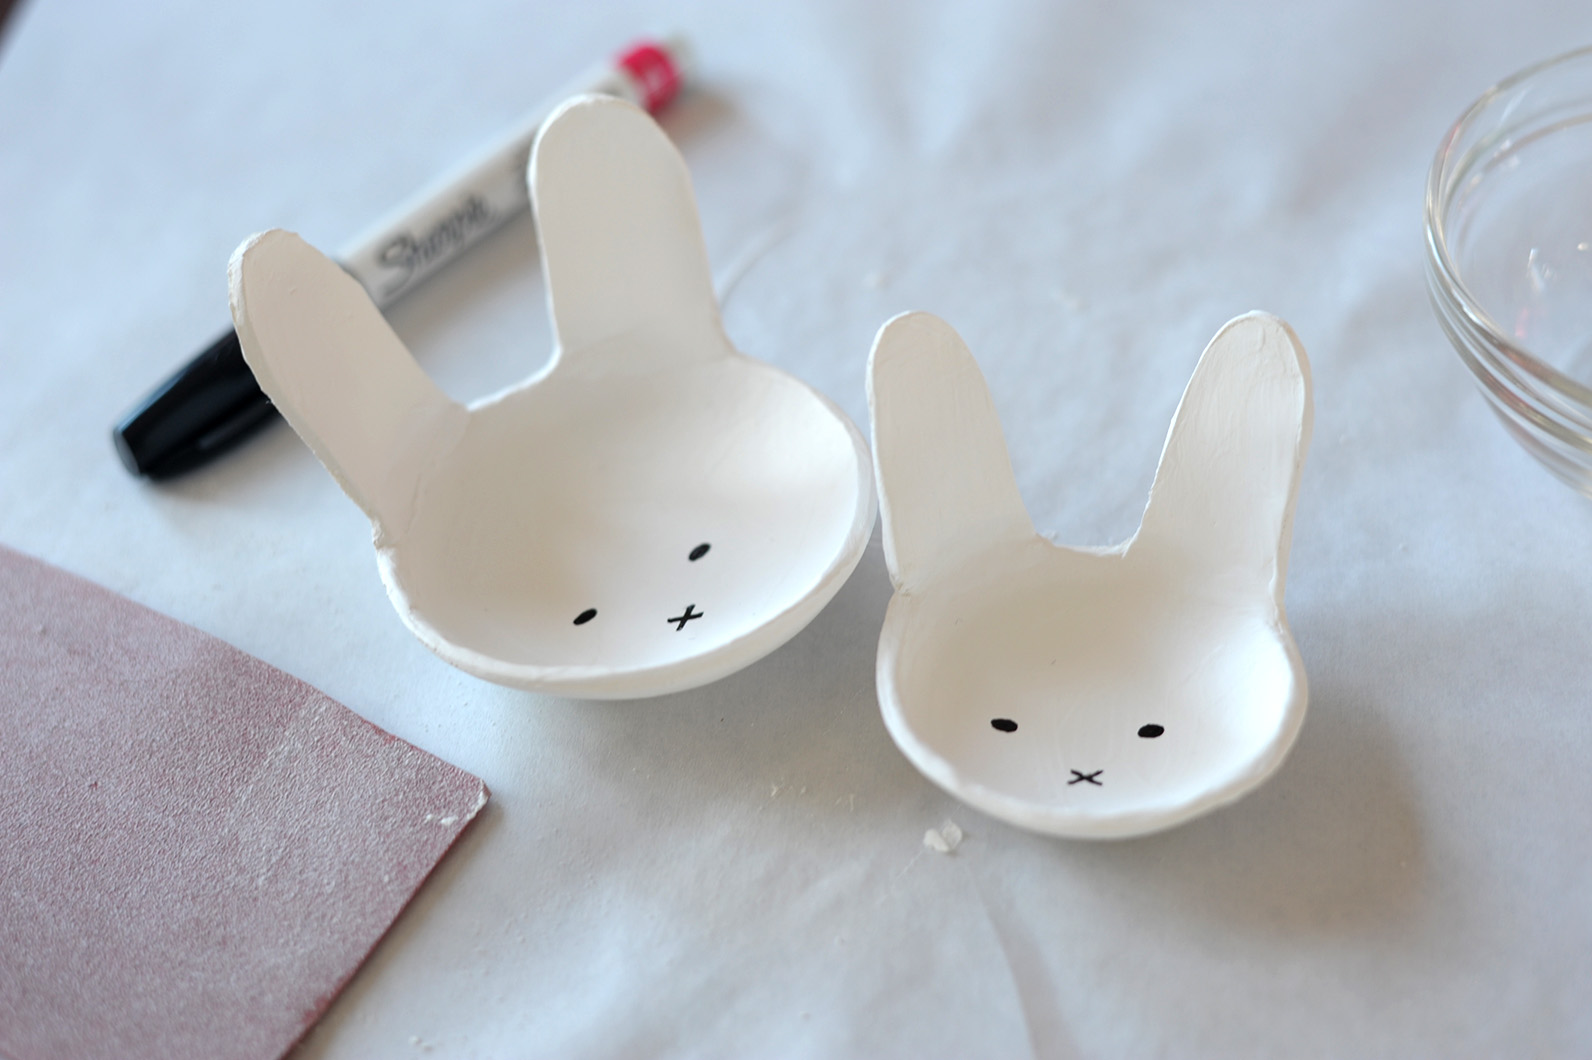
- Sharpie Oil-Based Paint Marker
- Glass bowls
- Sandpaper
- Paintbrush
How to make DIY Clay Bunny Bowls
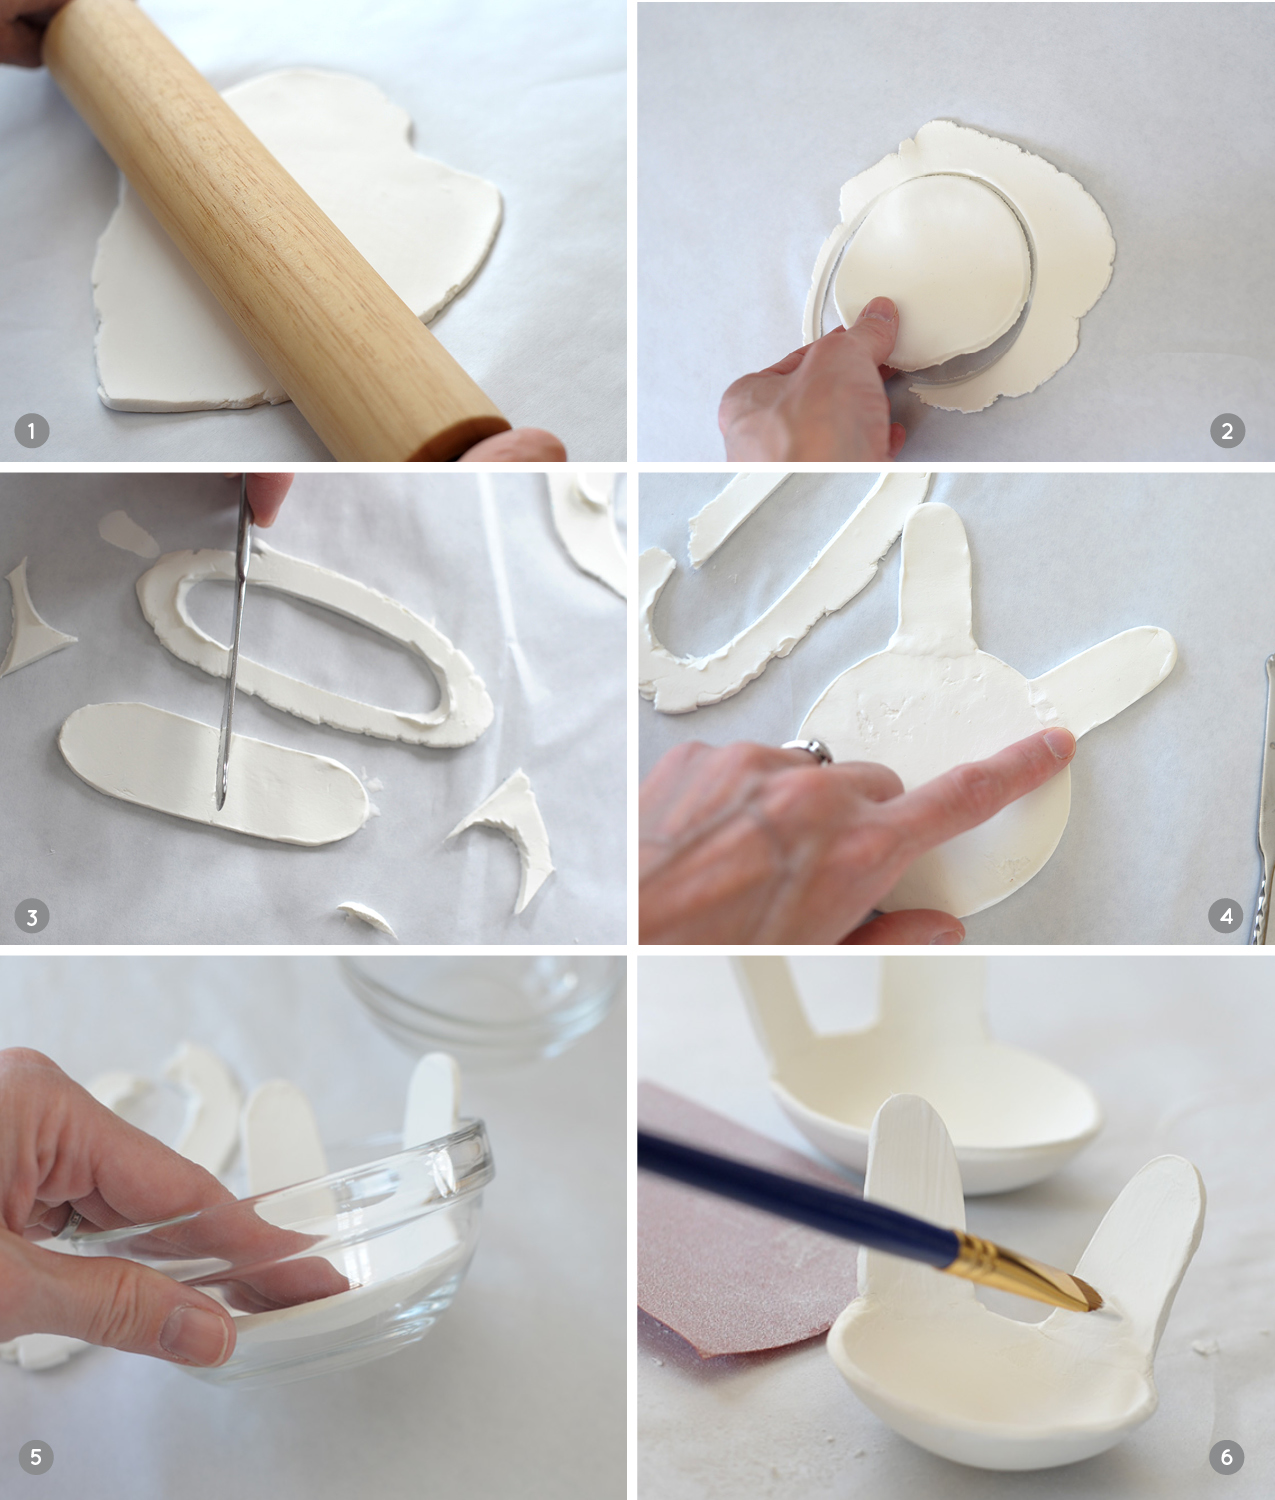
1. Roll out a piece of air-dry clay on a smooth surface (parchment paper works well). Aim for a thickness of about 1/4 inch.
2. Place a glass bowl top-side down on the rolled clay and cut around the edge with a knife. Carefully lift the cut clay circle off the parchment paper.
3. From the remaining rolled clay, cut a long oval shape and then cut it in half to form two bunny ears.
4. Position the ears on the backside edge of the clay circle and gently press to blend the seams so the ears look smooth and secure.
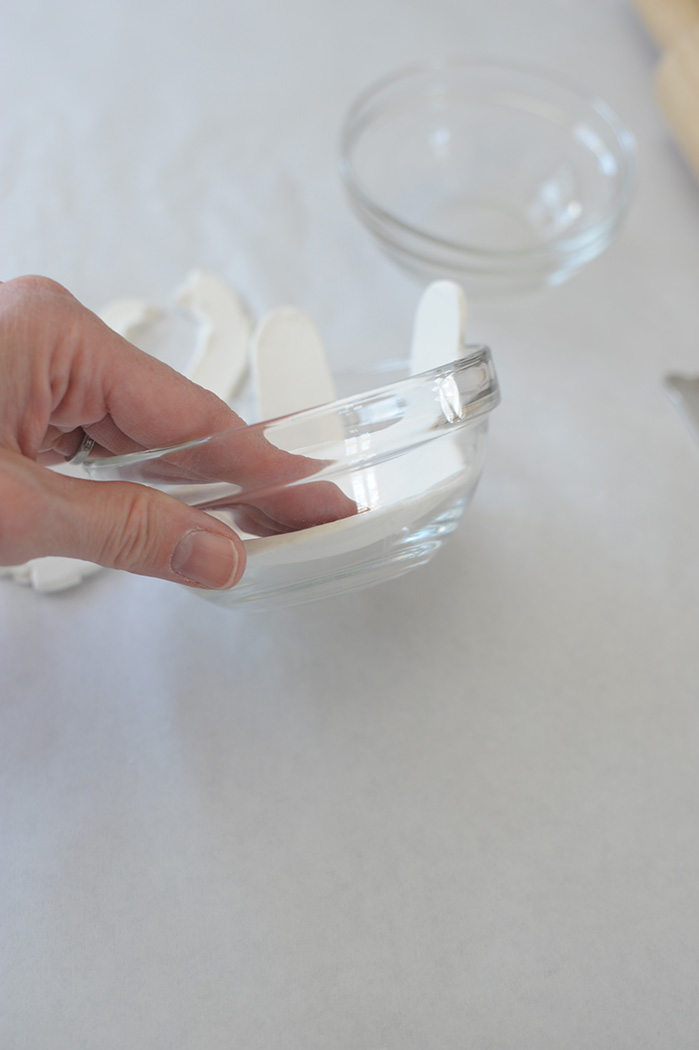
5. Press the clay circle (with ears attached) into the glass bowl until it touches the bottom and sides, smoothing any rough edges with your finger. Allow the clay to dry overnight or up to a full day until completely hardened. Once dry, pop the clay form out of the glass bowl and sand the edges to refine the shape.
6. Paint the bowls as desired with acrylic craft paint. Painting white can help hide seams from the ears; use a Sharpie oil-based paint marker to draw simple eyes and a nose for a sweet bunny face.