Make an Adorable DIY Fleece Bunny — Easy Step-by-Step Sewing Tutorial
Create a soft, cuddly fleece bunny with just a small piece of fleece, simple sewing, and a few basic supplies. This quick project is great for beginners and makes a lovely handmade gift or seasonal decoration. Follow the step-by-step directions below and use the photos to guide you through cutting, sewing, stuffing, and shaping the ears and head.
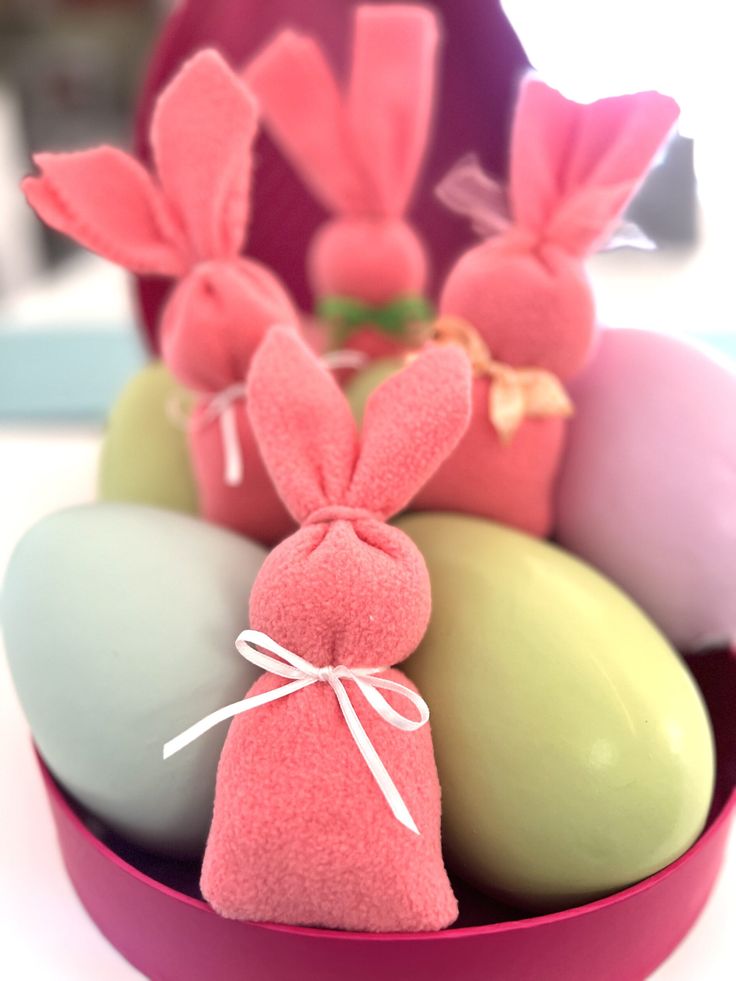
How to Make a Fleece Bunny
Supplies
- Polar fleece (one 6 × 8″ piece for each bunny)
- Thread
- Rubber band
- Ribbon, yarn or twine
- Polyfill, cotton stuffing or fleece scraps
- Scissors
- Sewing machine (or hand-sew if preferred)
- Pinking shears (optional, for decorative edges)
Directions
Step 1 — Cut the fabric
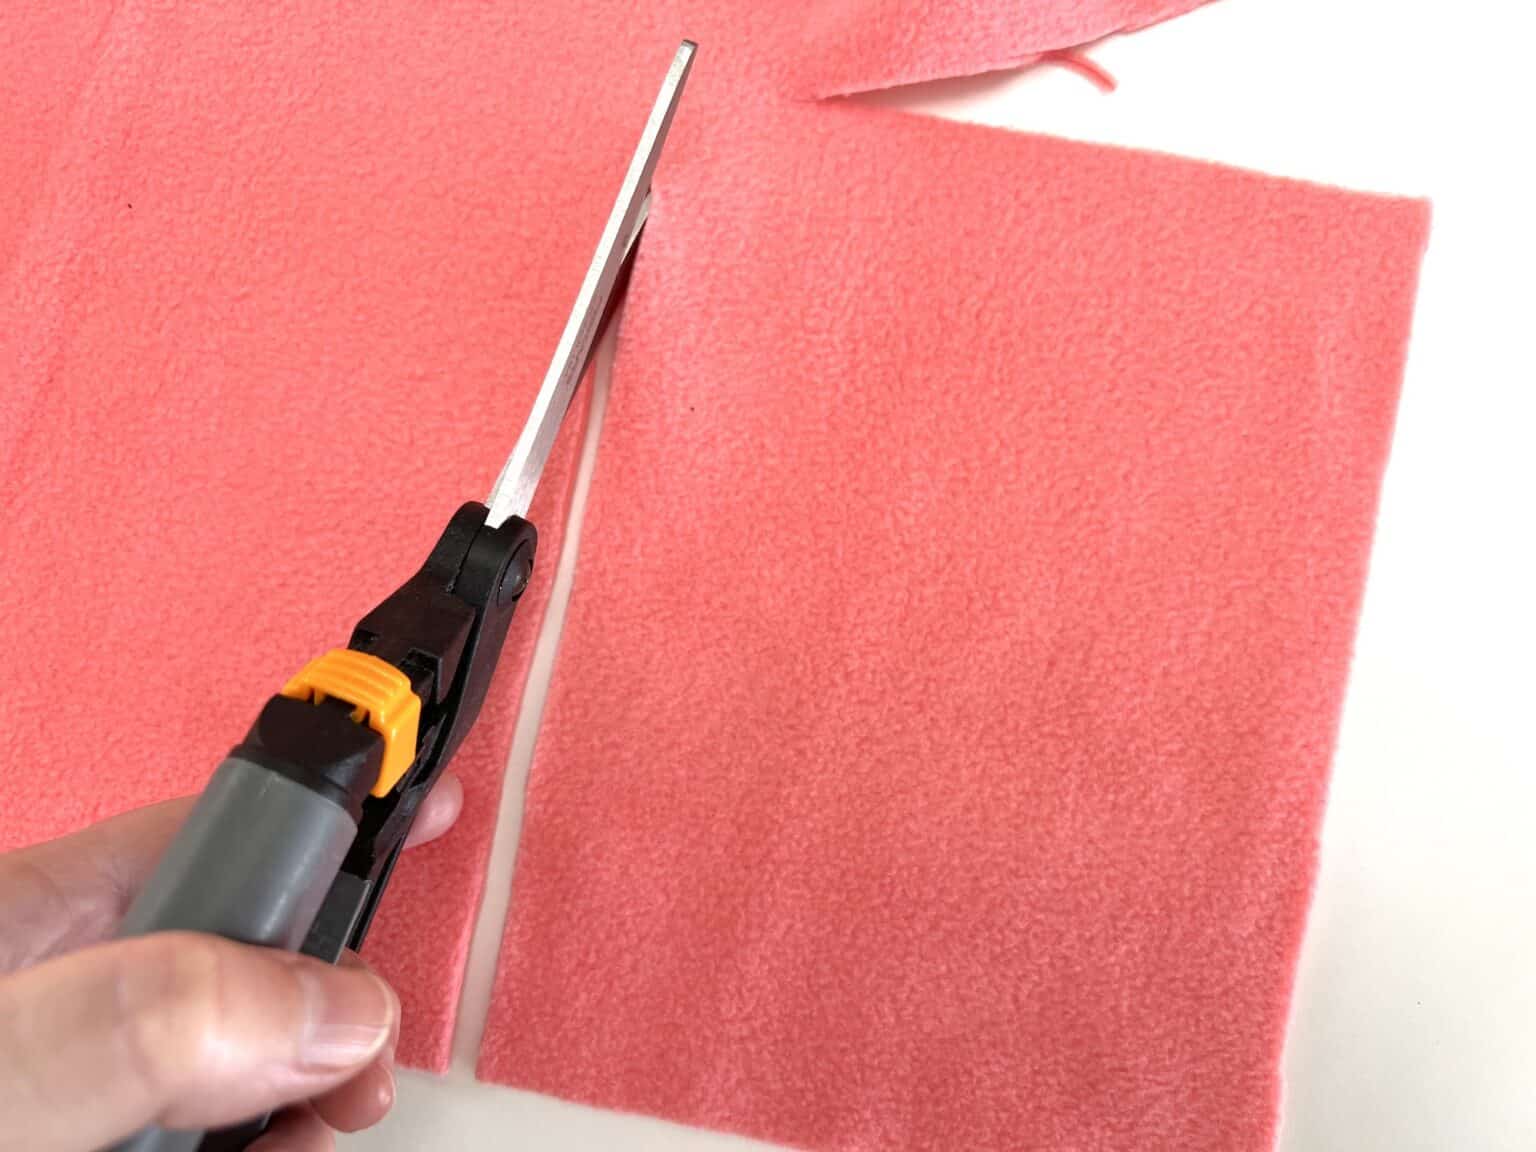
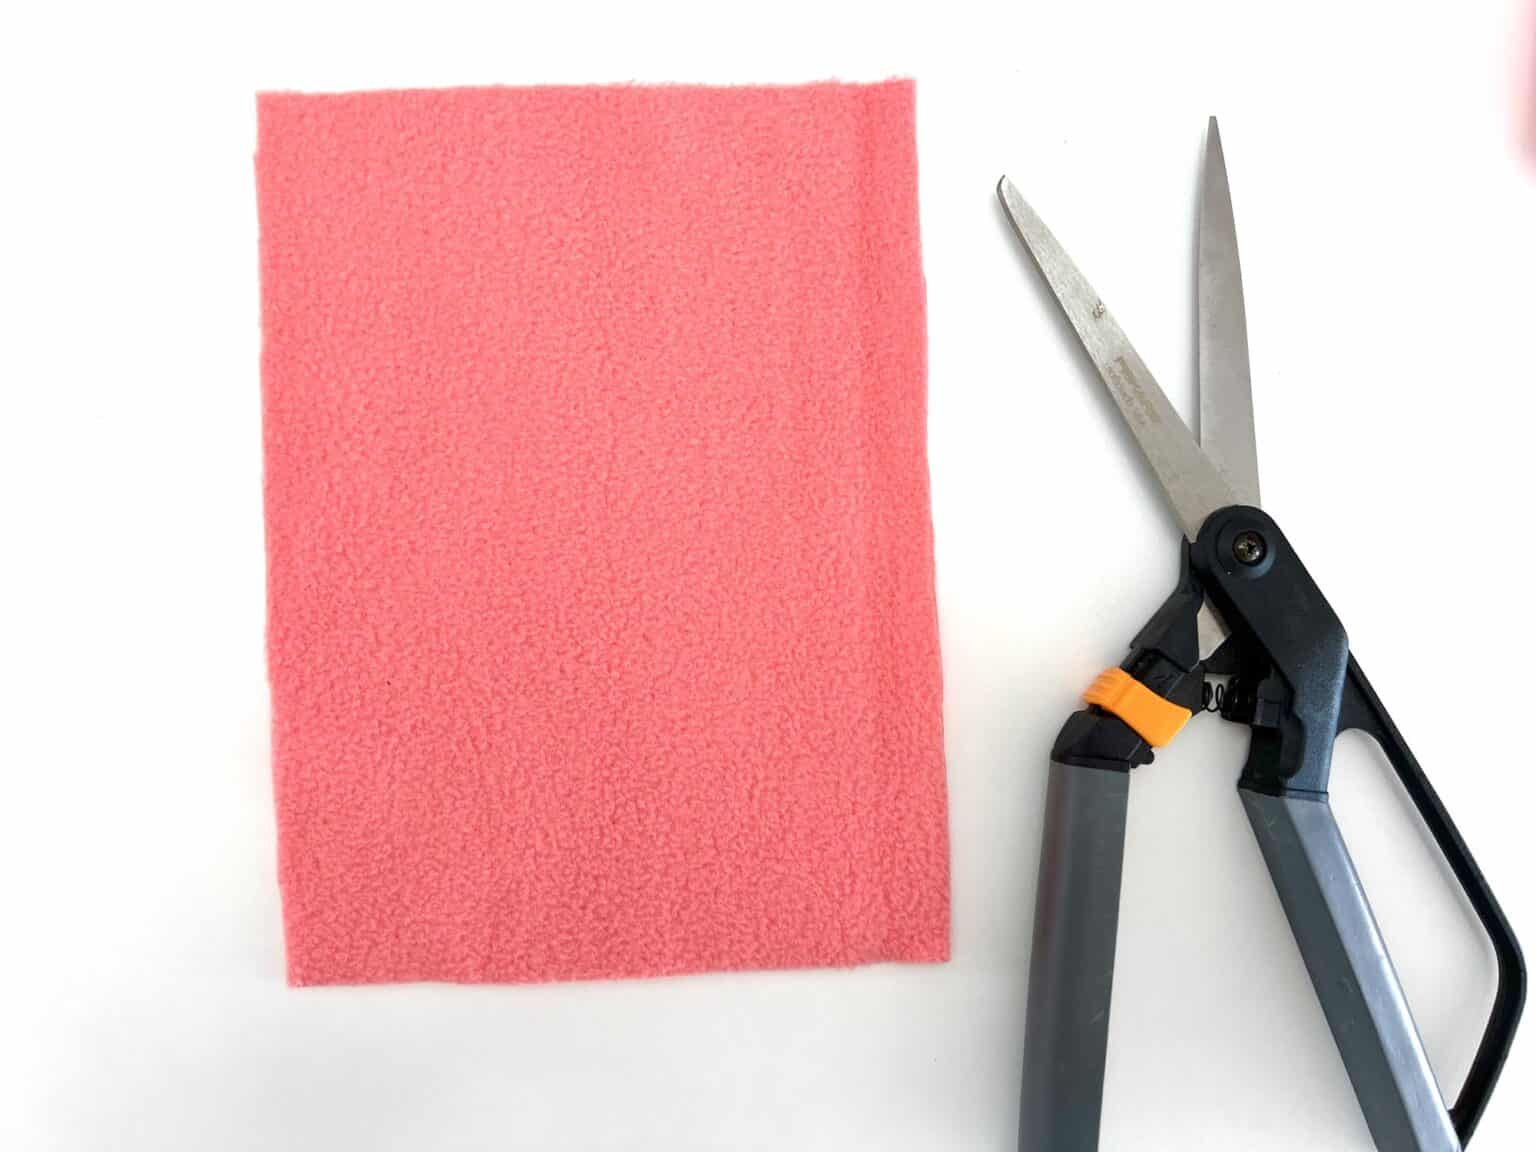
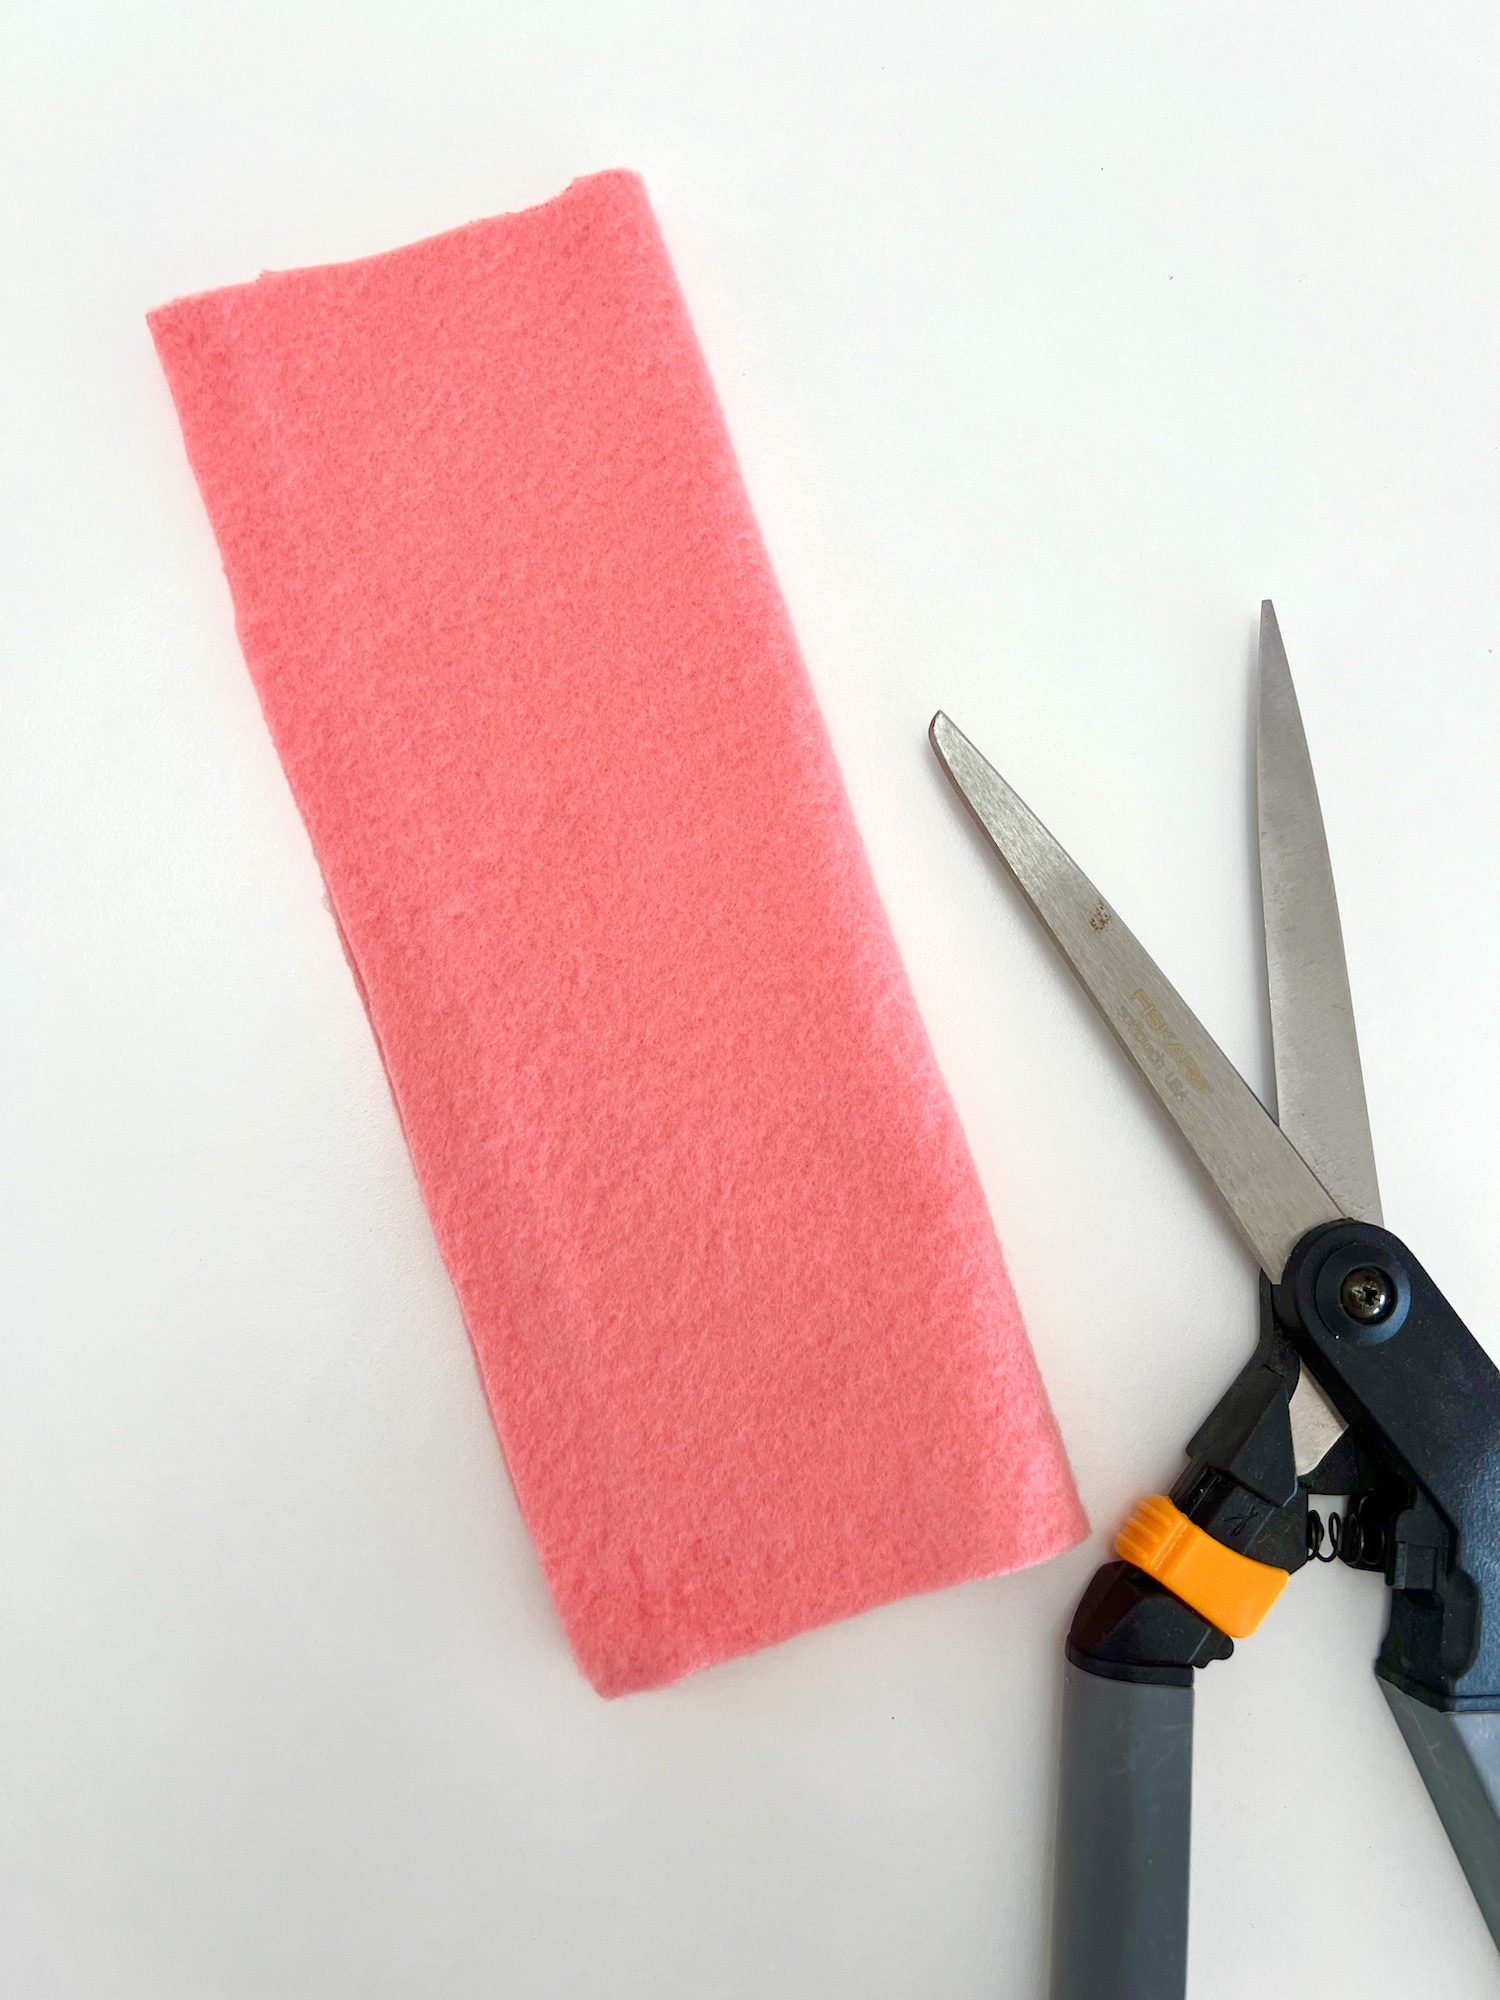
Cut a piece of fleece 6 inches wide by 8 inches tall. Fold the rectangle in half along the long side with right sides together so the fabric measures 6 × 4 inches when folded.
Step 2 — Sew the seams
Sew a straight stitch up the long side that is not folded, and across one short side, using a 1/4-inch seam allowance. When you reach a corner, insert the needle, lift the presser foot, rotate the fabric 90 degrees, lower the foot and continue sewing.
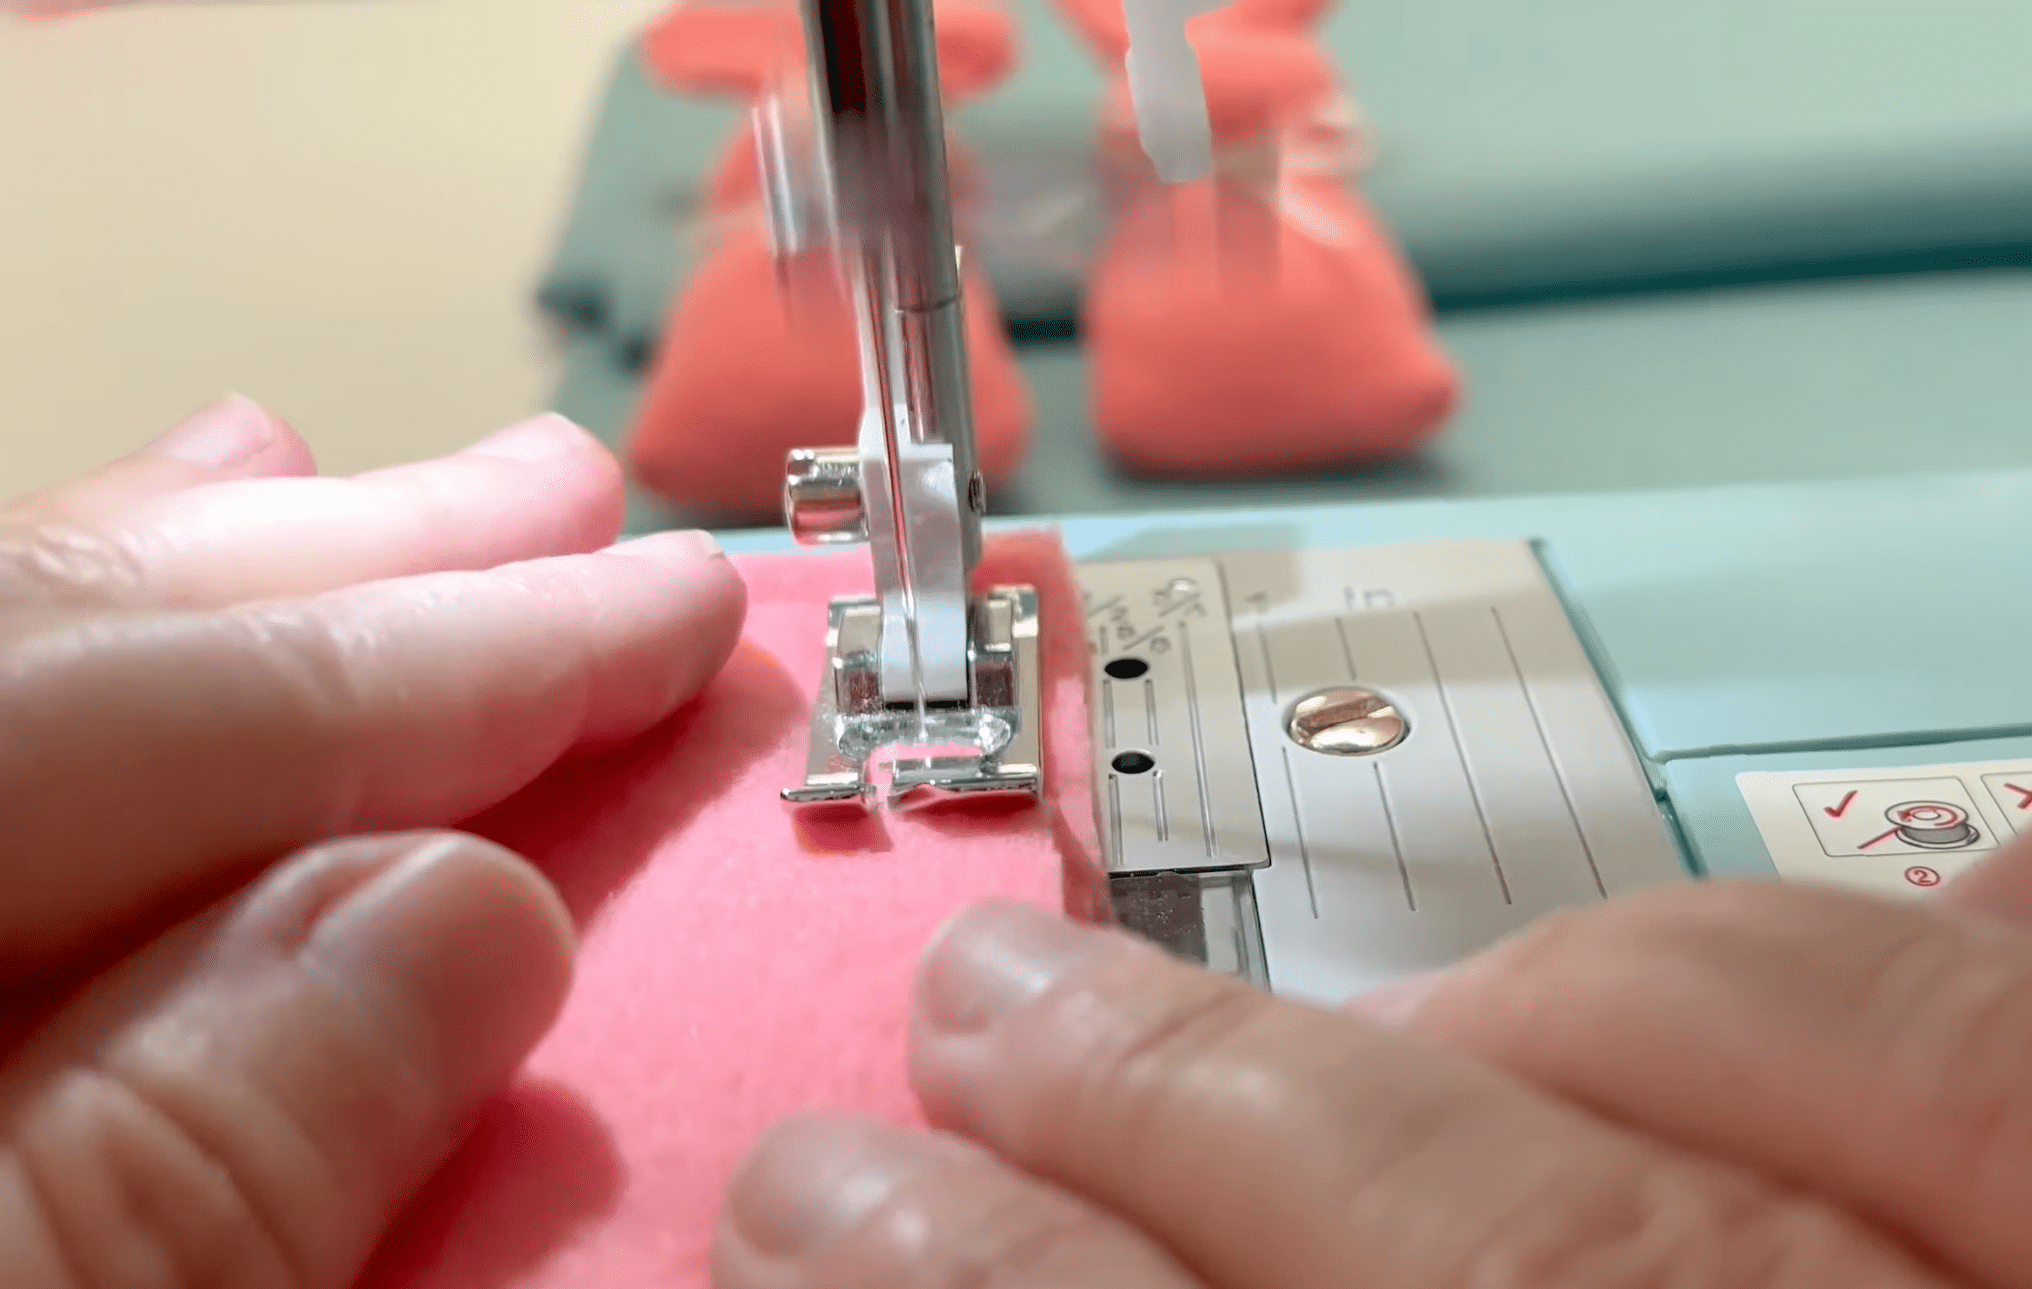
Leave the remaining short side open for turning and stuffing.
Step 3 — Turn and shape
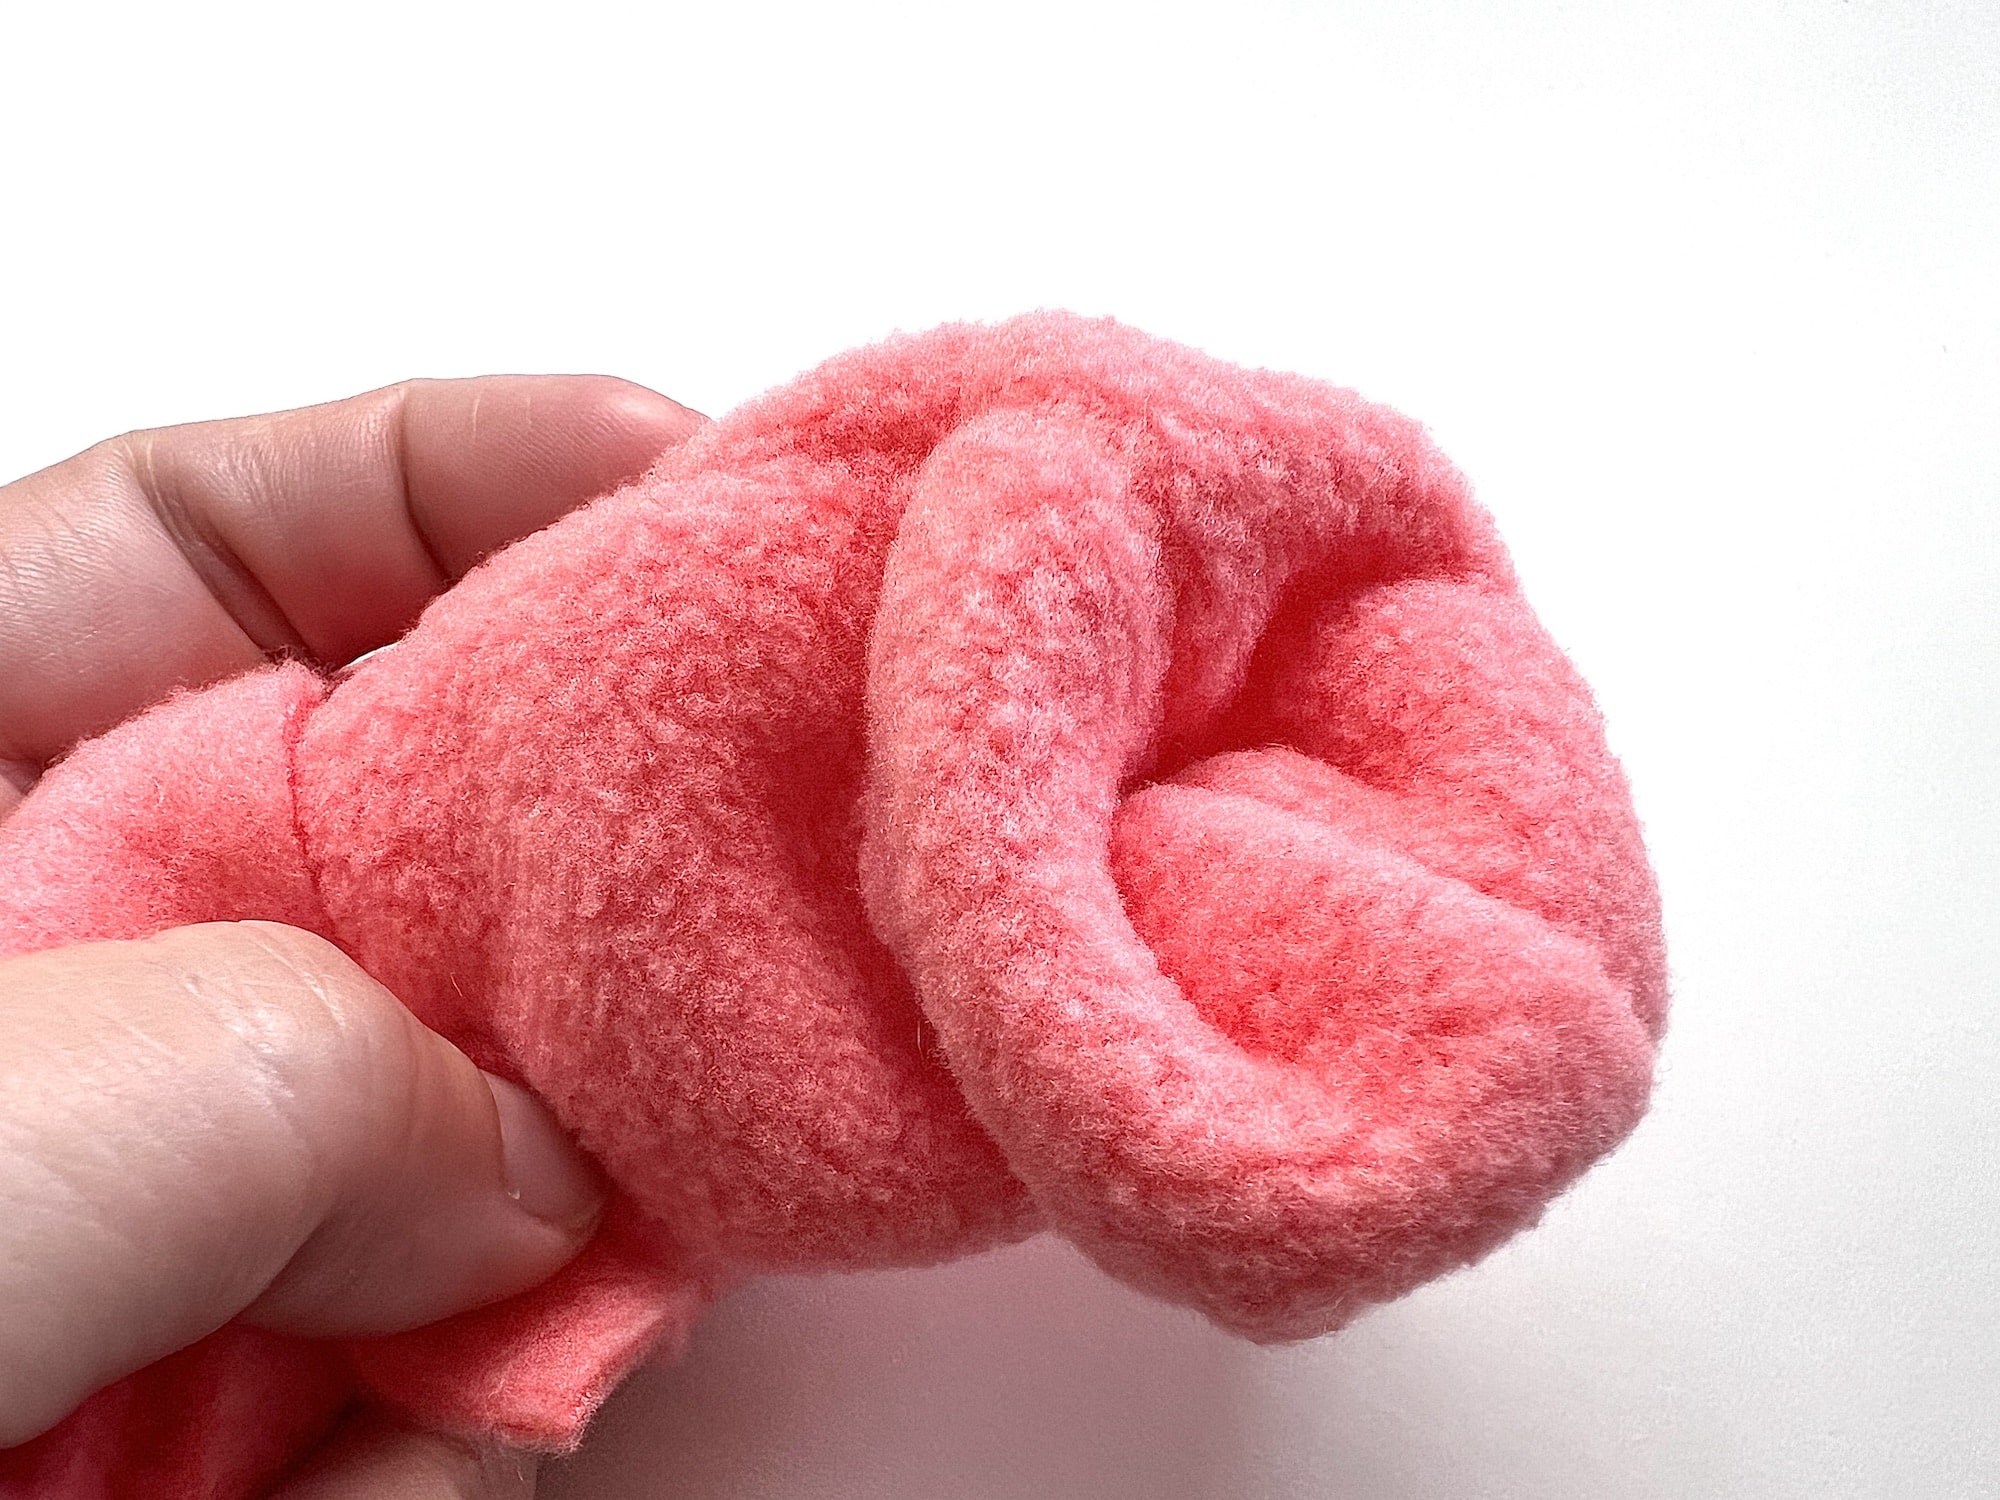
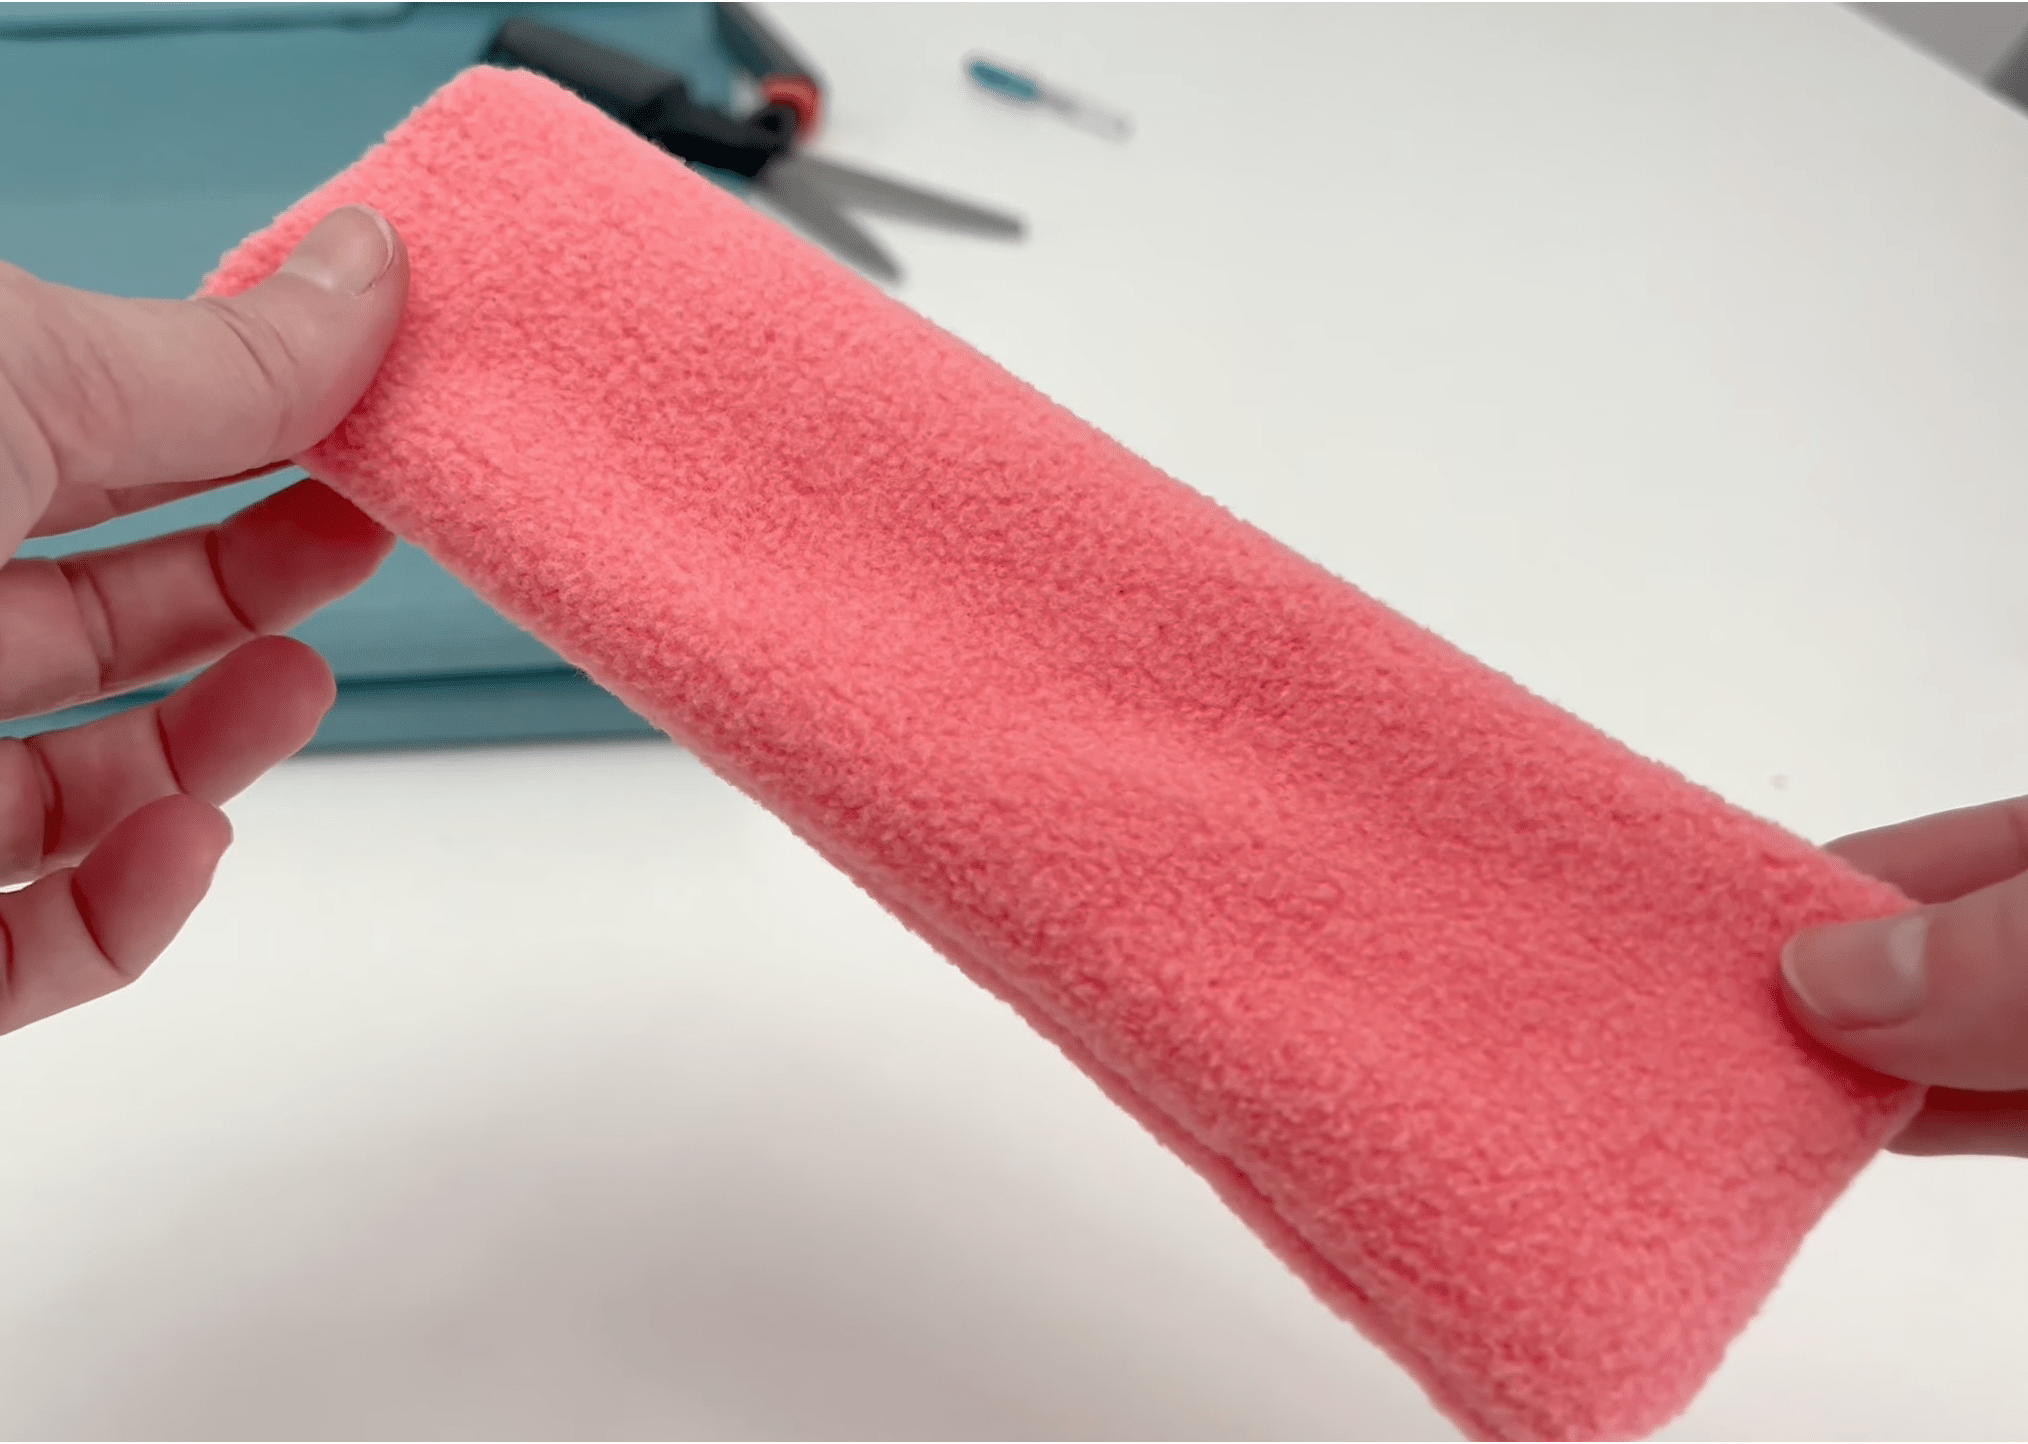
Turn the sewn tube right-side out, pushing out the corners with a turning tool or your fingers so the edges are crisp.
Step 4 — Stuff the body
Fill the tube with polyfill, cotton, or fleece scraps. Add stuffing for about 4 inches (or more or less depending on how full you want the bunny and how long you want the ears).
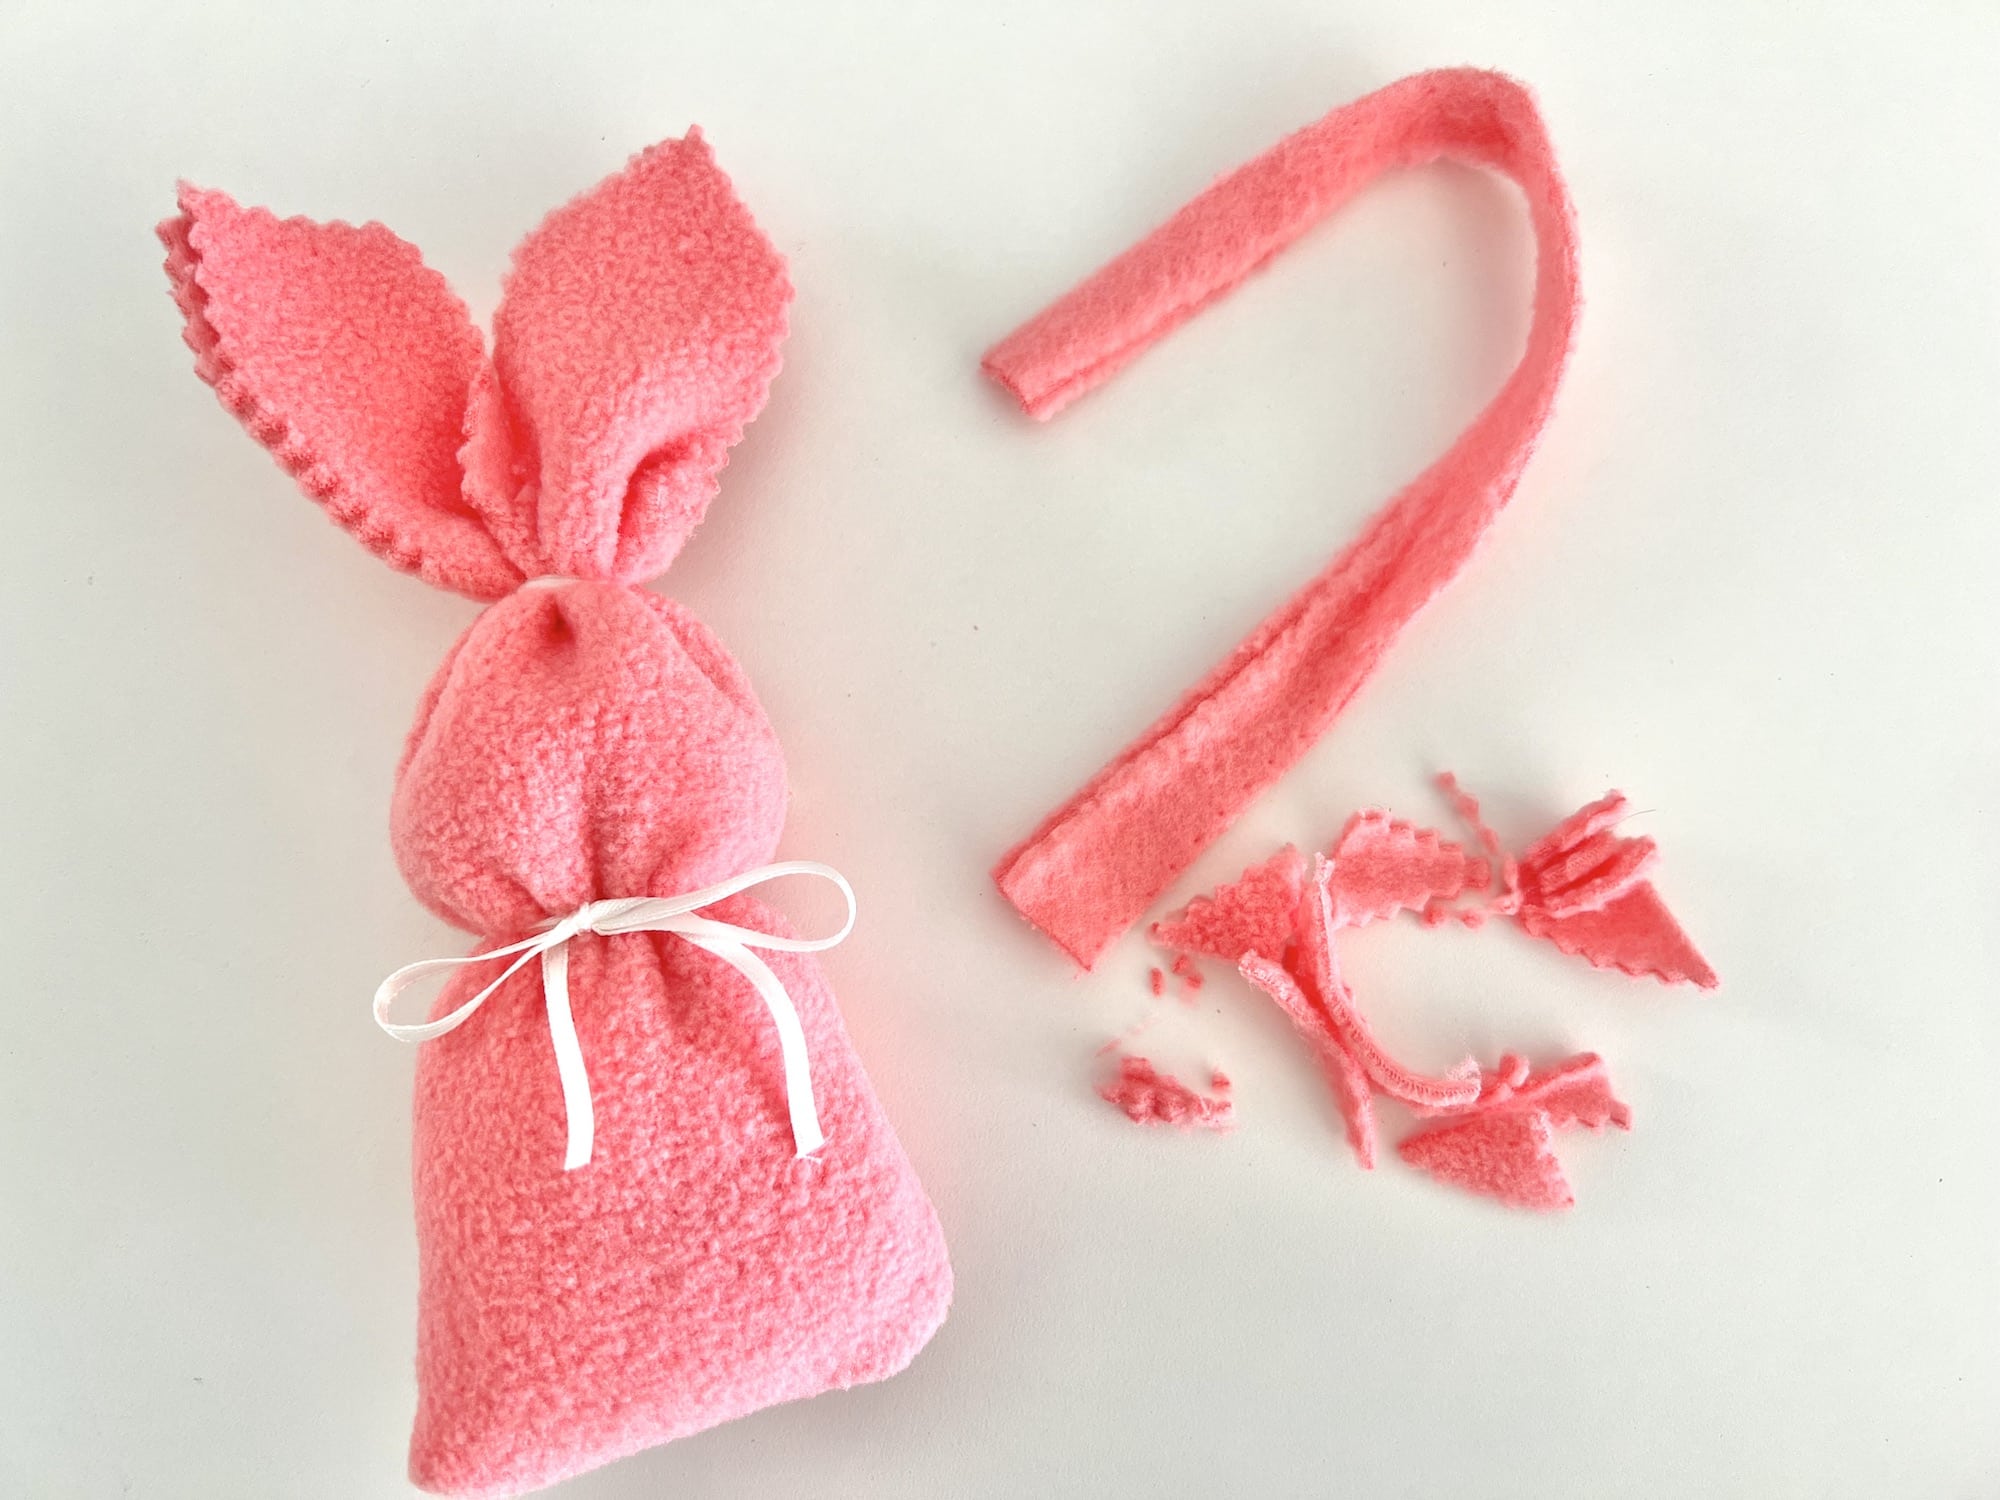
Wrap a rubber band several times around the fabric just above the stuffing to secure it, or tie with ribbon, yarn, or twine.
Step 5 — Form the head
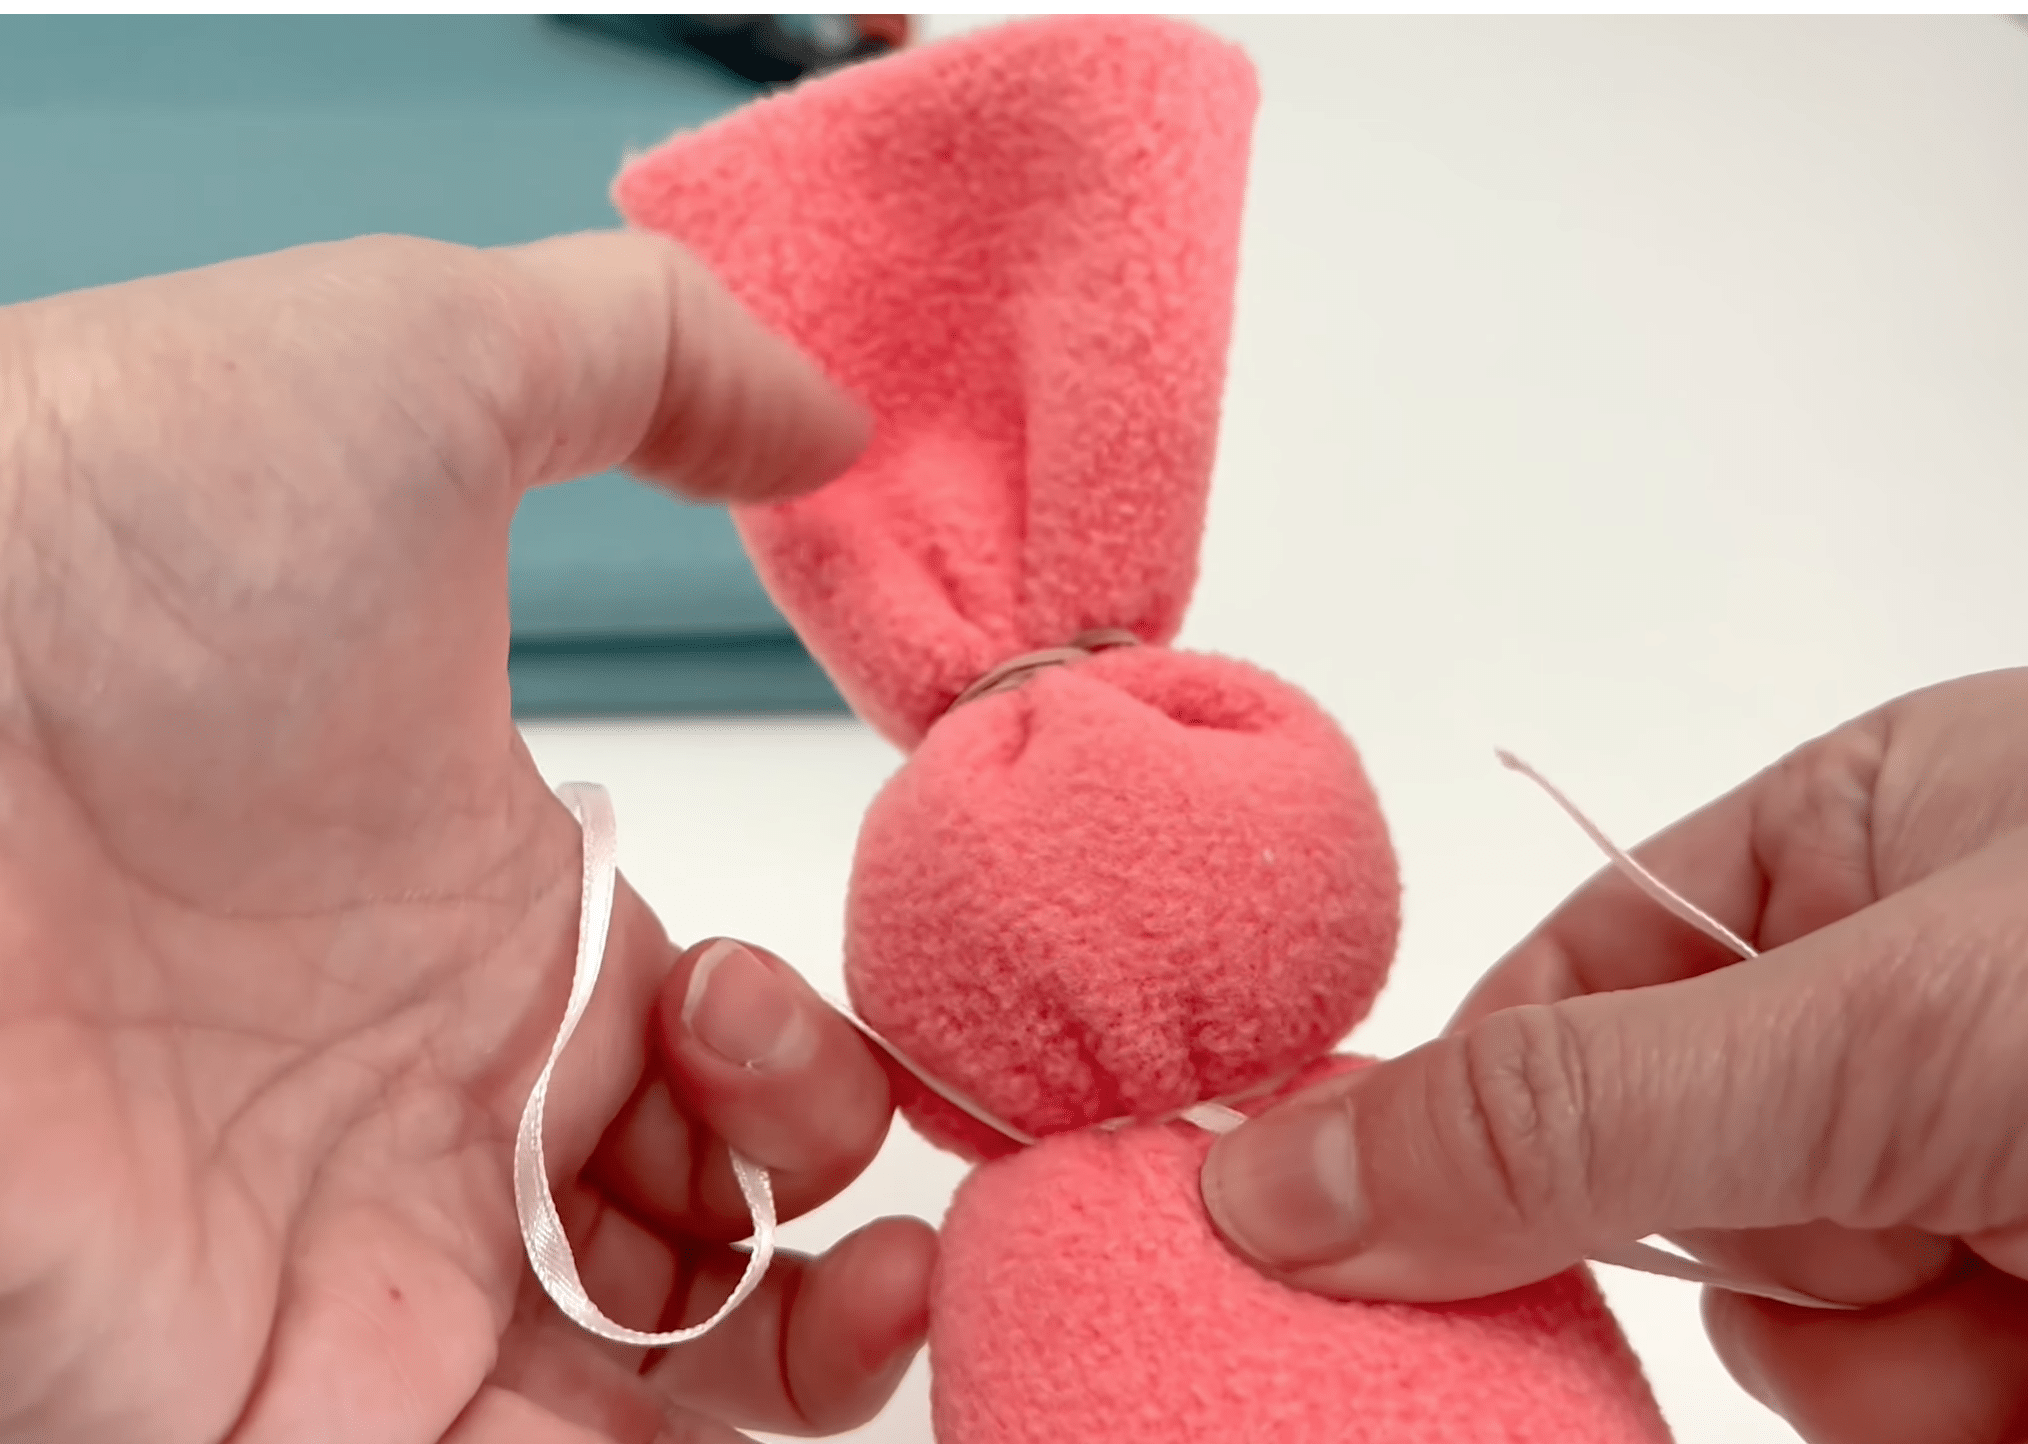
To form the head, wrap ribbon, yarn, or twine about 1½–2 inches beneath the top knot you made when securing the body. Pull tight to create a defined head shape, then tie a knot or bow to finish.
Step 6 — Make the ears
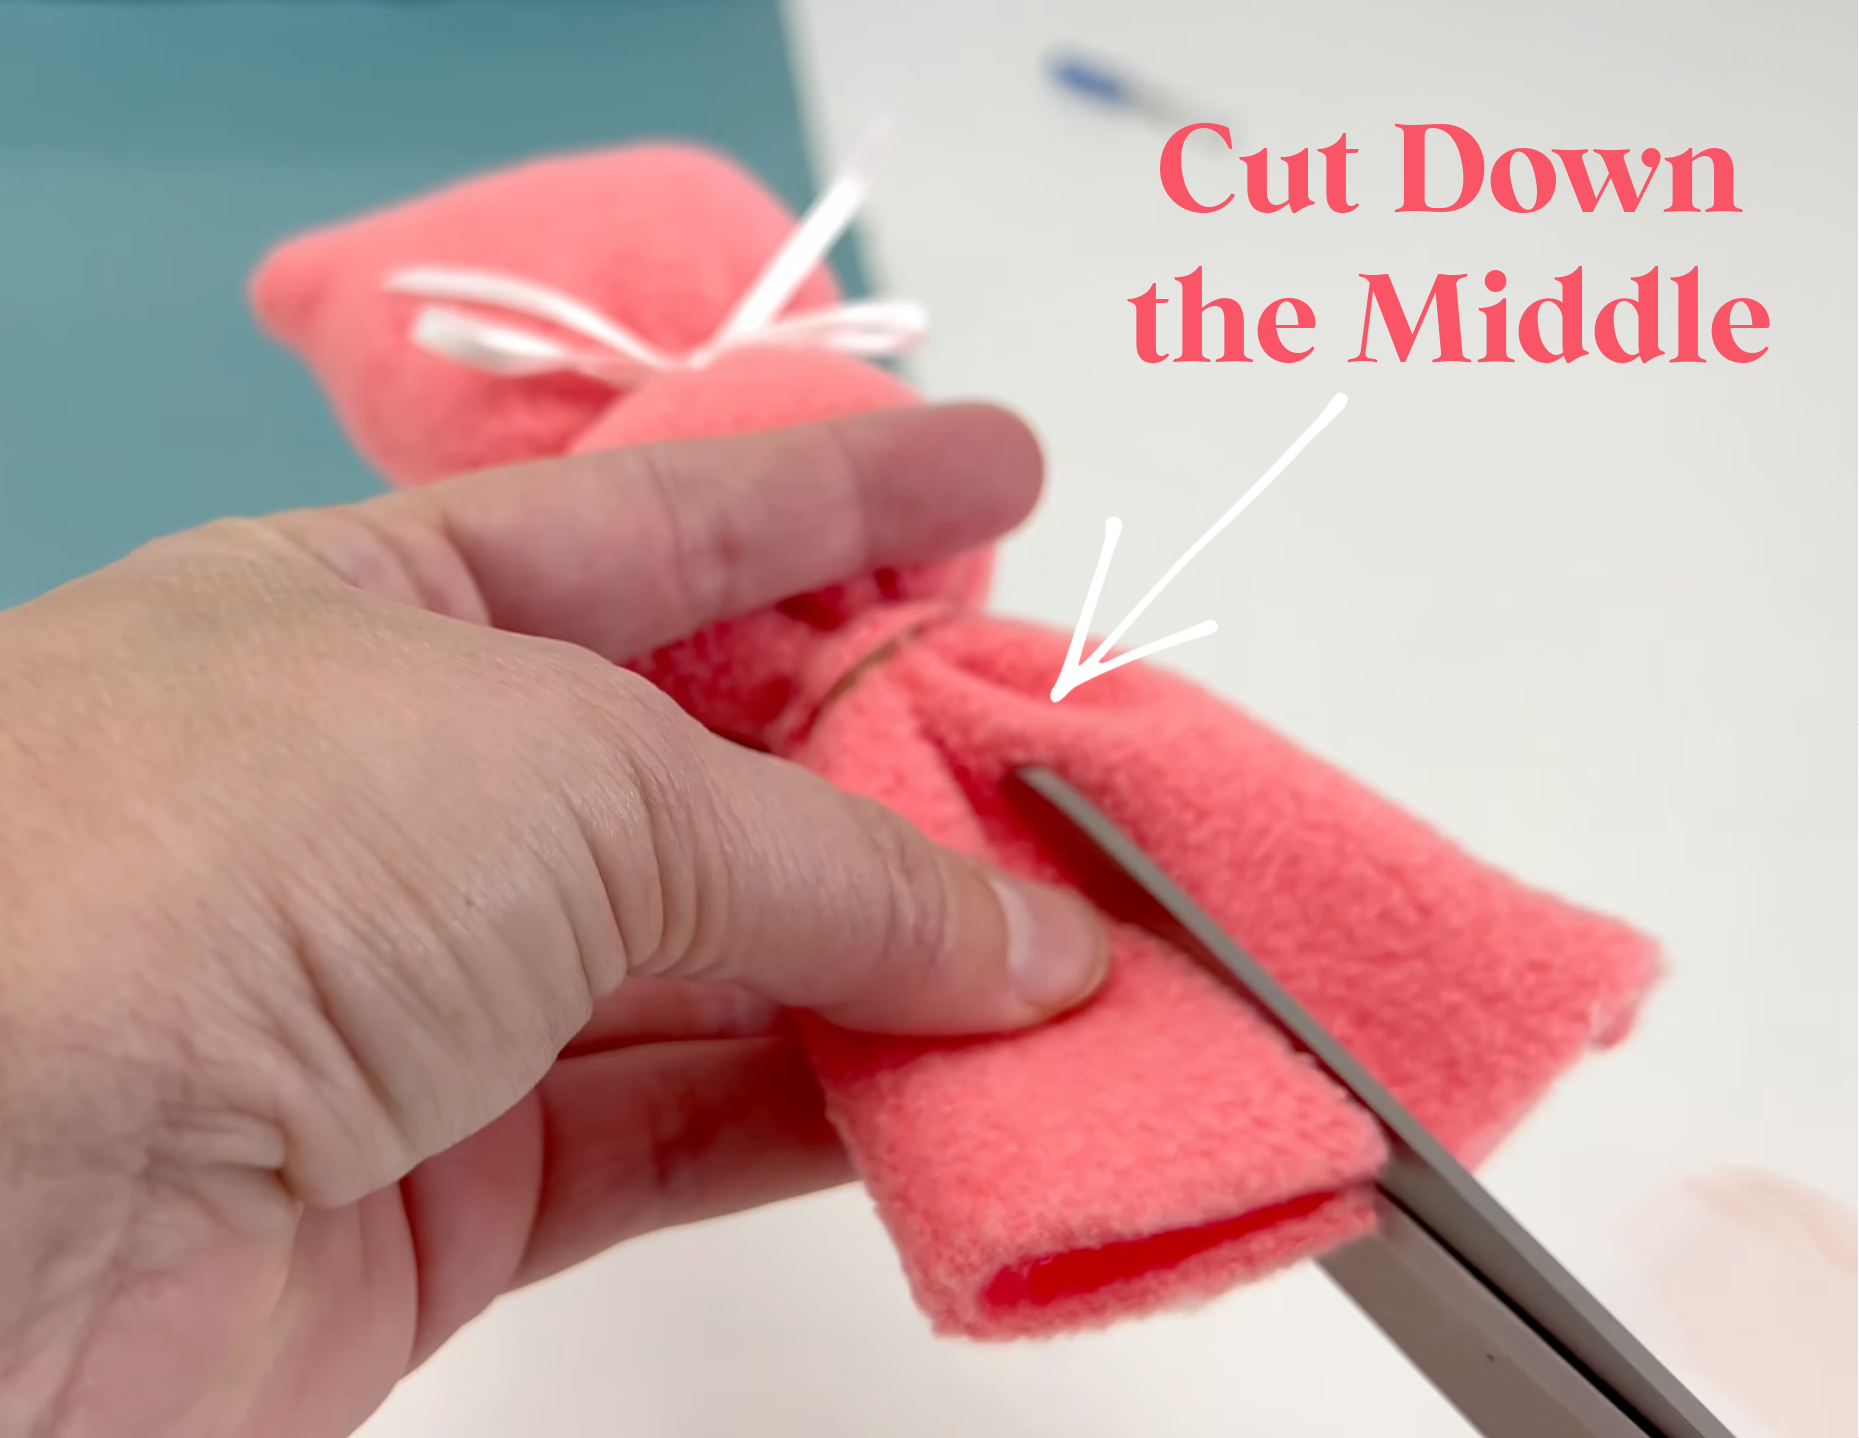
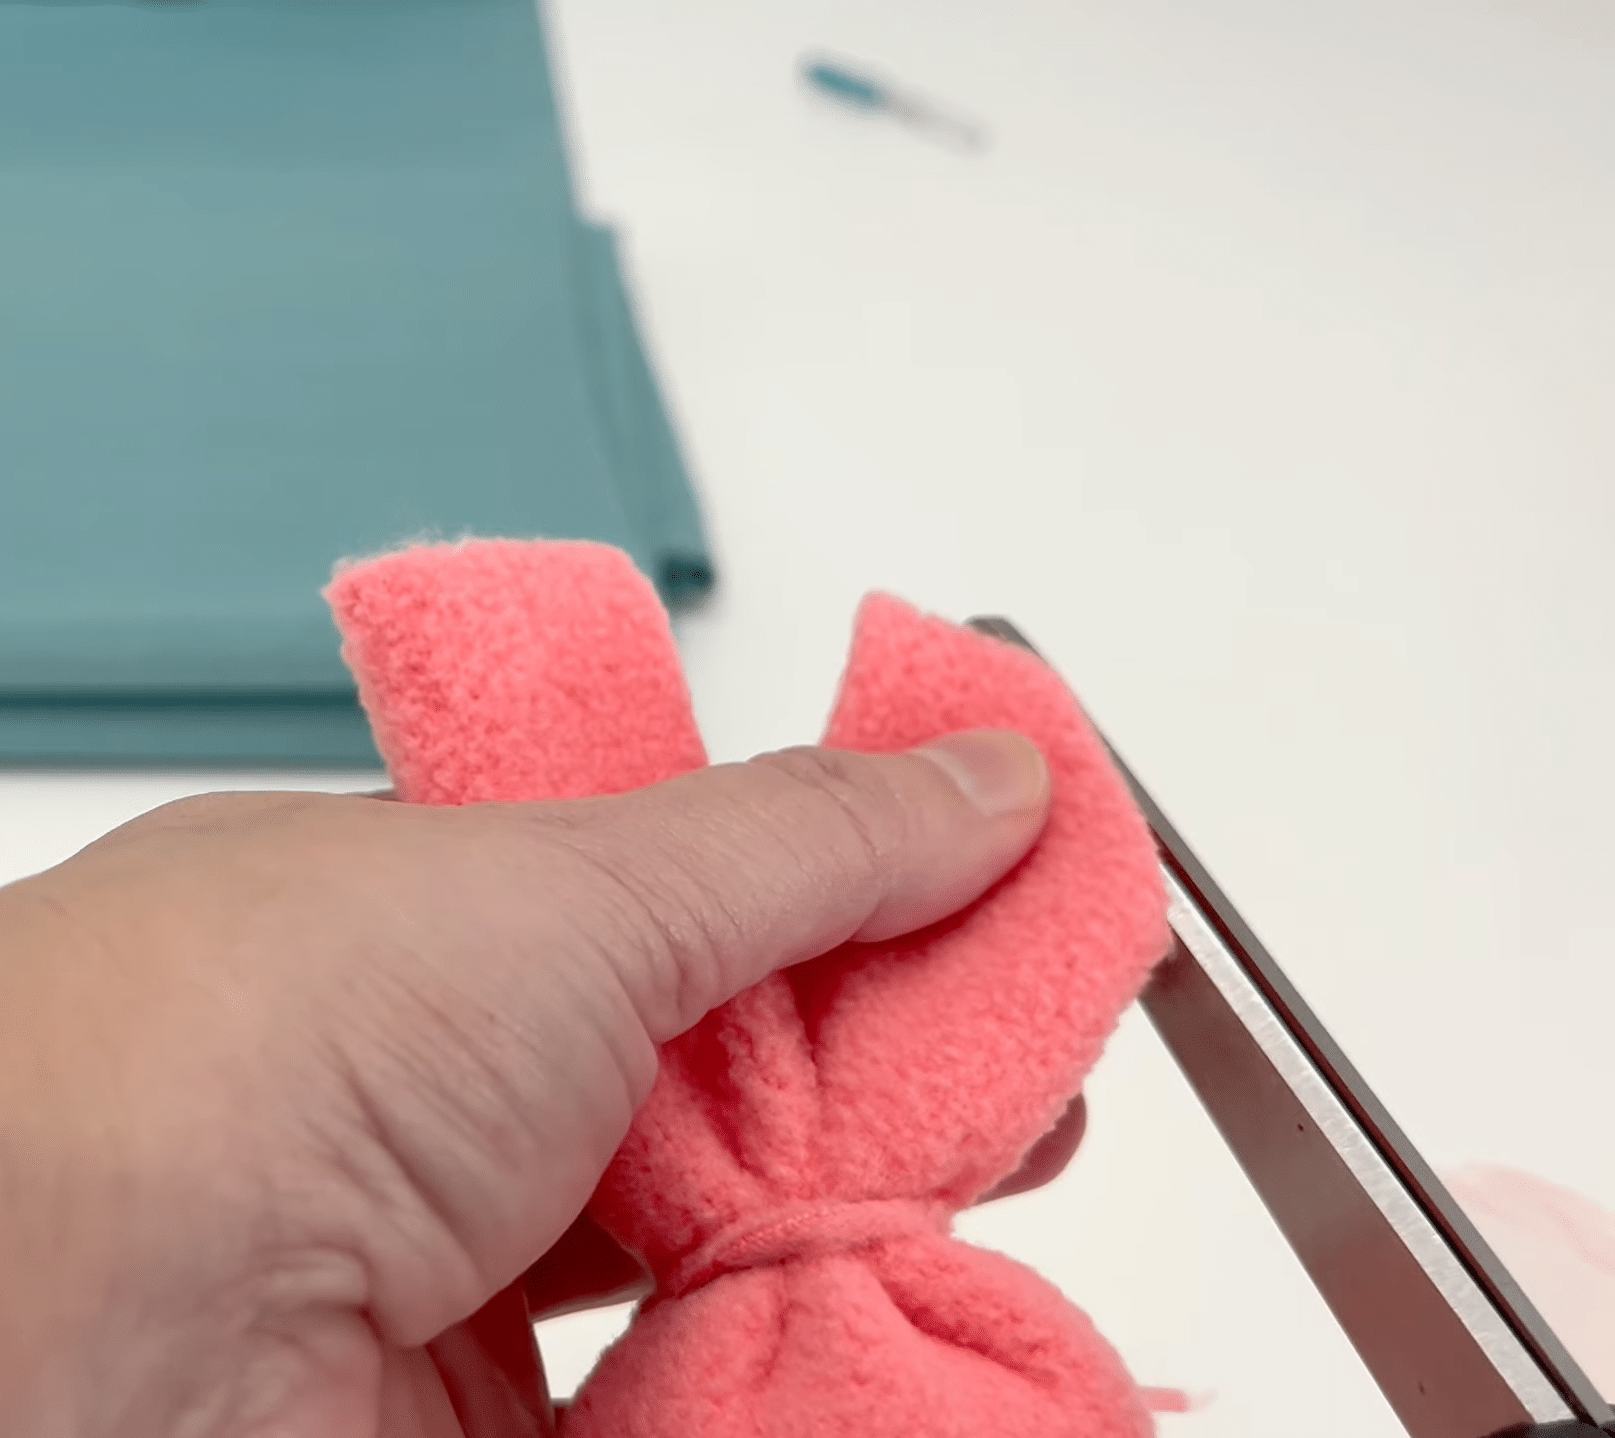
Cut the fabric above the top knot down the center almost to the rubber band to create two ear panels. Then shape each ear by cutting a gentle curve from the center toward the top to create a rounded ear shape.
Optional finishing touches: add facial features using embroidery, small buttons, felt, or fabric paint; trim edges with pinking shears for a decorative look. These bunnies are quick to make and can be customized in color, size (by scaling the rectangle), and embellishments.