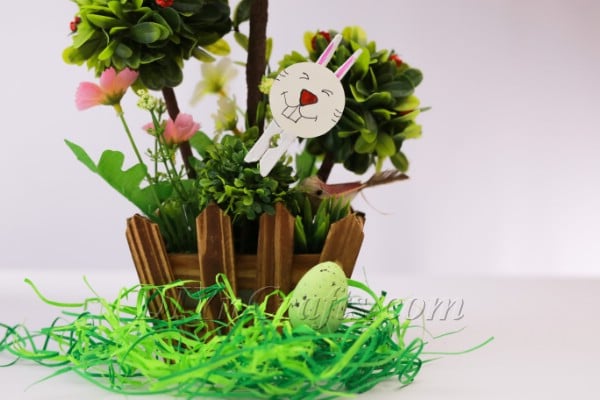
Turn a Clothespin into an Adorable Easter Bunny — Easy Step-by-Step Craft
Make a quick, charming Easter decoration with supplies you likely already have at home. This simple clothespin bunny is perfect for spring mantel displays, place card holders, or a kid-friendly craft activity. Follow the short steps below to create your own little bunny buddies.
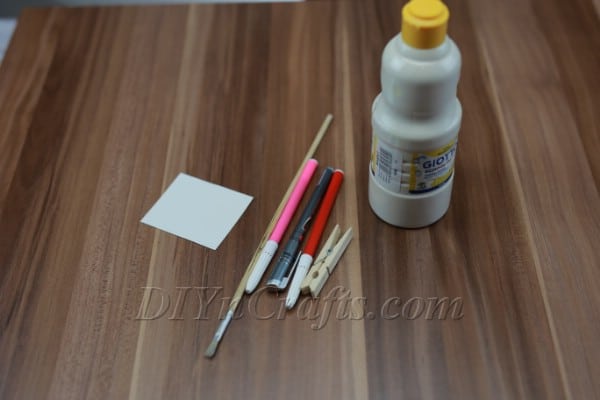
Materials
White paint
White cardboard or cardstock
Clothespin
Tools
Paintbrush
Pink marker
Black pen
Scissors
Hot glue and glue gun
Instructions
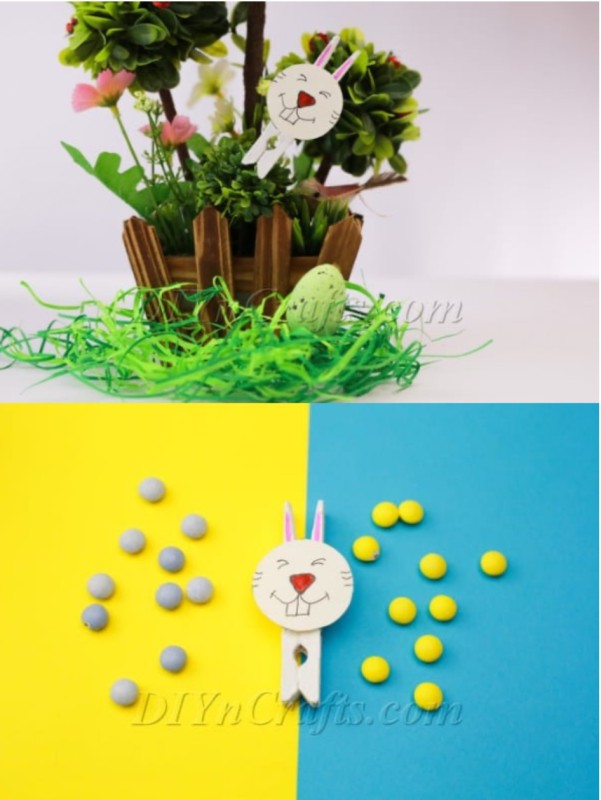
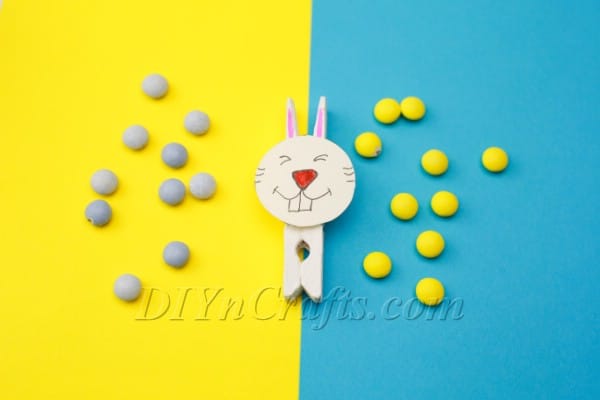
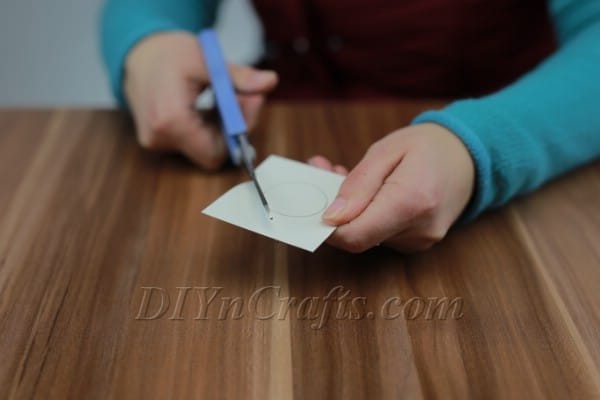
Step 1: Prepare the head — cut a small circle from white cardstock or cardboard to serve as the bunny’s head. Cardstock is sturdier than regular paper and will hold up better once glued to the clothespin. If you want a perfectly round shape, trace around a jar lid or similar round object.
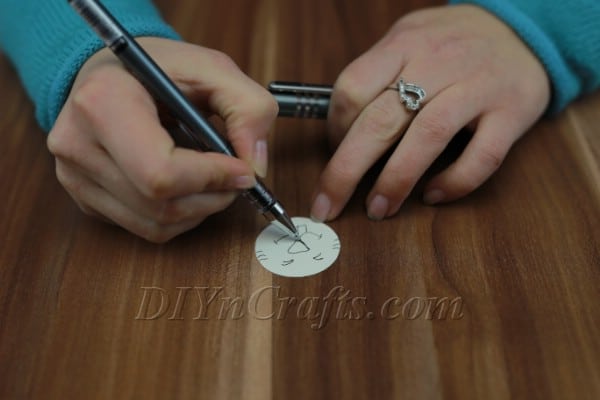
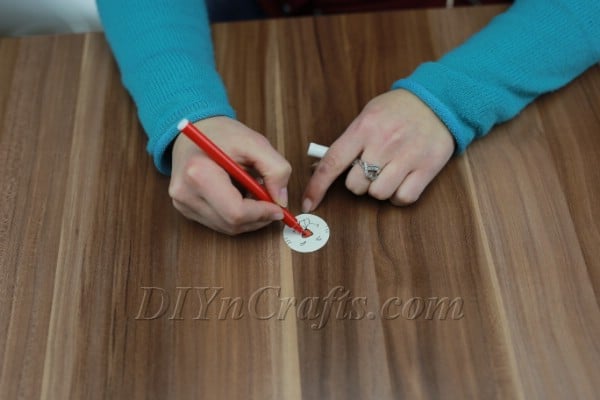
Step 2: Draw the face — use a pink marker for the nose and a black pen for the eyes and mouth. Keep the features small so they fit the circle and look proportionate when attached to the clothespin.
Step 3: Paint the clothespin — with a small brush, cover the entire clothespin in white paint, making sure to get into all the grooves. A small brush helps reach the nooks more easily than a larger brush.
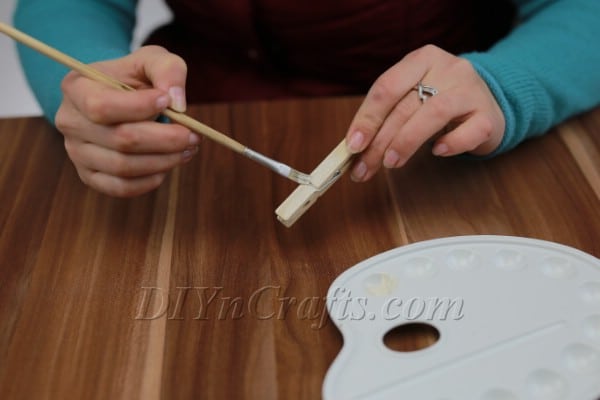
Allow the paint to dry completely before moving on to the next step.
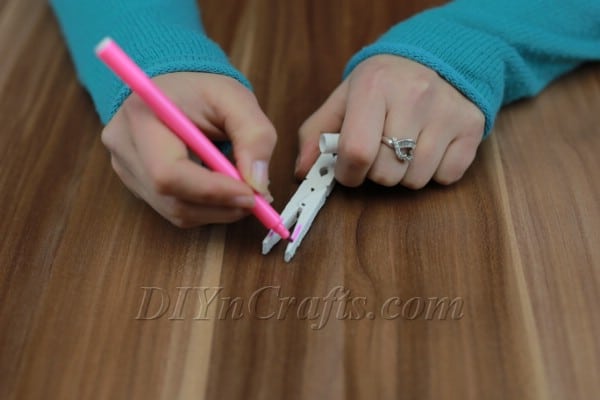
Step 4: Add ear detail — use the pink marker to draw small triangles at the top ends of the clothespin to create the bunny ears.
Step 5: Assemble — apply a small amount of hot glue (or white craft glue) to the back of the paper head and press it onto the front of the painted clothespin so the ears line up at the top.
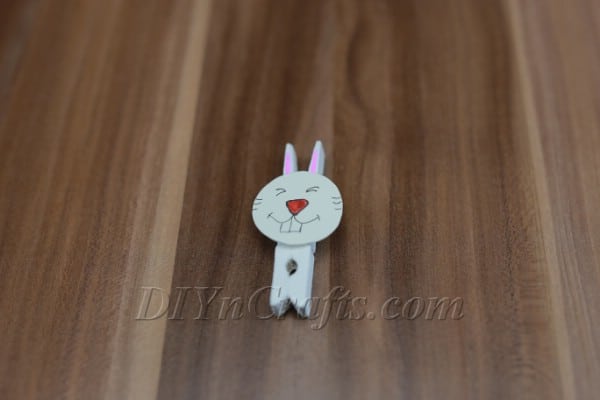
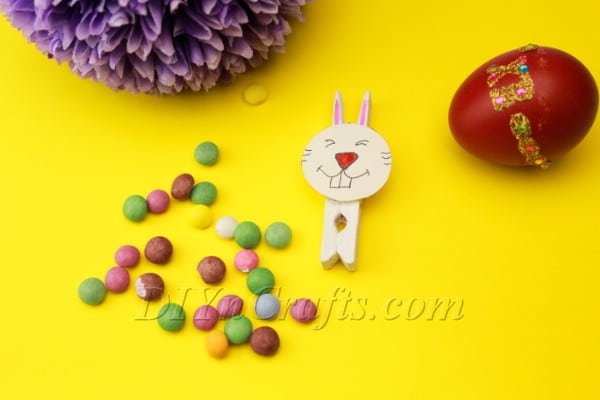
Finished: Once glued, your clothespin bunny is ready to display. Make several in batches — paint a group of clothespins, then draw multiple faces, then glue — to speed up the process and create a set.