How to Make Tissue Paper Flowers: Easy Step-by-Step DIY Tutorial
Make colorful, fluffy tissue paper flowers in minutes — no special tools required. This simple step-by-step guide walks you through stacking, folding, tying and shaping tissue paper to create cheery flowers perfect for party decor, wedding accents, gift toppers, or a bright touch around the home.
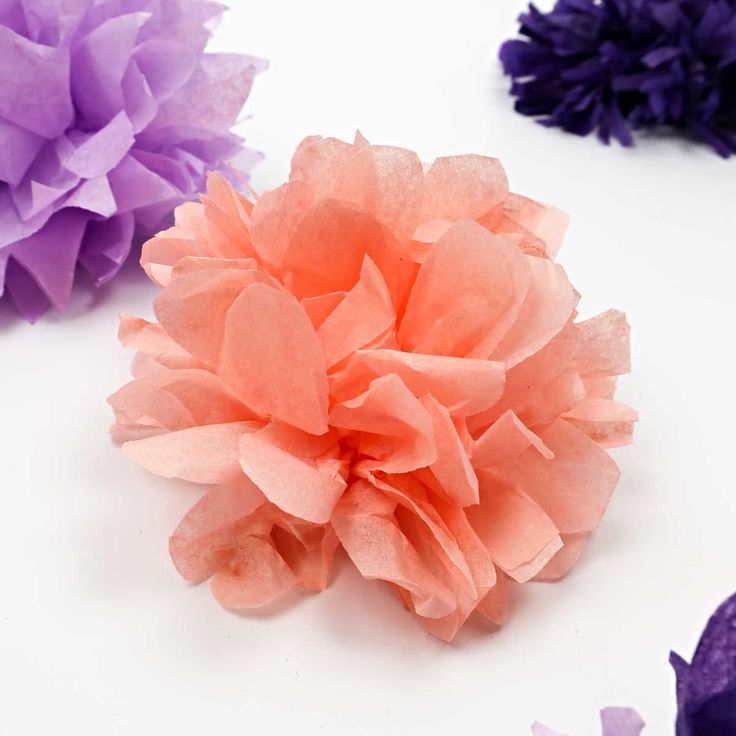
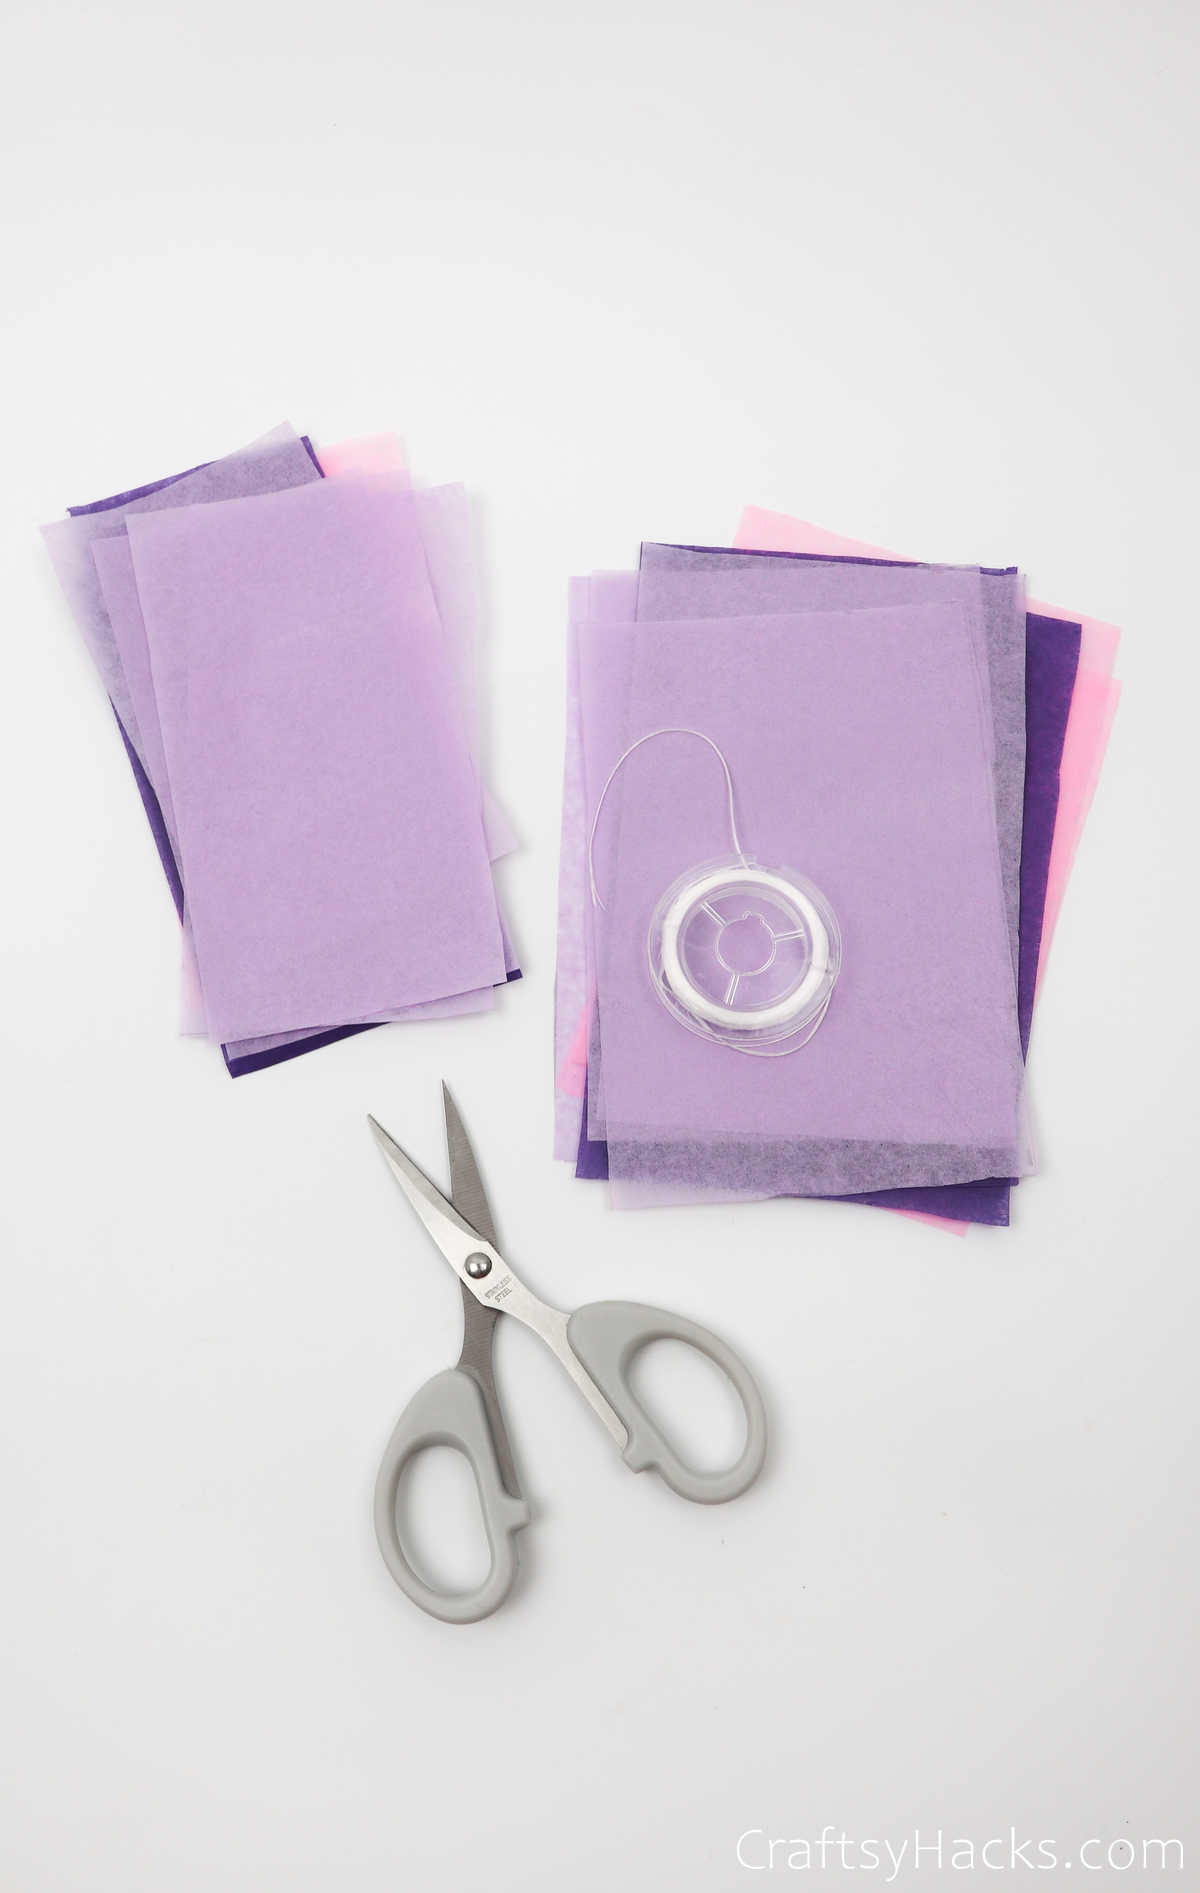
Supplies and Tools You’ll Need
For a small flower:
7x tissue paper pieces (3”x5”)
For a bigger flower:
8x tissue paper pieces (4”x6”)
Scissors
Thread
Quick Tips before you start
Choose tissue paper colors and layer them in the order you want the petals to appear. More layers = fuller flowers. Work gently when separating layers to avoid tearing.
How to Make Tissue Paper Flowers
The key to making these already amazing flowers even more so is to play around with the colors you’re planning to use. Make sure to layer the petals with different shades and hues for the best possible outcome.
Step 1
Pick your tissue papers and stack them, aligning the edges. Experiment with color order — alternating hues or gradients both look great. Remember: more layers create thicker, fluffier flowers.
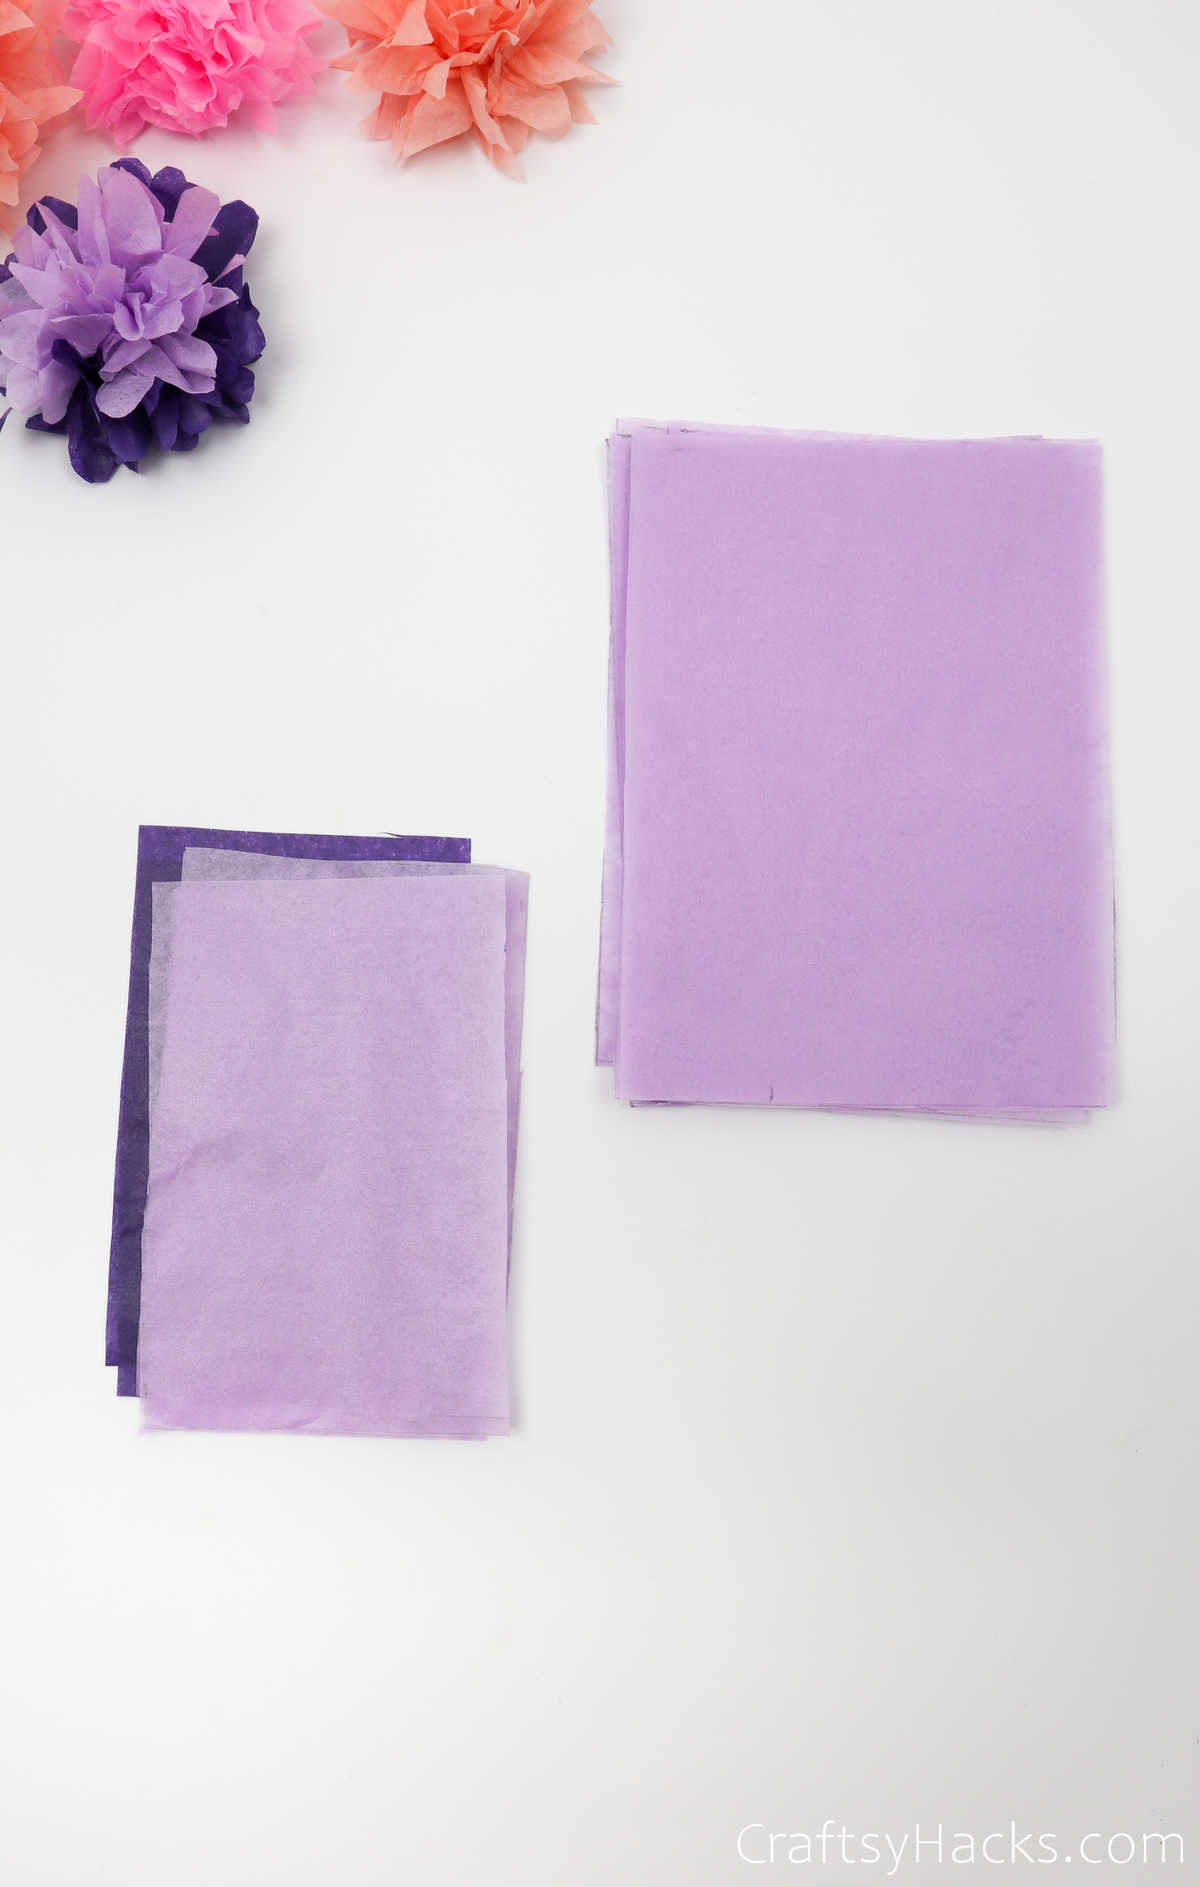
Step 2
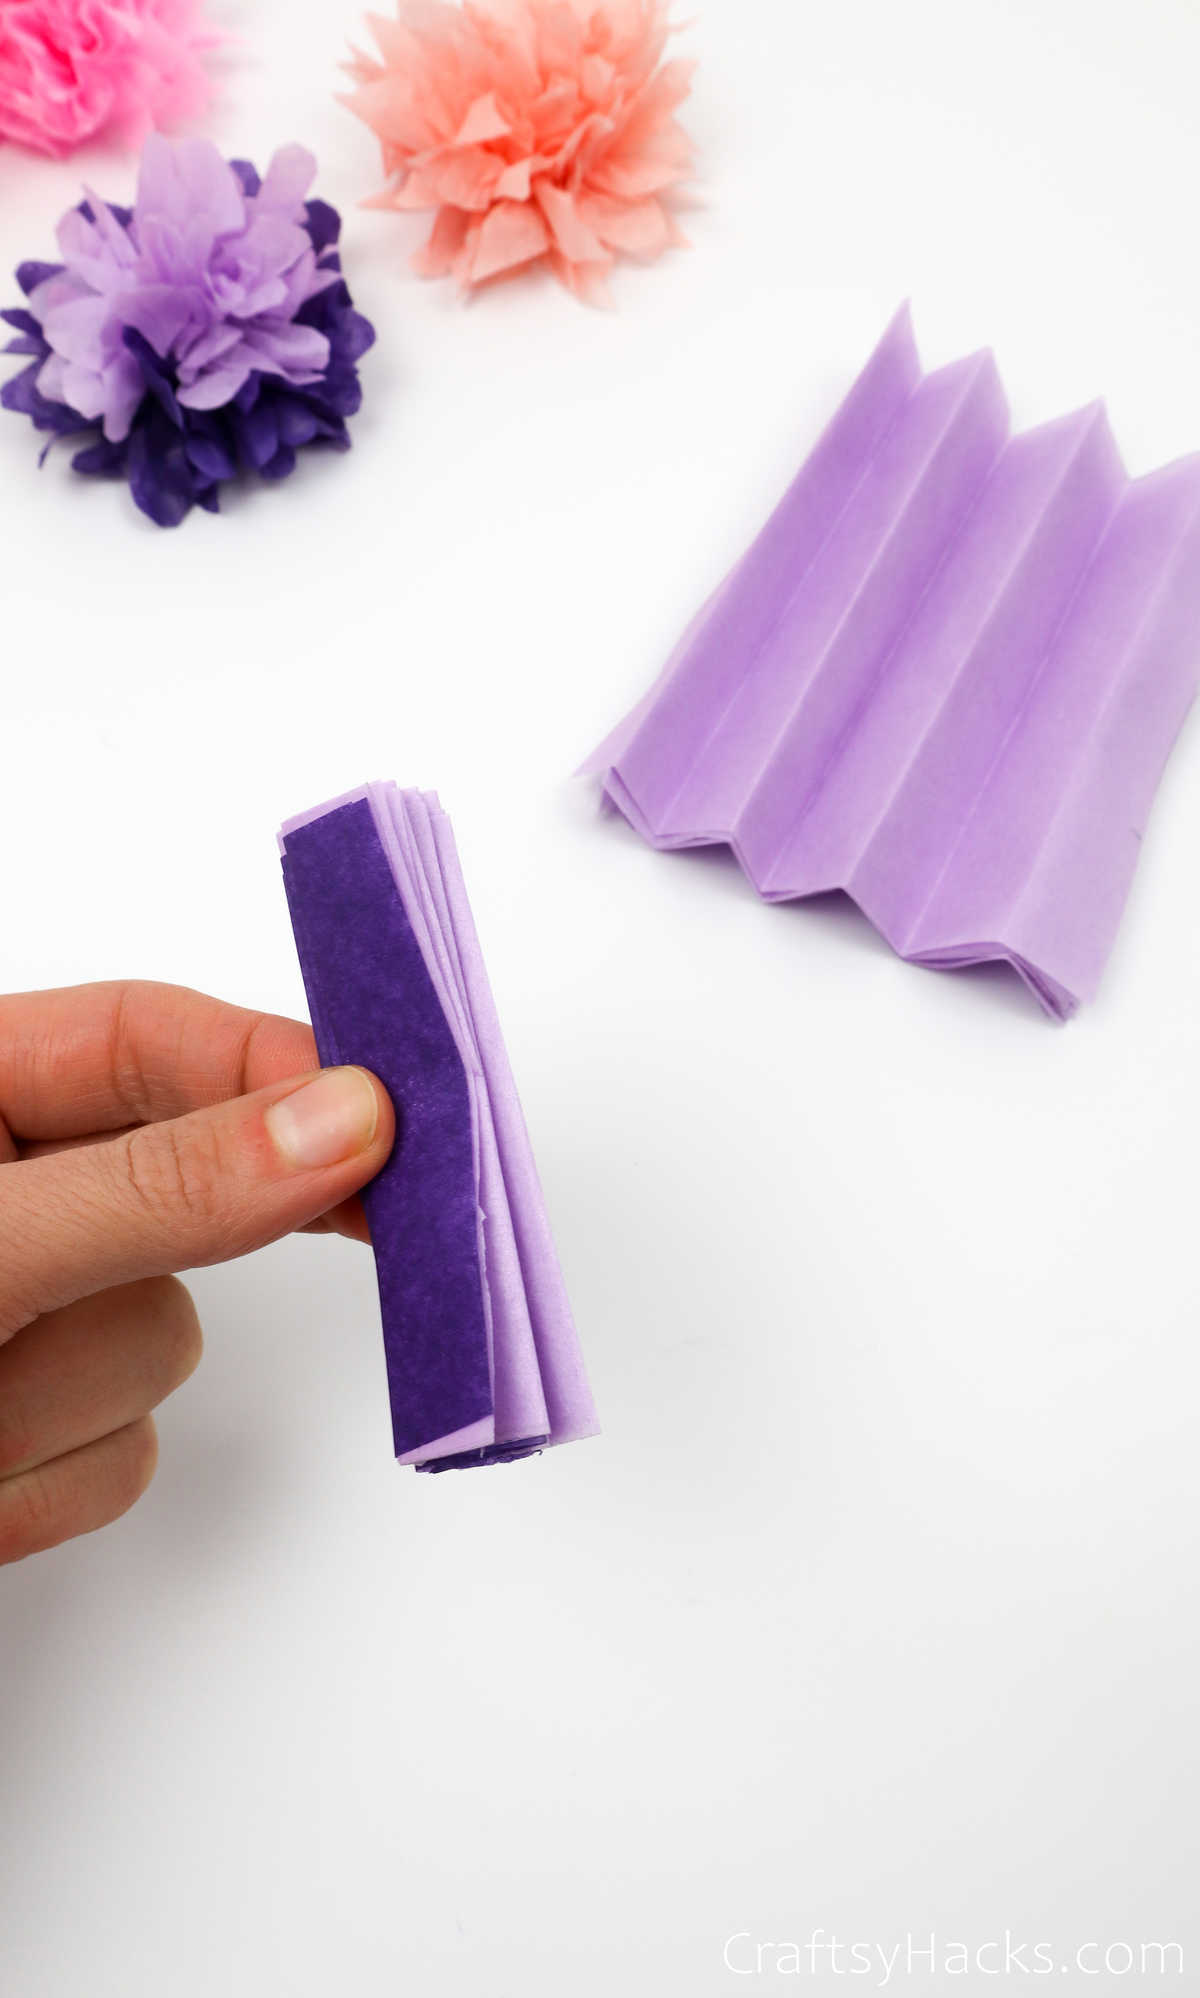
With the stack aligned, fold the entire stack back and forth in an accordion (fan) fold. Aim for even fold widths so the petals open uniformly.
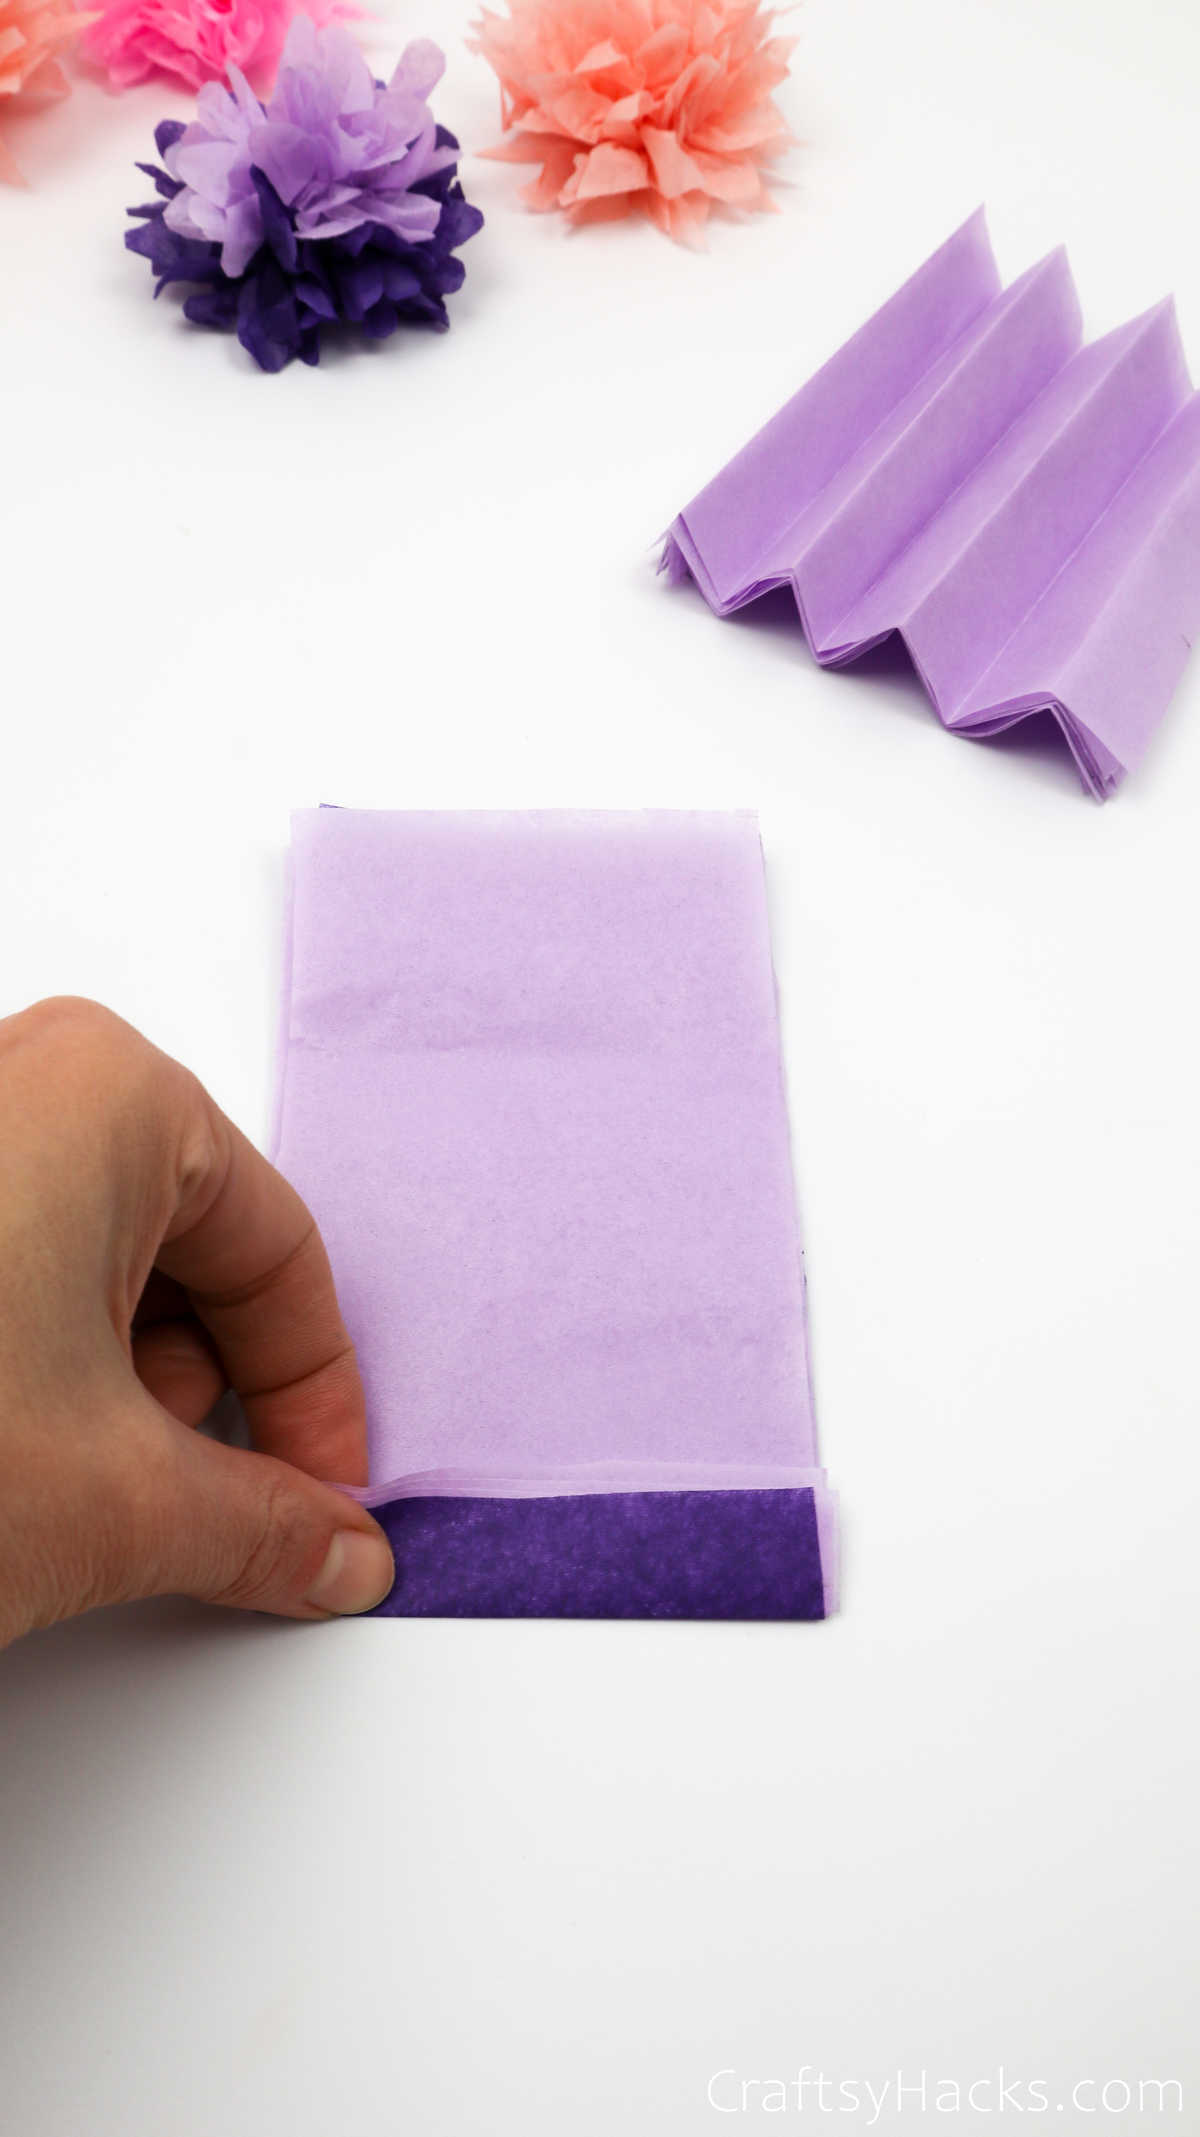
Go ahead and fold your whole stack into these fan-like folds.
Step 3
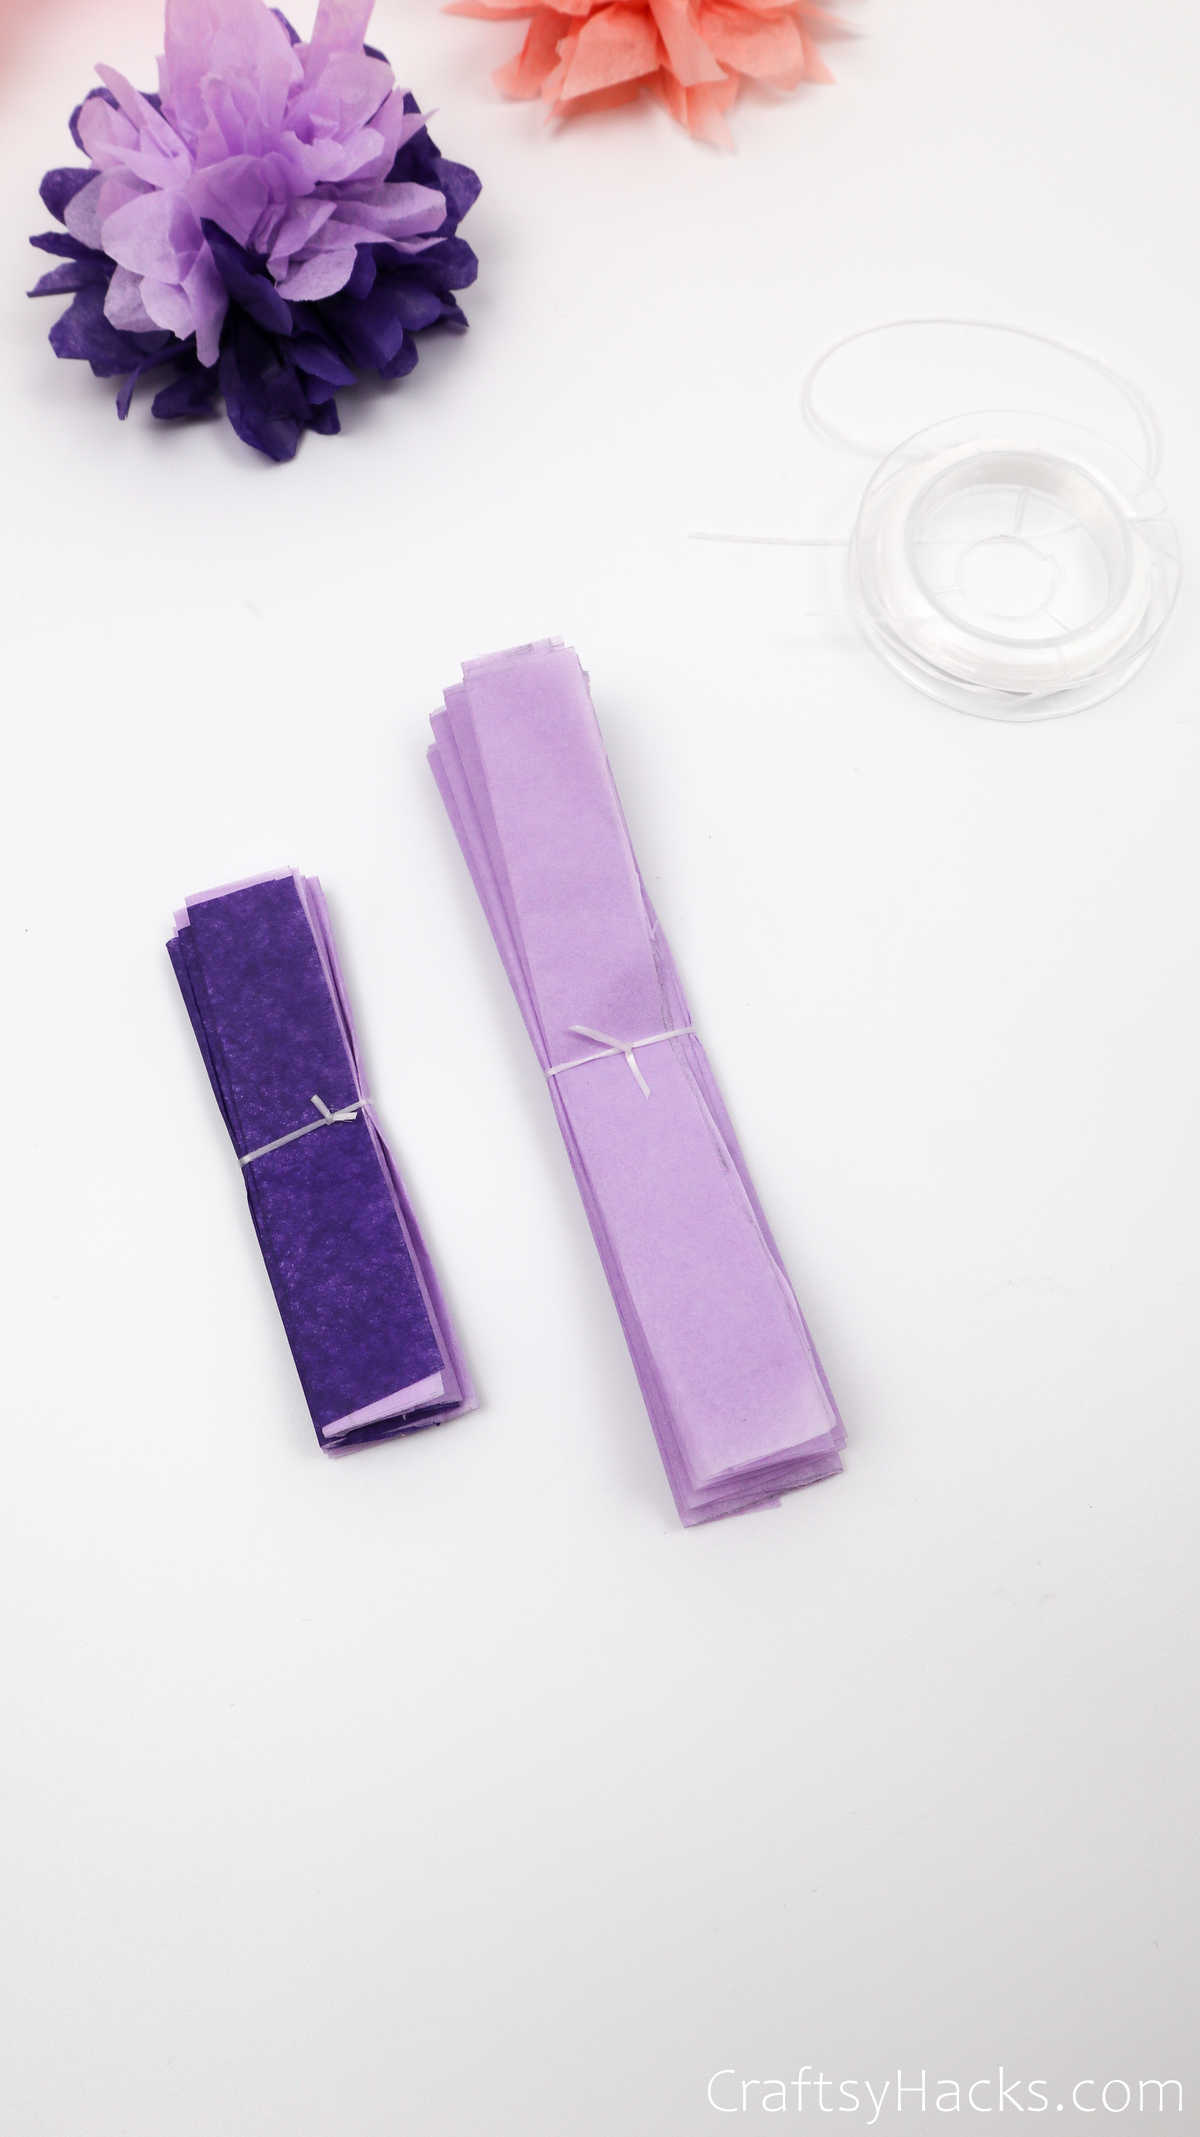
Wrap a length of thread around the center of the folded stack and tie tightly to hold the folds together.
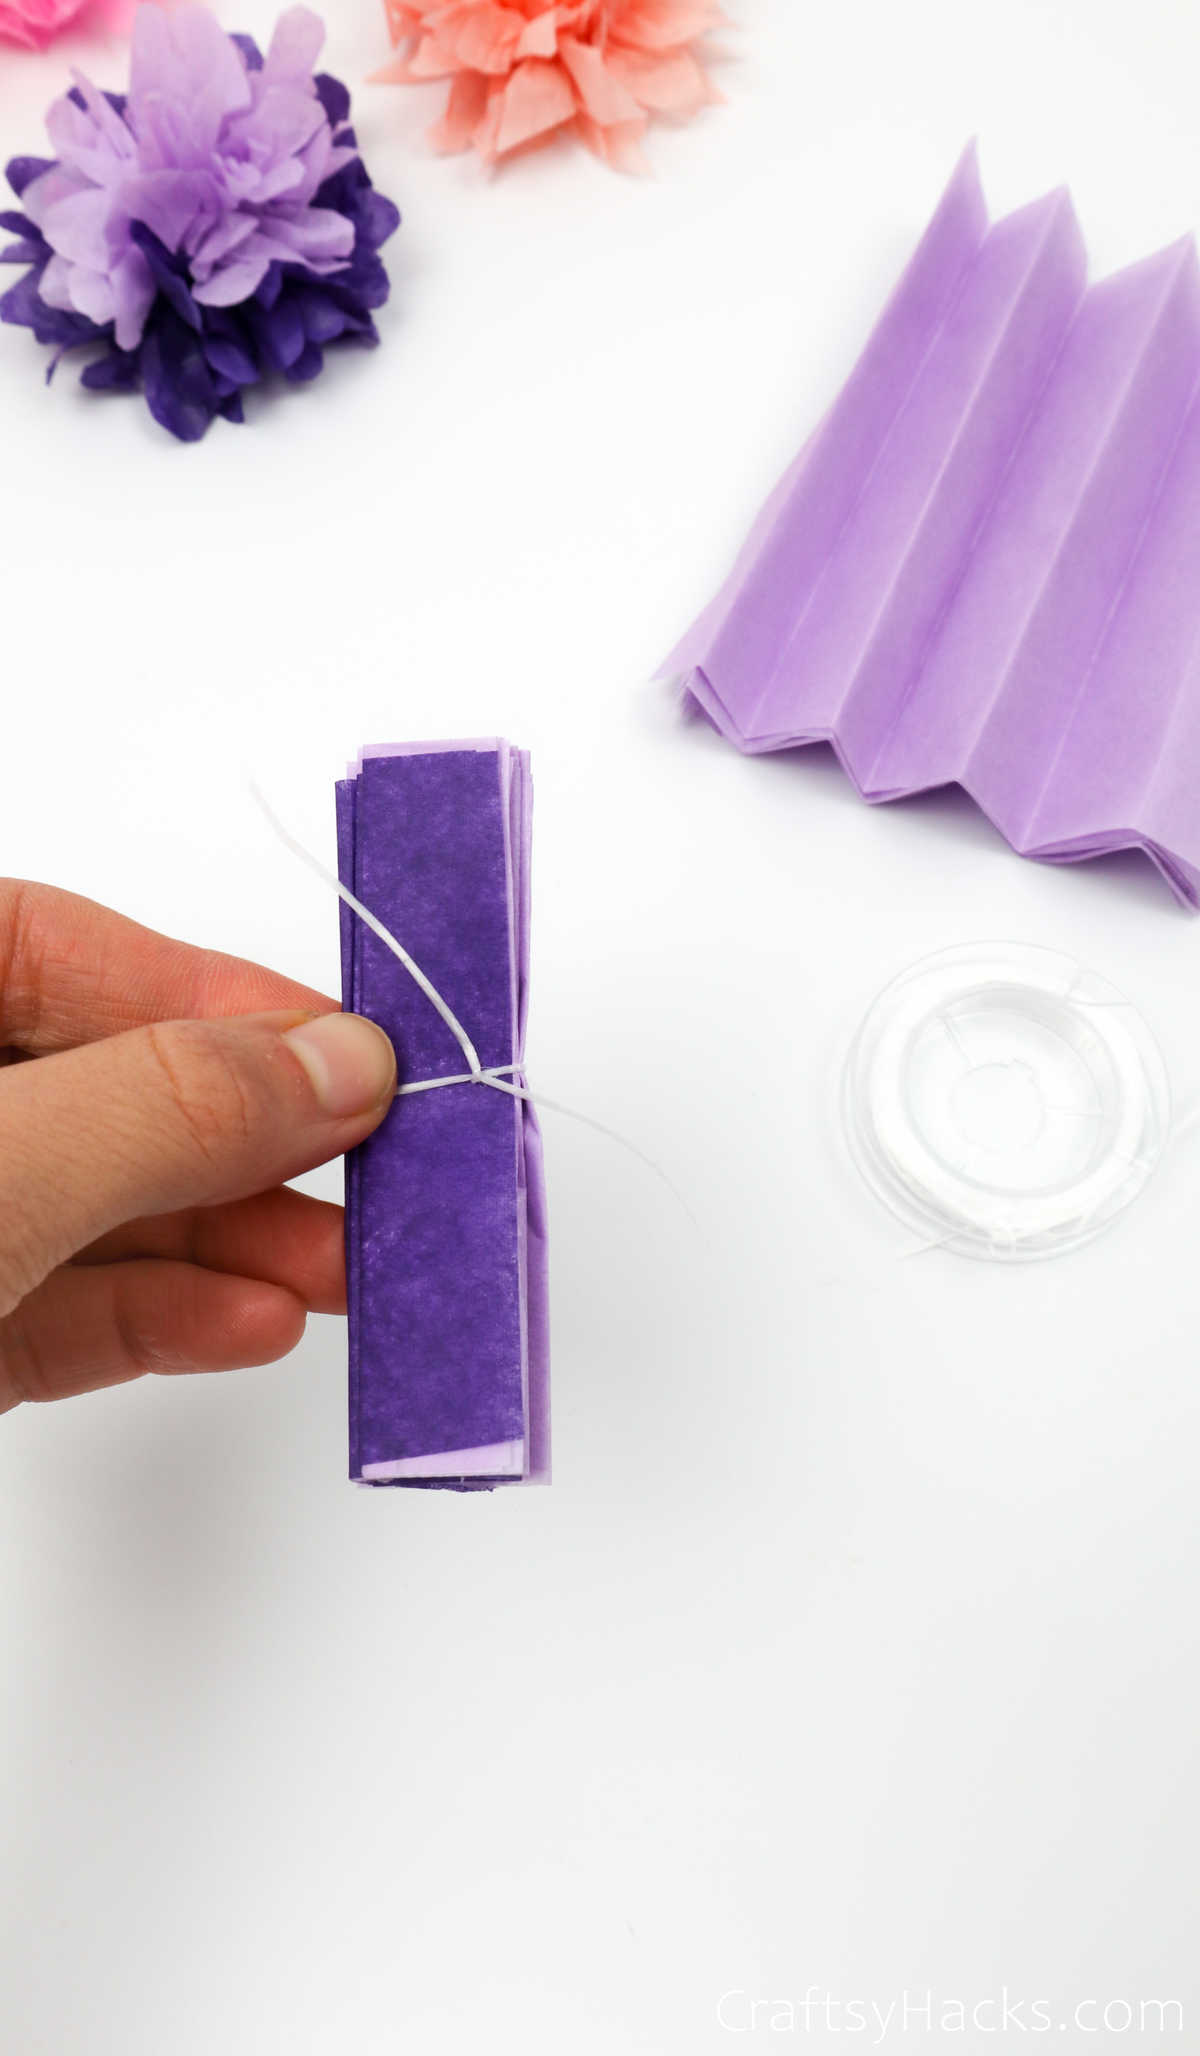
Tie each folded stack the same way so the petals stay centered.
Step 4
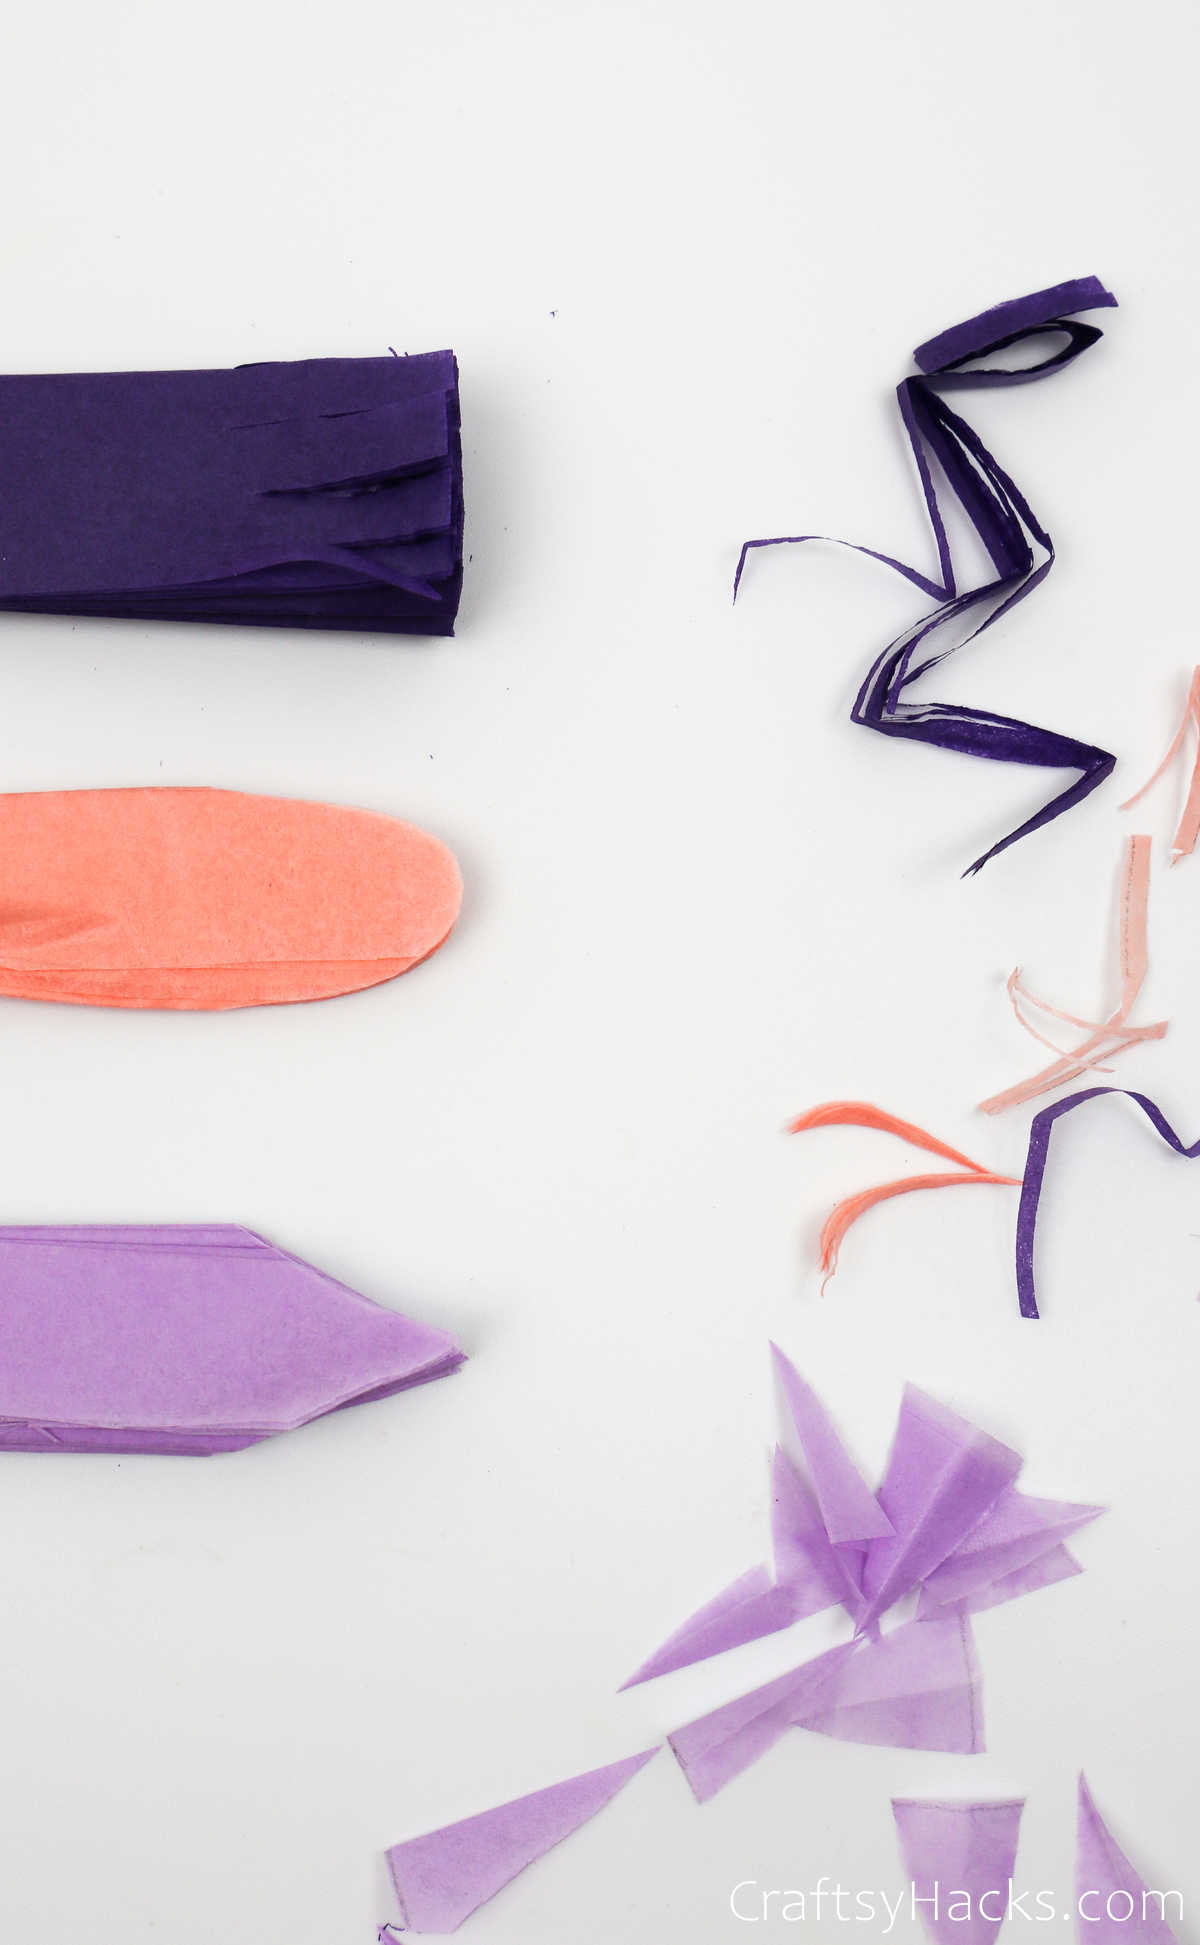
Use scissors to trim the folded ends to shape the petals. Rounded (U), pointed (V), or fringed cuts give very different looks — try a few variations.
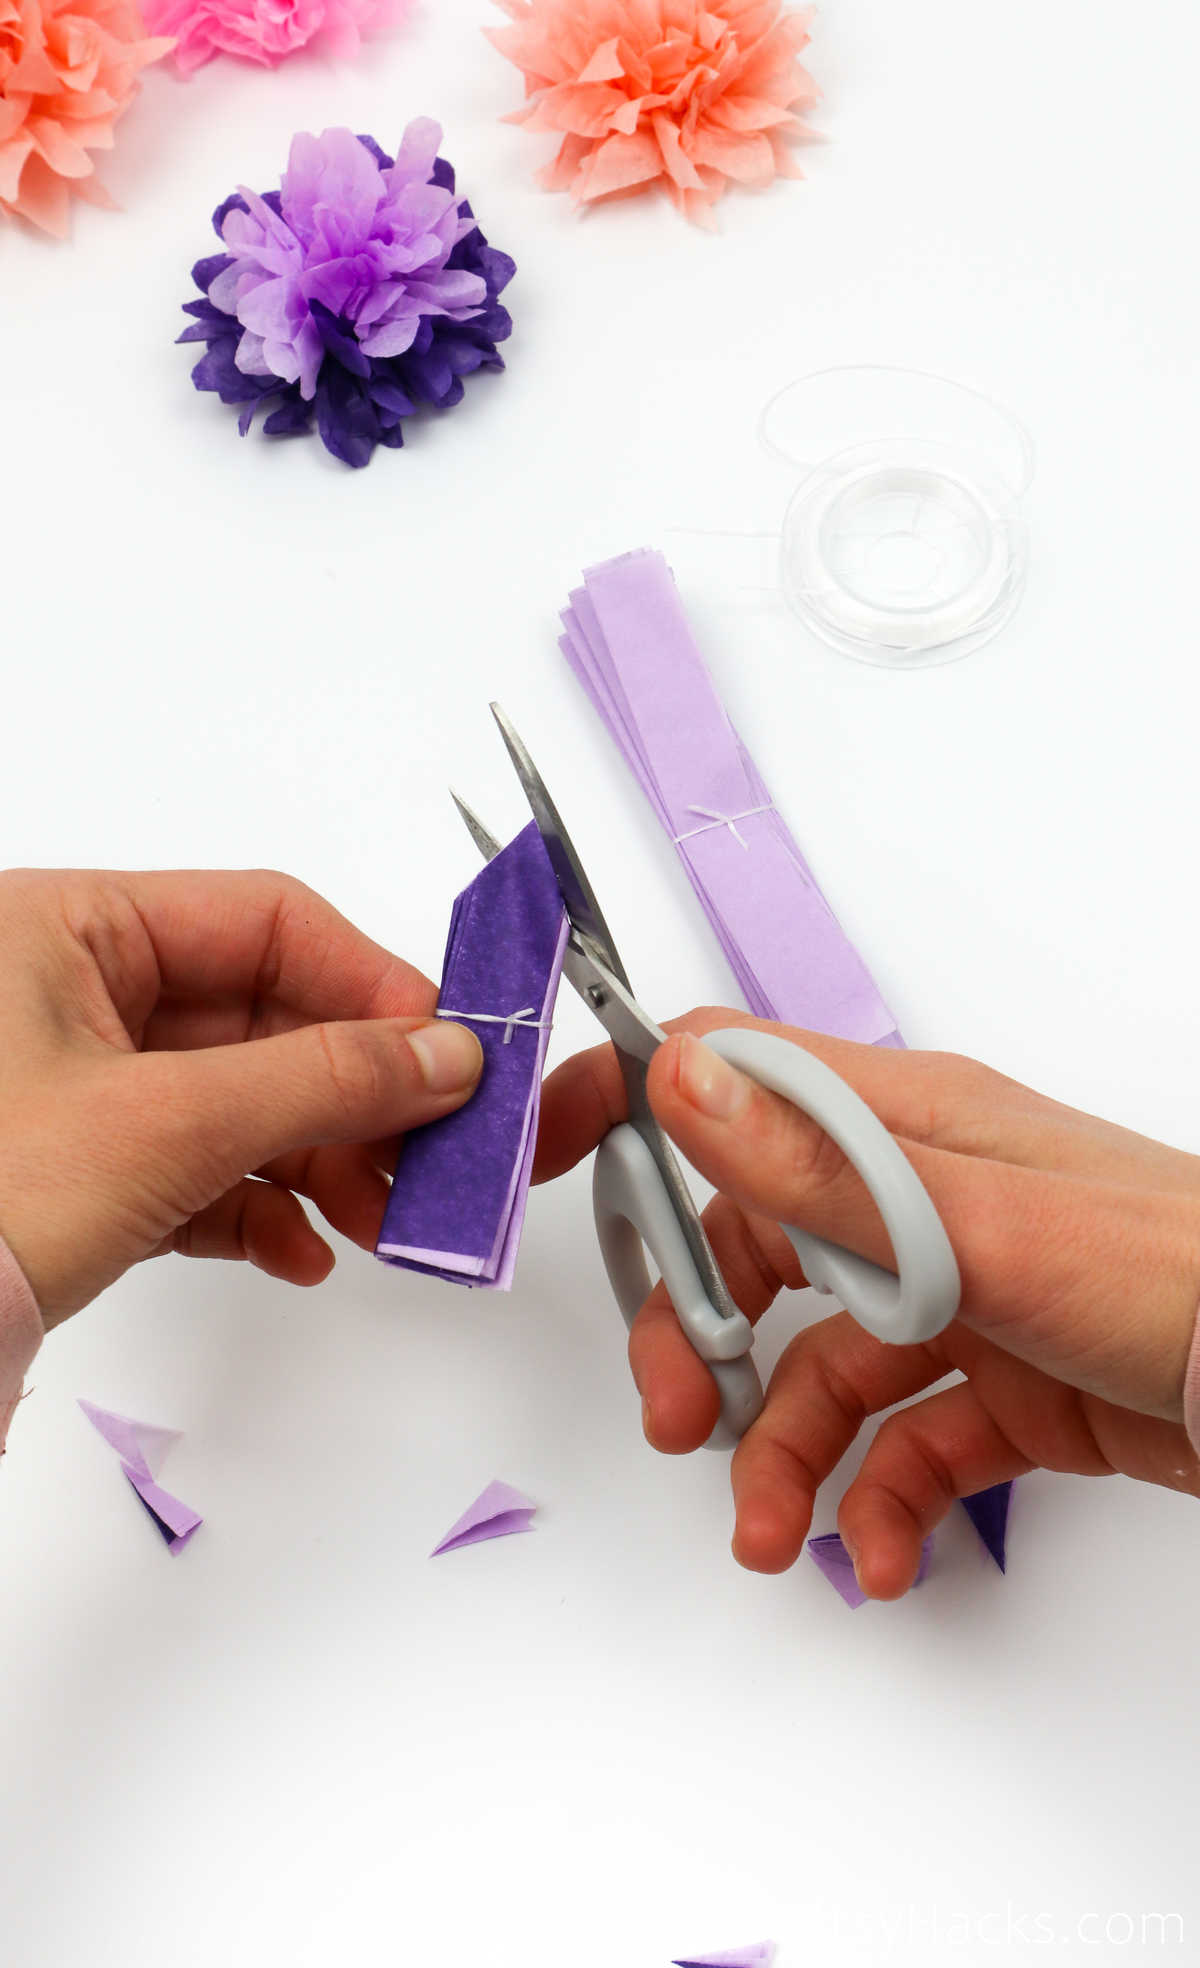
For example, you can cut the stacks in a tapering V, a curved U, or even into stripped ends, as seen below.
Step 5
Carefully separate the layers: gently pull each sheet upward and outward from the center, one layer at a time. Work slowly to avoid tearing the tissue.
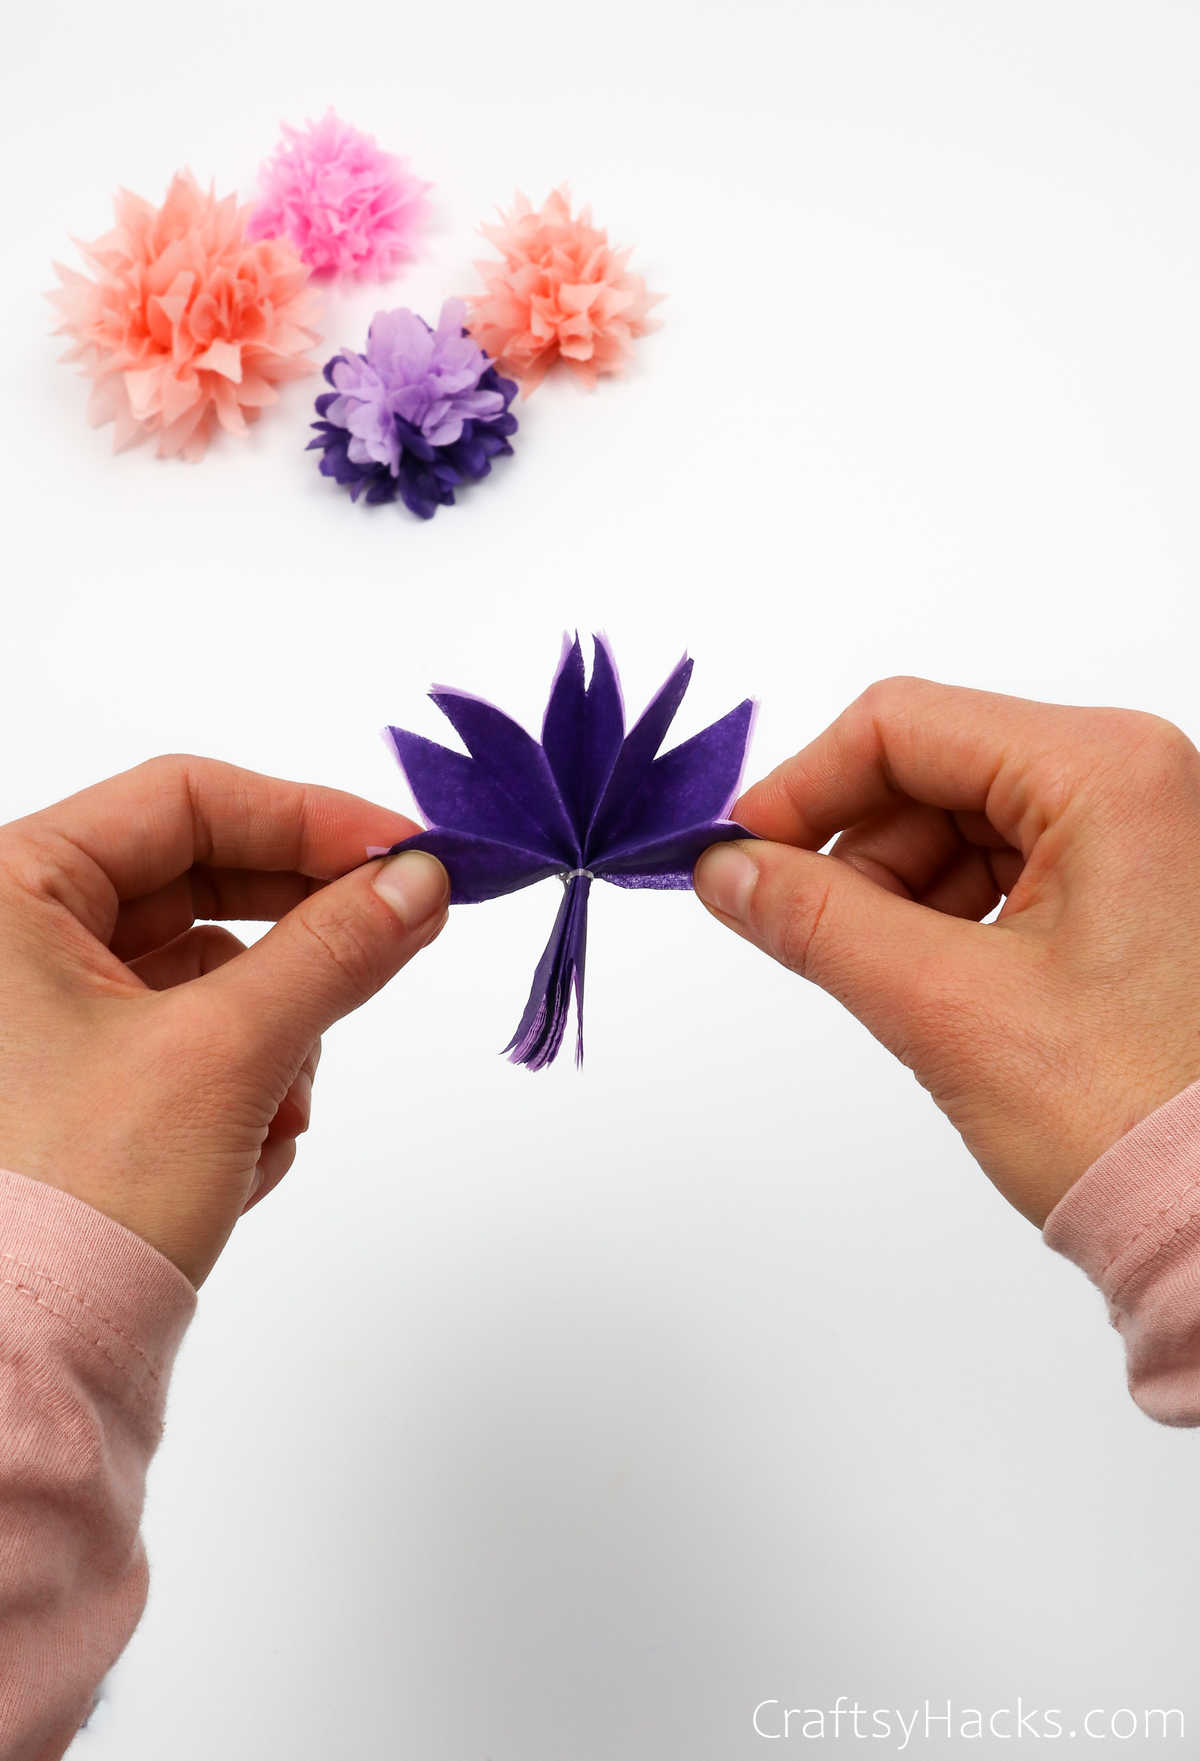
Spread every single layer and individual paper petal out and separate them from the stack.
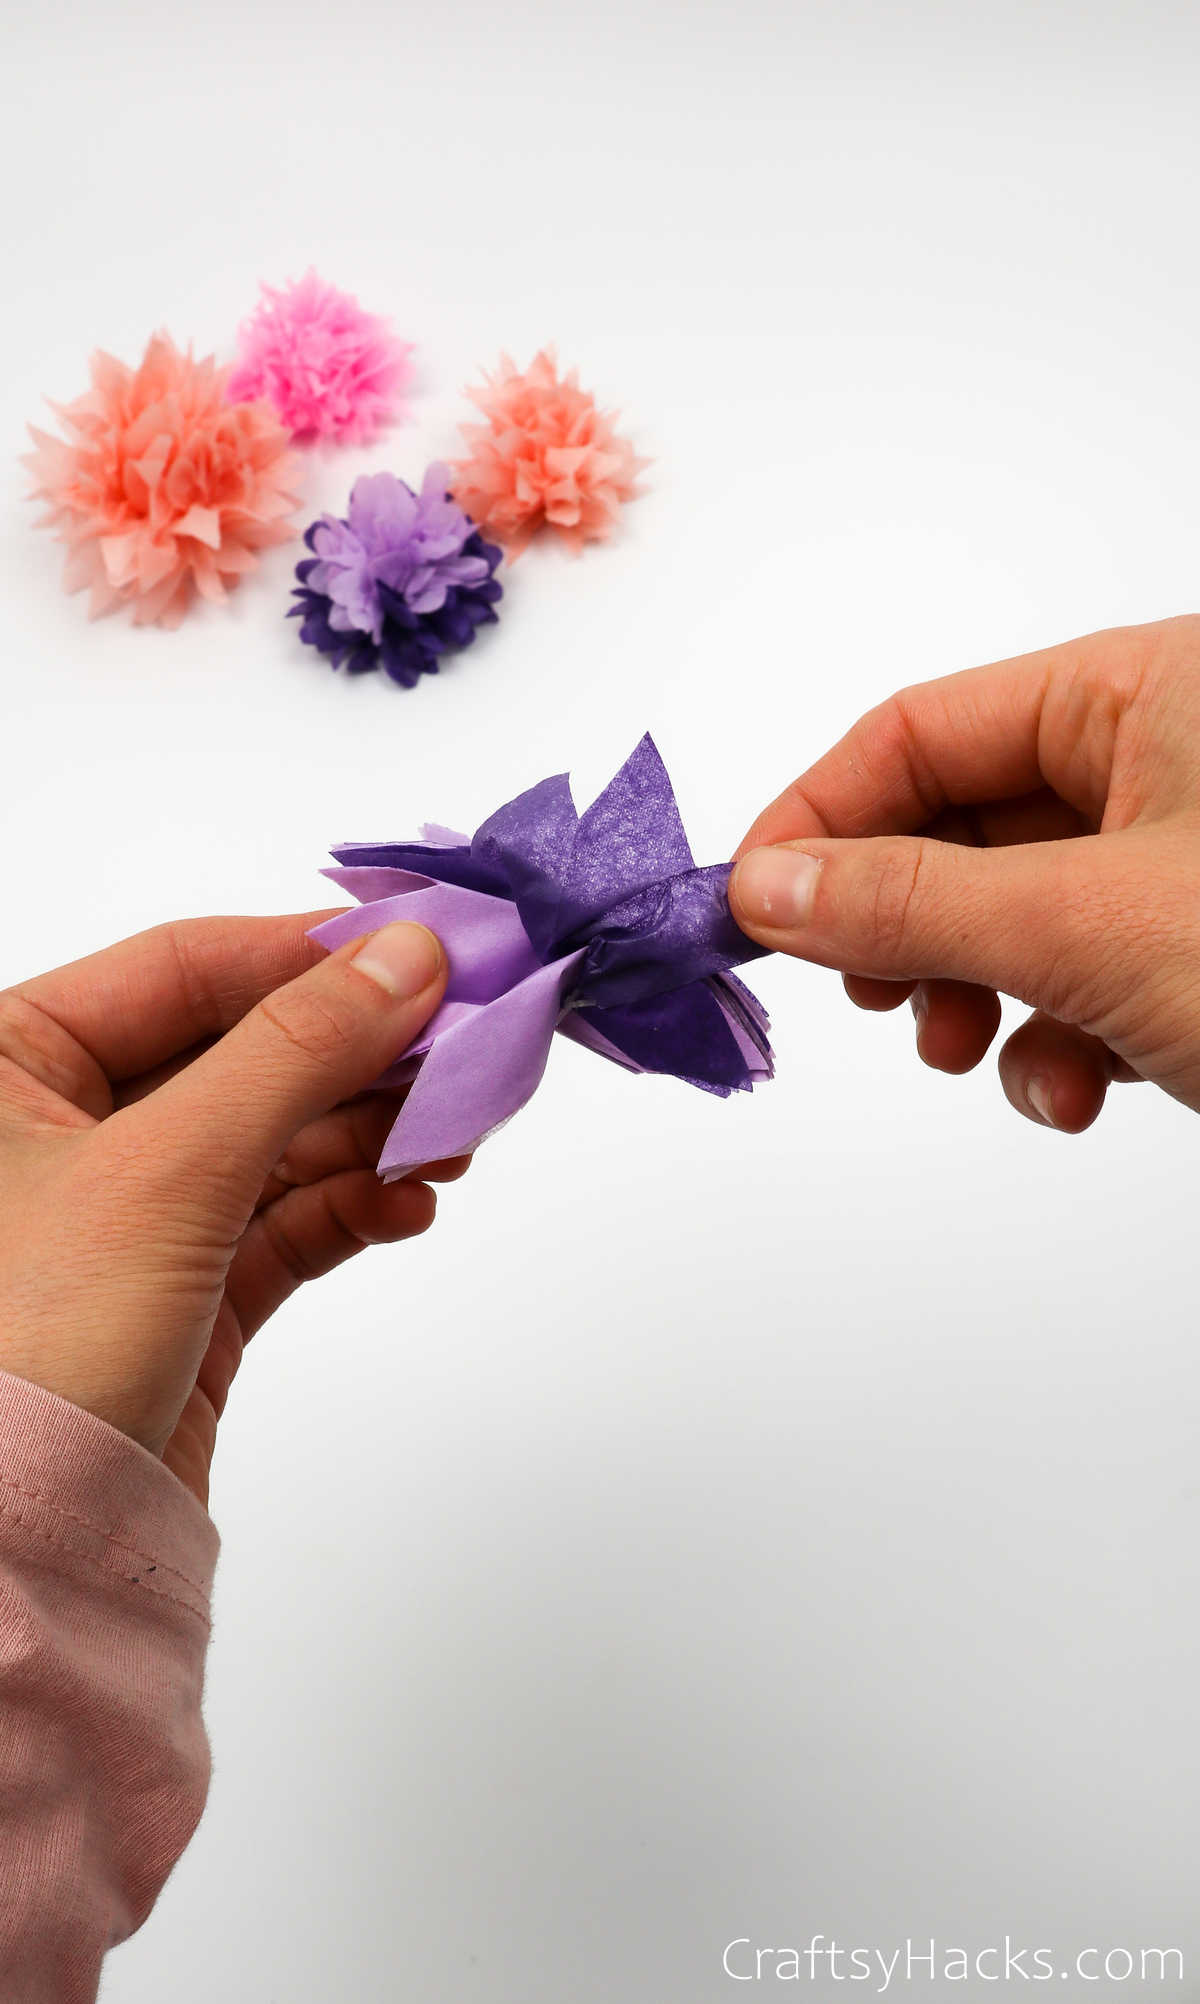
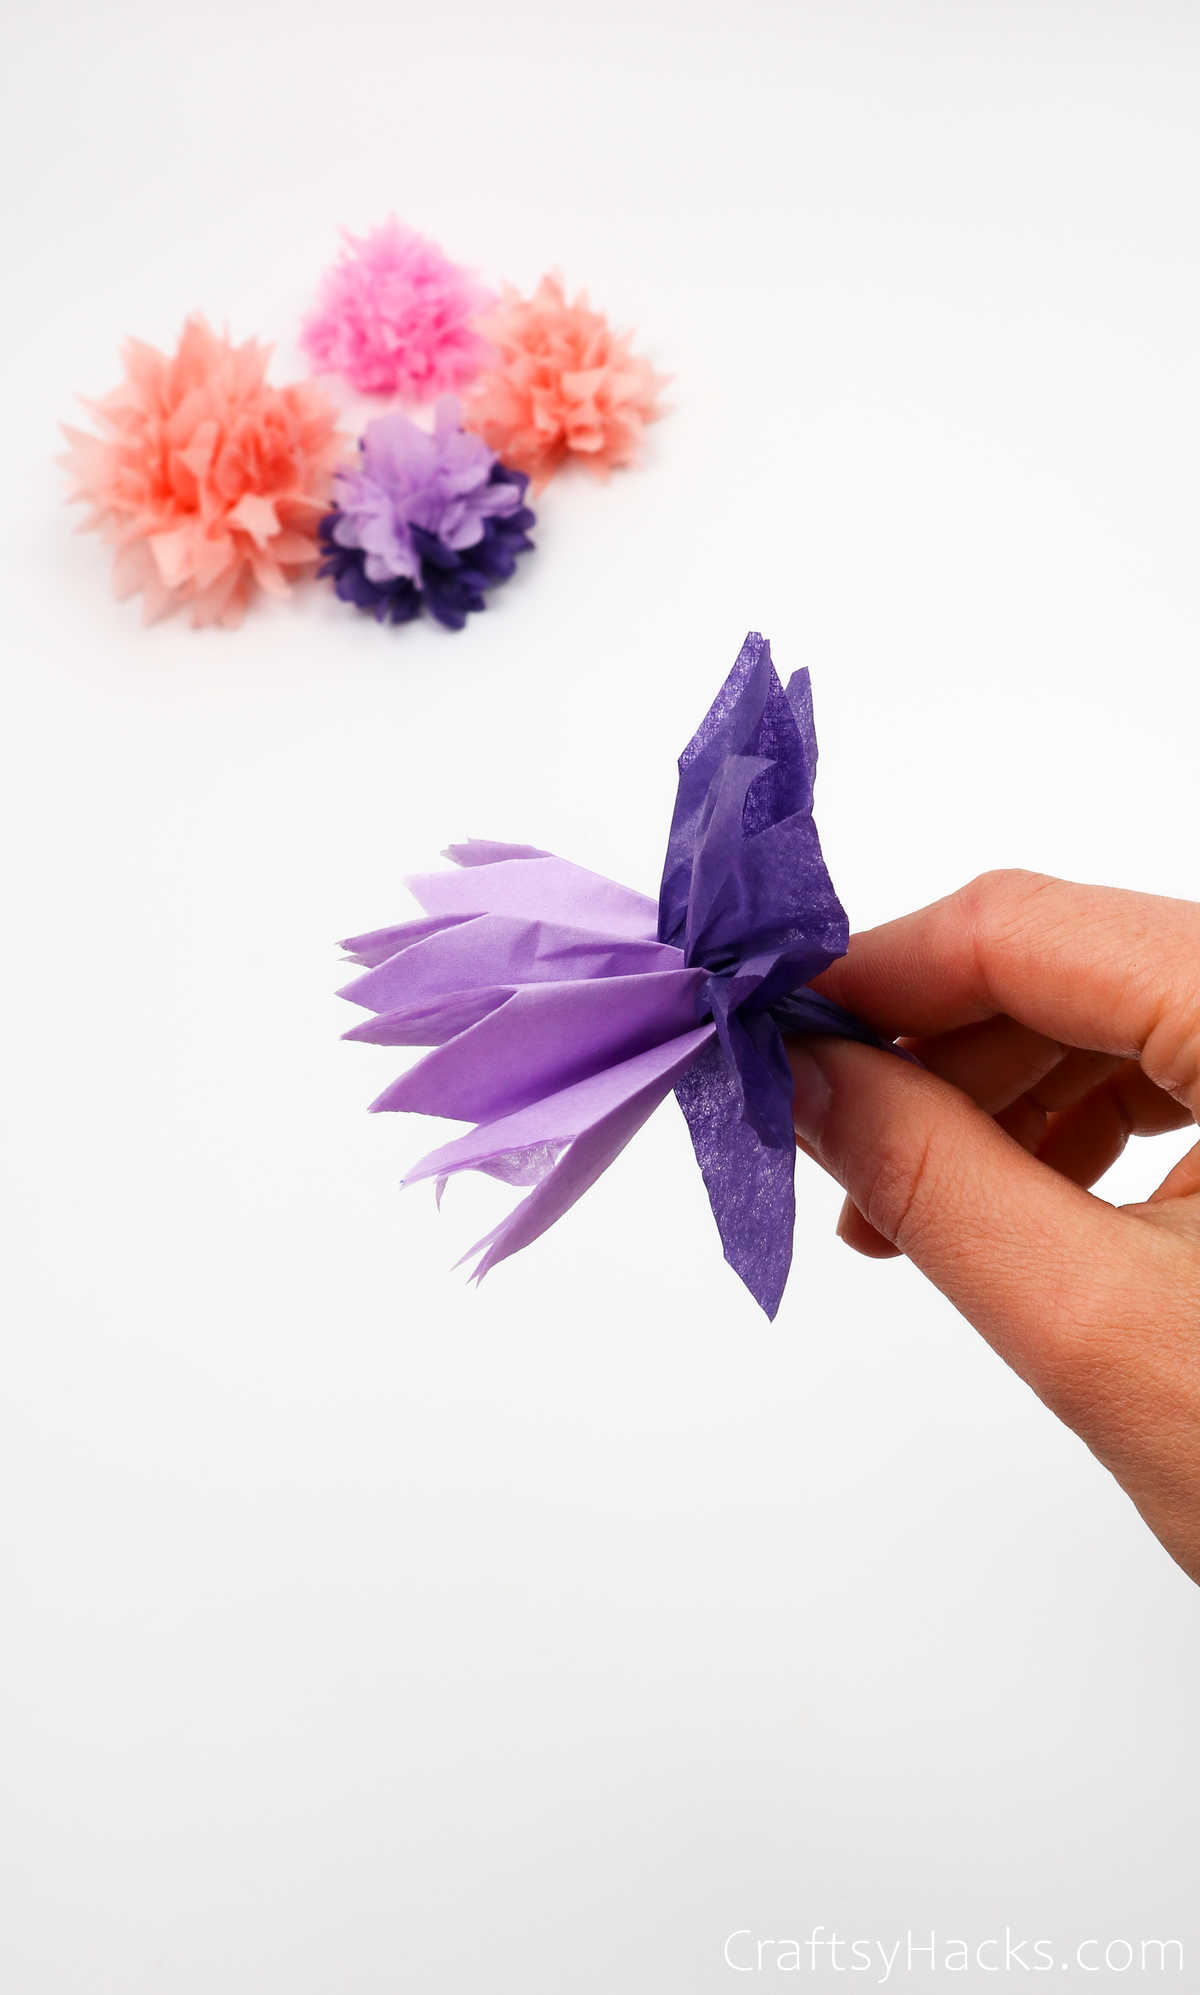
If you used different colors, unfurl layers in the same order you stacked them to preserve the color pattern.
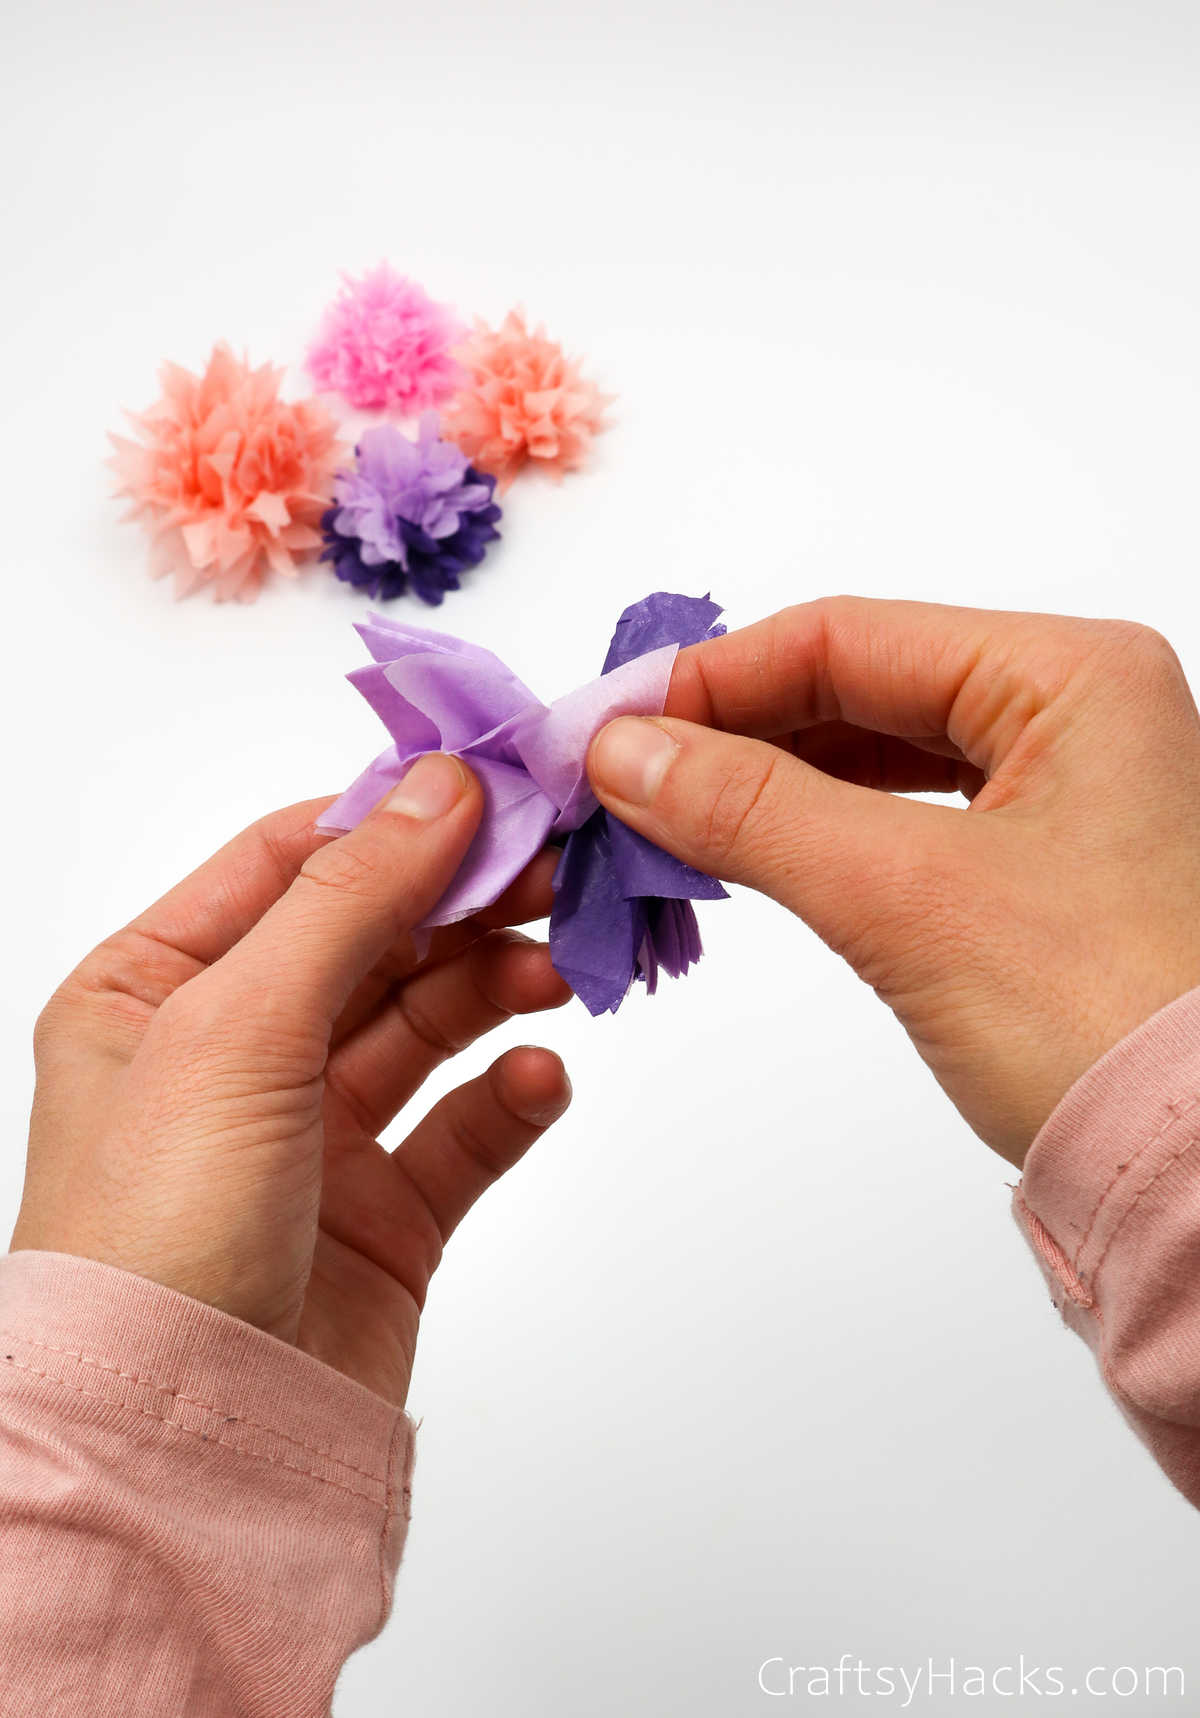
Step 6
Once all sheets are separated and fluffed, shape the petals with your fingers until you have a round, full flower. Adjust layers until you’re happy with the volume and appearance.
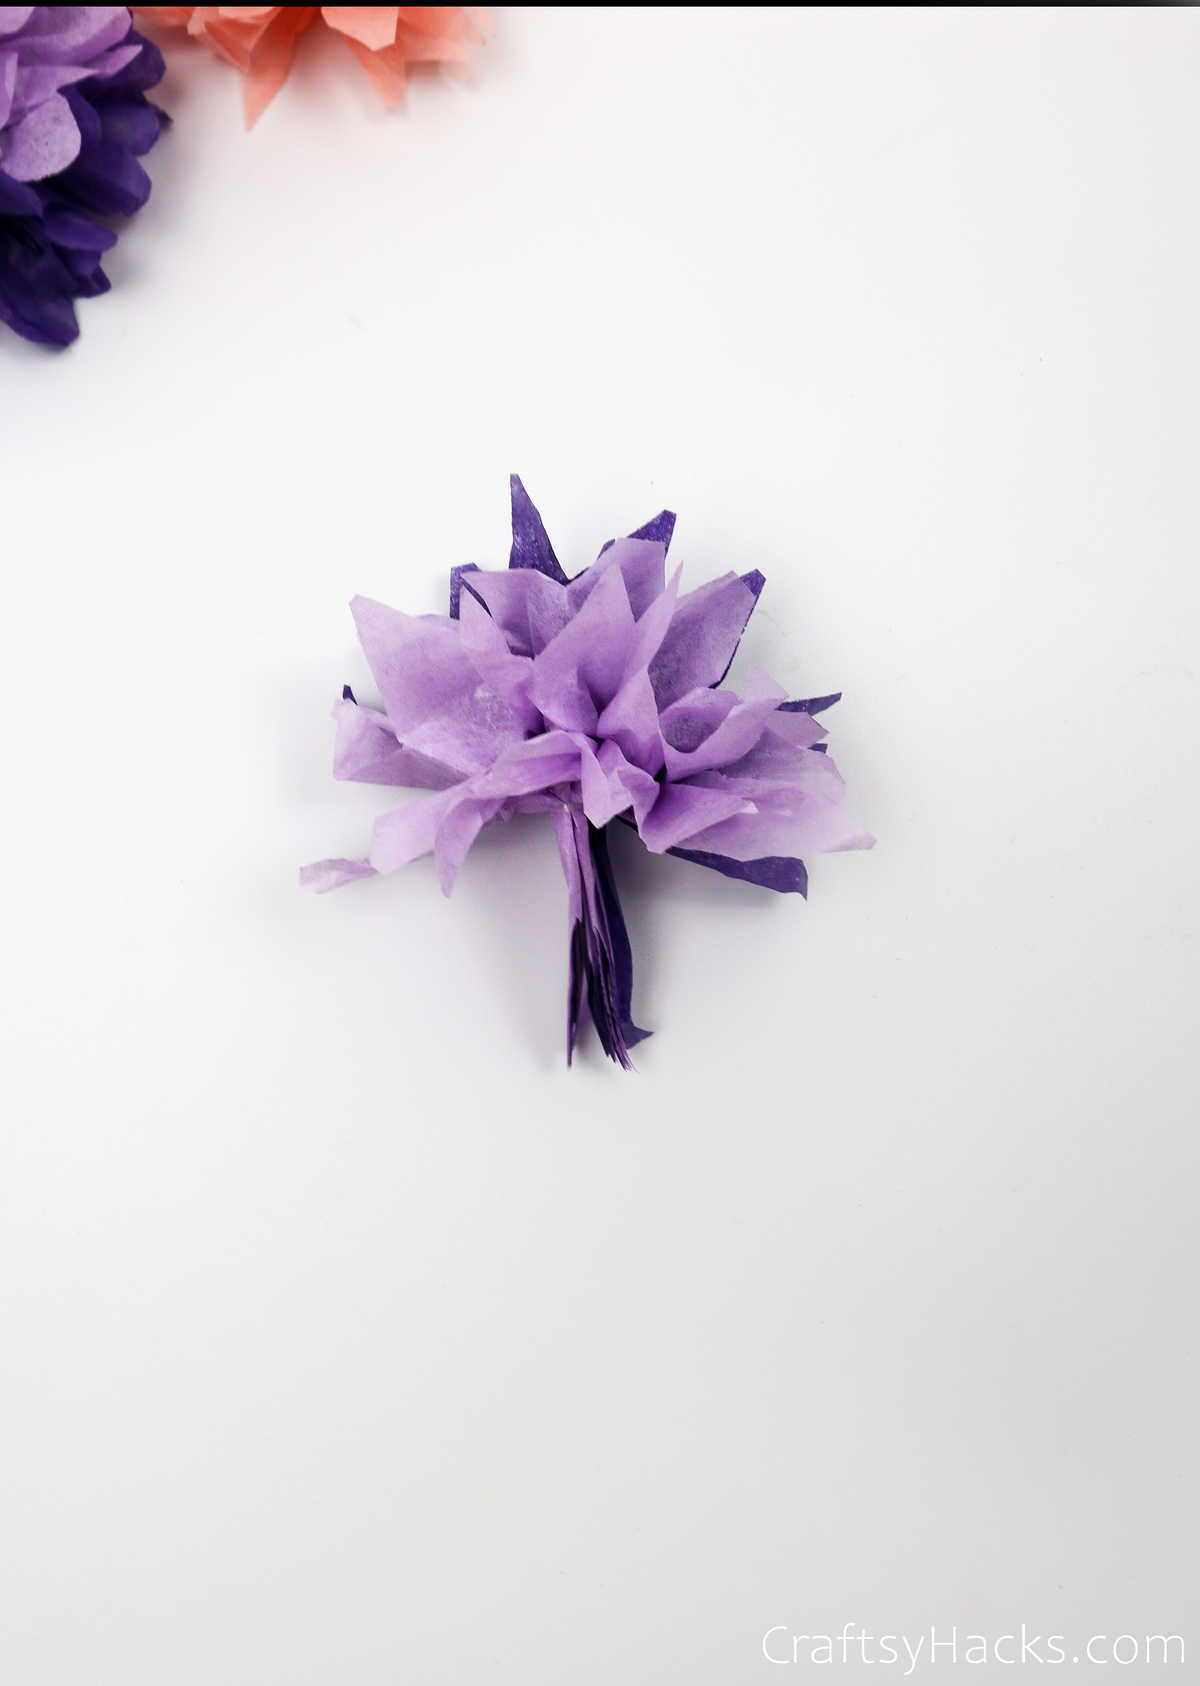
Repeat the same process for the bottom half to complete the flower. Tweak petals for symmetry and fullness.
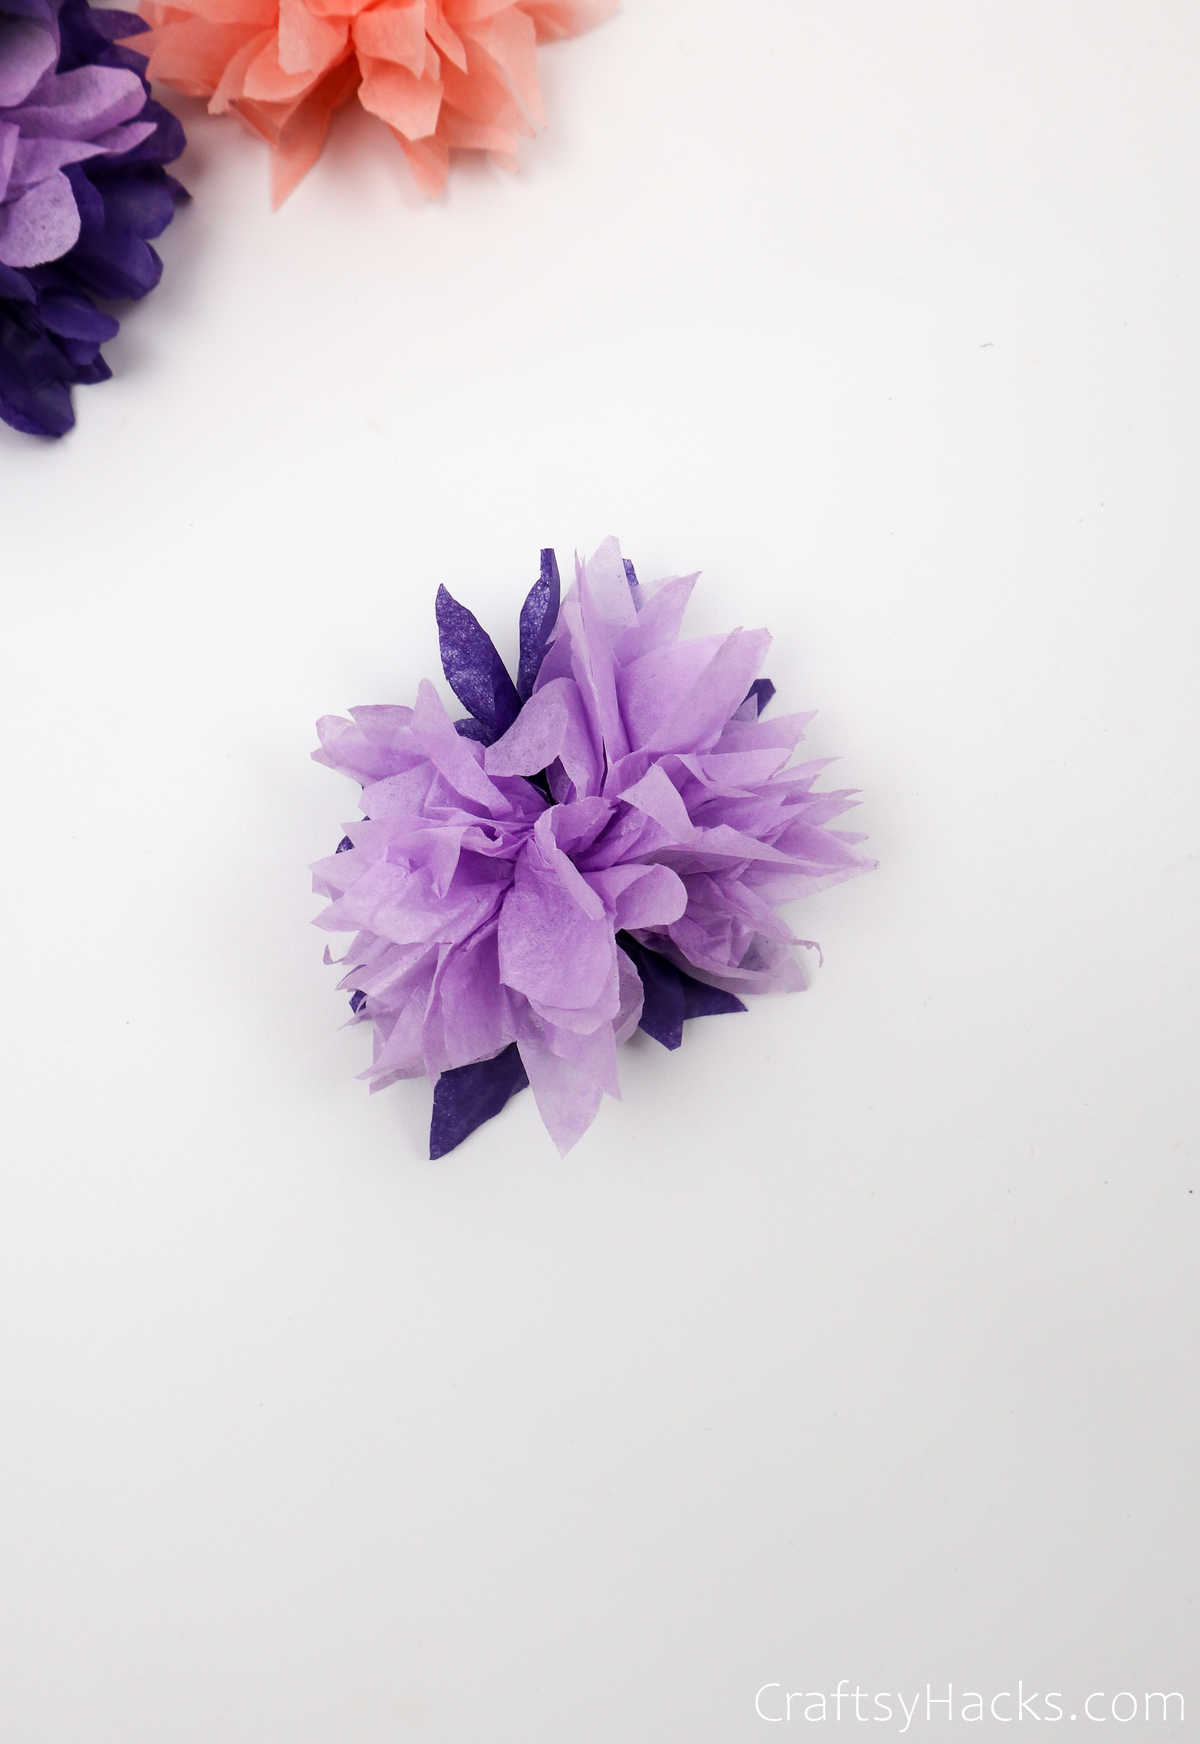
Finishing ideas: cluster several finished flowers for a bouquet, attach stems or hang as a garland. Store flat and re-fluff before use if needed.