DIY Miniature Ribbon Flowers: Easy Step-by-Step Guide
Creating DIY miniature ribbon flowers is a delightful and rewarding craft project that adds a touch of charm to gift wrap, hair accessories, bridal favors, or home decor. This step-by-step guide walks you through the simple process using basic supplies and easy folding and stitching techniques. Follow the instructions below and refer to the photos for visual guidance.
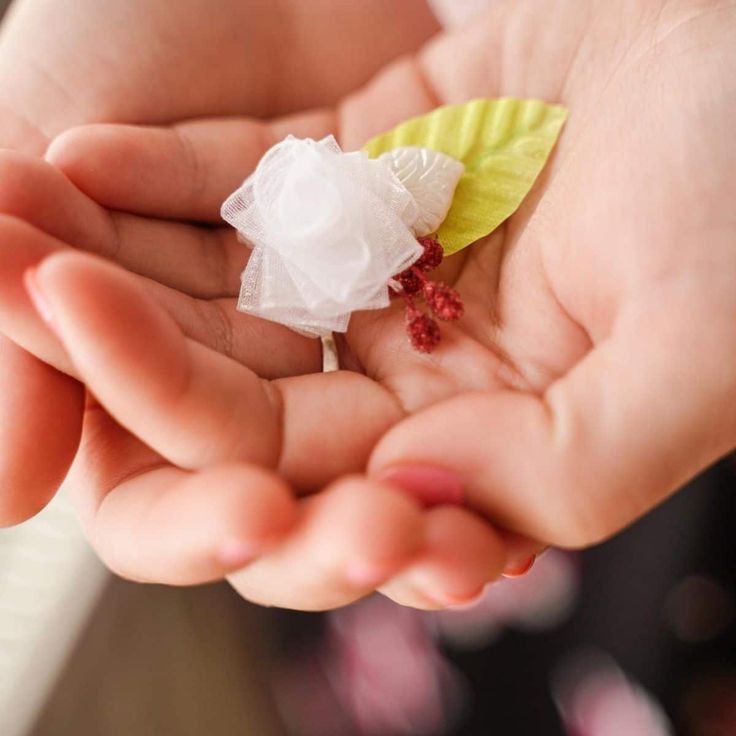
Caption: A finished miniature ribbon flower — small, delicate embellishment perfect for crafts and gifts.
Supplies Needed
- Thin sheer ribbon (12" lengths work well)
- Artificial leaves on a stem
- Fake berries
- Charm
- Upholstery thread
- Needle
- Scissors
- Hot glue gun
- Hot glue stick or hot glue rope
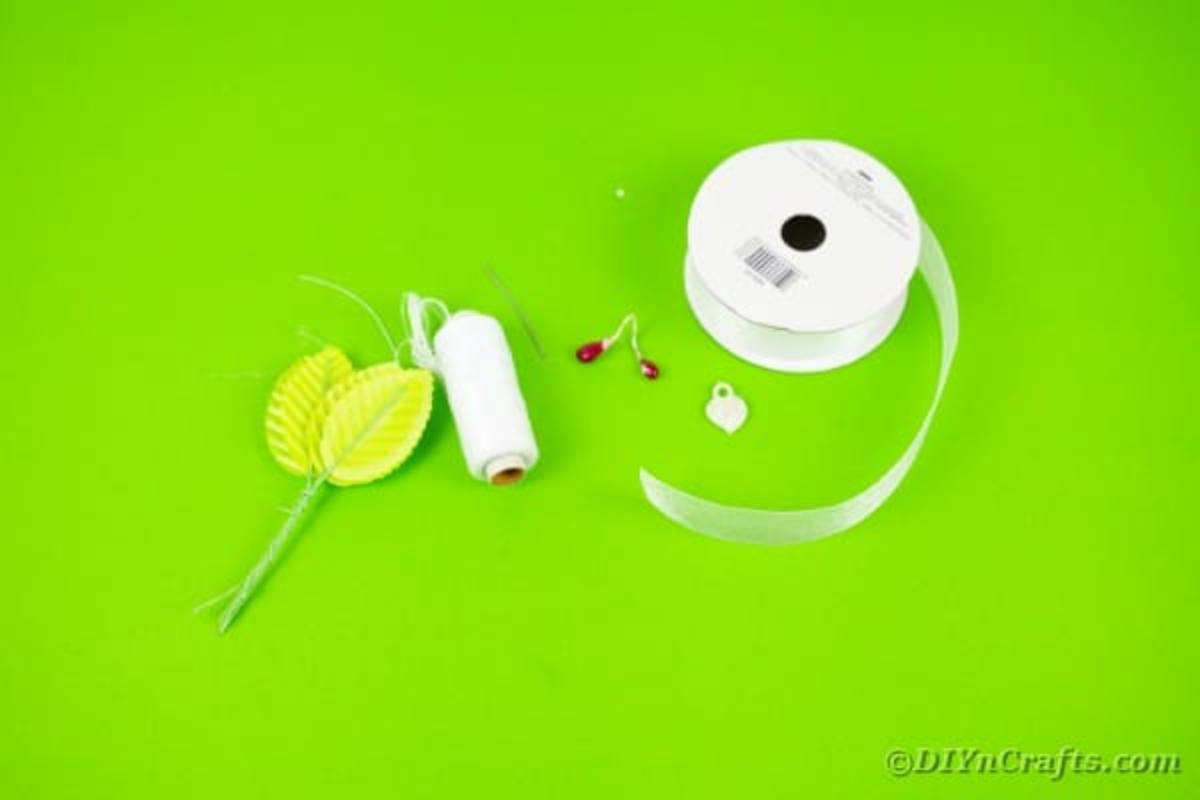
Caption: Gather your supplies before starting — ribbon, thread, leaves, berries, charm, and a hot glue gun.
How to Make Miniature Ribbon Flowers:
1. Measure and cut a 12" length of ribbon.
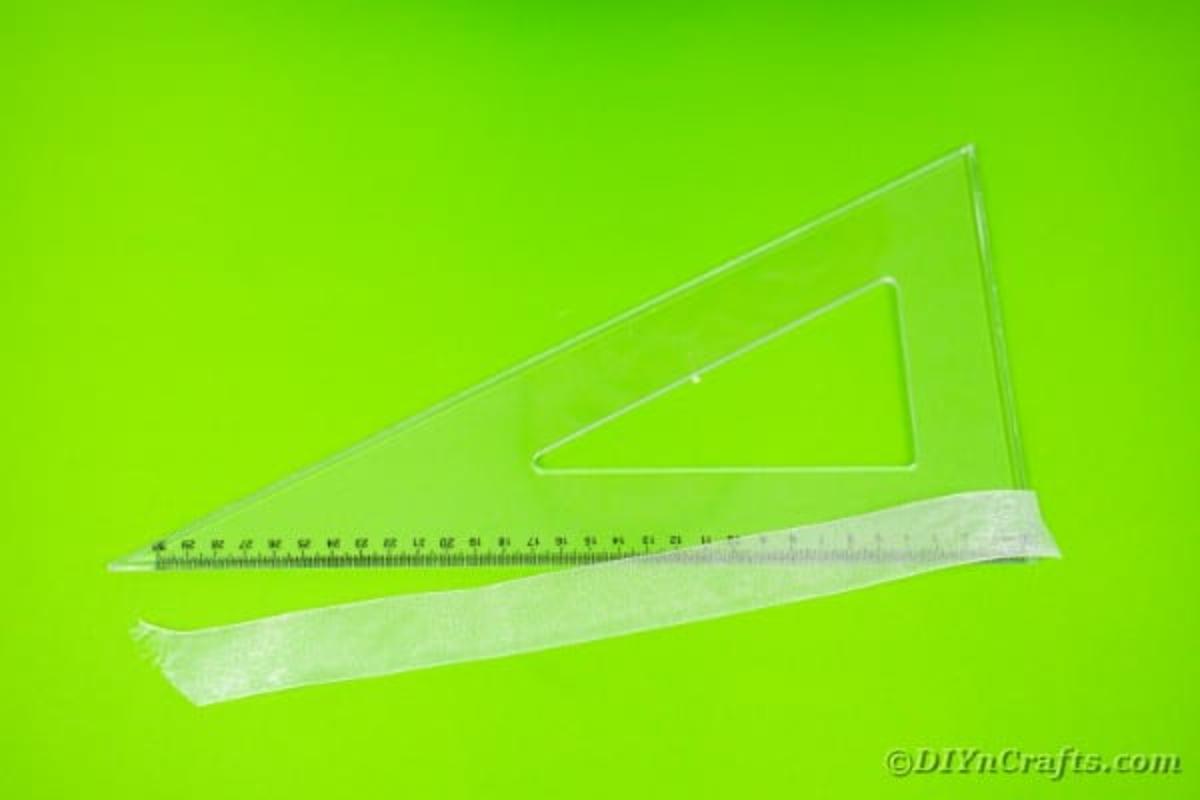
Caption: Measure a 12" length of sheer ribbon for each flower.
2. Thread the upholstery thread onto the needle.
3. Slide one end of the ribbon over the needle, then fold the ribbon back and forth in an accordion style. As you fold, stick the needle through the center of the folds, moving along the ribbon toward the end so the folds are held together on the needle.
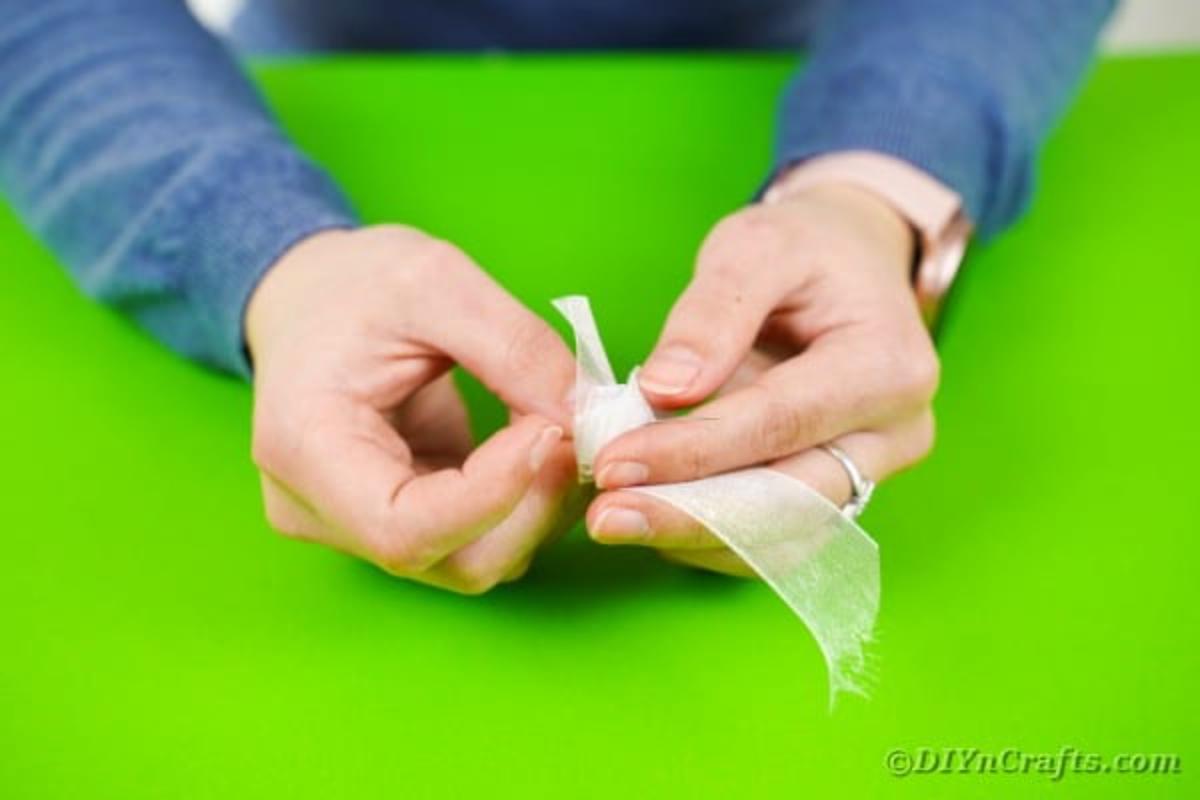
Caption: Fold the ribbon accordion-style and pierce the center with the needle to hold the folds together.
4. When you reach the end, pull the needle through so the entire ribbon is secured by the thread.
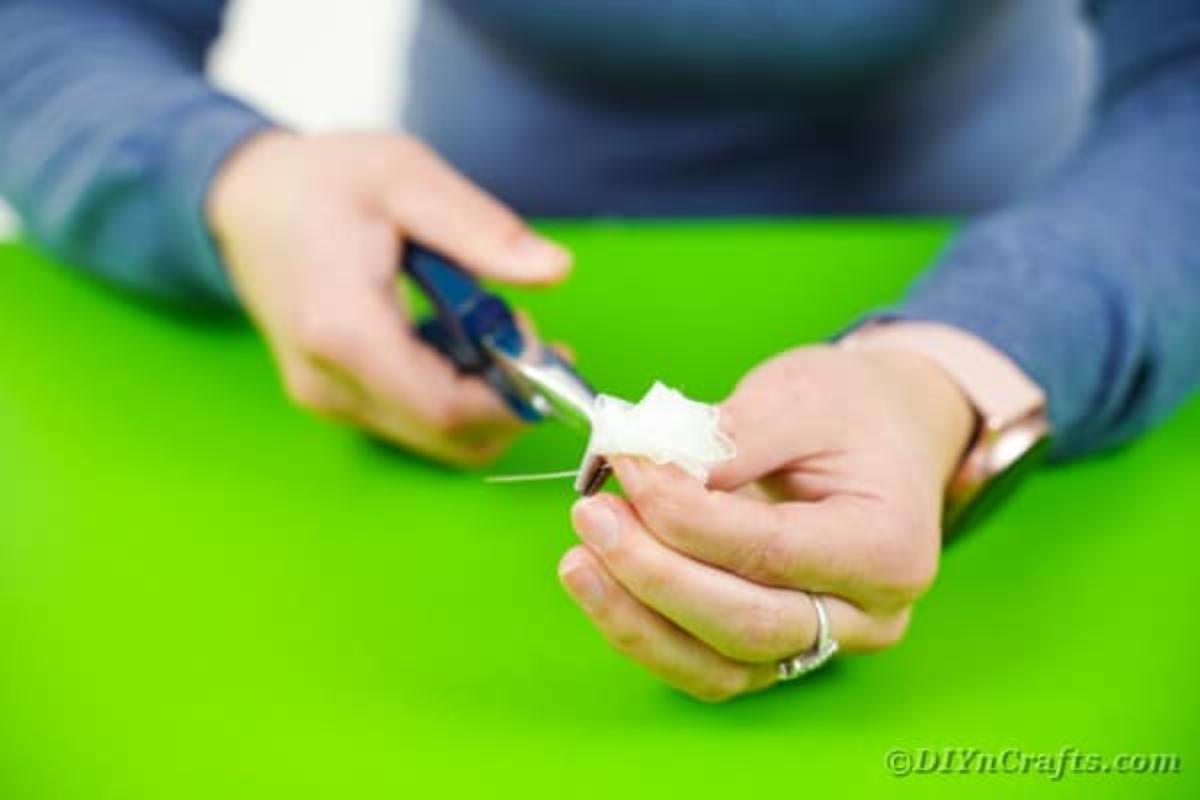
Caption: Pull the thread tight and secure the gathered ribbon so the flower shape forms.
5. Cut and tie the ends of the thread to hold the folds. On the bottom side of the flower, add a small dab of hot glue to further secure the stitches and keep the petals in place. Use a lighter carefully to burn the ribbon edges if you want to prevent fraying.
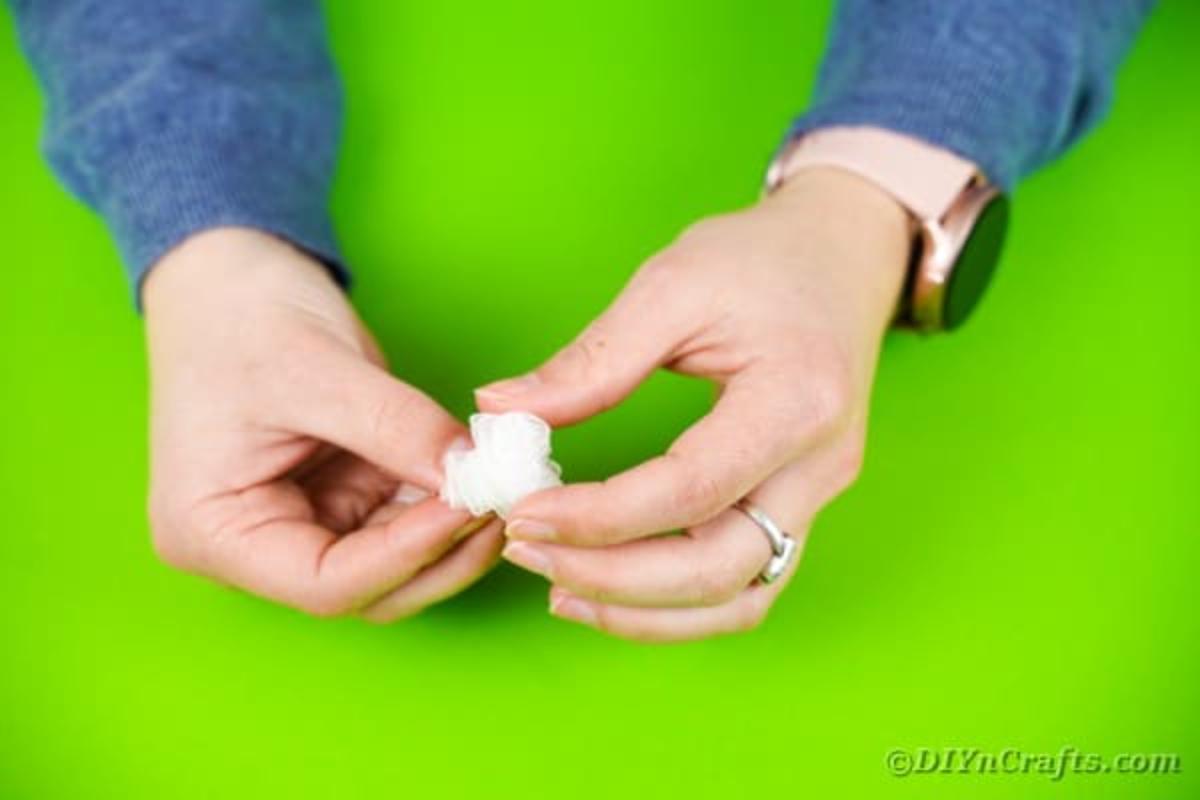
Caption: Secure the thread knots with a bit of hot glue on the underside to stabilize the flower.
6. Fluff the top of the flower to cover the thread and shape the petals. Using hot glue, attach small fake berries to the bottom or center as desired for added detail.
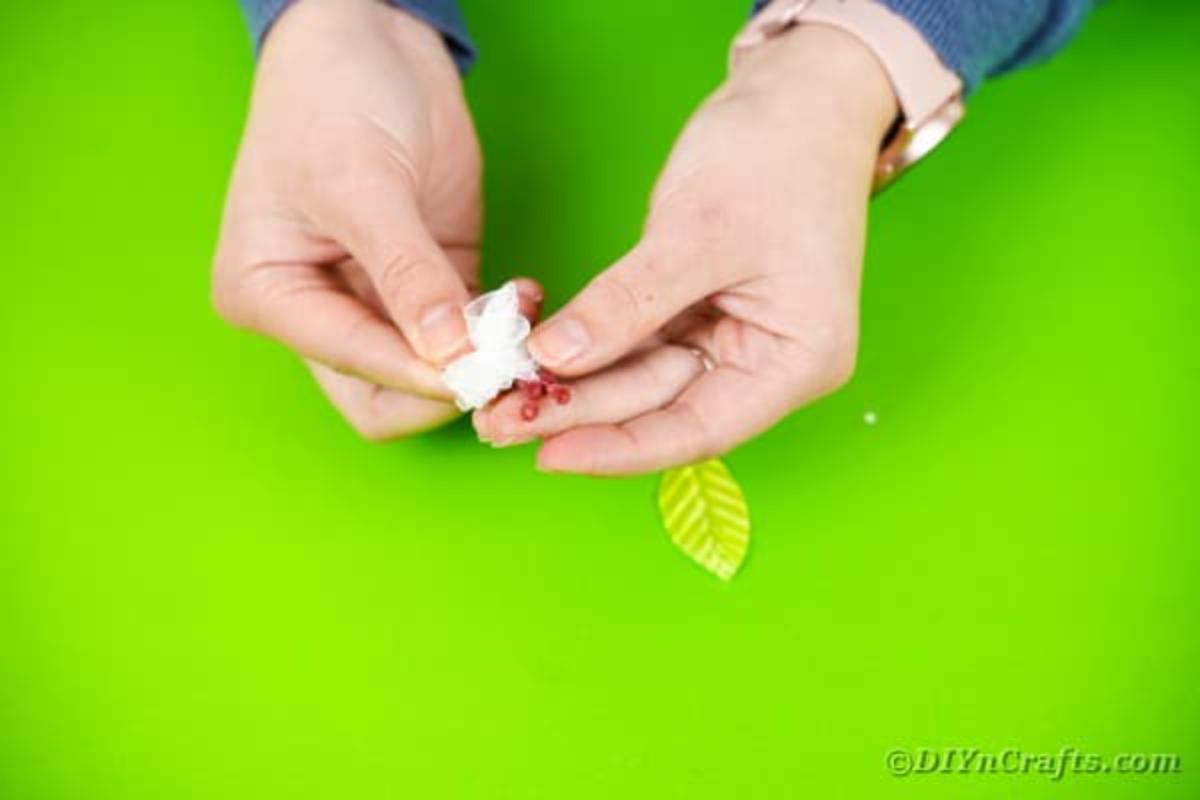
Caption: Fluff petals and glue small berries to the flower for a realistic accent.
7. Glue a charm onto a leaf and then attach the leaf to the bottom of the flower with hot glue to finish the embellishment.
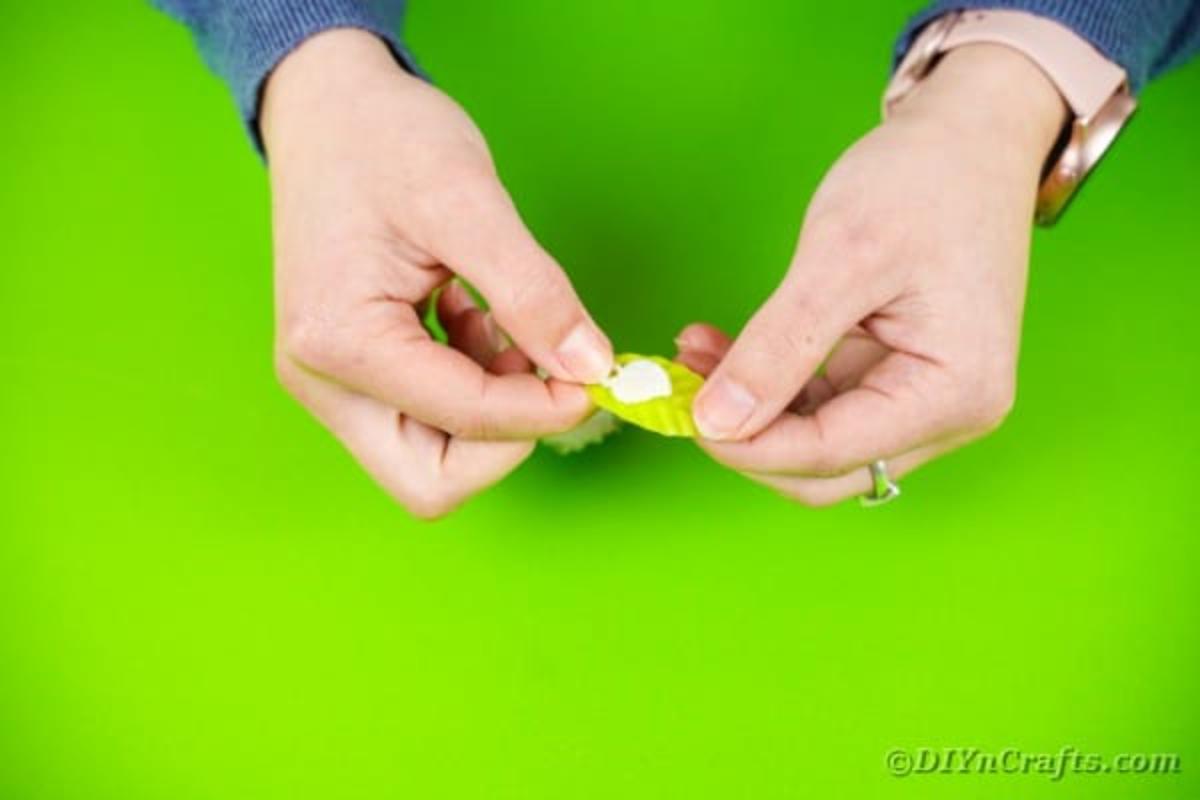
Caption: Add a charm to a leaf to give your flower a personalized or decorative touch.
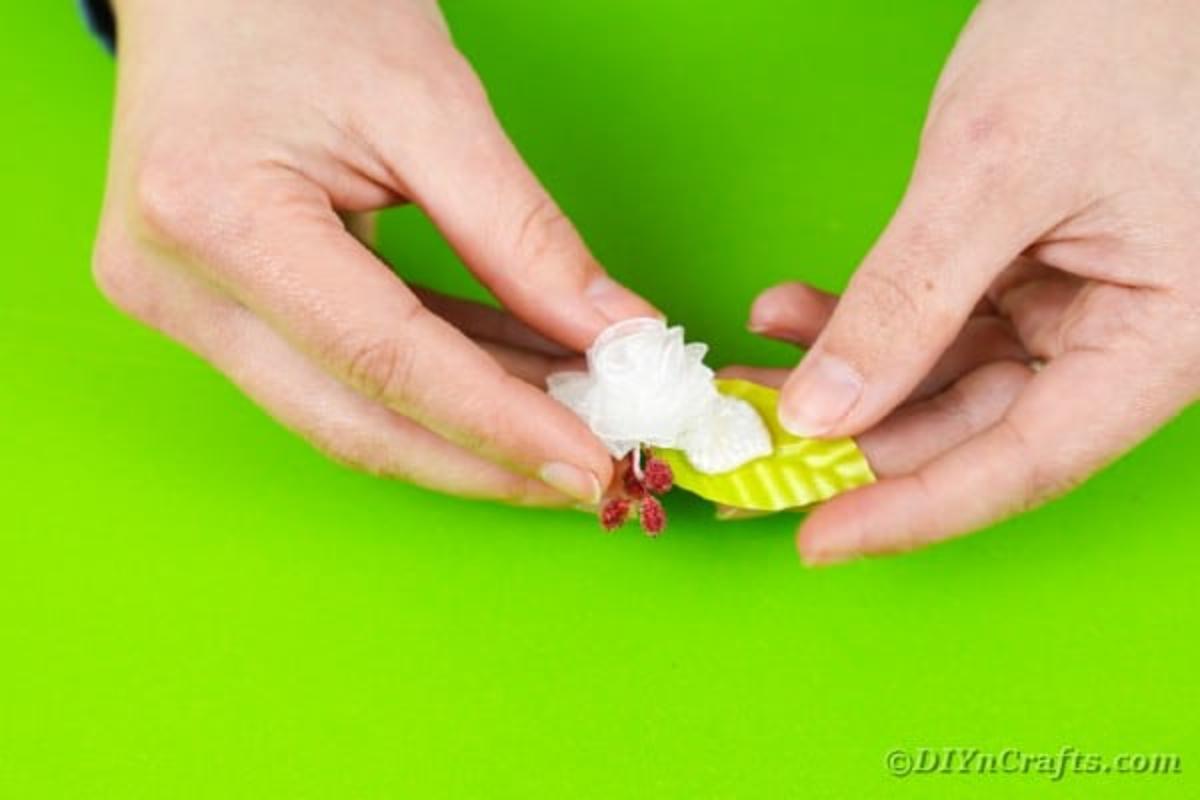
Caption: Secure the leaf to the bottom of the flower for a finished, natural look.
8. Repeat the steps to make as many flowers as you need for your project or event. Combine multiple flowers into clusters or attach them individually to accessories.
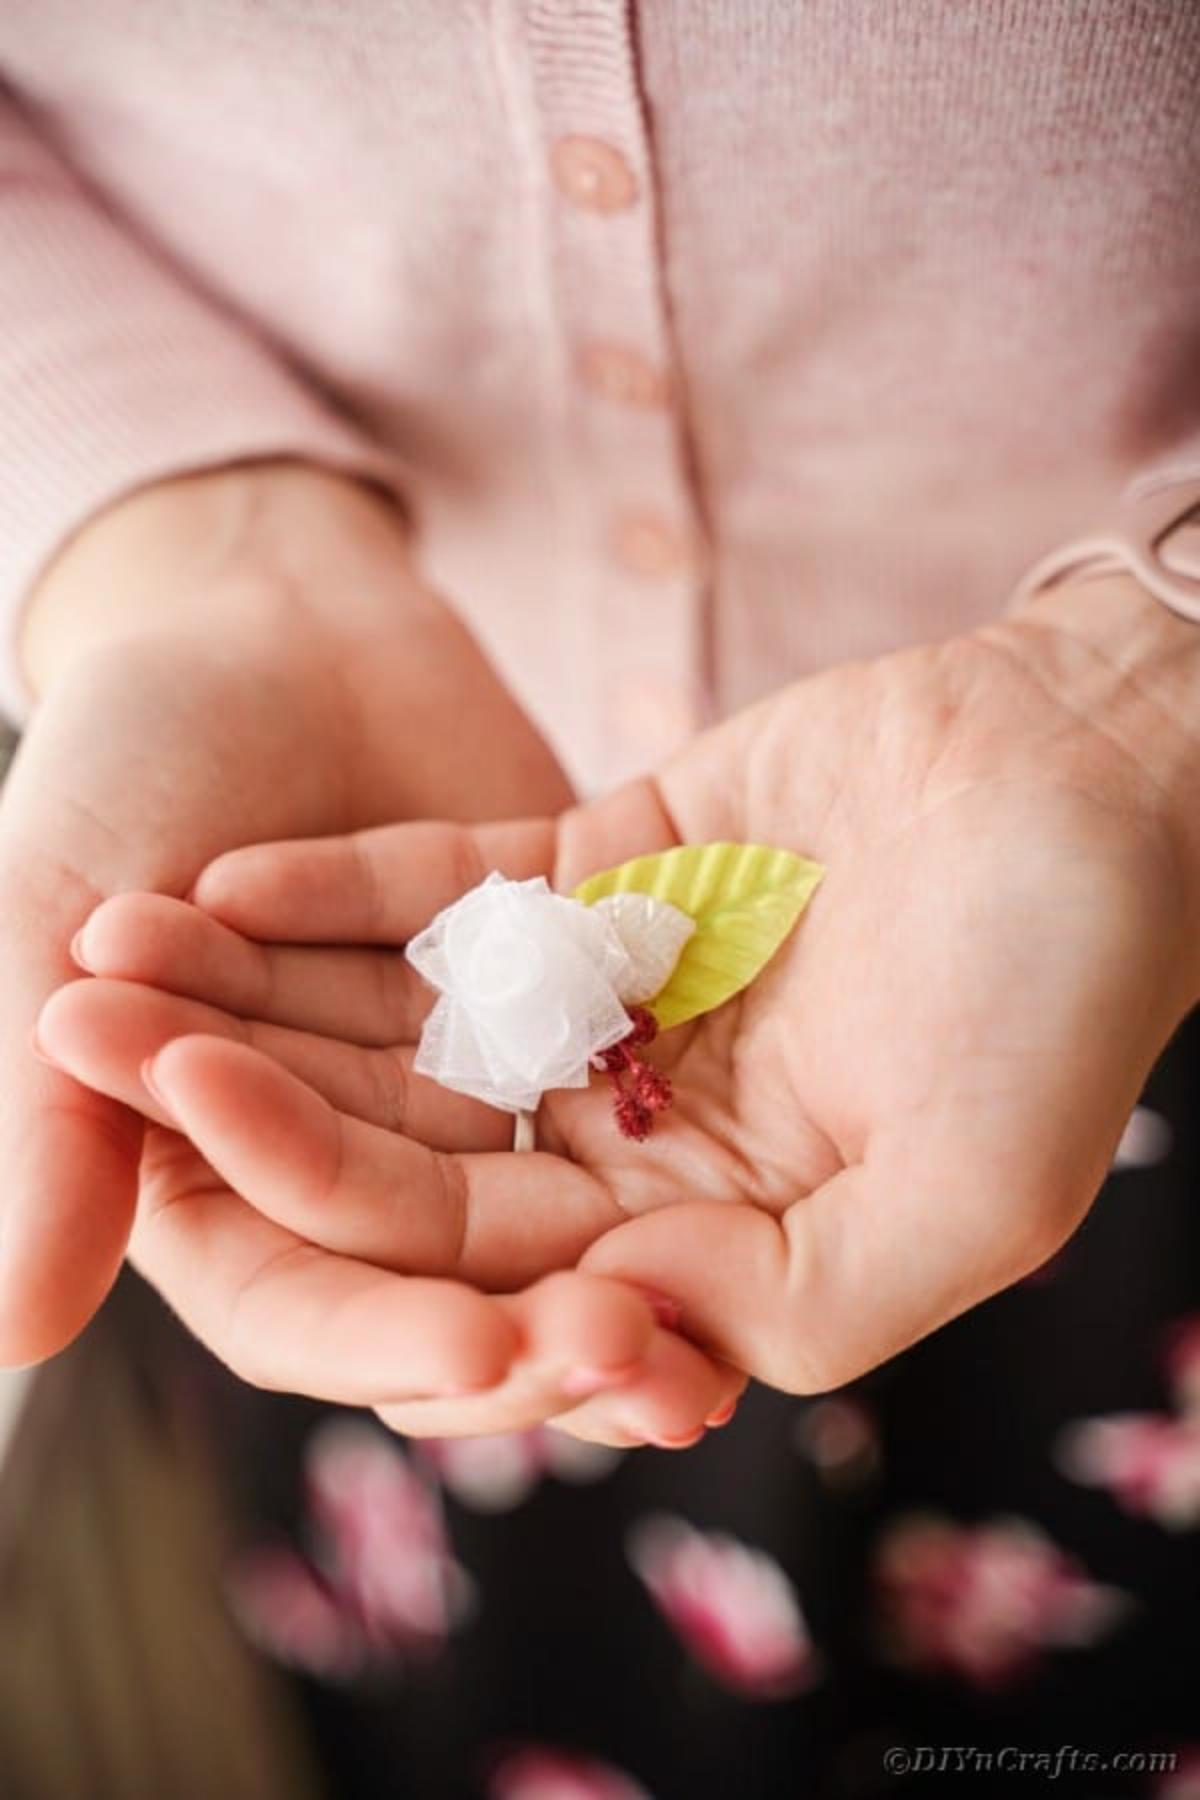
Caption: Make multiple miniature ribbon flowers to create bouquets, hair clips, or decorative accents.
Quick Tips & Variations
- Try different ribbon widths and textures for varied looks — satin, organza, or lace each give a different finish.
- Use coordinating charms, beads, or faux pearls as centers instead of berries for a more formal look.
- When using a lighter, work carefully and briefly to seal ribbon edges; keep water nearby and work in a well-ventilated area.
- Attach finished flowers with hot glue, fabric glue, or by sewing them onto your project depending on the application.
Enjoy creating these tiny, elegant flowers — they make charming additions to gifts, accessories, and decor.