Make Charming DIY Paper Flowers in Minutes — Easy Step-by-Step Guide
Make charming, budget-friendly decorative paper flowers using just colored paper, scissors, and glue. This quick step-by-step tutorial shows how to cut fringed strips, glue them, and roll layers to form colorful blooms you can use for vases, gift accents, wreaths, and more.
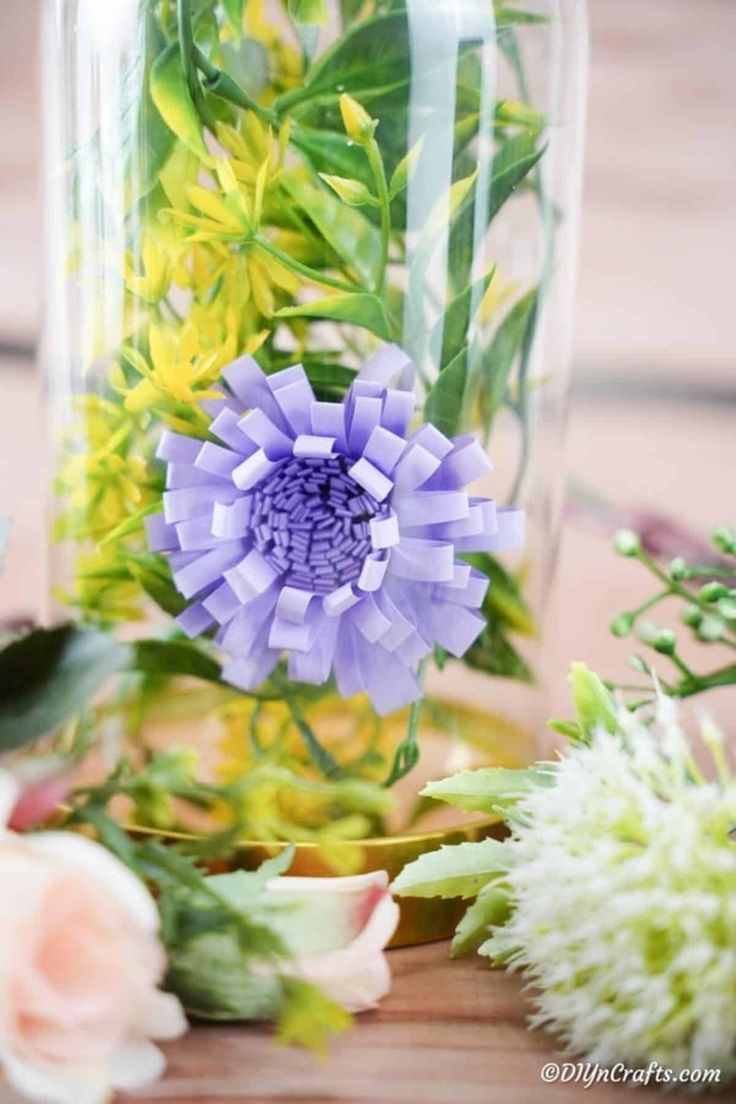
Supplies Needed
Colored paper
Scissors
Craft glue
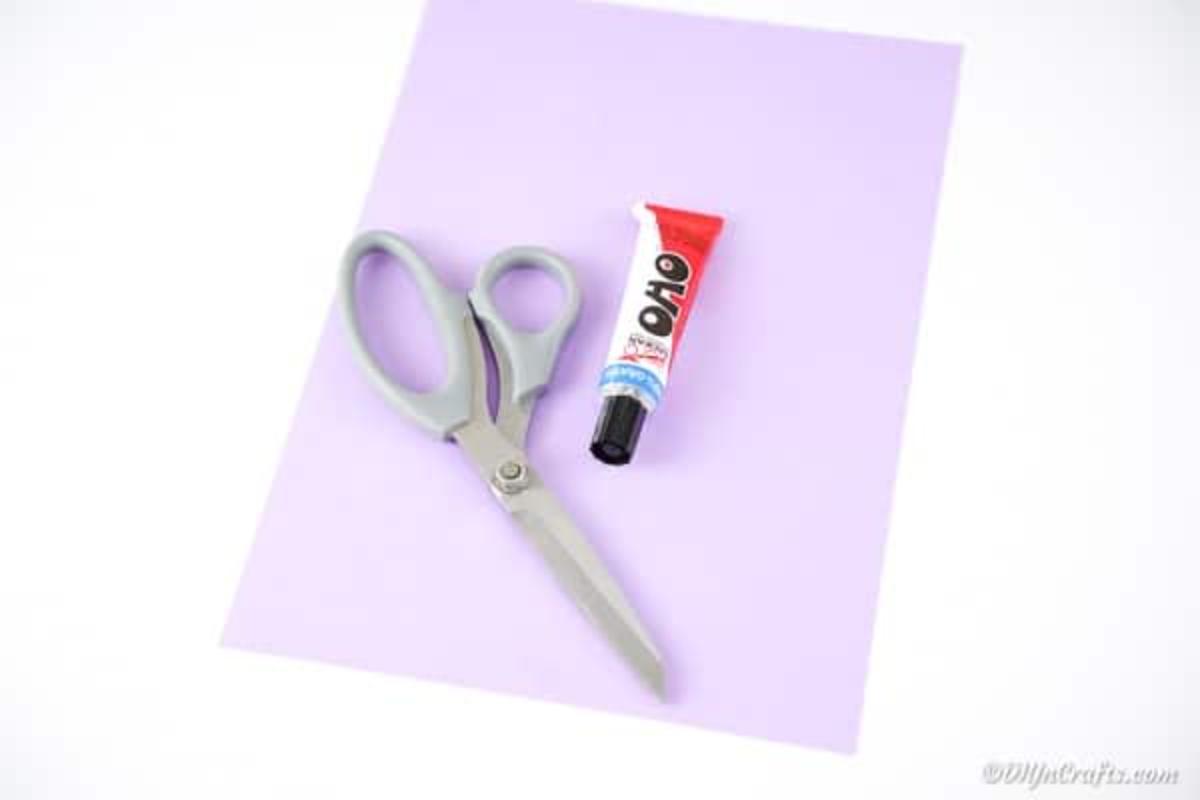
How to Make Paper Flowers
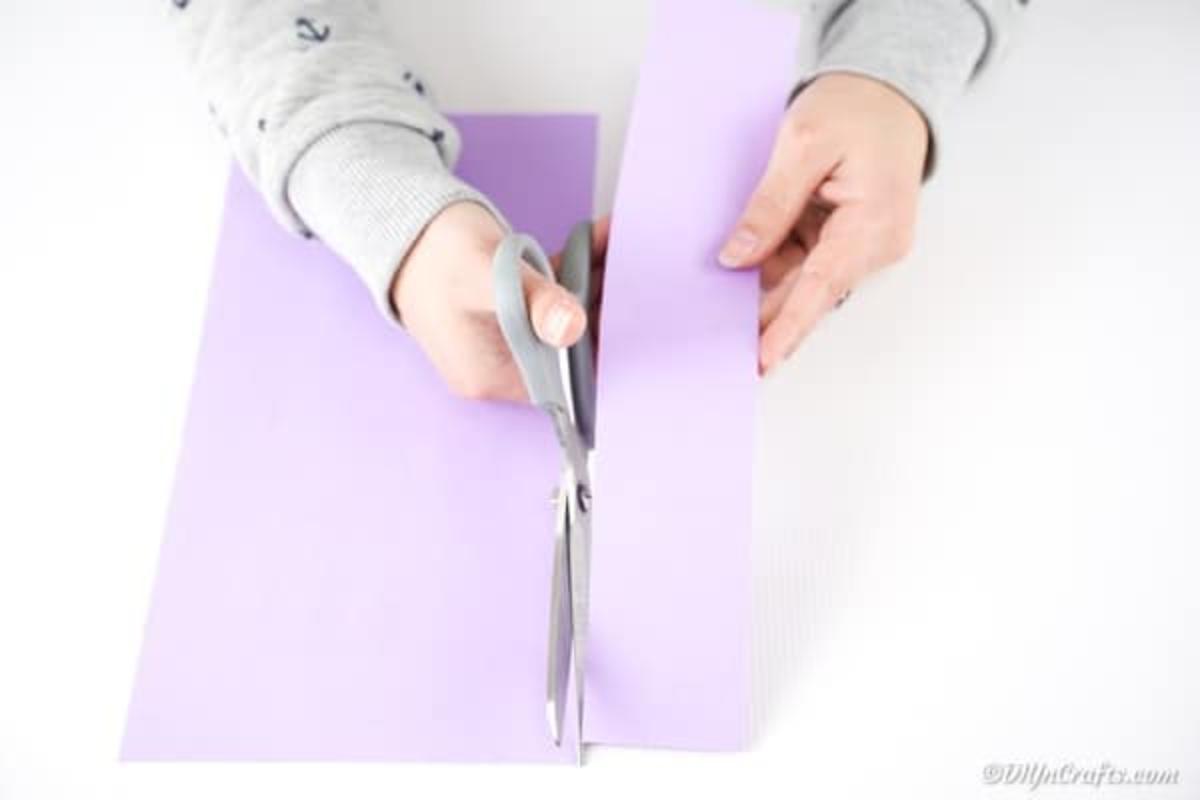
Begin by cutting a 1–1½" strip of paper (vertically).
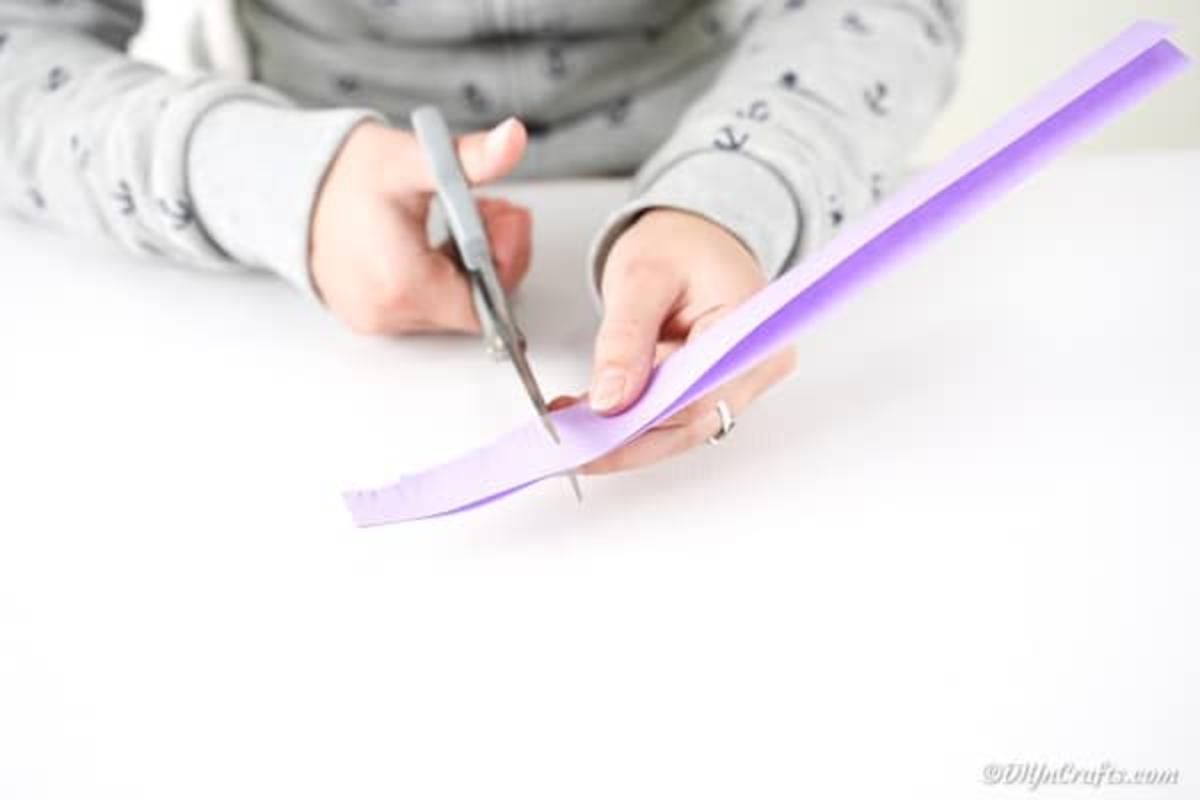
Fold the strip in half and, on the folded side, cut toward the fold about halfway through to create a fringe edge. Keep the uncut edge intact — this will hold the layers together as you roll.
Cut a slightly wider strip (about 2"–3") and repeat the folding and fringe cuts so you have a second layer for a fuller flower.
Using the smaller strip first, add a little glue along the uncut edge.
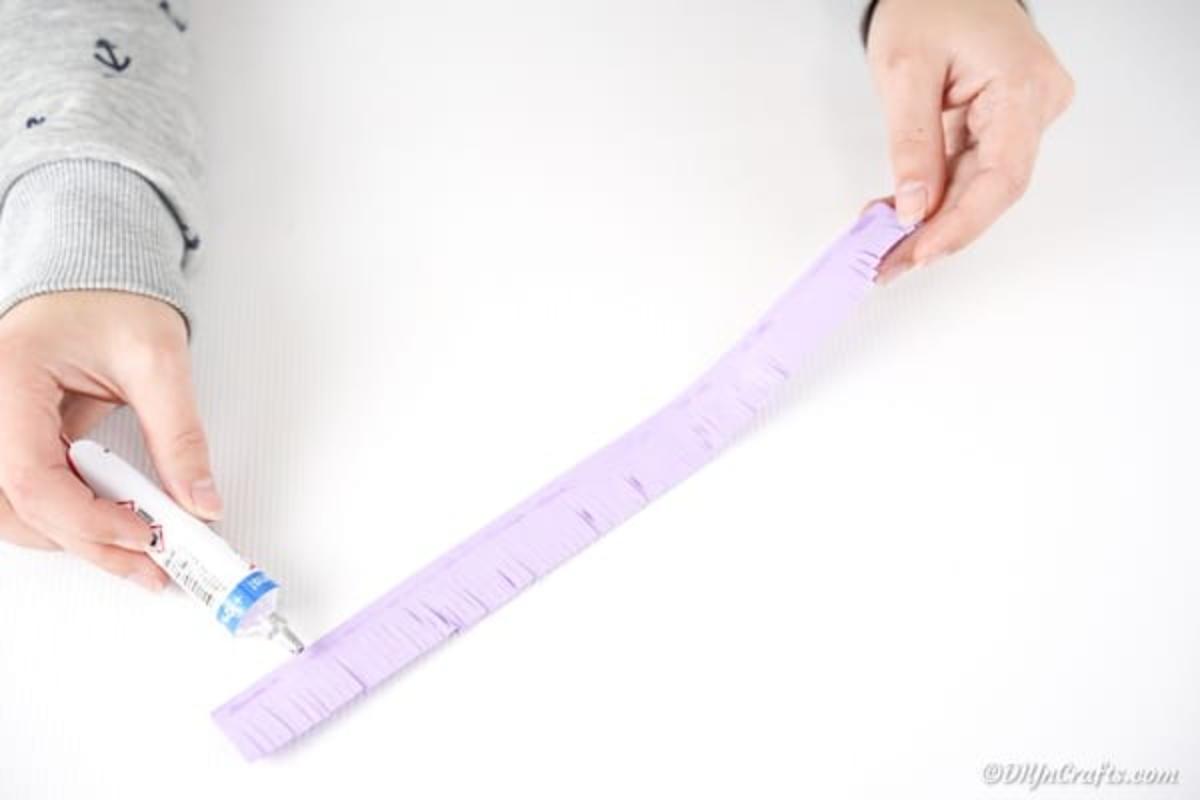
Begin tightly rolling the glued edge from one end to the other to form the flower center. Hold until the glue sets.
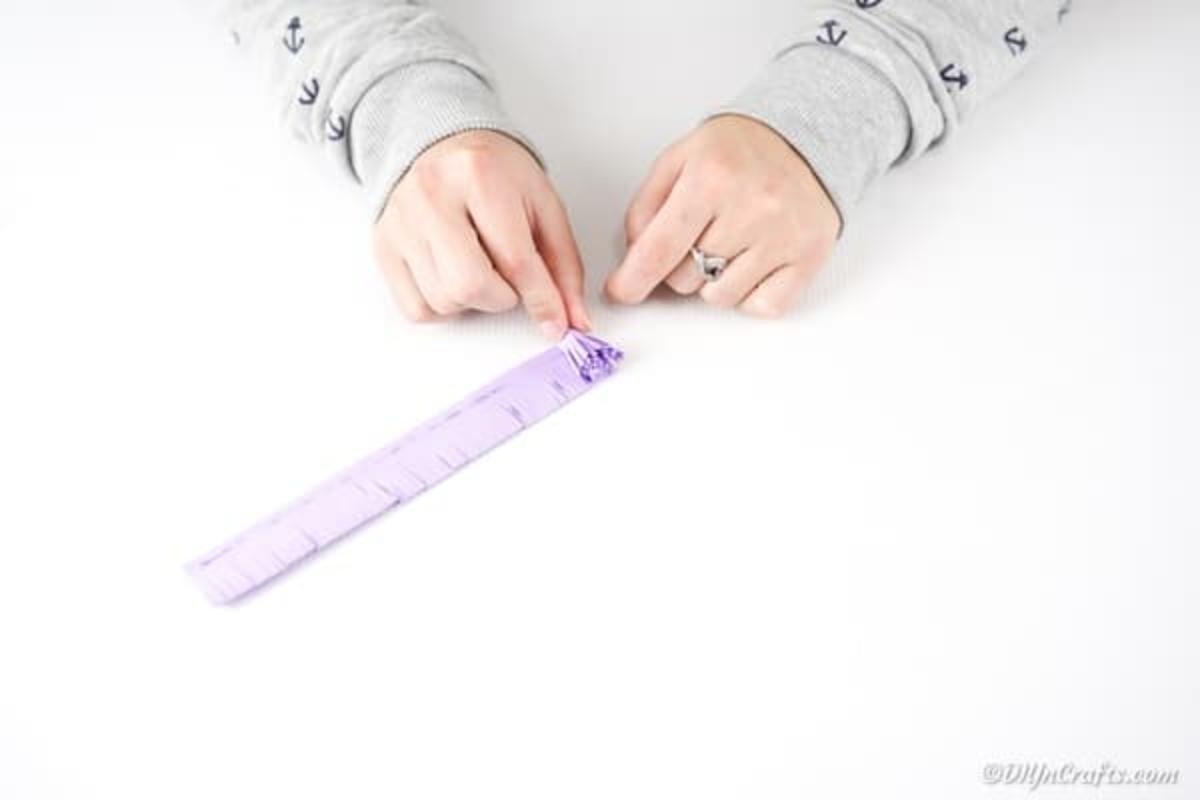
Once the center is secure, attach the wider fringed strip to the outside of the center and continue rolling until you reach the end of the strip.
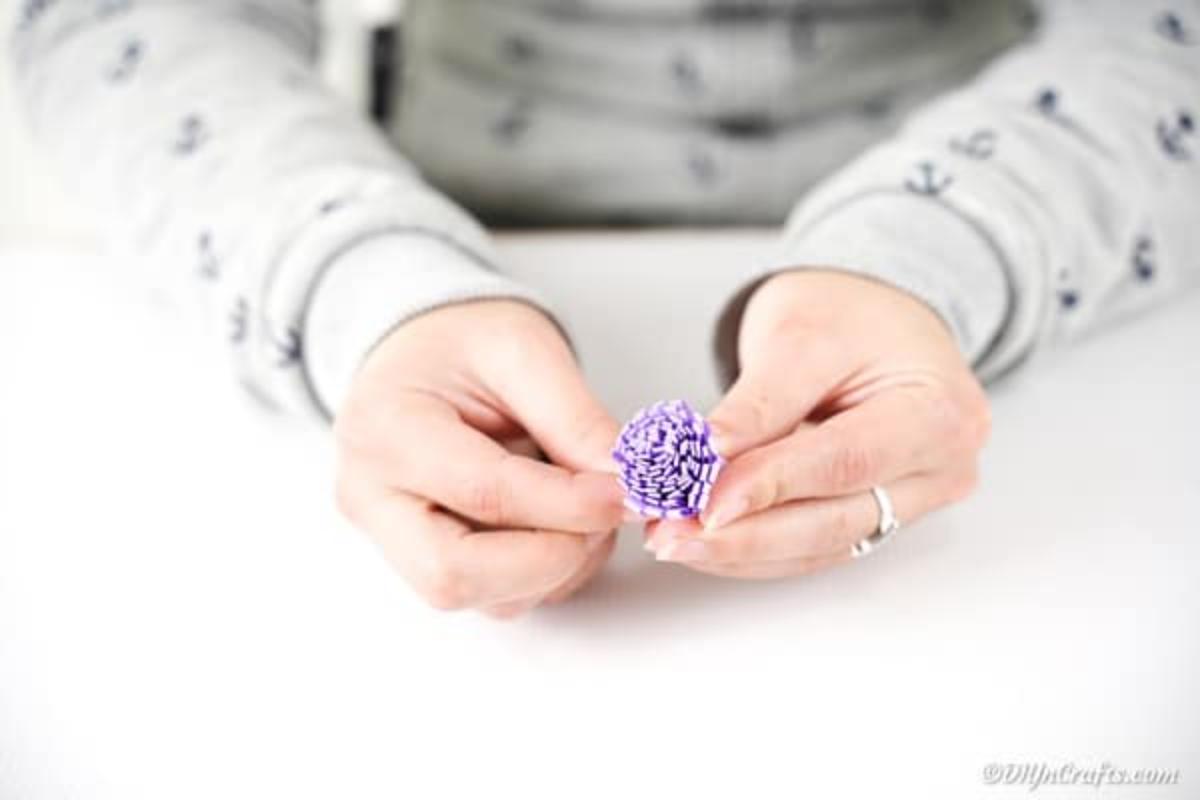
Secure the end with glue. Add additional fringed strips and repeat until the flower reaches your preferred size and fullness.
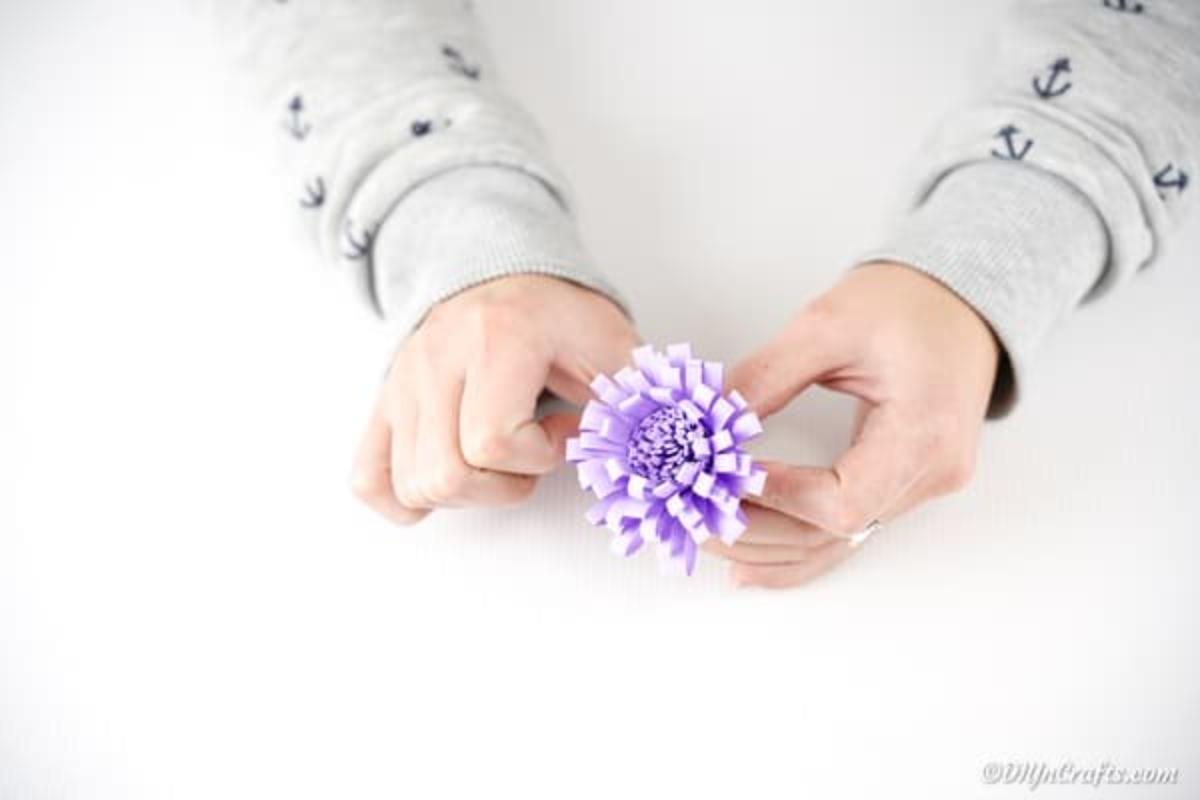
When finished, use glue to secure any loose layers and fluff the fringes outward to shape the petals.
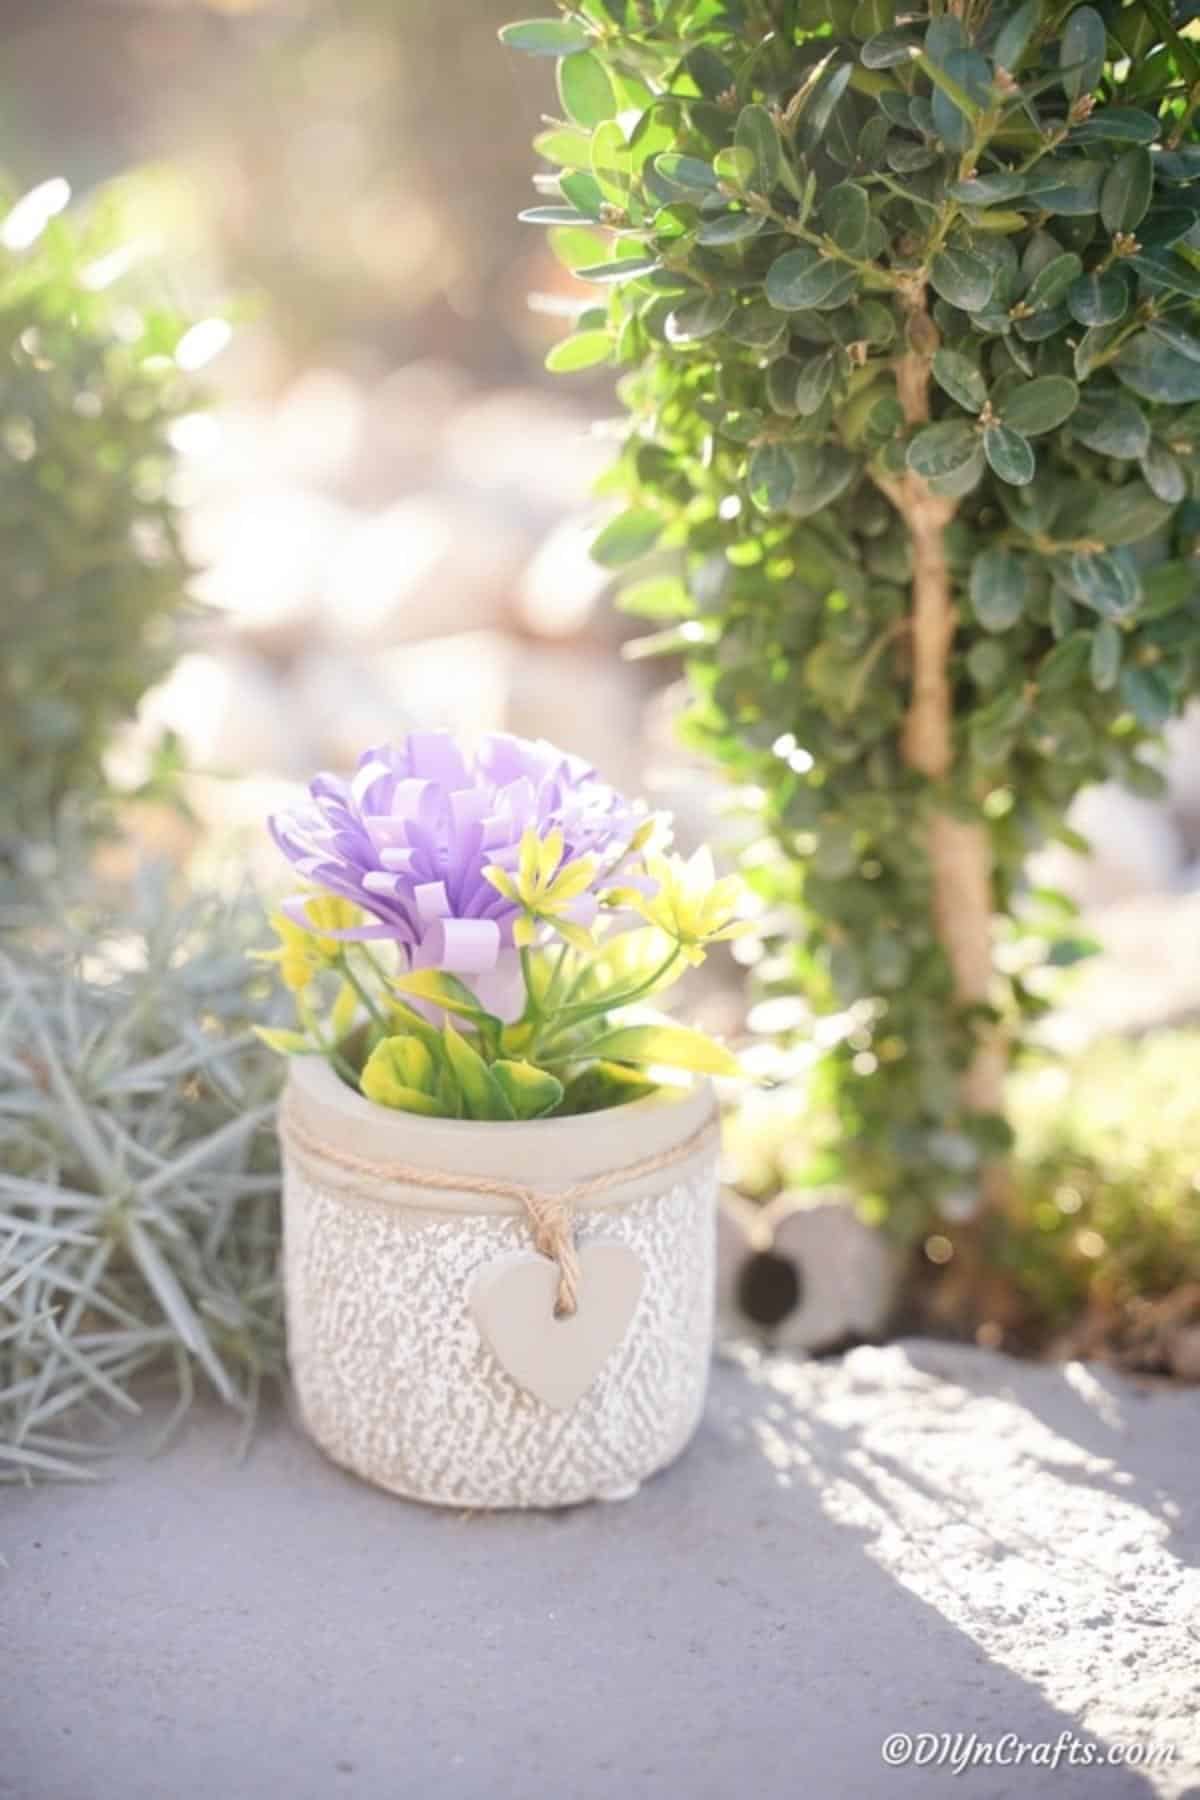
Tips: try patterned or crepe paper for different textures, mix colors for ombré effects, or attach stems and leaves for bouquets. Display your flowers on boxes, jars, in vases, or combine them into wreaths.