Easy DIY Easter Basket from Foam Sheets — Step-by-Step Guide
Make a lightweight, colorful Easter basket using simple foam sheets — a quick, kid-friendly craft that yields a reusable basket perfect for candy and decorations. This guide walks you through the process with clear photos and short steps.
Creating an Easter basket out of foam sheets is a fun and easy DIY project that will add a personal touch to your holiday celebrations. You can choose different colored foam sheets to make your basket unique and stylish. By cutting and assembling the foam pieces, you can create a sturdy and lightweight basket to fill with Easter treats for your loved ones. It's a great way to show off your creativity and make something special for the holiday season!
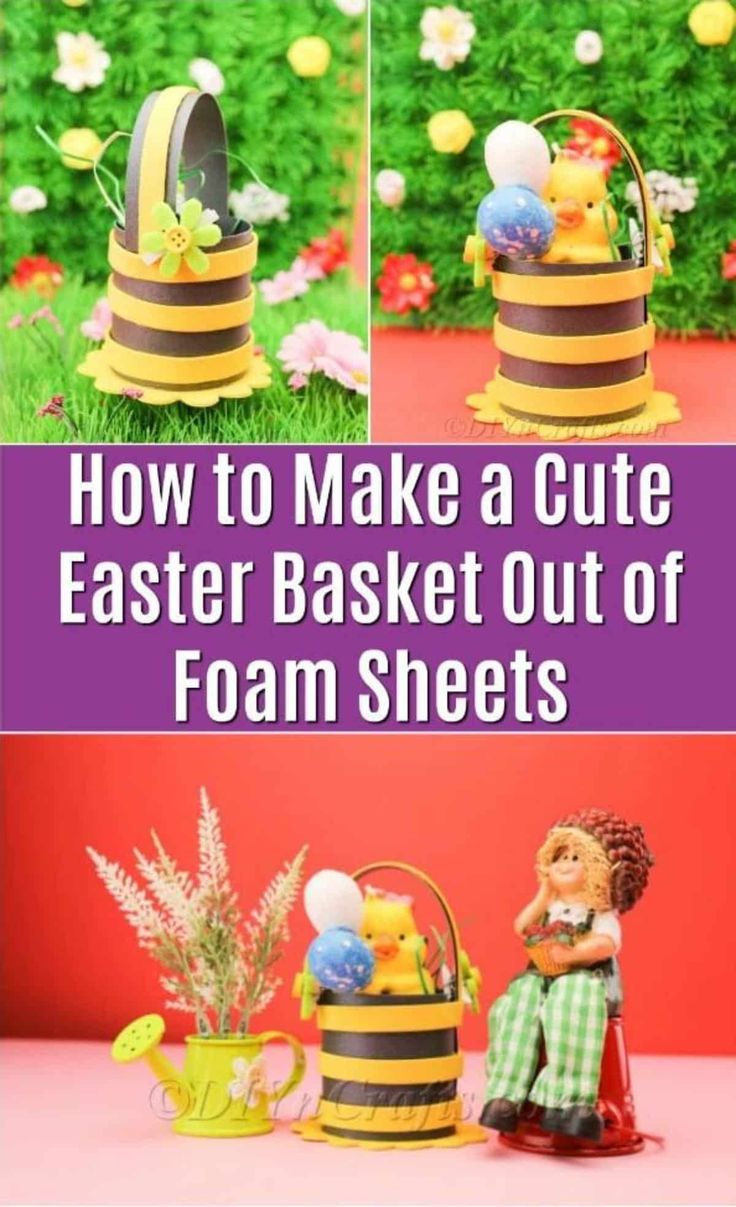
Finished black-and-yellow foam Easter basket, ready to fill with treats.
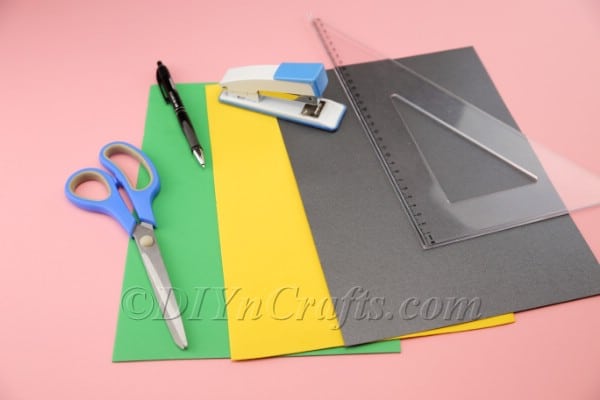
Materials
- Black foam paper
- Yellow foam paper
- Decorative flowers
Tools
- Scissors
- Hot glue and glue gun
- Ruler
- Stapler
- Pencil
Instructions
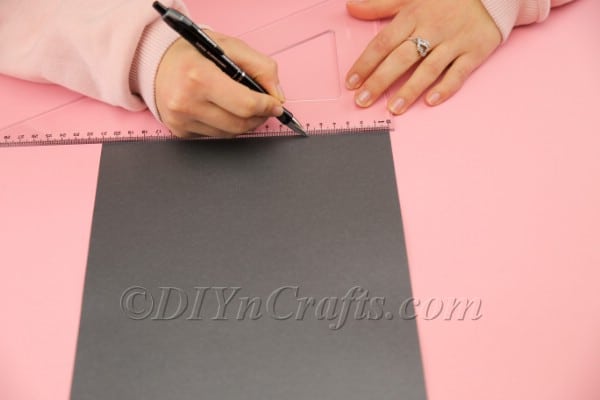
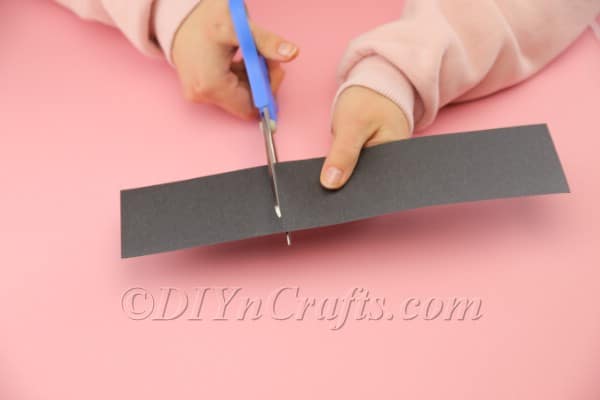
Cut a wide strip from the black foam sheet to form the basket wall; width determines the basket height.
You will begin by cutting out a wide strip from the black foam sheet which will become your basket. The thinner you make the strip, the shorter the basket will be. The wider you make it, the taller the basket will be. I decided to make my basket around 6 cm tall. You can choose whatever height you like.
Adjust the strip length to control the basket circumference before trimming the excess.
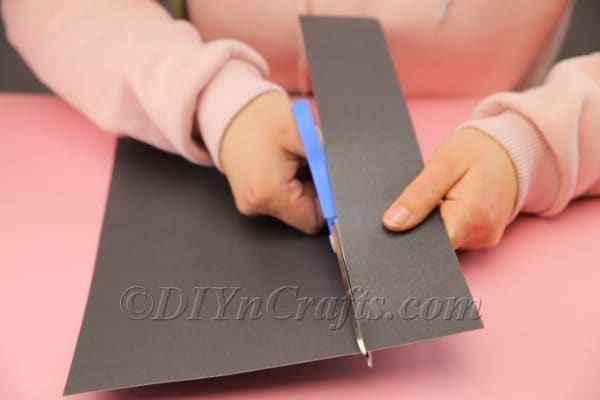
Trim the strip so the length matches the desired circumference of your basket.
The circumference of your basket will be determined by how long the strip of foam is. The longer you make it, the wider the basket's circumference will be. I didn't want mine to be all that wide, so I cut off part of the strip.
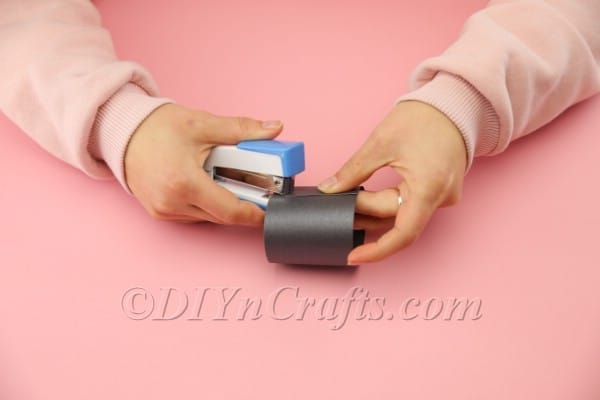
Overlap the ends and staple them together to form a cylinder-shaped basket body.
Once you have the foam strip cut to your satisfaction, wrap it around so that the ends meet, and staple them together so that you have a cylinder shape.
Cut a narrow black strip for the handle and a matching yellow strip for decoration.
Your Easter basket needs a handle, so you're going to craft that next. Cut a narrow strip of black foam. Once again, it is up to you to size this to your liking based on the effect that you want to achieve. Just remember not to make the handle too short, or it will be difficult to put items inside the basket or remove them later. Once you have the black foam strip prepared, cut out a narrower one from the yellow foam sheet, and make it the same length. Glue this yellow foam strip on top of the black one, right down the center. When you are done, it should look like the image below.
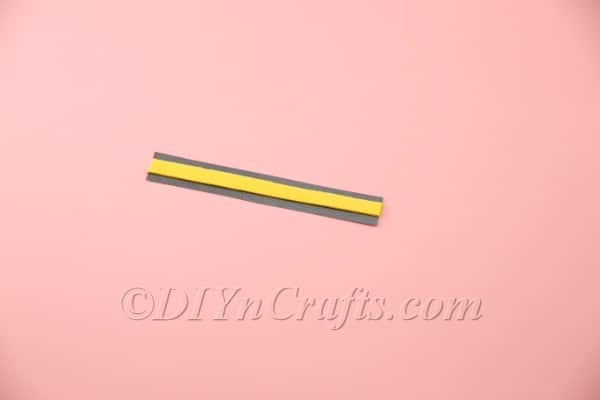
Glue the yellow strip down the center of the black strip to create a two-tone handle.
You can now use glue to attach the handle to the basket.
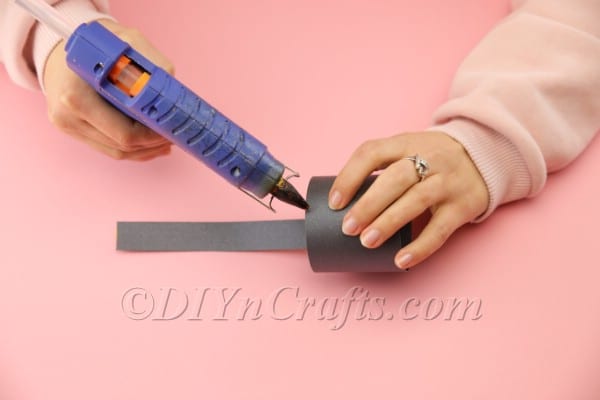
Attach the handle ends to the inside of the basket with hot glue for a secure fit.
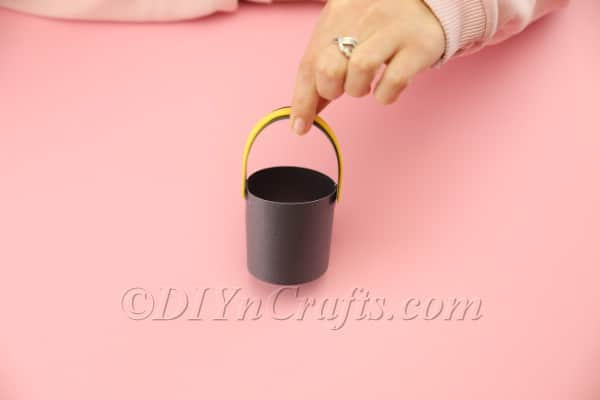
Decorate the basket body by gluing alternating yellow strips around the circumference.
Your Easter basket is looking rather plain right now, and not too festive. To remedy that, cut a number of thin yellow strips of foam. Aim to make them about as wide as the one that you prepared for the basket handle.
Once you have these yellow foam strips prepared, glue them around the circumference of the basket so that you have an alternating yellow and black pattern.
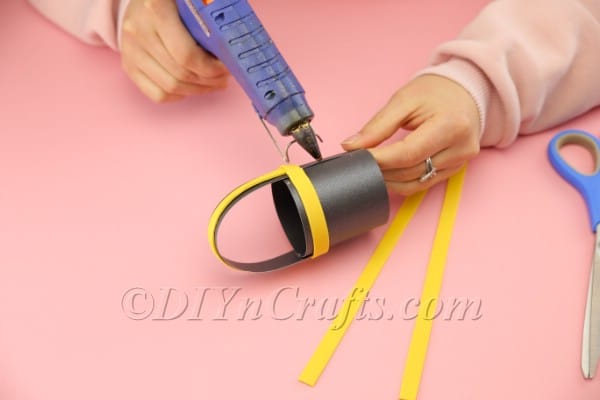
Work your way around the basket applying the alternating pattern for a striped effect.
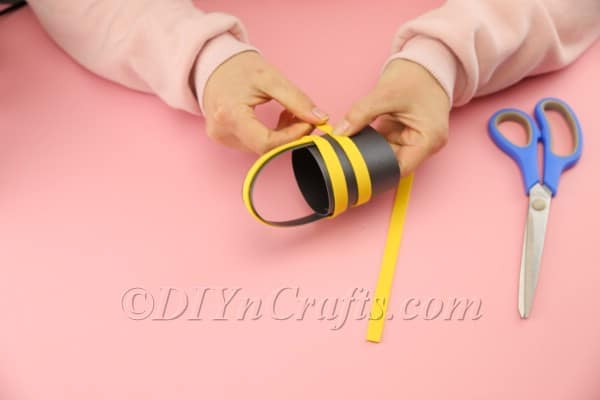
Continue until the entire circumference is covered with the alternating strips.
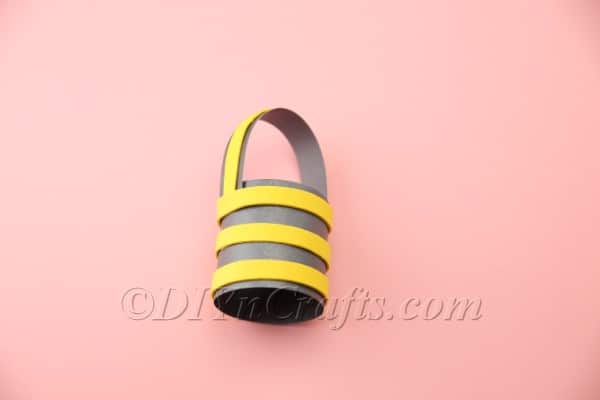
With the sides complete, prepare a bottom piece to close the basket.
Your basket is looking pretty good, but it still needs a bottom. Set the basket down on top of the yellow foam sheet, and trace around the bottom with a pencil to make a circle on the sheet. For a decorative effect, use your pencil to lightly sketch petal shapes around the outside of the circle that you have just drawn.
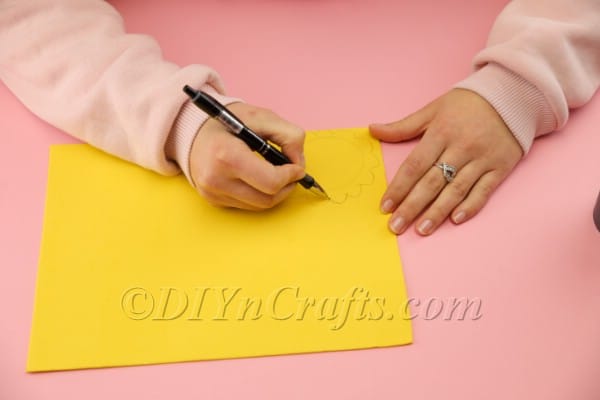
Trace the basket base and sketch petal shapes on the yellow foam to create a scalloped bottom.
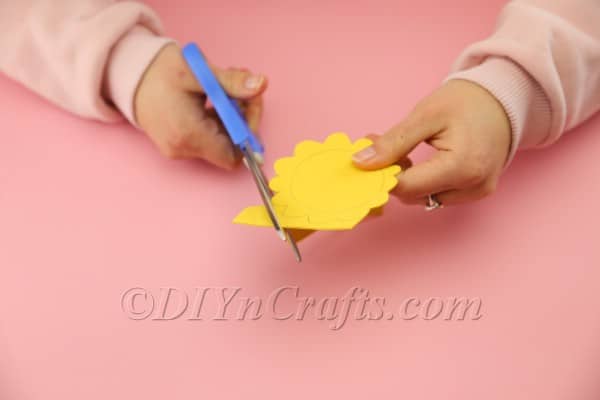
Cut out the scalloped base along the drawn lines.
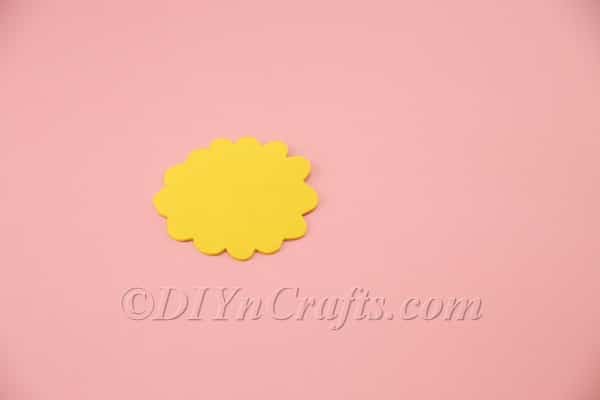
Check that the scalloped base fits the basket before gluing.
Use your hot glue gun to attach the bottom of the basket to the rest.
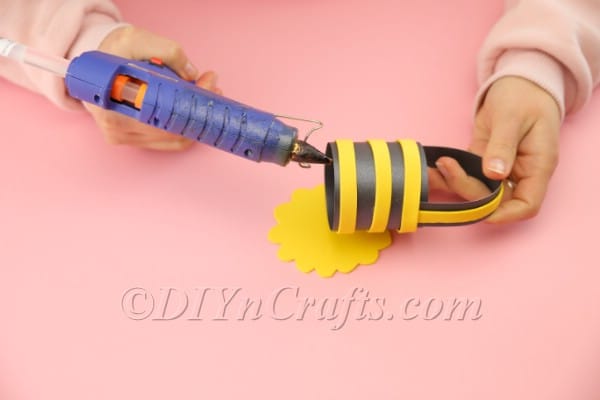
Apply hot glue around the rim and press the scalloped base into place.
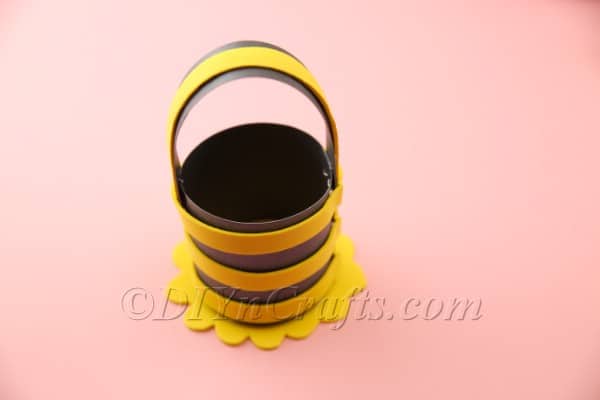
After the bottom is attached, smooth any gaps with a little extra glue.
Your basket is now basically finished. But if you want, you can add some decorative embellishments to make it more festive. I attached some flower decorations to either side of the handle.
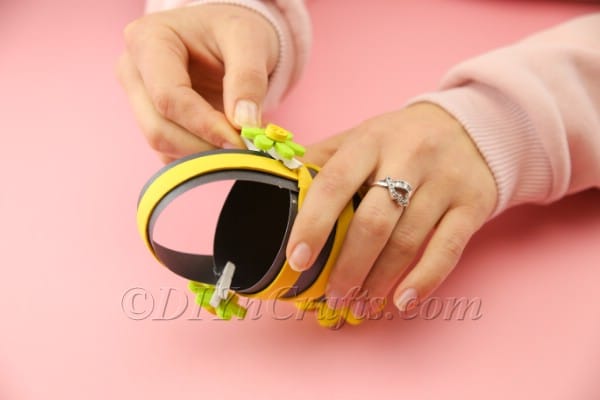
Add flowers or other embellishments to personalize your basket.
You can now fill your finished foam Easter basket with candy or decorations, and set it out to display.
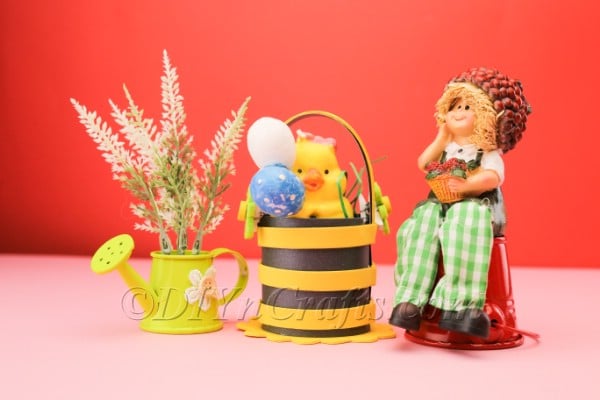
Fill the basket with grass, eggs, or treats for a festive display.
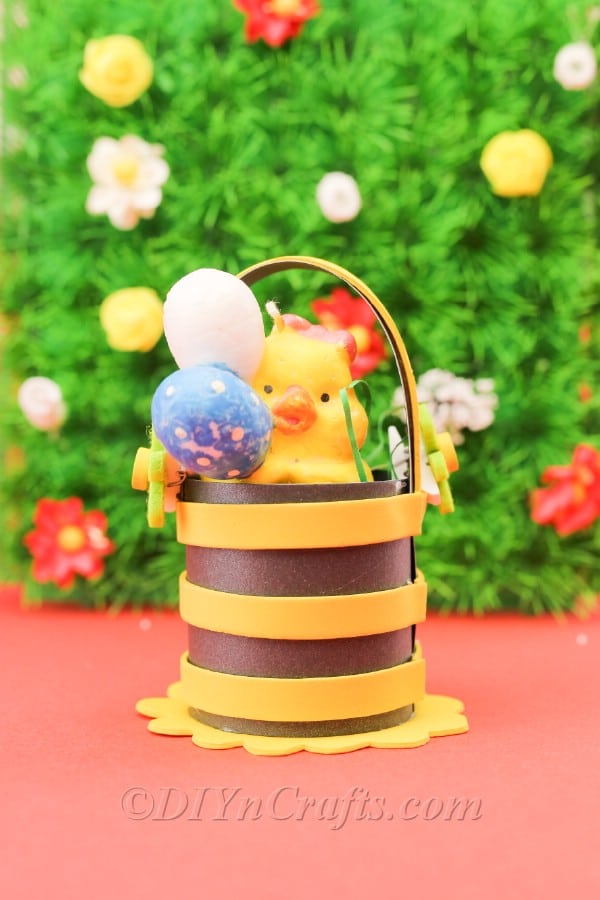
Final view: a compact, lightweight Easter basket made from foam sheets.