DIY Rustic Twine Easter Eggs — Easy Step-by-Step Tutorial with Ribbon & Flowers
Give your Easter decor a warm, handmade touch with these rustic twine-wrapped eggs. This easy DIY uses simple materials — twine, ribbon, faux flowers and a hollowed egg — to create charming ornaments you can hang or display in a bowl. The process is quick, forgiving, and easy to customize with different twine colors or embellishments.
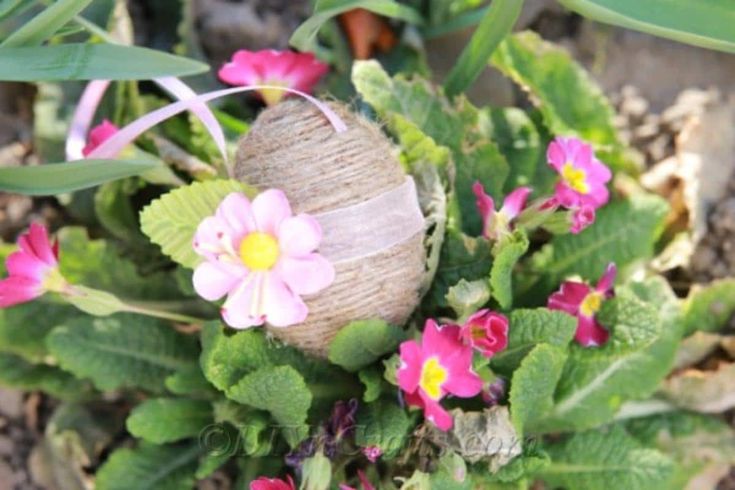
Materials:
Egg
Ribbon
Faux flowers and/or leaves
Twine
Tools:
Scissors
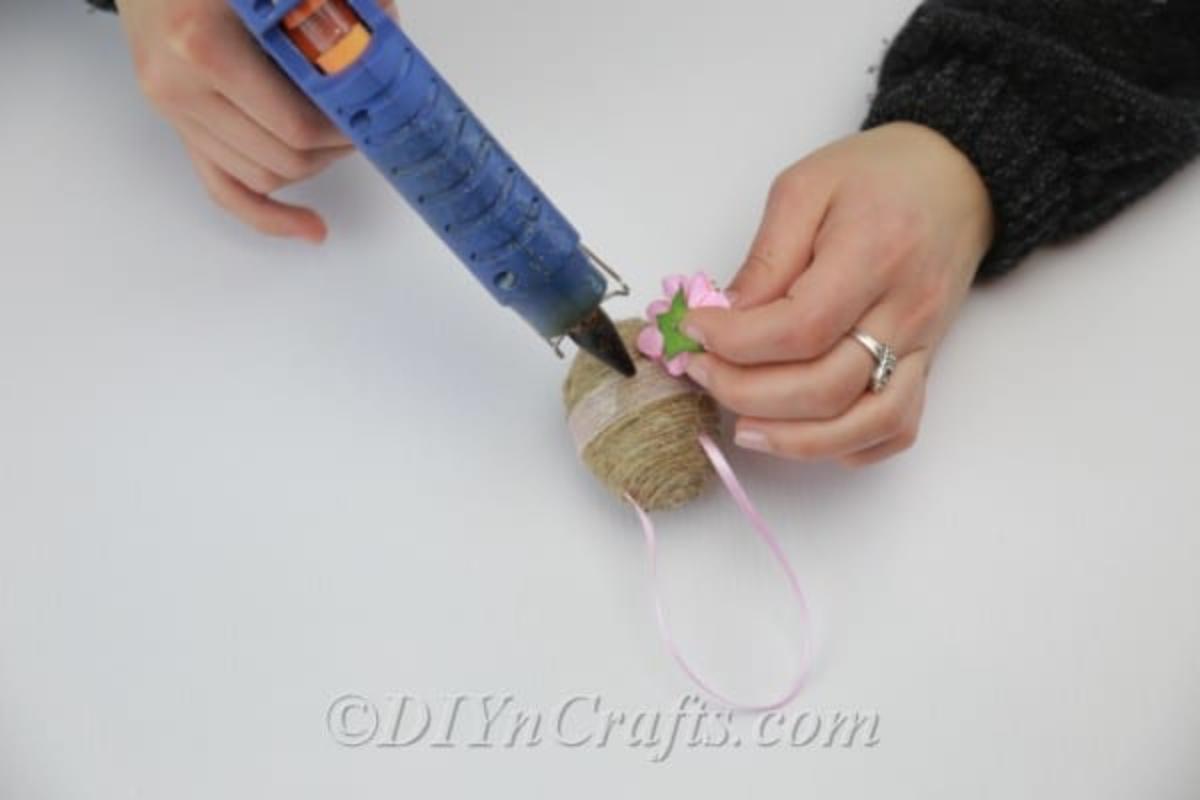
Hot glue and glue gun
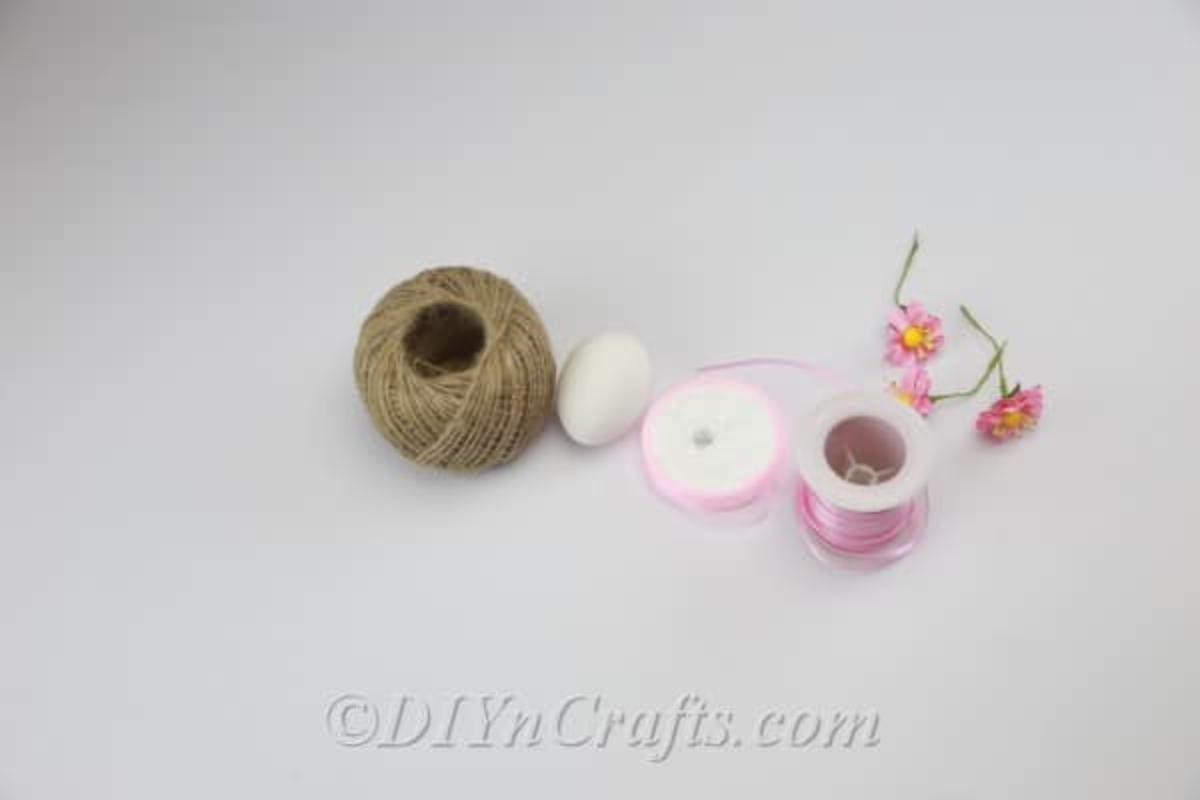
Instructions:
- Prepare a hollow egg: Carefully wash and dry your egg. Using a large needle or skewer, make small holes at both ends, puncturing the yolk. Blow into one hole so the white and yolk come out the other end. Rinse the inside well and let the egg dry completely. Work slowly and keep fingers away from the tool tip.
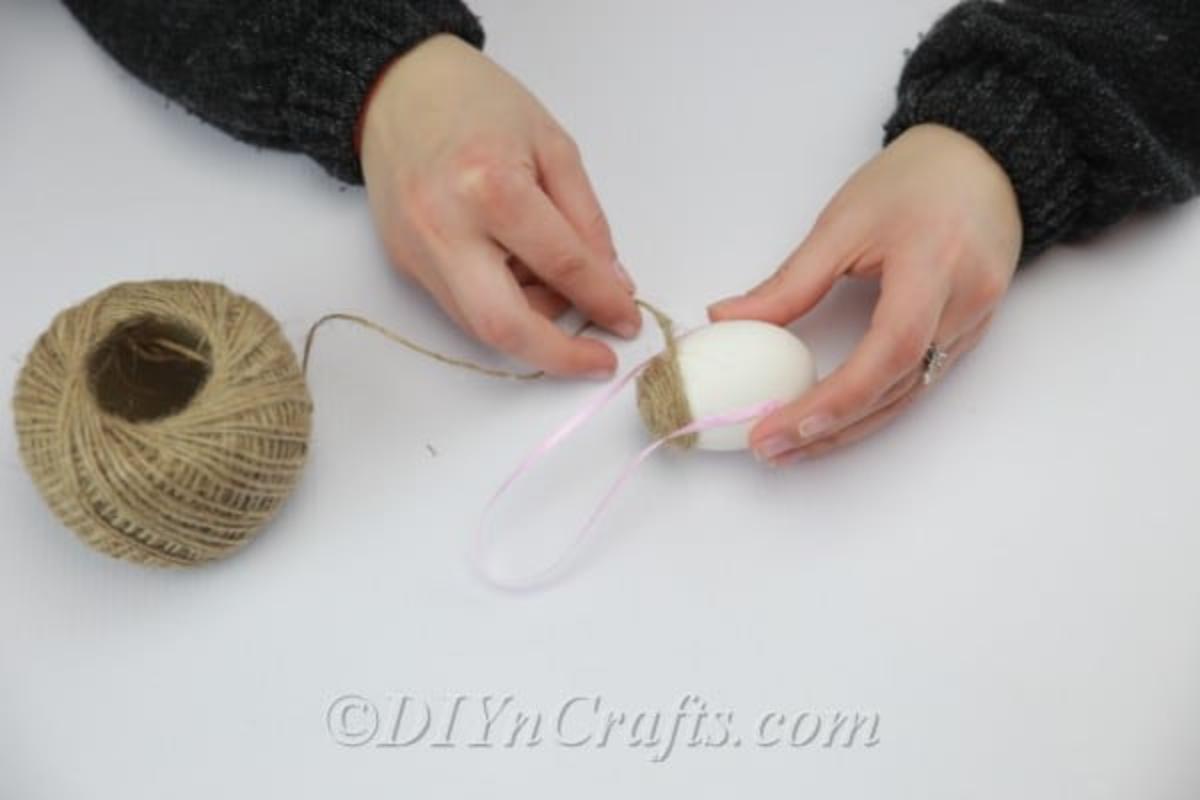
- Attach the twine: Apply a small dot of hot glue at the top of the egg and press one end of the twine into the glue to secure it.
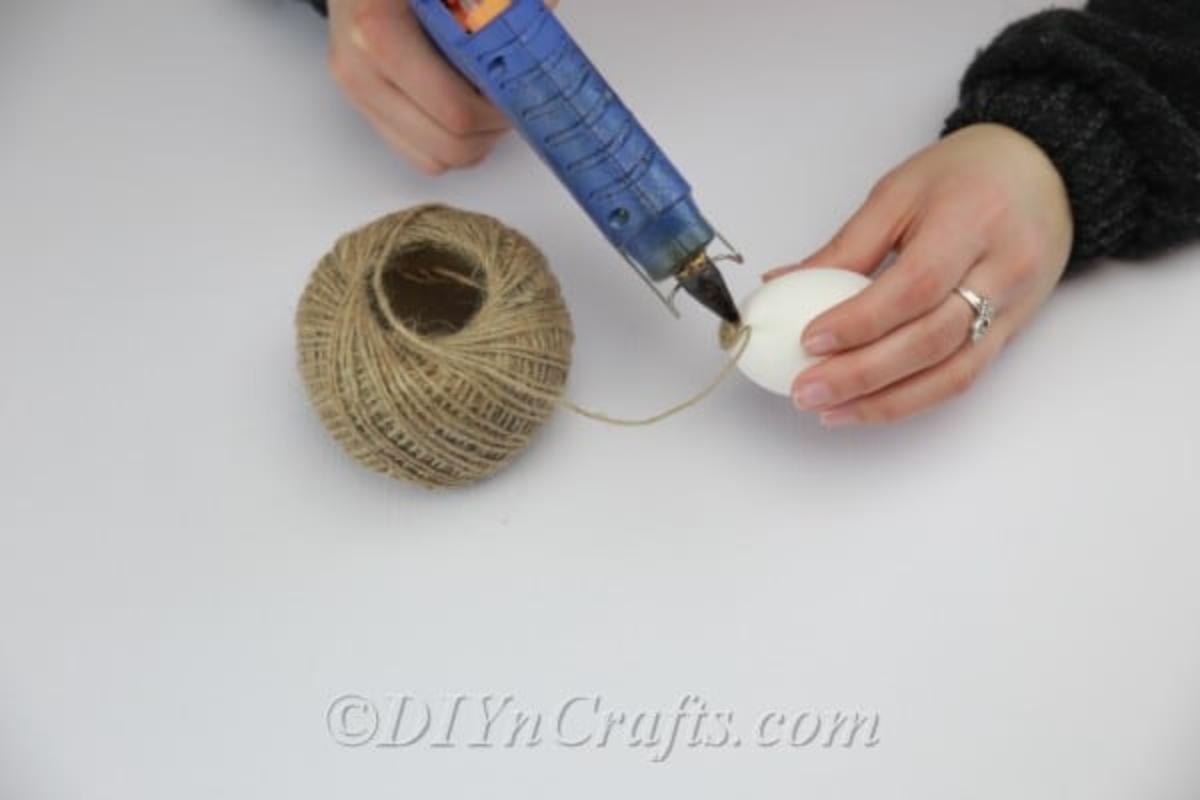
- Begin winding: Start wrapping the twine around the egg, adding small dabs of hot glue as you go to keep the twine in place. Work evenly and rotate the egg so the twine lays flat and tight.
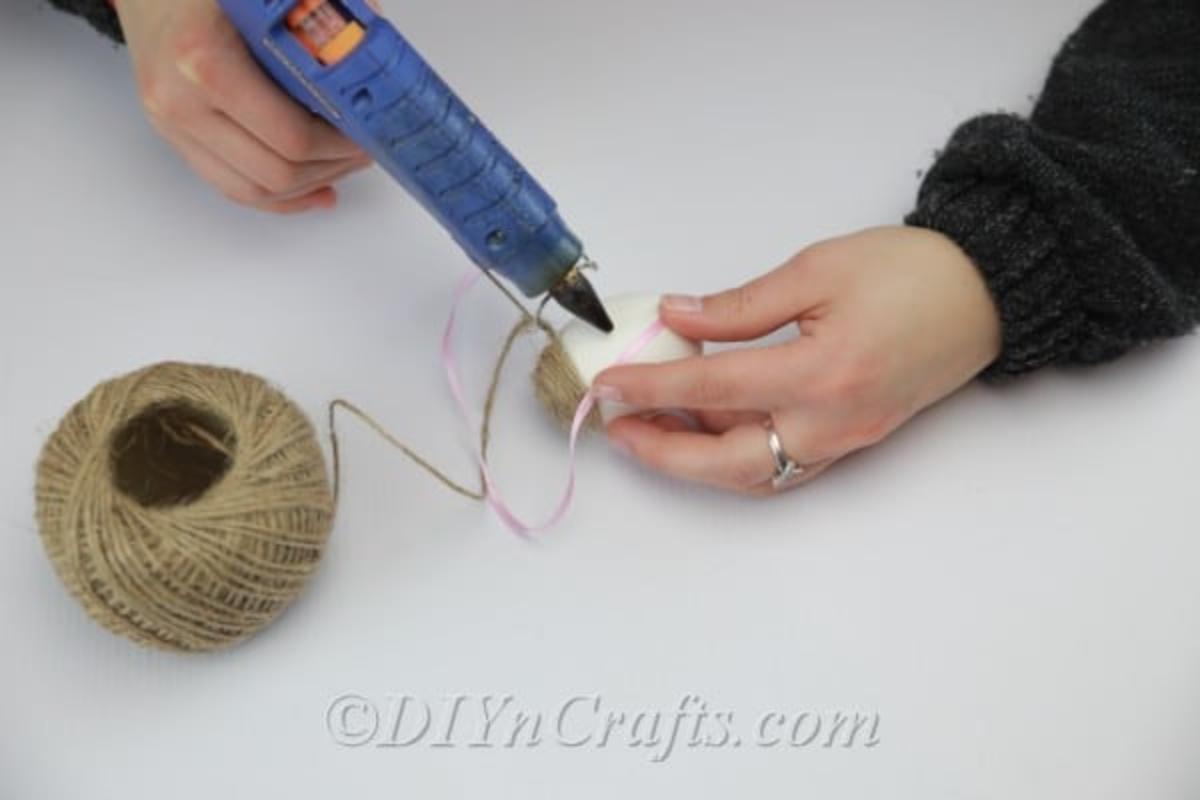
- Add a ribbon loop (optional): When you reach about halfway down, pause and glue a narrow strip of ribbon into a loop to create a handle. Attach each end of the ribbon to opposite sides of the egg, slightly below the current twine level.
- Cover the ribbon ends: Once the ribbon ends are glued and set, continue wrapping twine over them so the loop appears to come out from beneath the twine.
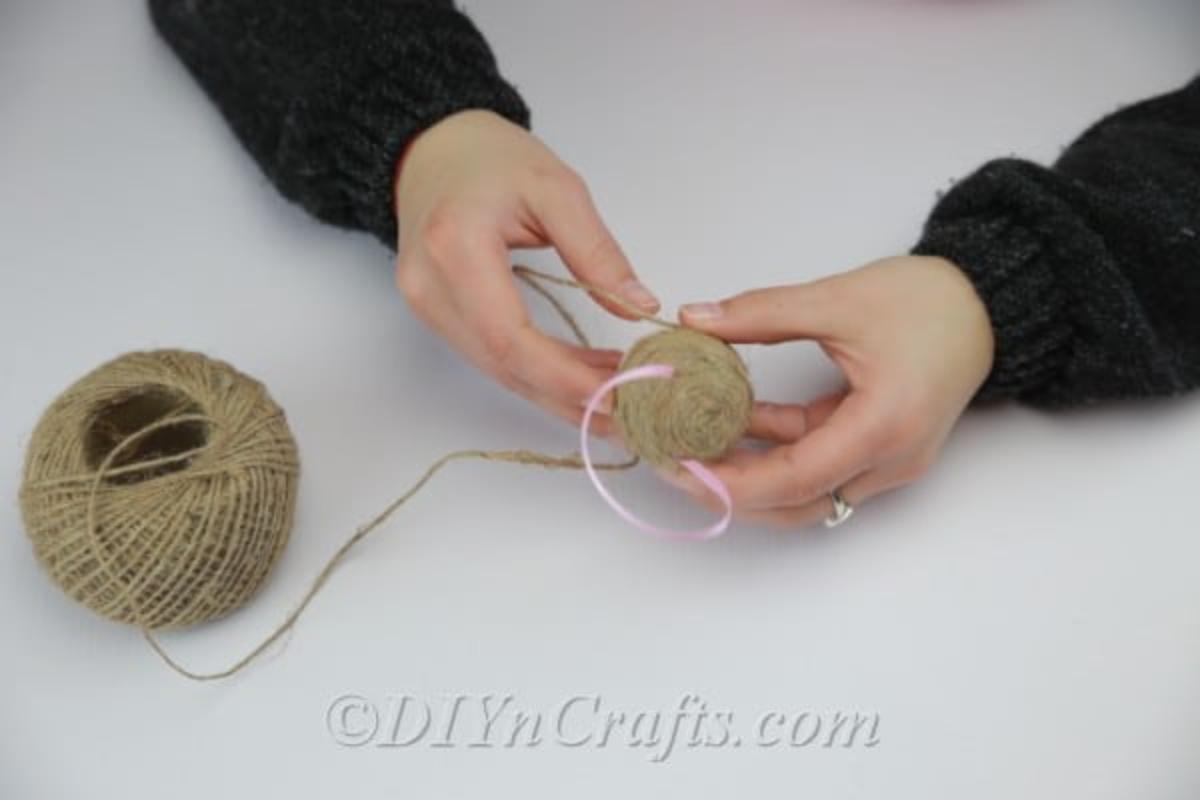
- Finish wrapping: Continue adding twine until the entire egg is covered. Secure the final end with hot glue and trim any excess twine.
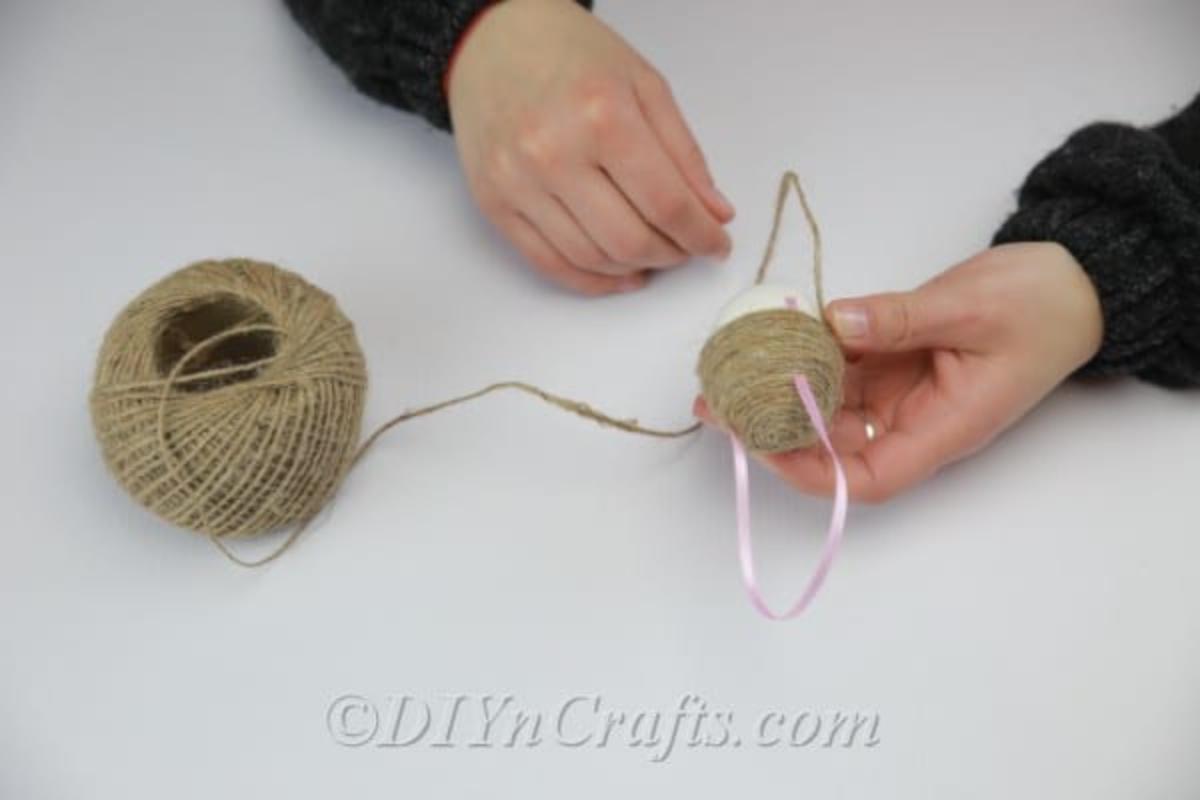
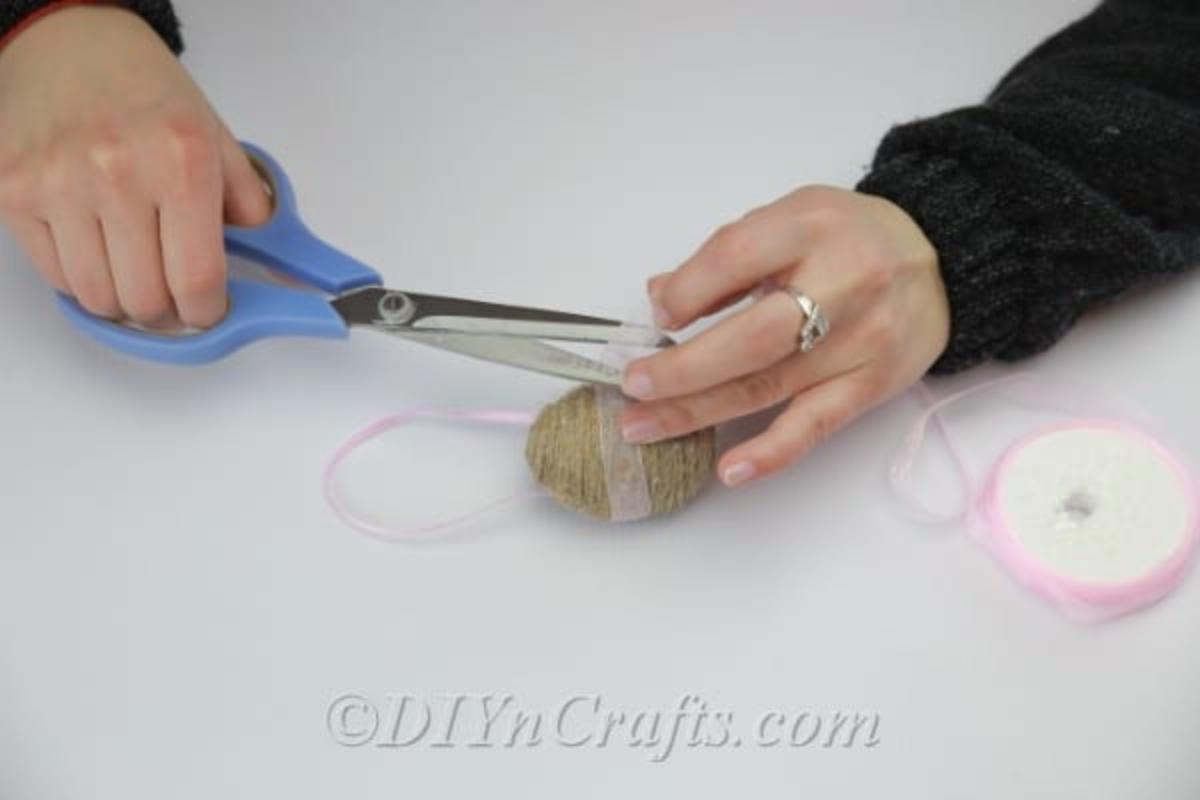
- Decorate: Wrap a decorative ribbon around the center and glue it in place, or add beads or lace if you like.

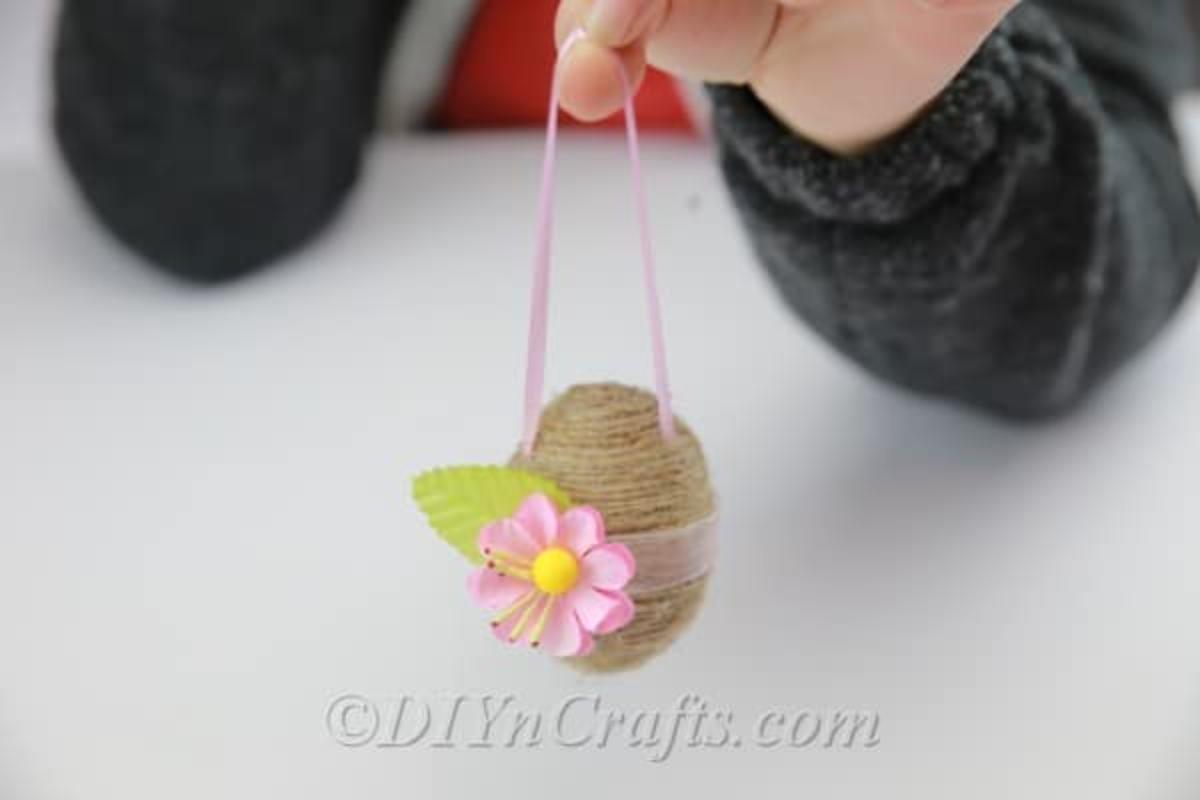
- Final embellishments: Use hot glue to attach a faux flower, leaves, or other small decorations to finish the look.
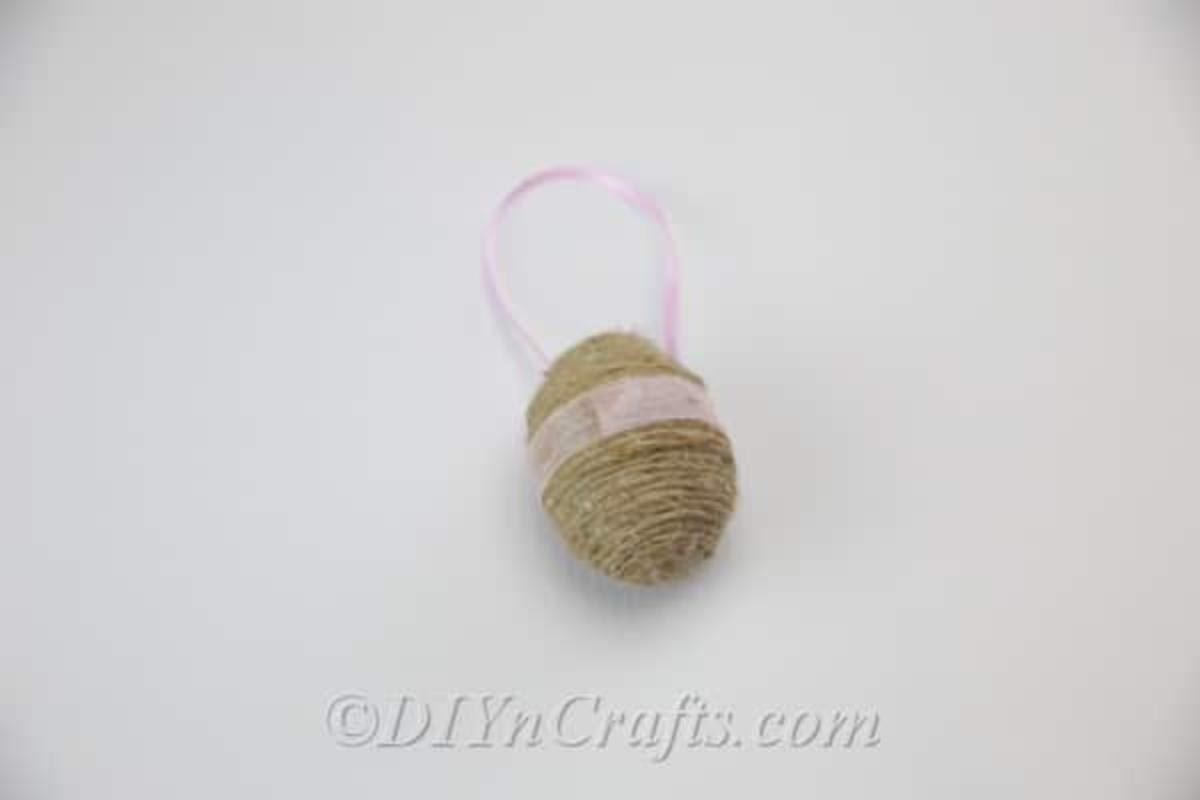
- Display: Hang your twine eggs by their ribbon loops, nest them in a bowl, or arrange them on a garland for a rustic Easter display.
Tips & safety:
- Work over a towel or paper to catch glue drips and twine scraps.
- Use low-temp hot glue for less risk of cracking thin eggs; be careful — glue is hot.
- Customize with colored twine, washi tape, beads, or small charms for a personalized finish.
No comments
Write a comment