DIY Rustic Rope Basket: Easy Step-by-Step Tutorial for a Charming Handmade Storage Basket
Create a beautiful rustic rope basket with just rope, glue and a few simple embellishments. This easy DIY project turns basic materials into a versatile storage piece or decorative accent — perfect for organizing small items or gifting. Below you'll find a clear step-by-step guide with helpful tips to make a sturdy, attractive basket.
Looking to add some rustic charm to your home decor? Why not try your hand at creating a stunning rustic rope basket? This fun DIY project is not only a great way to add a touch of handmade flair to your space but also provides a practical storage solution. With just a few simple materials like rope and glue, you can easily create a unique and stylish basket that will impress your guests. So grab your crafting supplies and get ready to show off your creativity with this fun and rewarding project!
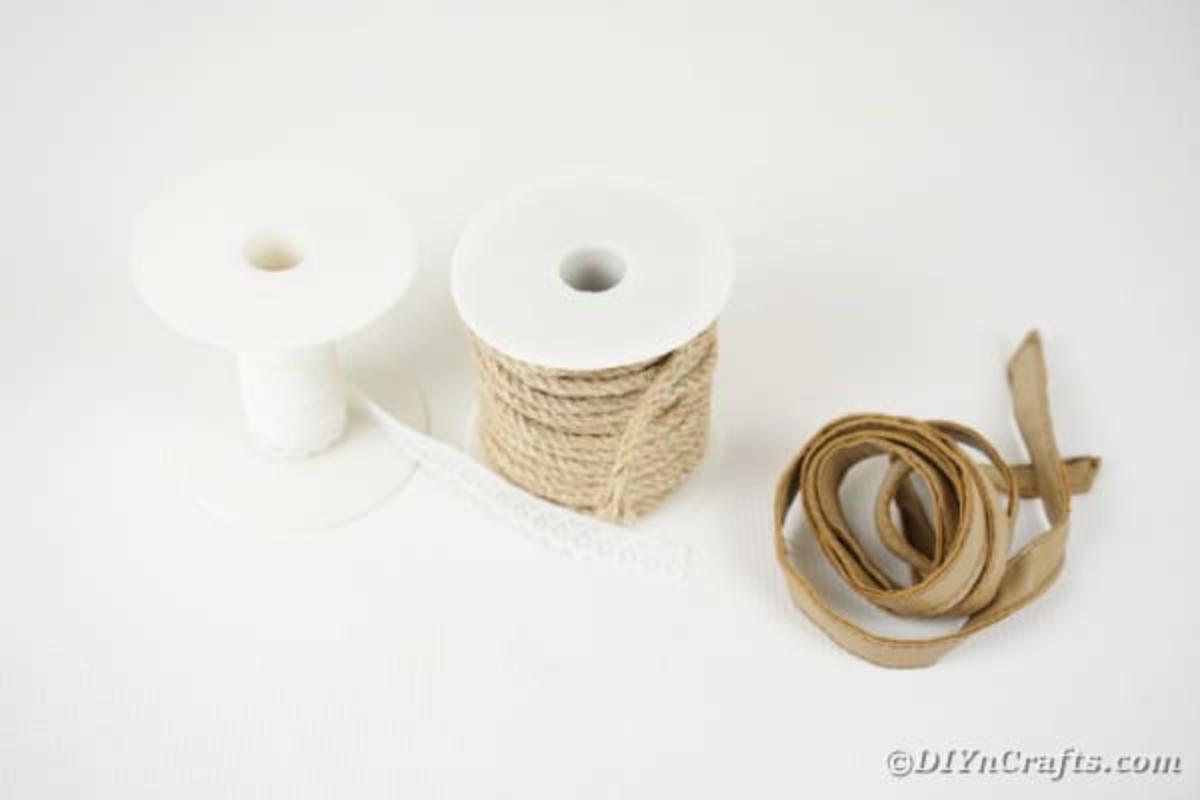
Supplies Needed
- Rope (natural jute or cotton rope works well)
- Lace or decorative ribbon
- Leather cord or thick fabric for handles
- Hot glue gun
- Hot glue sticks
- Scissors or craft knife
How to Make a Rope Basket
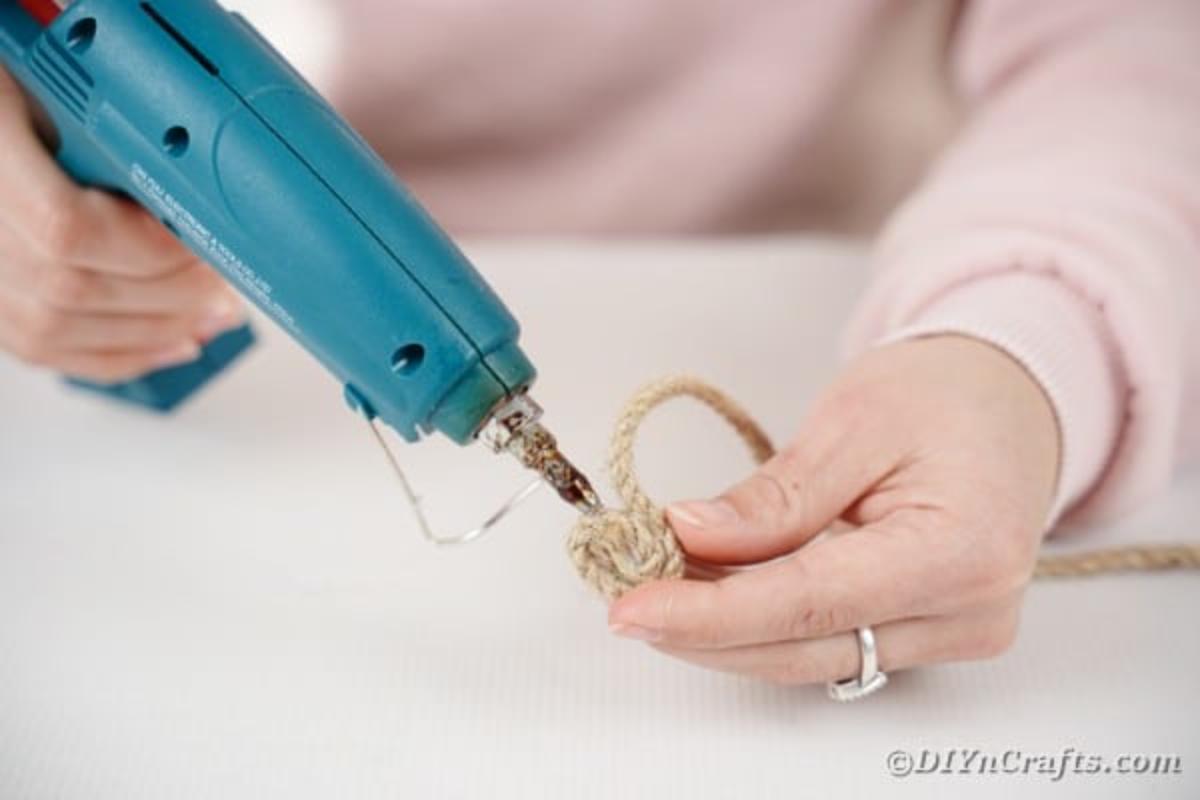
Add a dab of hot glue to the end of a rope, then begin wrapping the rope around in a circle.
Continue rolling the rope around in a circle, gluing as you go. I like to add the glue around and then attach the rope as it forms a circle; work steadily so the coils sit flush.
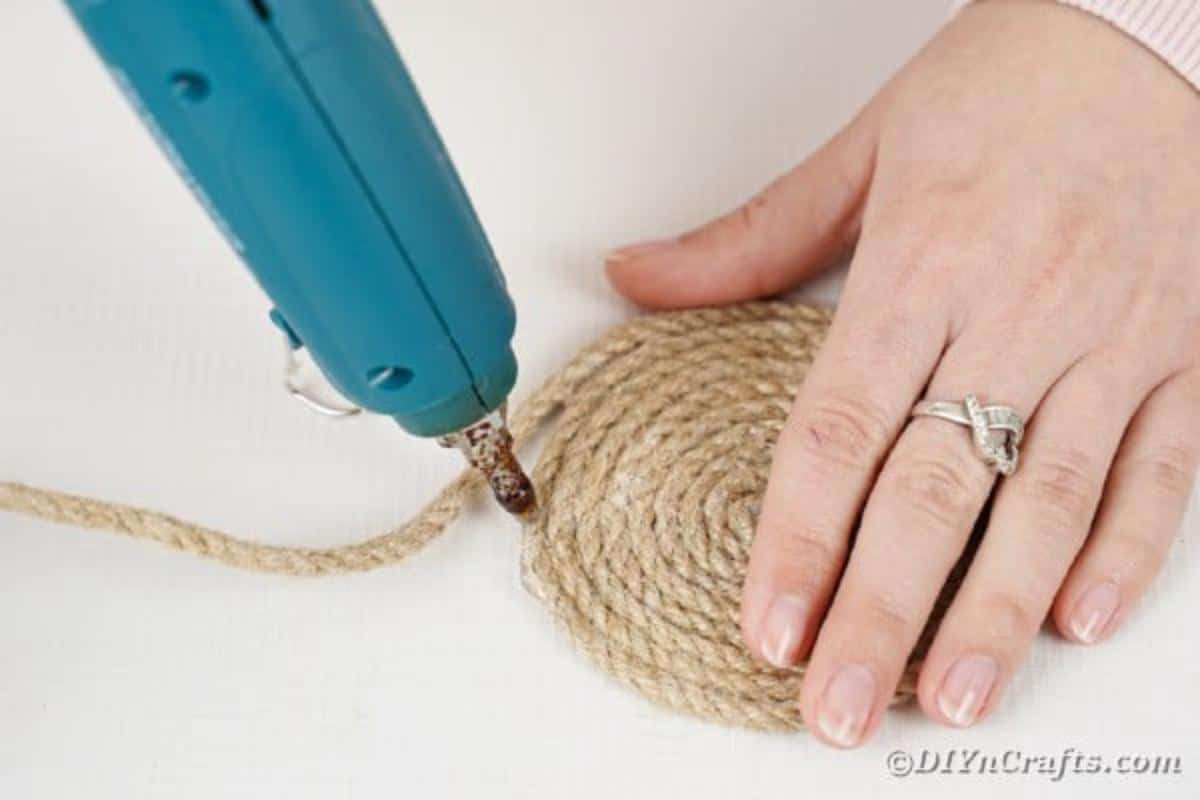
Do this until you have reached the size you want your basket to be. Mine is around 8" across.
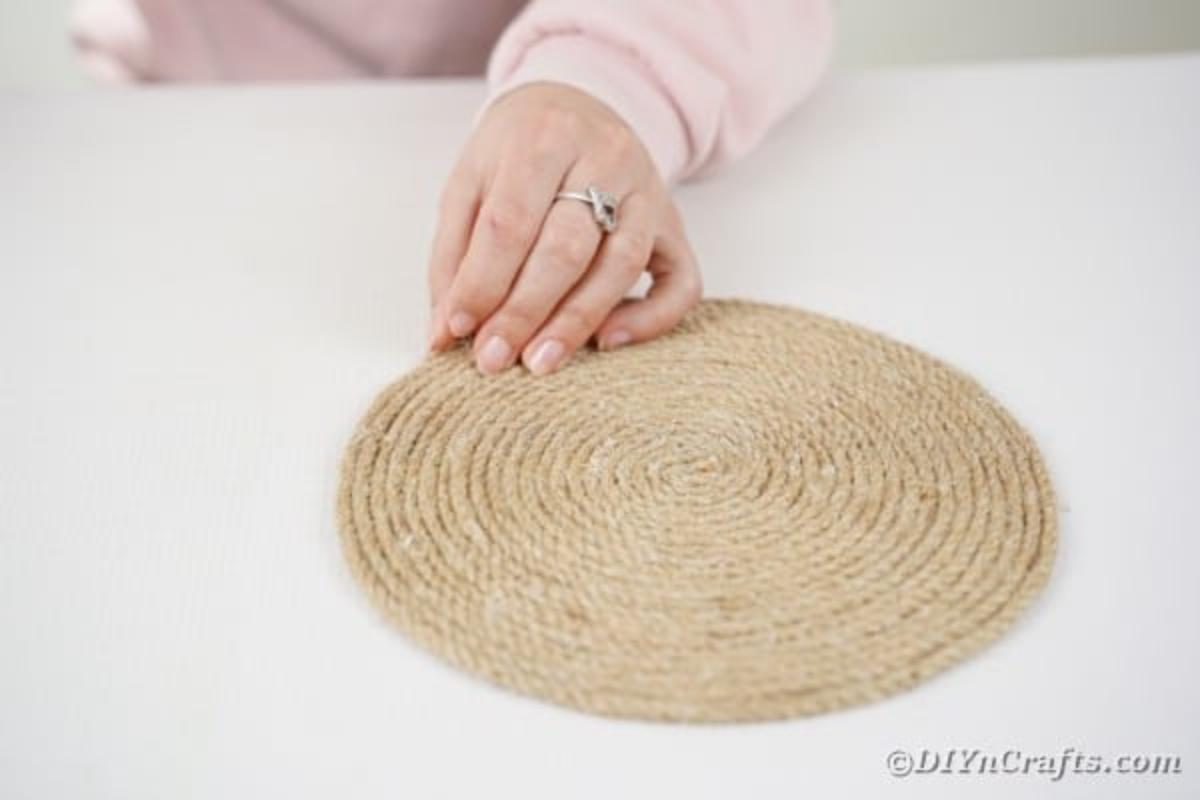
Once you have created the base that you want, begin moving the rope upwards and securing it with glue, building the sides of your basket.
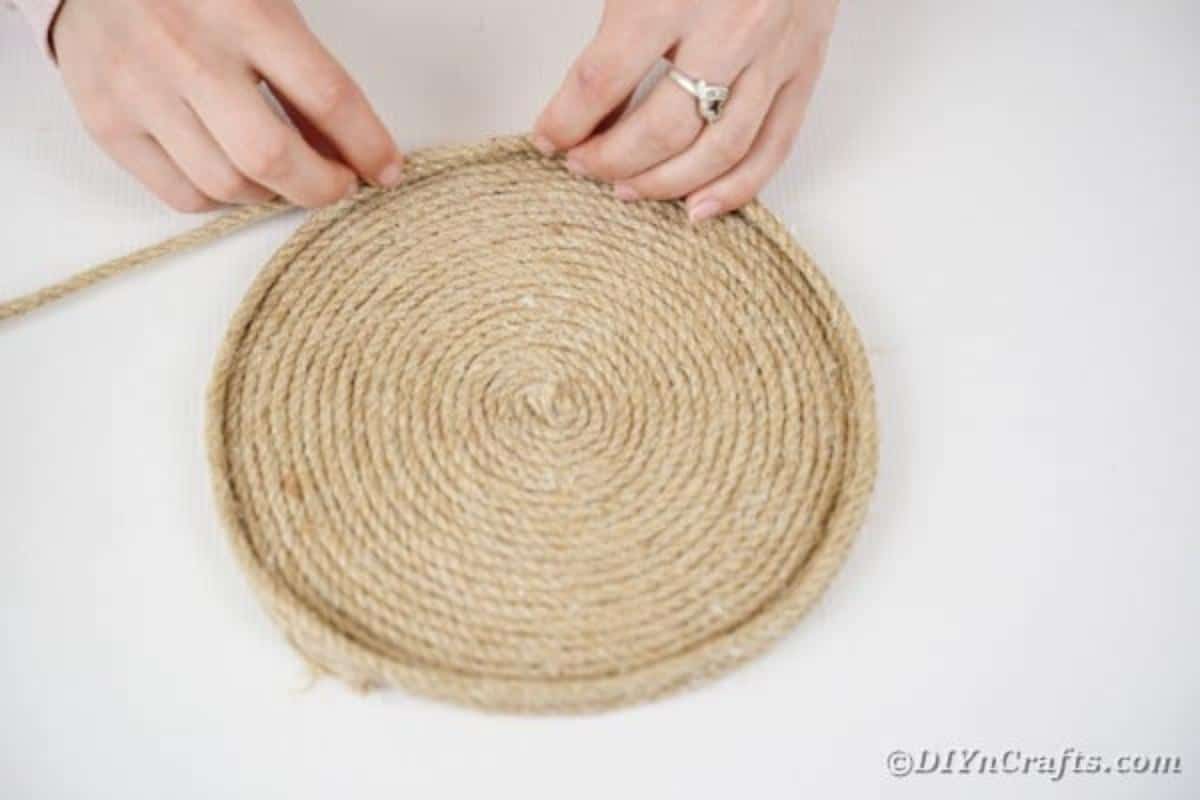
Continue wrapping the rope around in a circle gluing each layer together until the height you want.
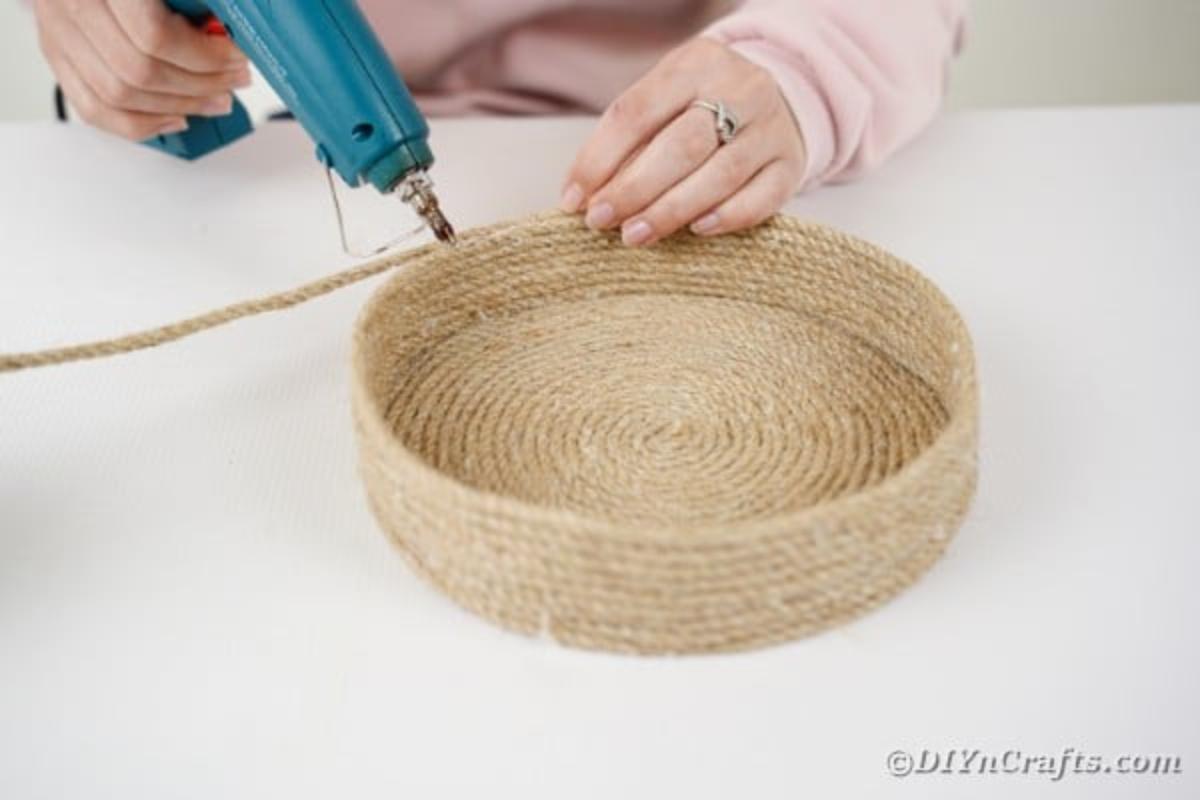
If desired, you can start tapering in the top part of the basket so it is at an angle wider on the bottom.
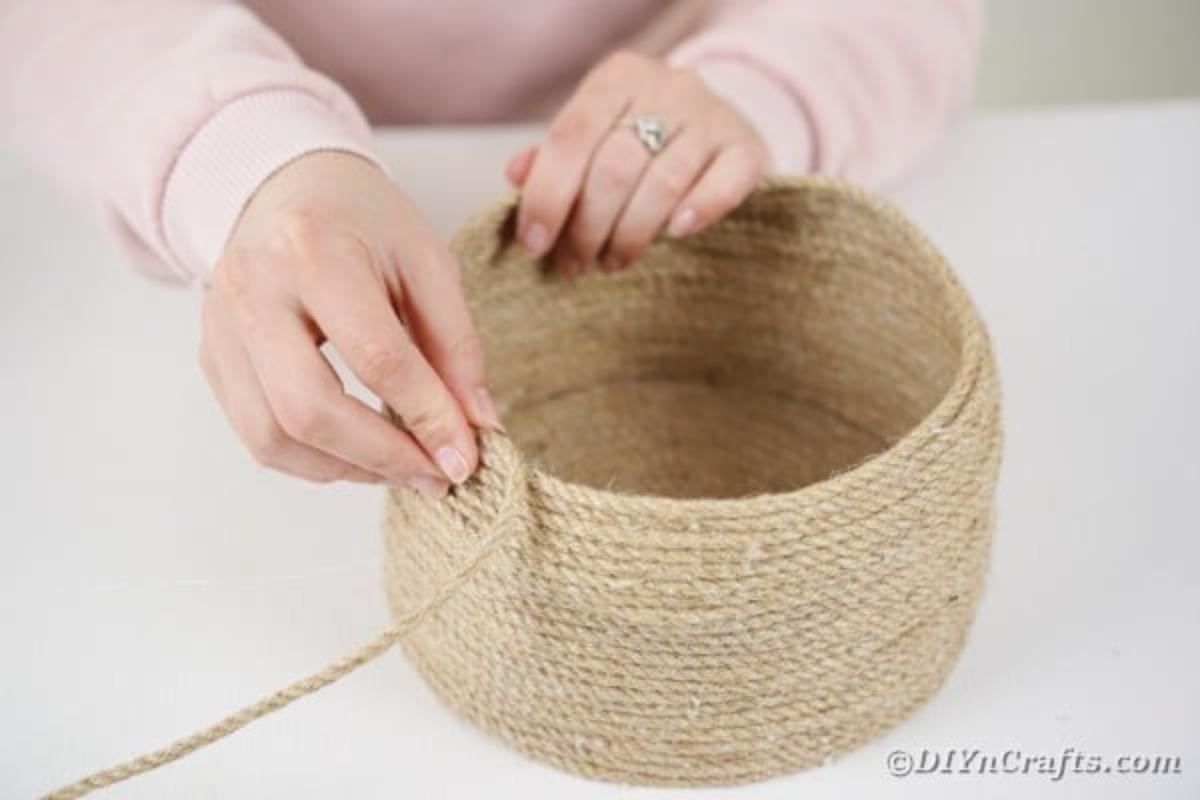
Once the basket is the height you prefer, cut two lengths of leather cord or thick fabric to create handles.
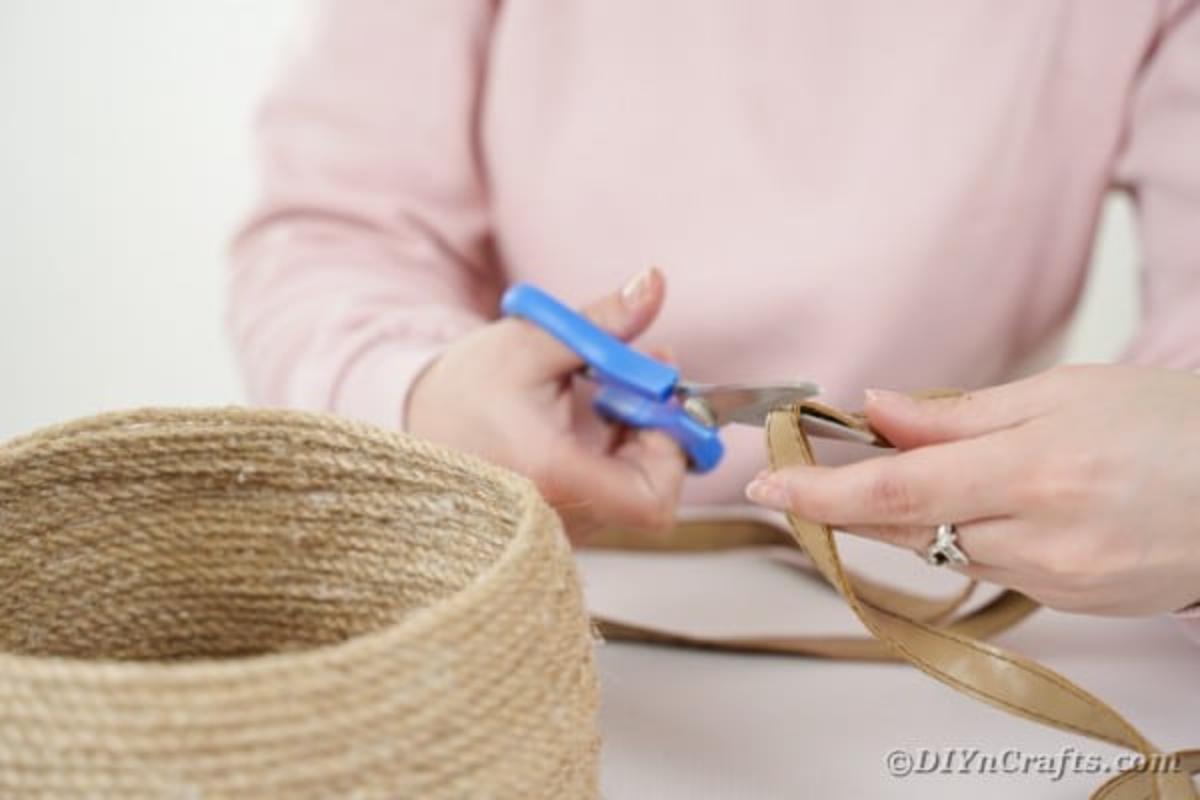
Glue or sew the handles in place on opposite sides of the basket. Sewing is a better choice for long-term stability.
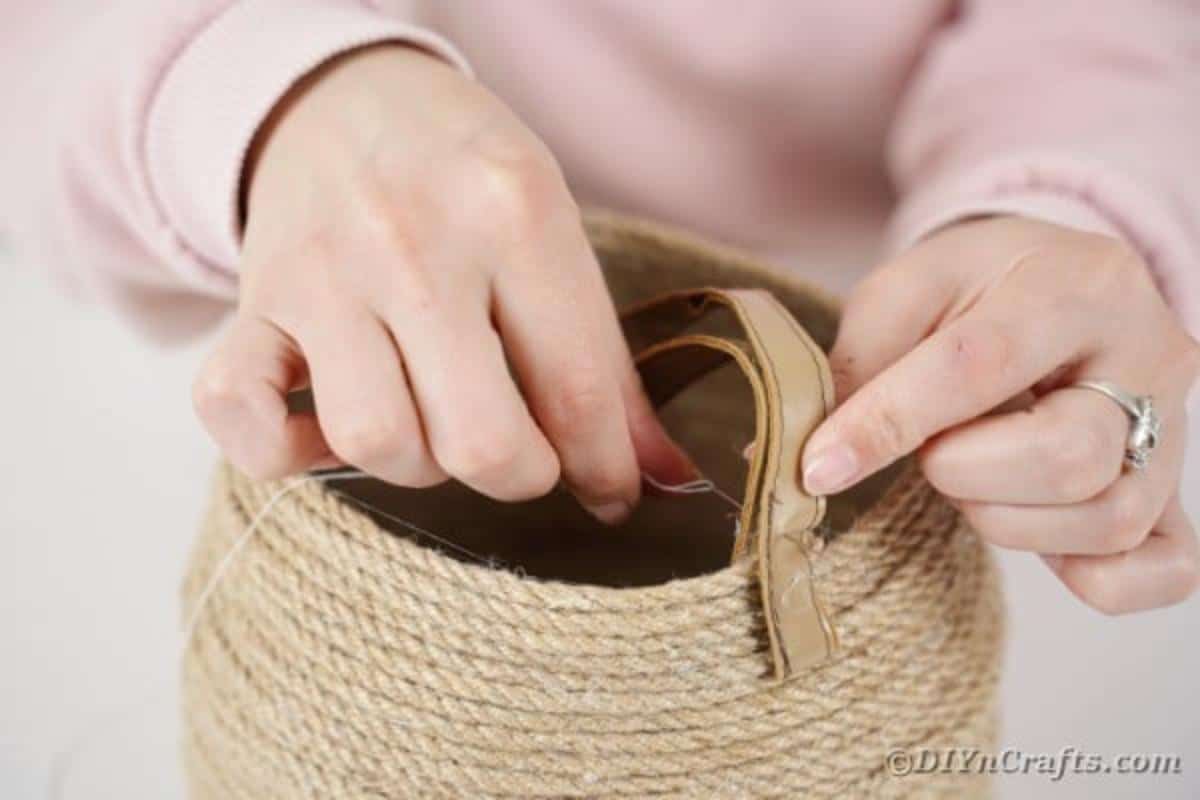
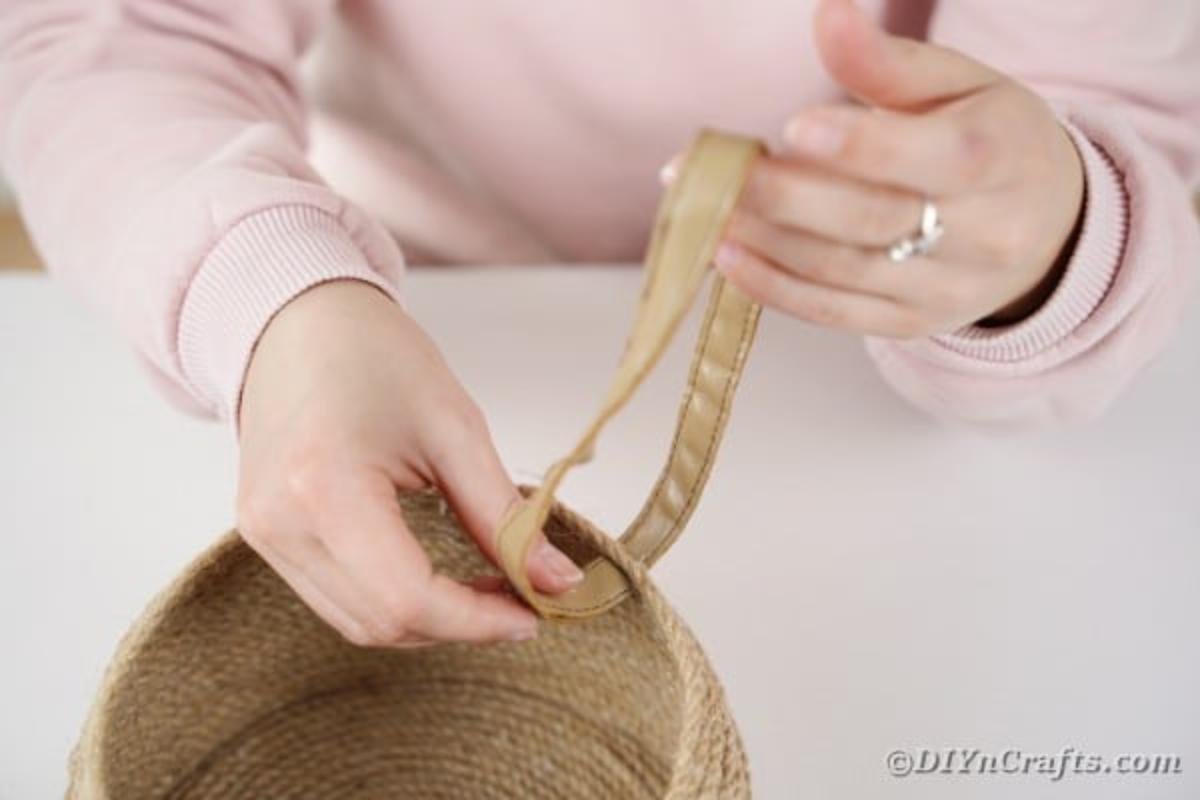
For best results, slip the fabric through the top few rows of rope so it loops around and has more stability.
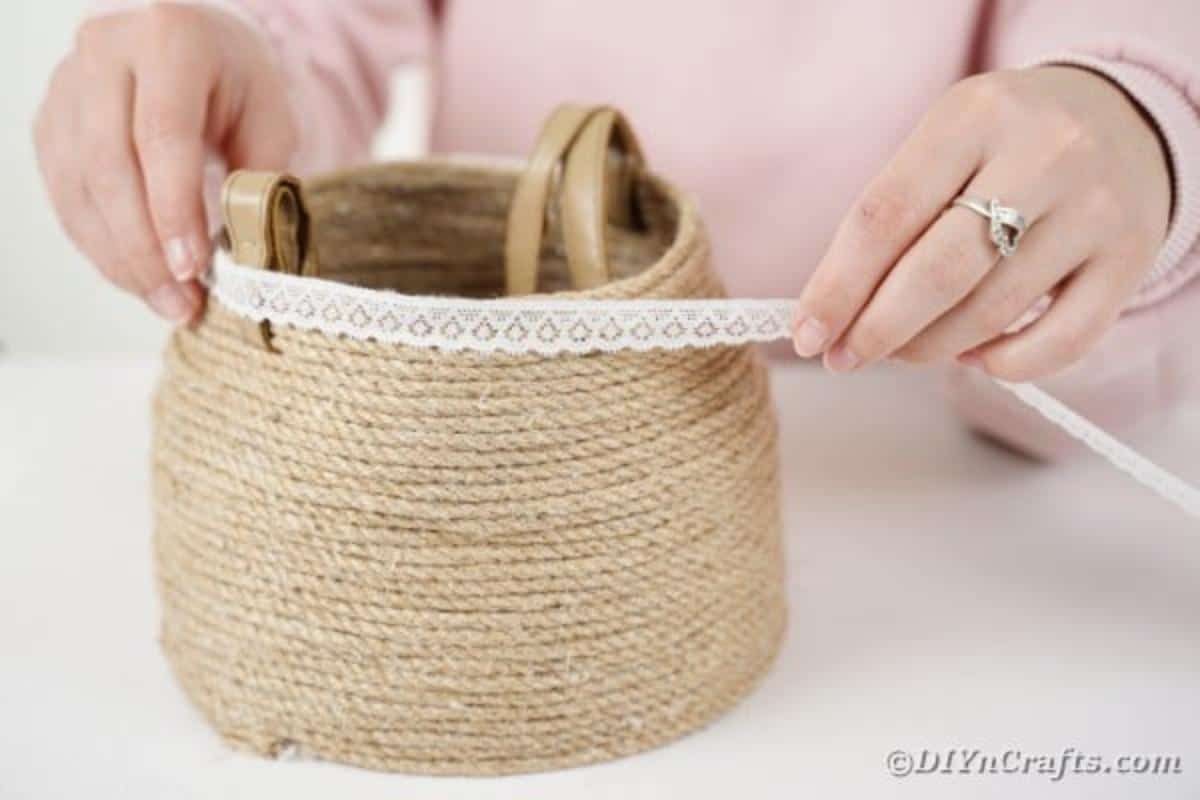
Cut a length of lace ribbon and glue around the top edge of the basket for a decorative finish.
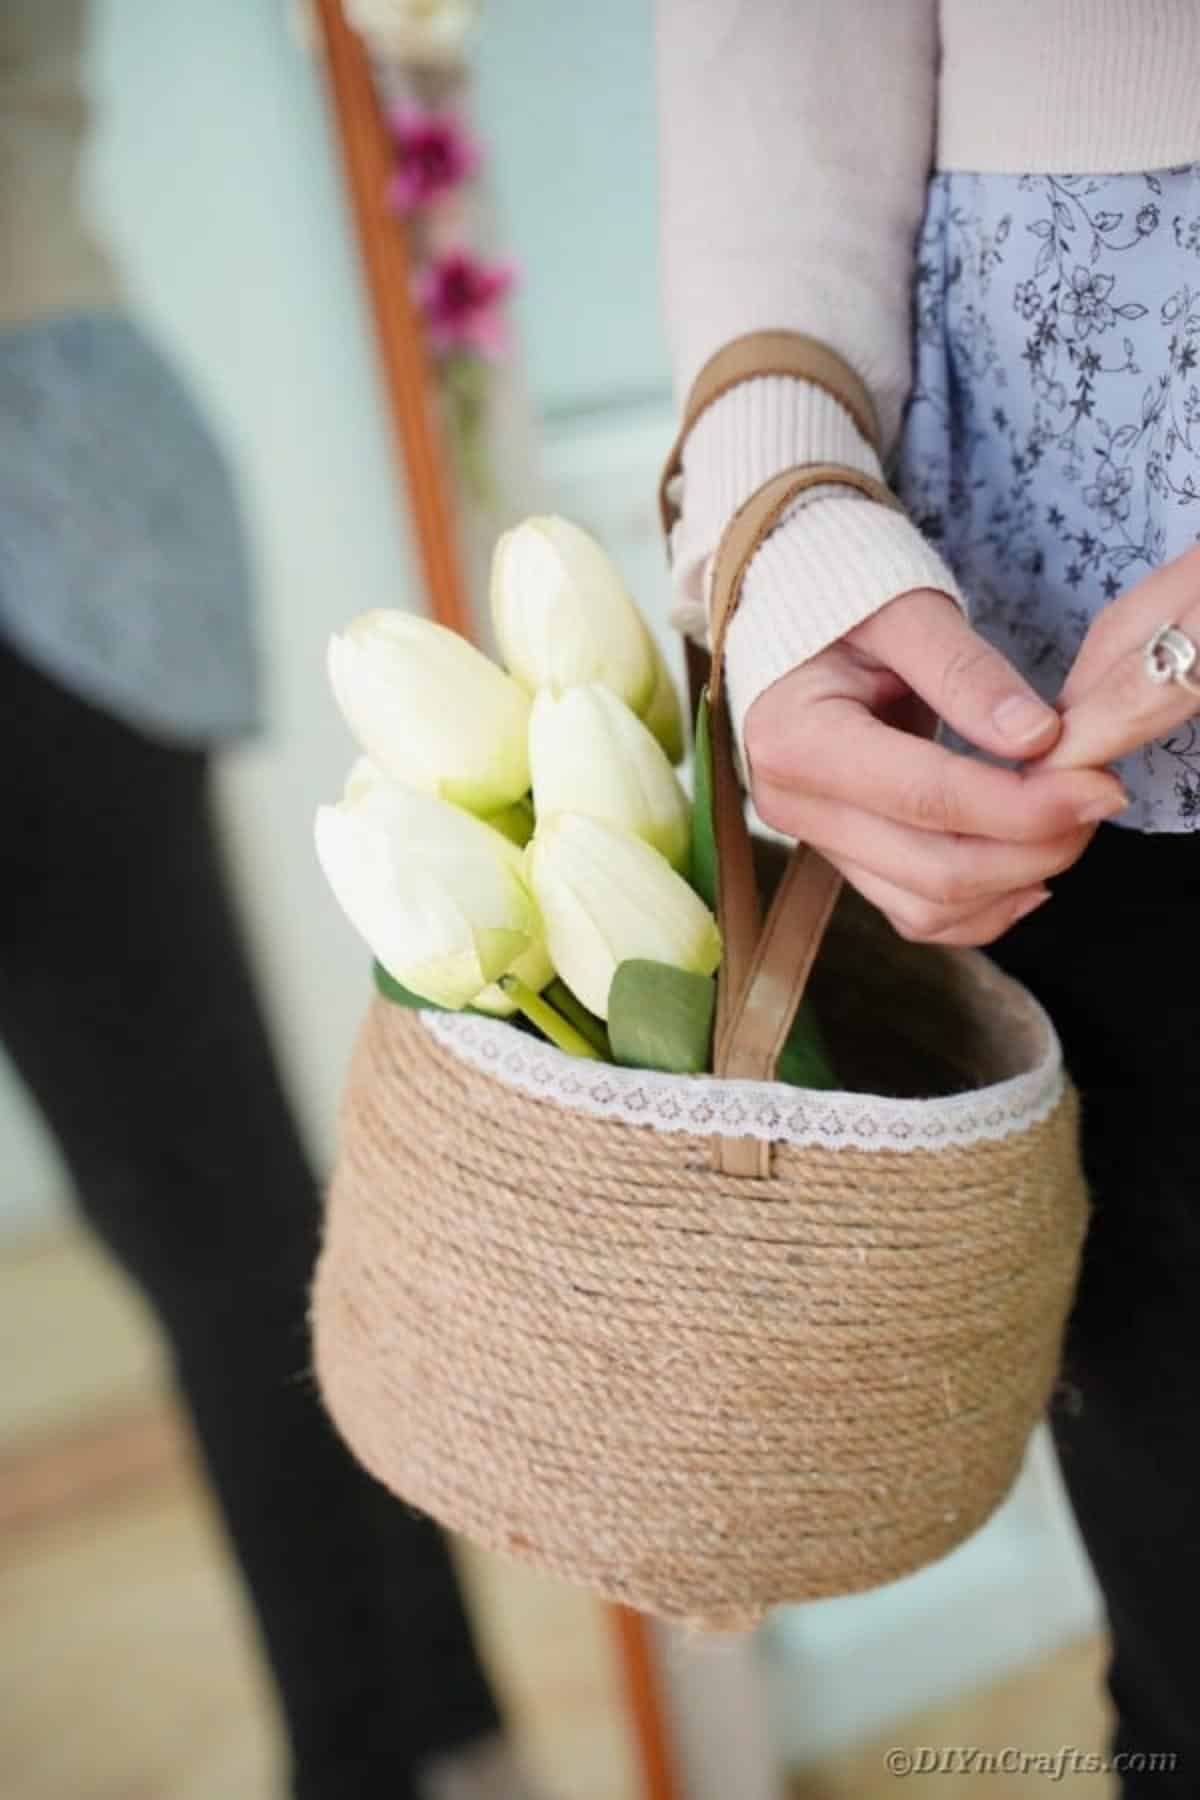
Add any additional embellishments or flowers to the basket you prefer.
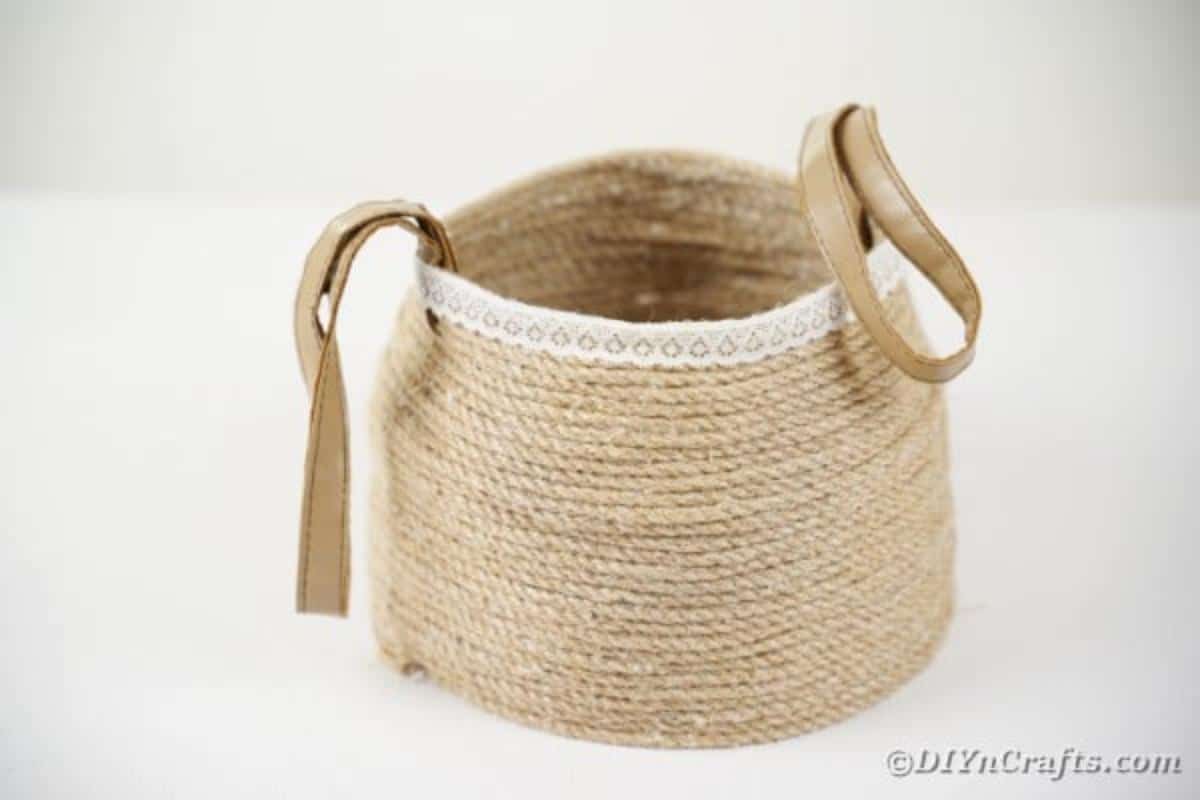
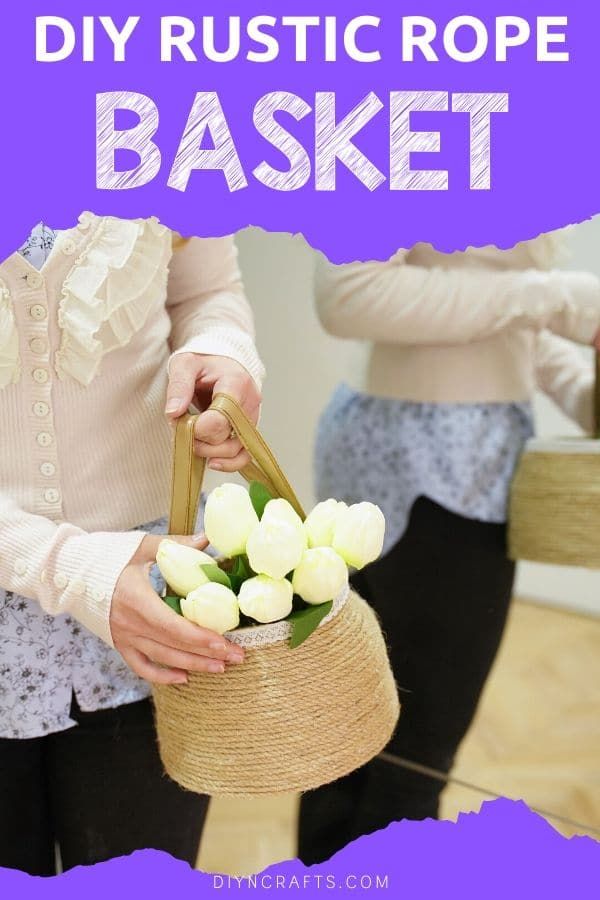
Use it to store items or as a small purse on the go.
Quick Tips
- Work on a flat, clean surface so the base coils stay even.
- Use a steady bead of hot glue and press each coil firmly to the previous one for a tight bond.
- If you want extra durability, stitch a few spots where coils meet instead of relying on glue alone.
- Personalize with paint, fabric liners, or different handle styles to match your decor.