Easy DIY Patriotic Flag Wreath — Step-by-Step Tutorial
Give your front door a patriotic update with a simple, budget-friendly flag wreath made from fabric strips and a foam wreath form. This easy project uses tied fabric strips to create the stars-and-stripes look — no sewing required — and can be customized for any holiday or year-round display.
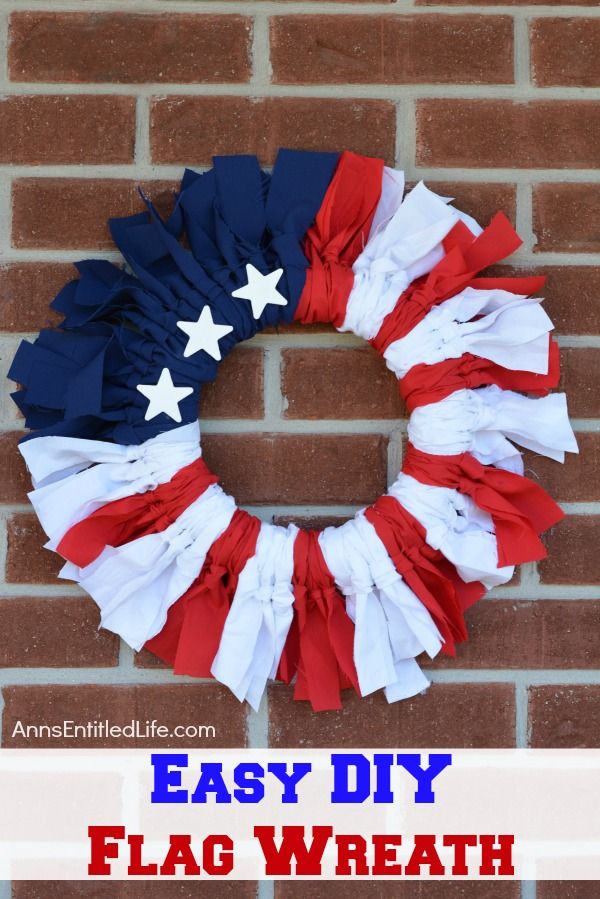
Finished DIY flag wreath ready to hang.
Materials:
- 10″ Foam Wreath Form
- 2 feet solid Blue Fabric (cut to 24″ lengths x 1 ½” thickness)
- 1 yard solid Red Fabric (cut to 24″ lengths x 1 ½” thickness)
- 1 yard solid White Fabric (cut to 24″ lengths x 1 ½” thickness)
- 3 Wooden Craft Stars
- White Craft Paint
Easy DIY Flag Wreath Tools:
- Scissors
- Small Paint Brush
- Glue Gun
- Glue Sticks
Supplies laid out: wreath form, fabrics, stars and paint.
Easy DIY Flag Wreath Directions:
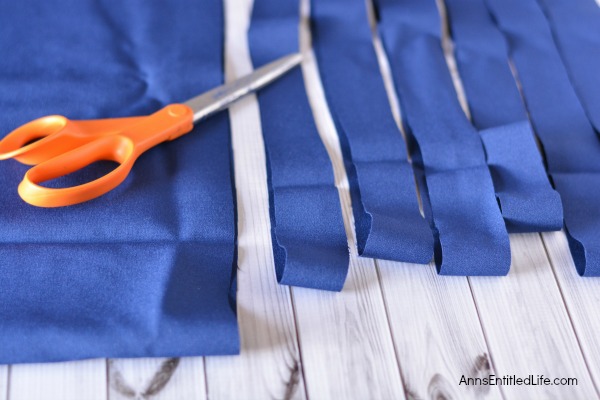
1. Cut your material into the following lengths and pieces:
16 blue pieces of fabric, cut to 24″ x 1-½”
24 red pieces of fabric, cut to 24″ x 1-½”
24 white pieces of fabric, cut to 24″ x 1-½”
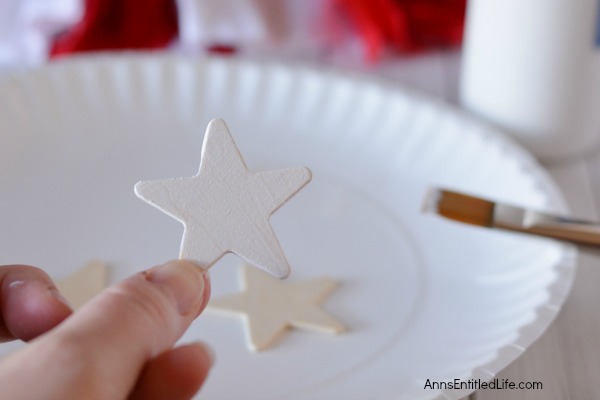
Paint the wooden stars white and allow them to dry completely.
2. Paint 3 wooden craft stars white. Allow to dry completely.
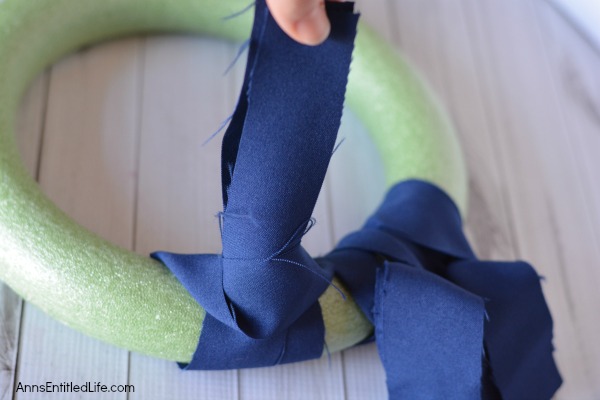
Fold each fabric strip in half and tie onto the wreath with a slip knot.
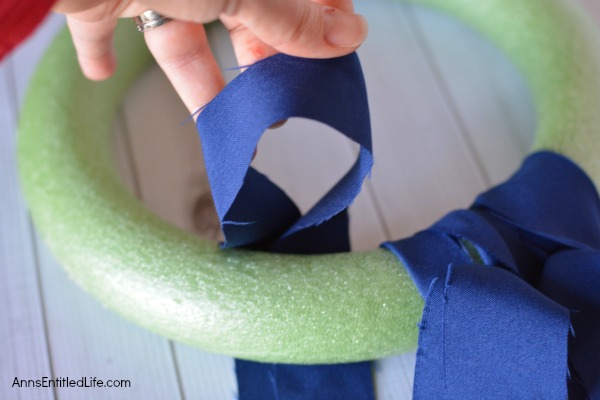
3. Wrap 16 pieces of blue fabric around the wreath form by tying a slip knot. Fold the piece of material in half top to bottom so that you make a loop and put it around the wreath body with the loop side down. Pull the other end down through the loop and pull it tight.
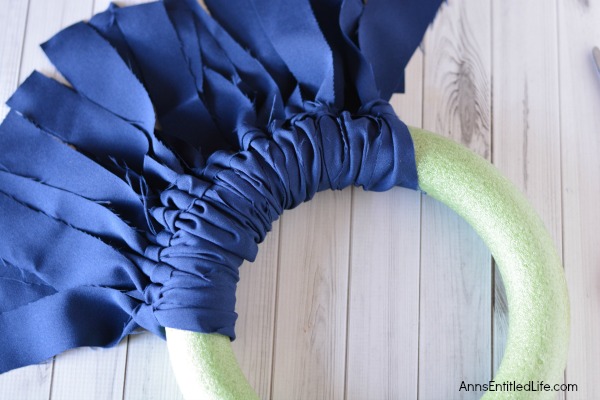
Press each tied blue piece together as you go for a full look.
4. Press each tied blue piece together as you go.
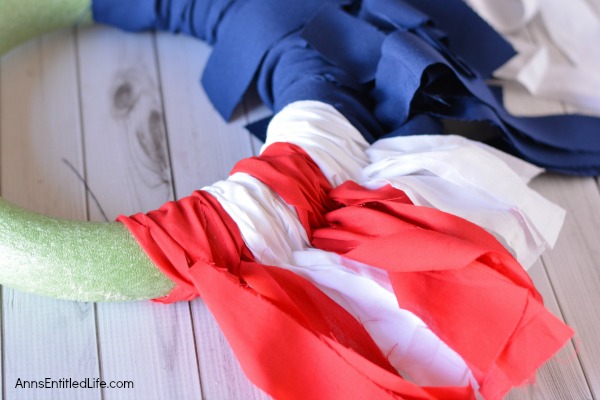
Cover about one-quarter of the wreath with blue strips for the star field.
5. Stop when you have ¼ of the wreath form covered.
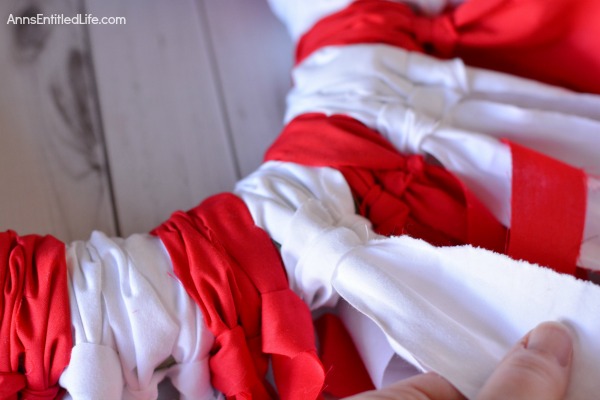
6. Add red and white fabric to the wreath form using a slip knot. Alternate 3 red followed by 3 white, pressing pieces together as you go until the entire wreath form is covered.
Alternate groups of red and white strips (three red, three white) to mimic stripes.
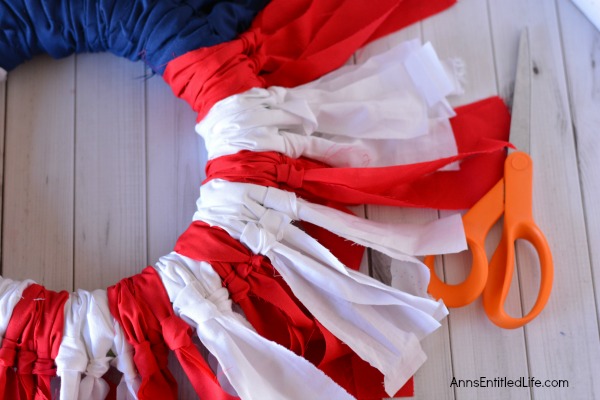
Flip the wreath over and move knots forward, tightening for even coverage.
8. Flip over the wreath form and pull up on each piece of fabric, moving the knot forward and tightening it as you go.
9. Trim the ends of the fabric if desired (the ends were trimmed for uniformity in this craft tutorial).
Trim strip ends for a neater, more uniform finish.
10. Adhere your three painted, white stars onto the blue fabric section of your wreath with hot glue.

Glue the painted stars onto the blue area to complete the flag look.
11. Add a piece of string or hanging device to the back to hang.
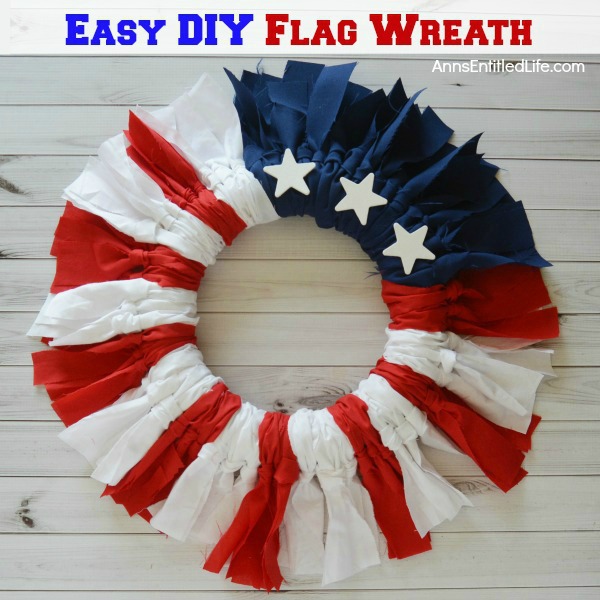
Attach a hanging loop and display your finished wreath.
Quick Tips
- Work in small sections and keep ties close together for a full, even appearance.
- Use caution with hot glue and sharp scissors; allow paint and glue to dry fully before hanging.
- Customize colors and star placement to match your preferred flag style or holiday theme.