DIY Mod Podge Fabric Bowl: Easy Step-by-Step Tutorial
Make a colorful, functional bowl from fabric scraps and Mod Podge—perfect for keys, jewelry, or as a decorative catchall. This simple layered technique uses a plastic-wrapped bowl as a mold and lightweight fabric strips to build a sturdy, washable-feeling bowl with a neat finished edge.
Creating a Mod Podge Fabric Bowl is a super fun and easy craft project for those looking to add a touch of creativity to their home decor! All you need are some fabric scraps, a bowl to use as a mold, and of course, Mod Podge. Simply cut your fabric into strips, coat them in Mod Podge, and layer them onto the bowl. Once it dries, you'll have a unique and colorful bowl that's perfect for holding keys, jewelry, or other small items. It's a great way to unleash your creativity and make something practical and pretty at the same time!
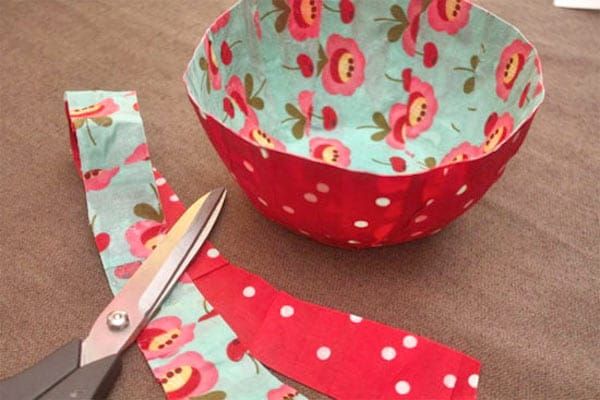
Equipment
- Bowl
- Foam brush(es)
- Scissors
Materials
- Fabric lightweight, cut into 2-inch wide strips- two different patterns
- Plastic wrap
- Mod Podge Gloss
- Disposable container
- Bias tape
- Craft glue
Instructions
Cover your bowl entirely with plastic wrap. You’ll use this as a mold so be sure it’s well covered.
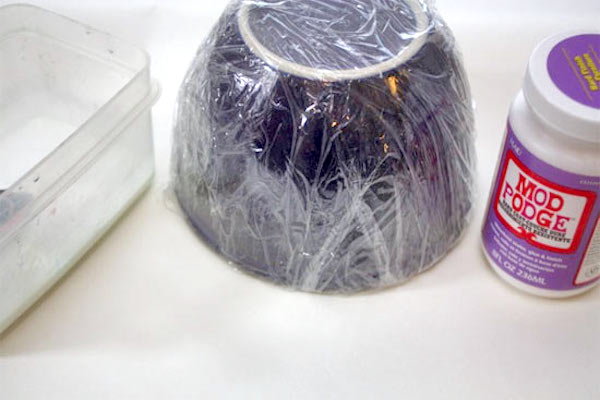
Pour the Mod Podge into the container and thin slightly with water.
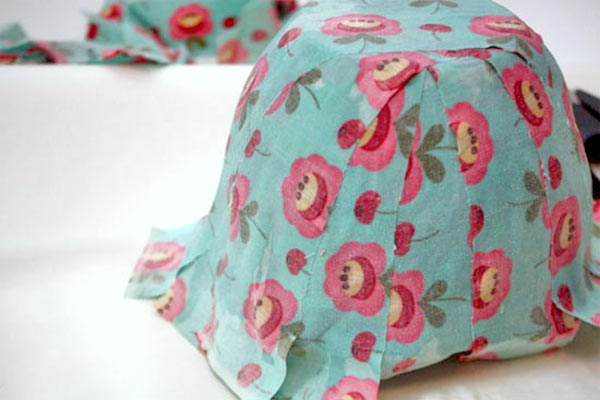
Flip the bowl upside down. Paint a two-inch wide strip from edge to edge on the bowl and lay a strip of fabric, print side DOWN. Continue to add strips of this pattern, print down, until the bowl is covered.
Paint another section of the bowl, over the first layer of fabric, as before, this time adding strips of the second pattern of fabric print side UP. Continue until the second layer entirely covers the first.
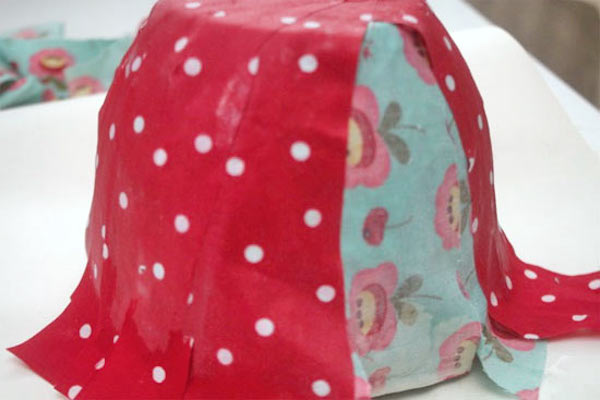
Allow the bowl to dry overnight.
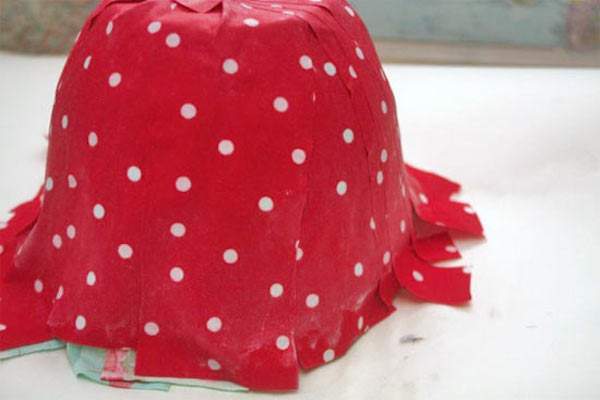
Once dry, remove the bowl from the mold and peel the plastic wrap away.
Trim the edge of the bowl to the height you want. Add a bead of glue to the outer edge and press the bias tape around the bowl, trimming the excess.
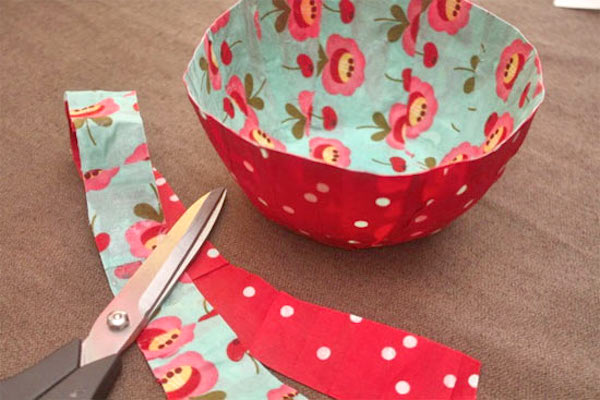
Once dry, fold the bias tape over and glue along the inside edge. Allow the glue to dry before using.
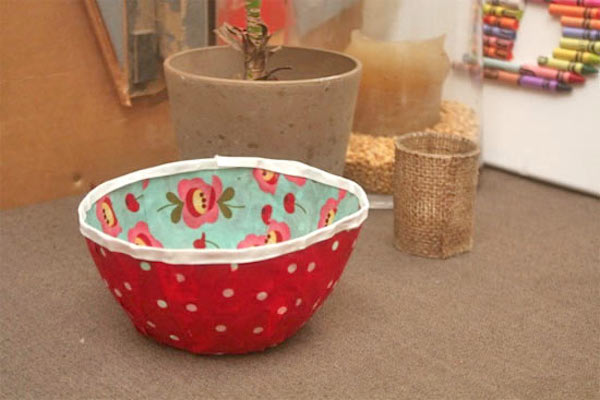
Quick Tips
- Use lightweight cotton or quilting fabric for best flexibility and adhesion.
- Work in small sections so the Mod Podge doesn’t dry before you lay the fabric.
- If you thinned the Mod Podge, don’t over-water—just a little to make it easier to spread.
- Press out bubbles and smooth seams with your fingers or a clean brush for a neat finish.
- Allow the bowl to fully cure overnight before removing the mold and again after adding bias tape before regular use.