DIY Crochet Studded Bracelet — Easy Step-by-Step Tutorial
Create a trendy, wearable accent for your wrist with this simple crochet studded bracelet. Using basic crochet stitches and a few studs, you can make a colorful bracelet that ties on and can be customized to your wrist size and color preferences. Below you'll find the materials, step-by-step row instructions used in this sample, finishing tips, and photos to guide you.
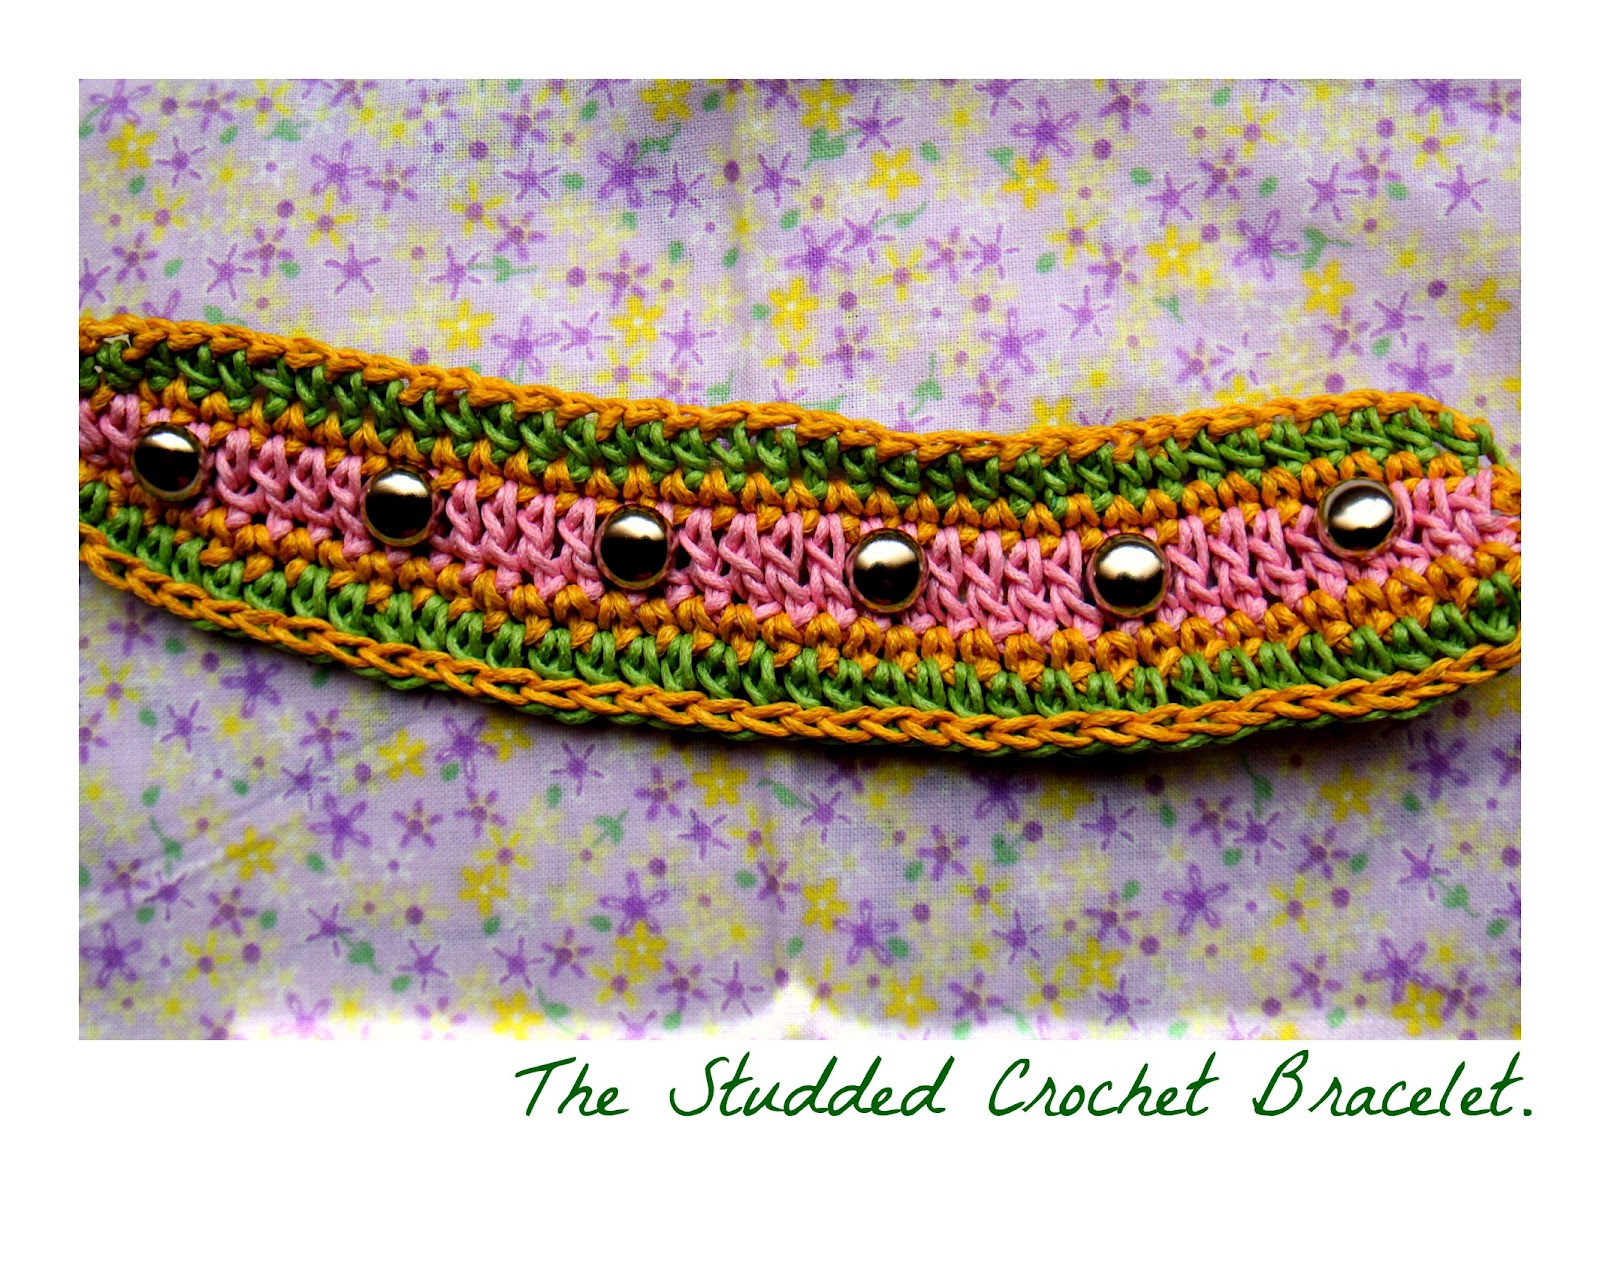
Finished crochet studded bracelet showing colorful rows and metal studs.
The Ingredients:
- Scissors
- Beading cord (used here as the thread)
- Studs
- B/1-2.25MM crochet hook
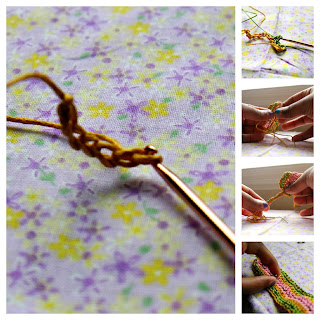
Materials laid out: crochet hook, beading cord/thread and studs ready for assembly.
Before you start: measure your wrist so you can adjust the chain length to fit. In this sample the maker chained 50 stitches — adjust up or down so the finished piece fits comfortably.
Notes: When switching colors, leave about 3/4 of the yarn tail (as indicated) so you have enough to braid the ends for tying.
Stitch key: SC = single crochet, DC = double crochet, Sl St = slip stitch.
Pattern (sample):
Row 1: Chain 50 with yellow yarn, knot and cut.
Row 2: Add green yarn and attach with SC, knot and cut.
Rows 3–4: DC with pink yarn, knot and cut.
Row 5: SC with yellow yarn, knot and cut.
Row 6: SC with green yarn (do not cut if continuing to finish).
Row 7: Slip stitch with yellow yarn, knot and cut.
Finishing the ends:
When finished, use the extra yarn tails left from color changes. Braid the yarn on both sides of the bracelet so you can tie the ends together and adjust the fit.
Adding the studs:
Apply the studs to the main band (in this sample the pink DC section) and space them as you like. Press or secure studs according to the stud type you have (verify studs are appropriate for the cord and will not damage the stitches).
Final tips:
- Adjust the initial chain length to fit your wrist; chain 50 is a starting example.
- Keep knot tails tidy and trim any excess after you’ve tested the fit and secured the studs.
- If you want a more finished look, weave the yarn tails back into a few stitches before trimming.
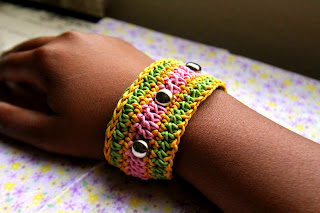
Close-up of the studded pink double-crochet band with yellow and green accent rows.