Make Lifelike Ginger Flowers from Crepe Paper — Easy Step-by-Step Tutorial
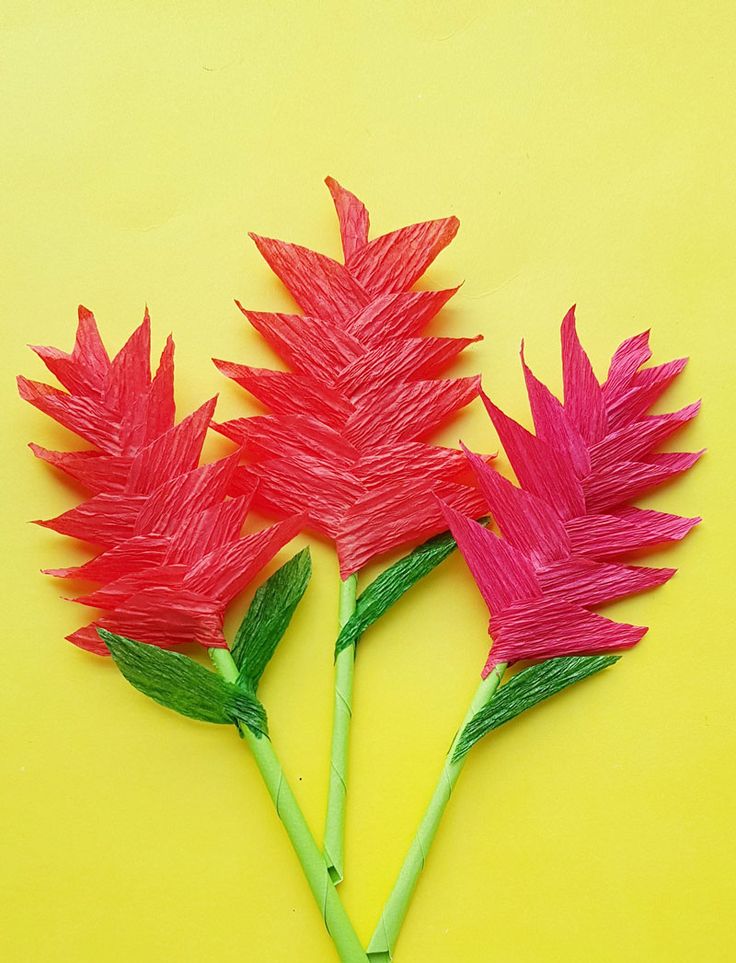
Making ginger flowers from crepe paper is a simple, rewarding craft that produces striking, lifelike blooms you can use in bouquets, arrangements, or as standalone decorations. This step-by-step tutorial walks you through the materials and technique to build a realistic ginger flower using basic supplies and minimal tools.
Gather your materials, follow the numbered steps below, and you'll have a delicate crepe paper ginger flower in no time.
What you need to make these Crepe Paper Ginger Flowers:
- Crepe paper (flower color and green for stem/leaves)
- Green craft paper (for rolling the stem)
- Scissors
- Craft glue
How to make these Crepe Paper Crafts:
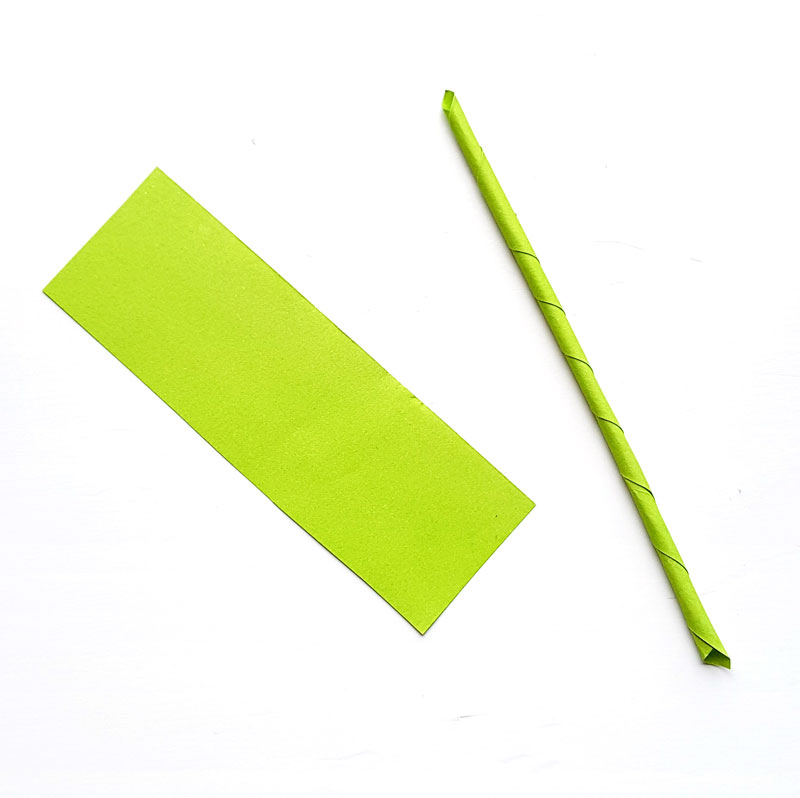
1. Take the green paper and cut out a 4 cm x 12 cm strip. Roll the strip to form a thin straw (if you have it, you can also use a green paper straw). Glue it shut to form the stem.
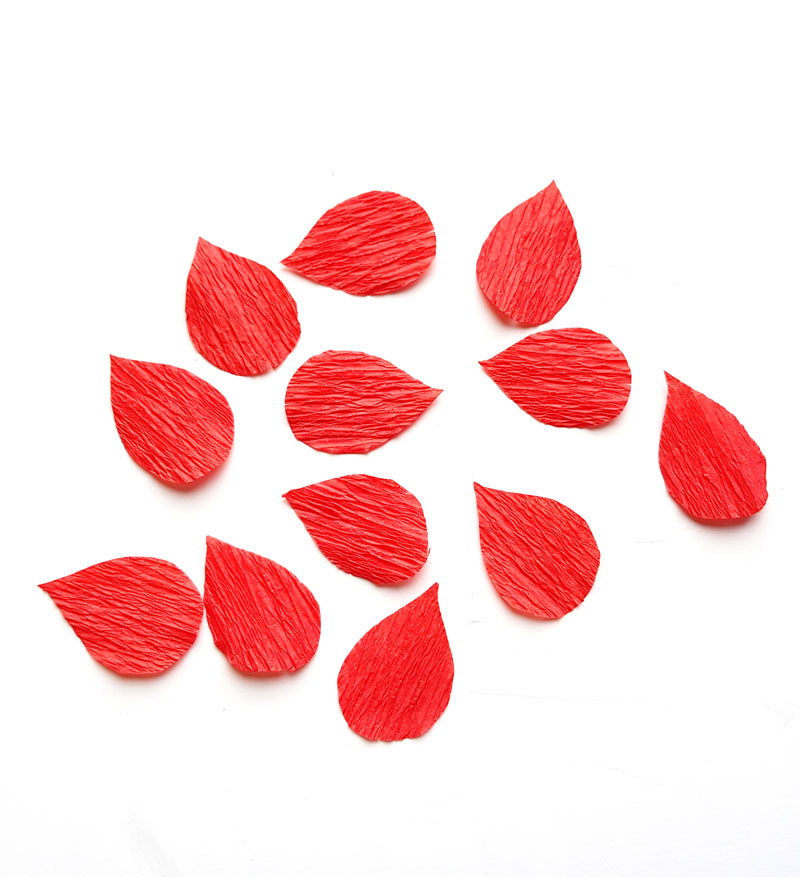
2. Cut out 12–15 pieces of teardrop-shaped crepe paper for the petals – each roughly 3 cm long.
3. Cut a 1 cm slit along the middle of the bottom end of each teardrop. This slit lets the petal wrap more securely around the stem.

4. Add a little glue to the bottom of one teardrop petal.
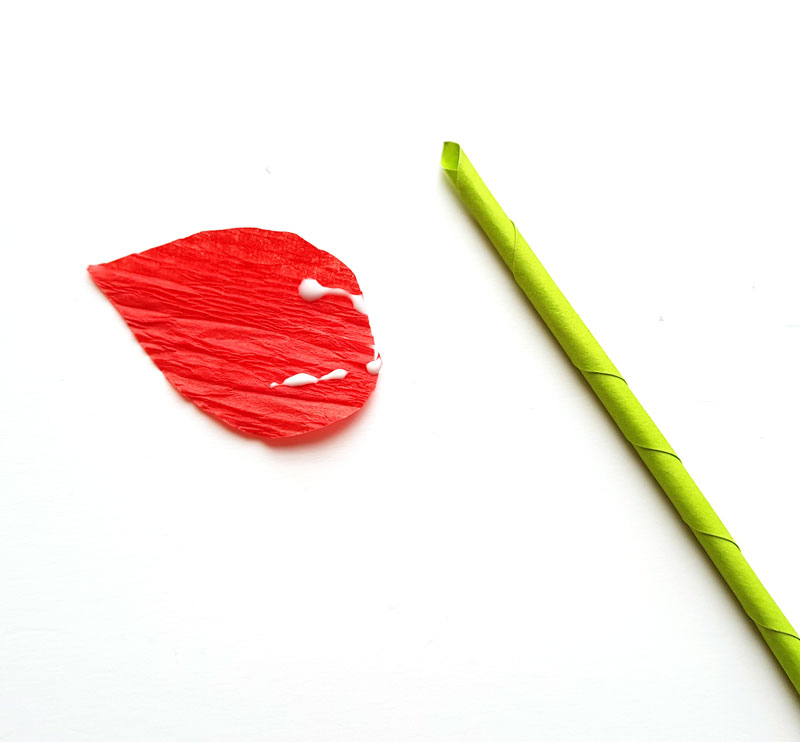
5. Wrap that glued petal around the top of the green stem you made to form the flower's center.
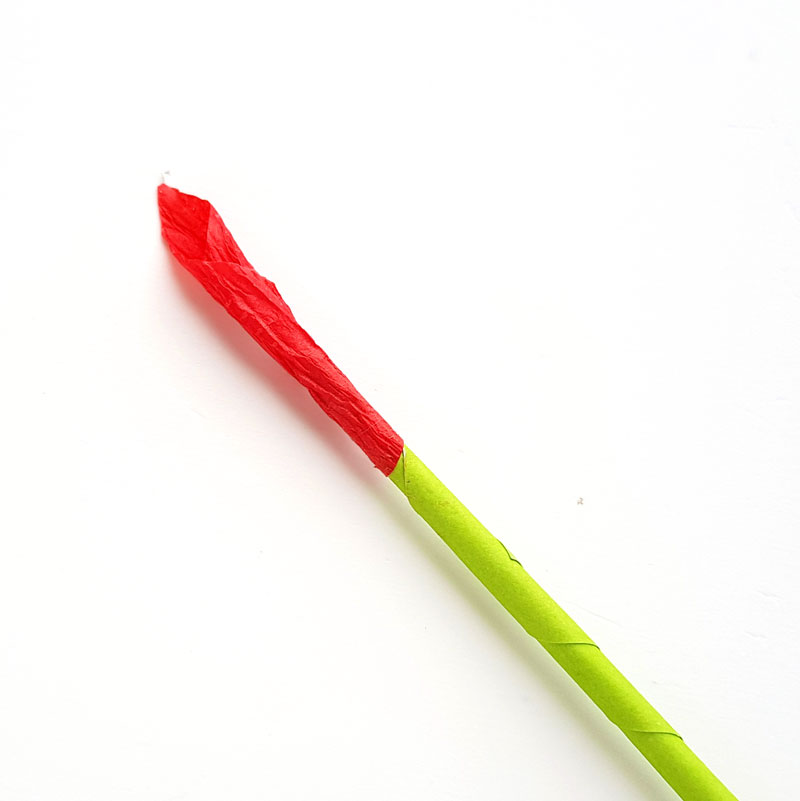
6. Take another teardrop, apply glue to the bottom, fold it in half, and wrap the two split sides around the stem below the top petal. Keep the open end of the teardrop facing up.
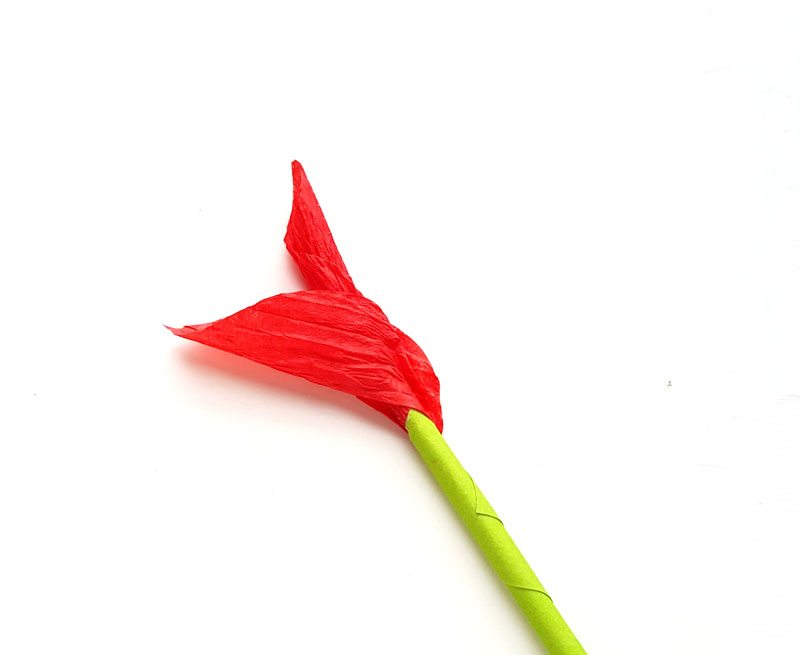
7. Attach the next teardrop on the opposite side of the one you just placed. Rotate sides and space each petal evenly as you work your way down the stem. Continue this pattern until the flower takes shape.
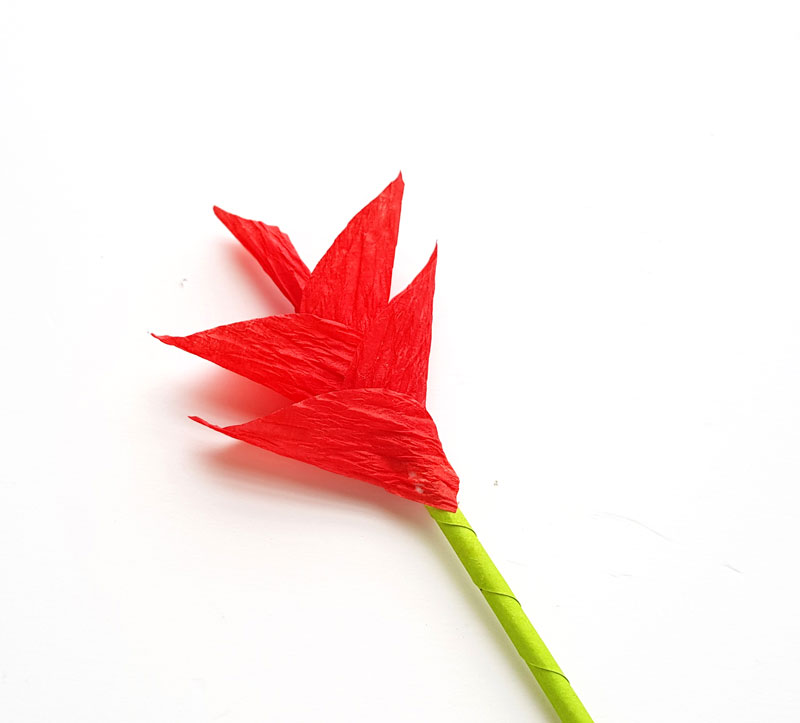
8. Cut leaf shapes from the green crepe paper to complement the bloom. Size and number of leaves can vary based on your preference.
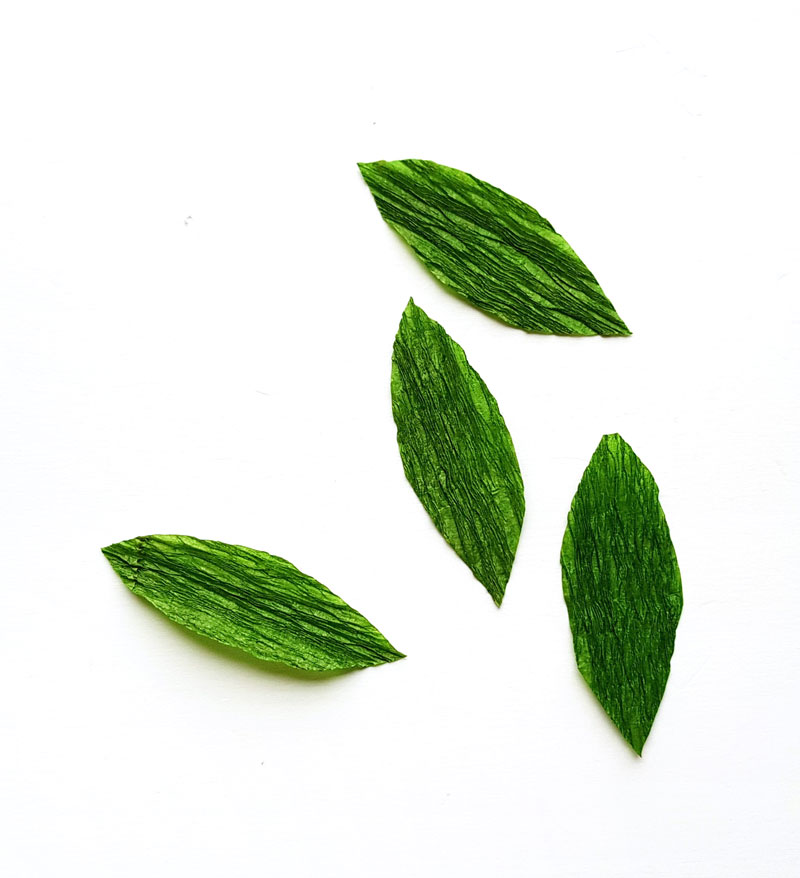
9. Attach the leaves below the ginger flower on the green stem. Arrange and glue as many leaves as you’d like to complete the look.
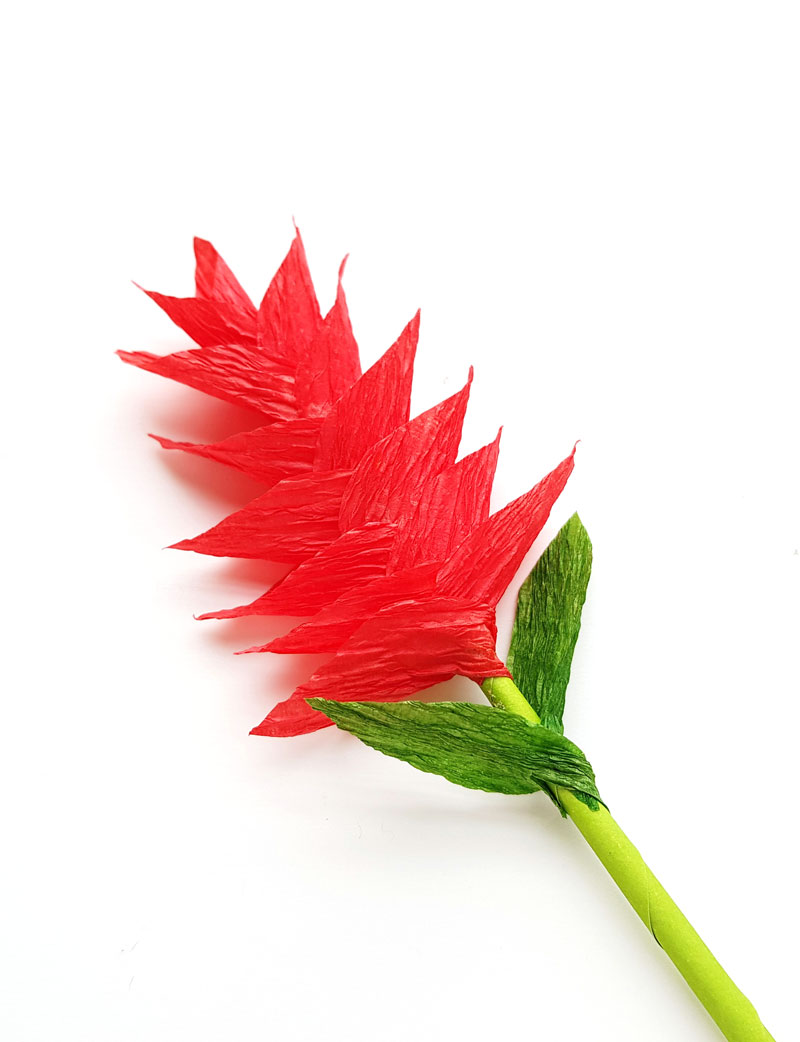
Your crepe paper ginger flower is now complete. Display it alone, group several together to form a bouquet, or add it to a mixed arrangement. Quick tips: stretch crepe gently for a more natural curve, and use small amounts of glue to avoid visible spots.