Adorable DIY Easter Egg Bunnies — Easy Step-by-Step Craft for All Ages
Make charming Easter Egg Bunnies with simple supplies — a quick, family-friendly craft that's perfect for decorating, gifting, or an Easter egg hunt with a twist. Use hard-boiled eggs for edible decorations or plastic eggs for long-lasting keepsakes. Follow the step-by-step photos and tips below to create your own cute bunny eggs.
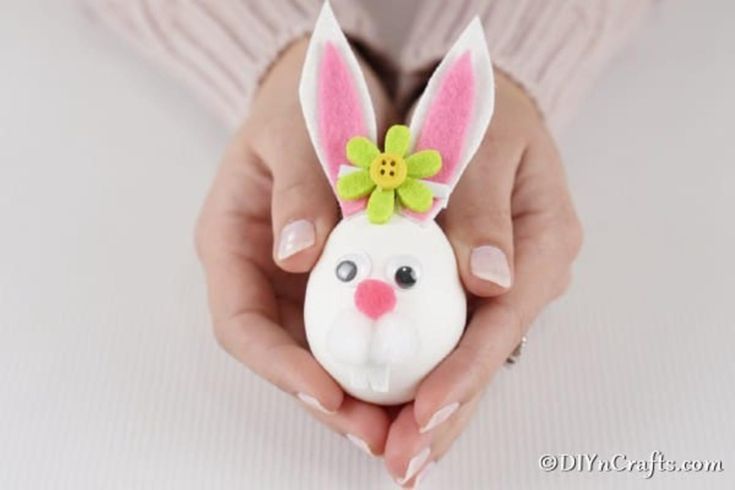
Finished DIY Easter Egg Bunnies ready to display or gift.
Supplies Needed
- Eggs (hard-boiled or plastic)
- Pink craft paper
- White craft paper
- Googly eyes
- White pom poms
- Pink pom pom
- Tape or craft glue
- Scissors
- Optional: Fake flower or bow for bunny "hair"
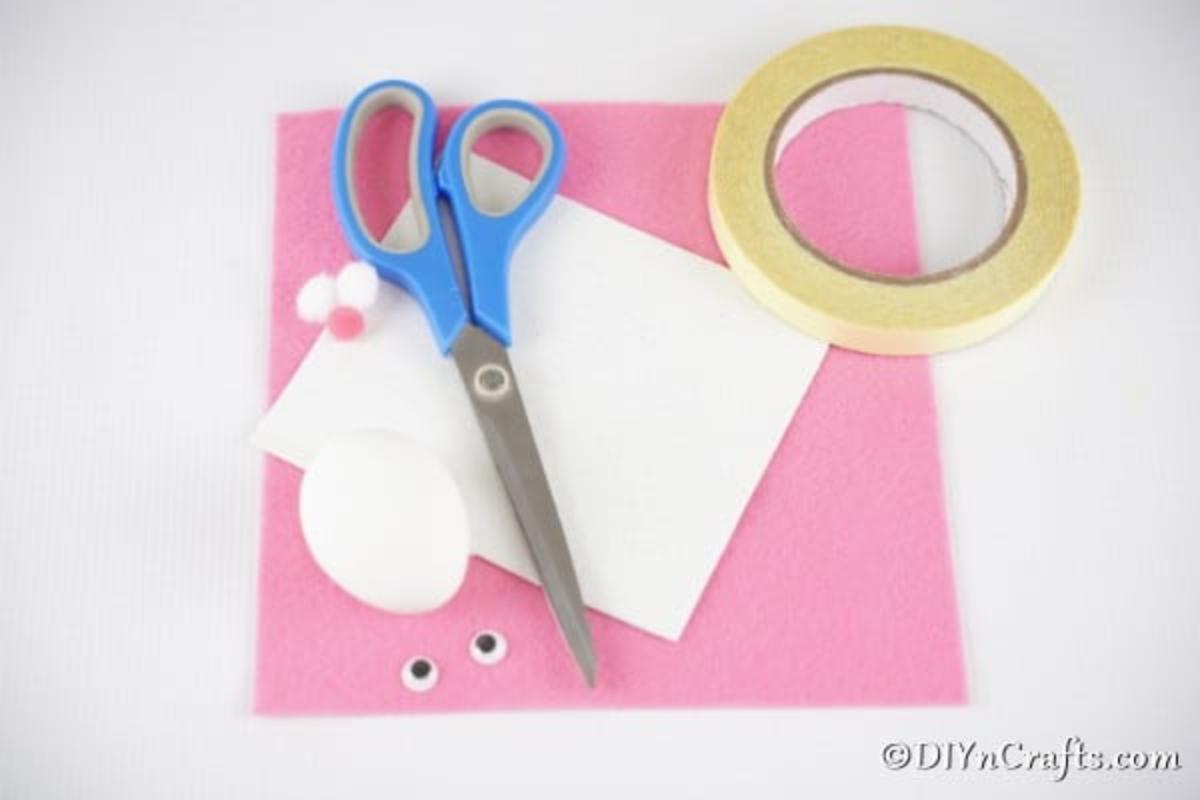
Lay out all supplies before you start to make the process smoother.
How to Make an Easter Egg Bunny Craft
- Prepare the egg: Boil and cool your eggs if using real eggs. For plastic eggs, simply begin crafting.
- Trace and cut ears: Trace an ear shape on white paper and cut it out to make a template.
- Cut inner ear pieces: Use the white ear as a template and cut slightly smaller pink ear pieces from pink paper.
- Assemble ears: Attach the pink inner ear piece to the white outer ear with tape or glue.
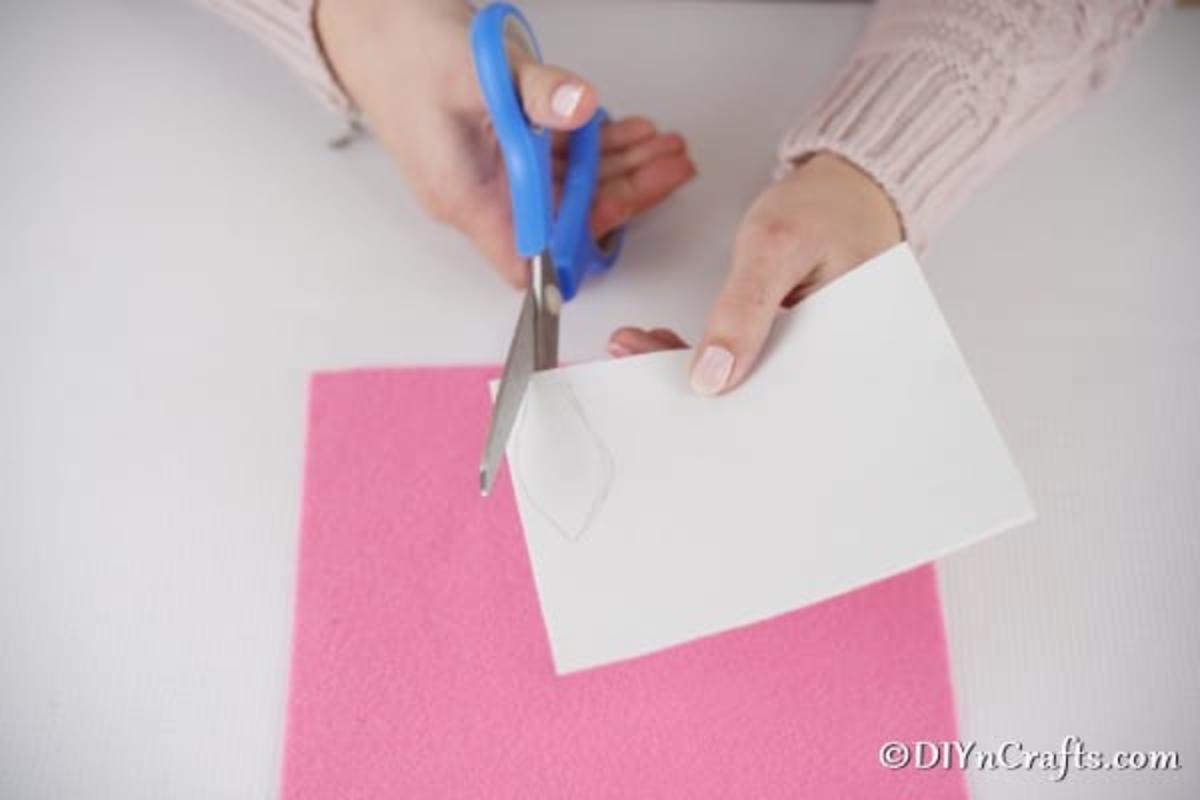
Trace and cut the white outer ear shape to use as a template.
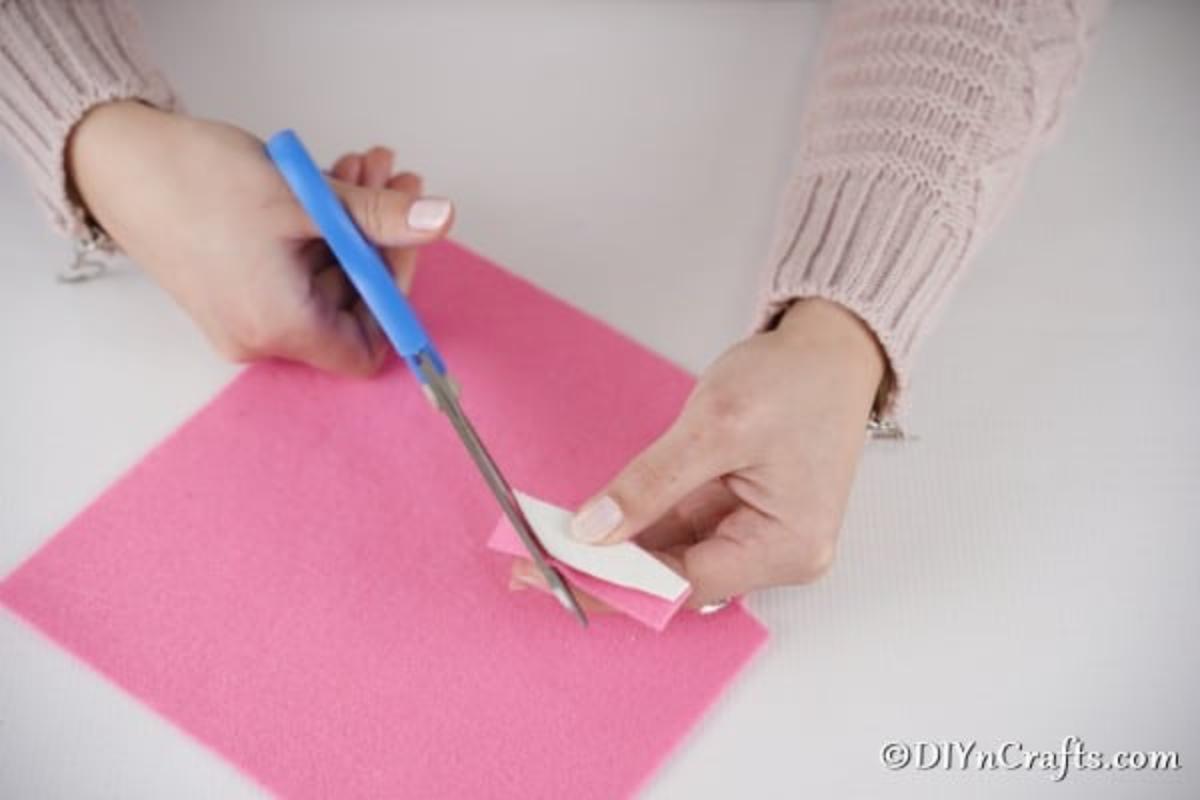
Cut pink inner ear pieces slightly smaller than the white outer ears.
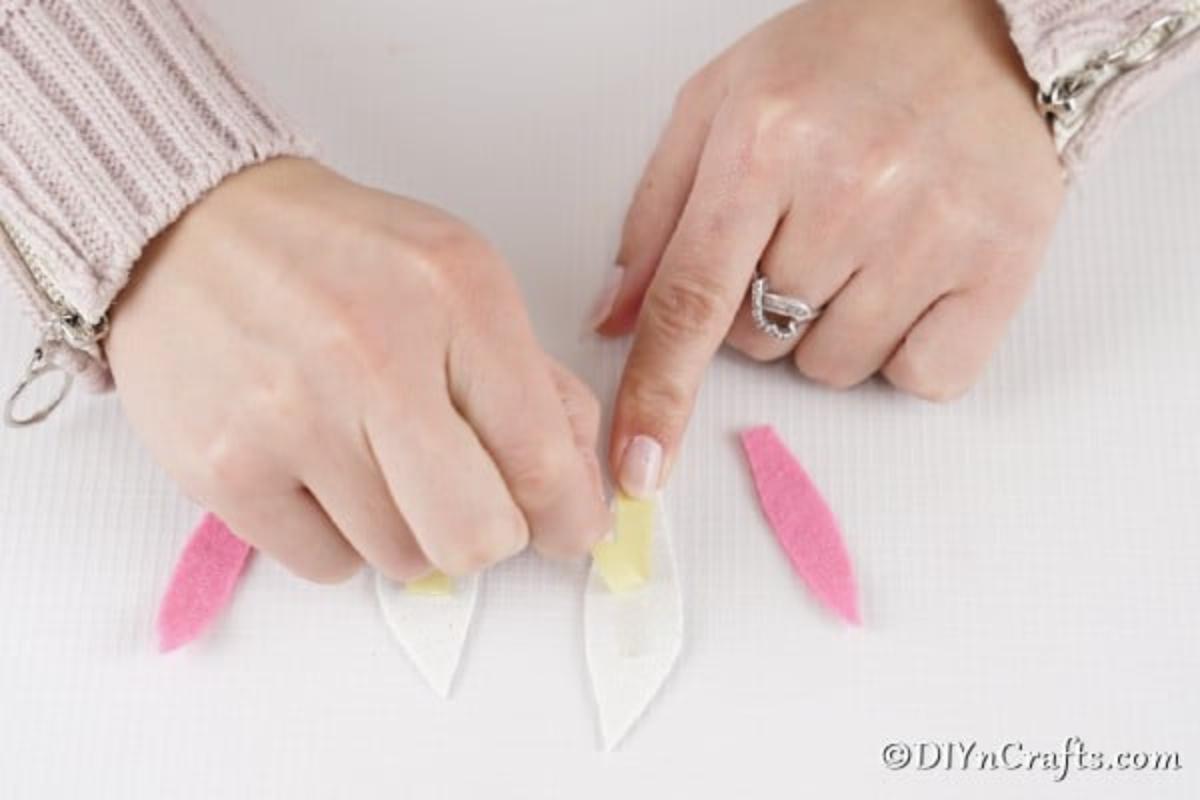
Attach the pink inner ear to the white ear with tape or glue.
- Attach ears to egg: Secure the completed ears to the back top of the egg using glue or tape so they stand upright.
- Add face details: Glue on googly eyes, a small pink pom pom for the nose, and two white pom poms to create a fluffy mouth area.
- Embellish: Optionally add a small fake flower or bow between the ears for extra charm.
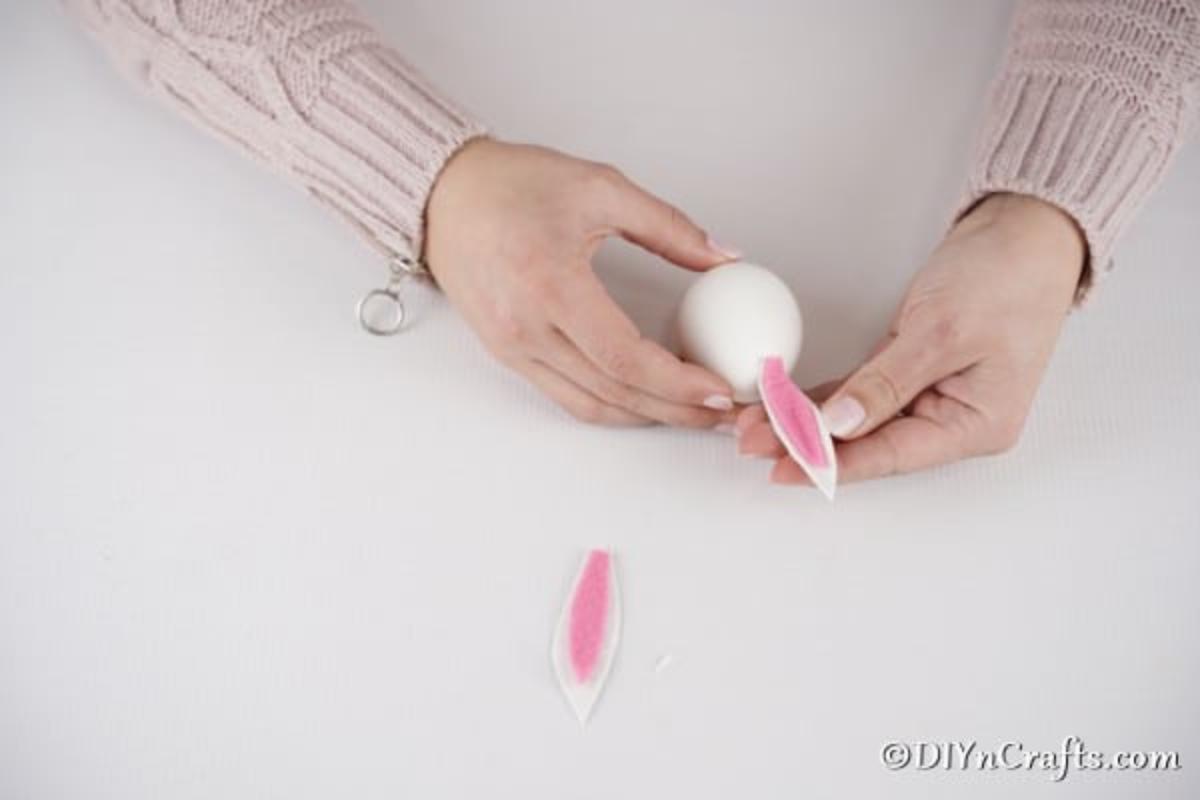
Attach the ears to the back top of the egg so they peek up like bunny ears.
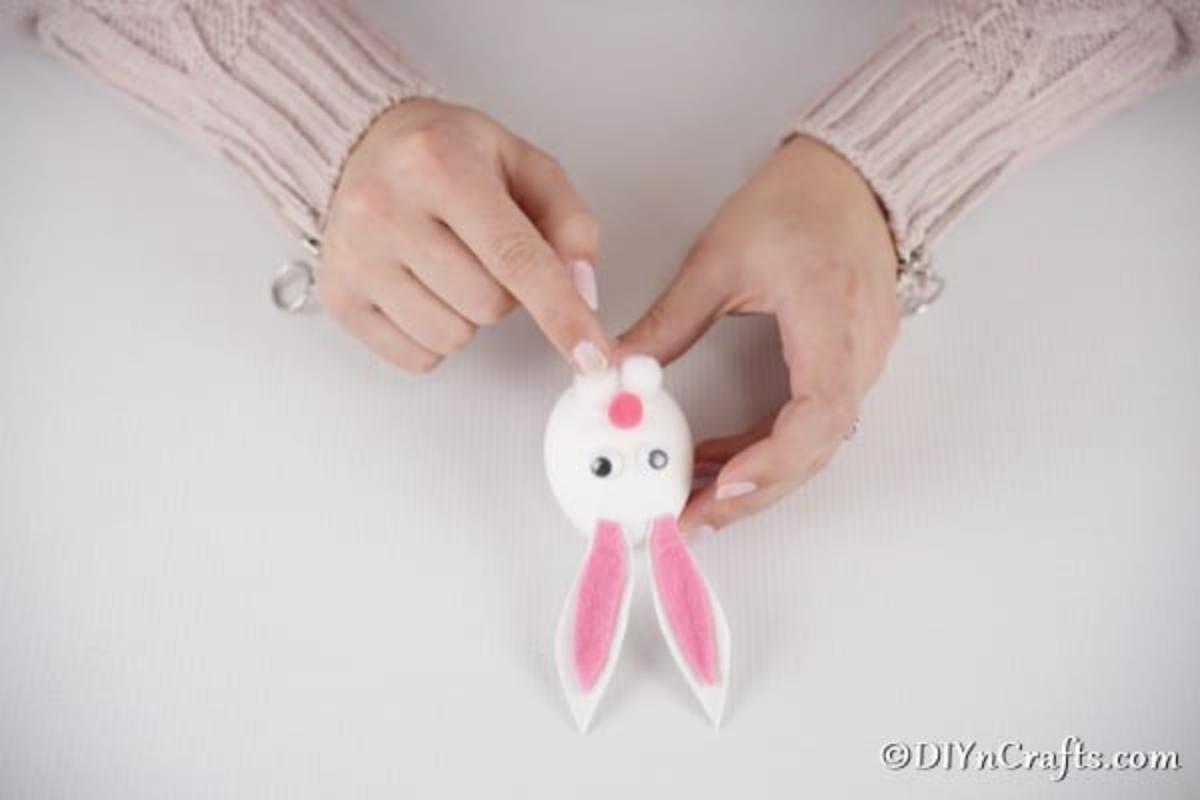
Glue on googly eyes, a pink pom pom nose, and white pom poms for the bunny's mouth/fuzzy face.
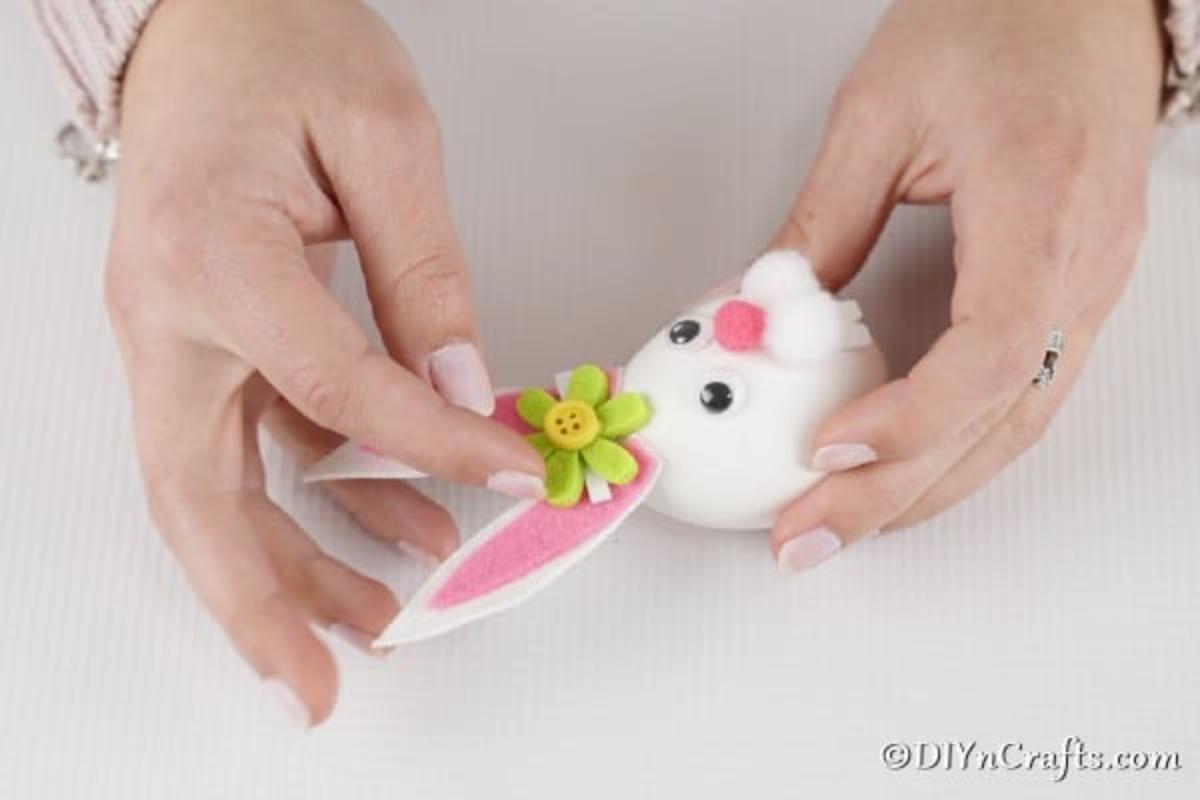
Finish with a flower or small bow between the ears for a sweet accent.
NOTE: If you are using real eggs, keep them refrigerated if you plan to eat them later. Plastic eggs can be used for display or keepsakes and do not require refrigeration.
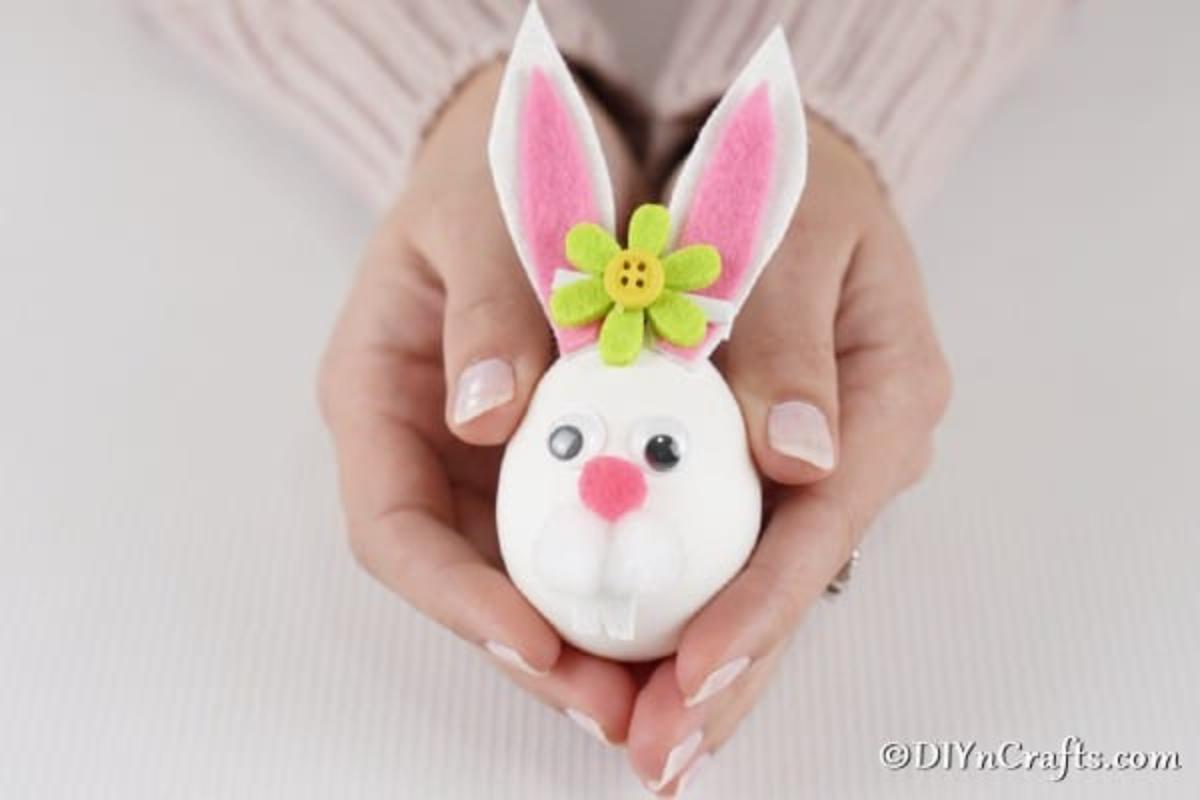
Display your completed Easter Egg Bunnies in a basket or as table decorations.
Quick Tips
- Use craft glue for a stronger hold on paper ears and pom poms; tape works for a quicker option.
- For long-lasting decorations, choose plastic eggs and hot-glue the pieces (adult supervision recommended for hot glue).
- Customize faces and accessories to create a variety of personalities and styles.