DIY Ninja Eggs for Easter: Easy Step-by-Step Craft to Impress Kids
Put a playful spin on your Easter celebration with DIY Ninja Eggs — a simple, creative craft that adds personality to your egg hunt. These little ninja-themed eggs are quick to make, kid-friendly (with supervision for hot glue), and a fun way to practice painting and decorating skills.
Get ready to level up your Easter egg game with DIY Ninja Eggs! These cool and creative eggs are a fun twist on the traditional Easter egg decorating. These ninja eggs are a great way to add some excitement to your Easter egg hunt and impress your friends and family with your crafty skills. So grab your supplies and get ready to unleash your inner ninja this Easter!
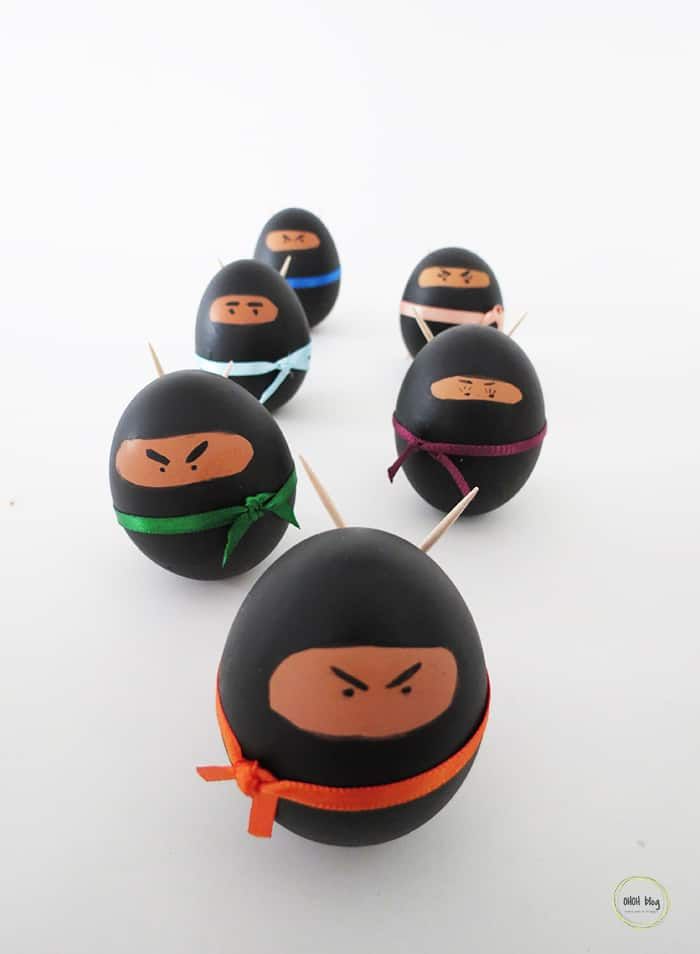
How to make Ninja Easter eggs
Materials you will need to decorate your eggs:
- hard-boiled eggs
- acrylic paint
- A paintbrush
- Silicone glue or a glue gun
- ribbons
- Some toothpicks.
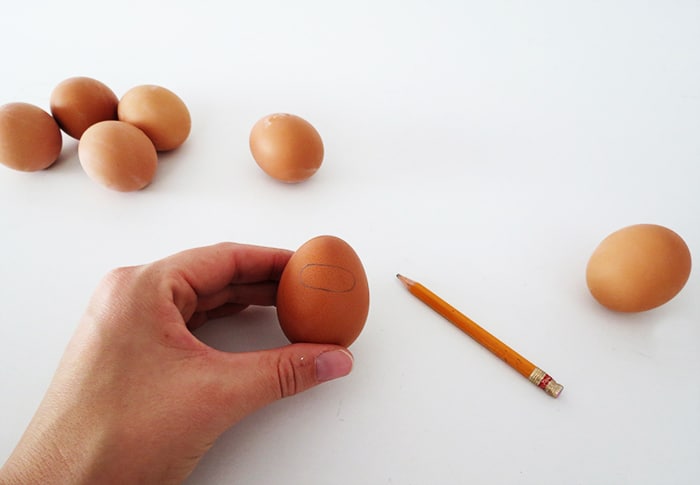
Draw an oval shape on the egg and paint it with black acrylic paint, except the oval. Depending on the paint you use, you may need to apply several coats.
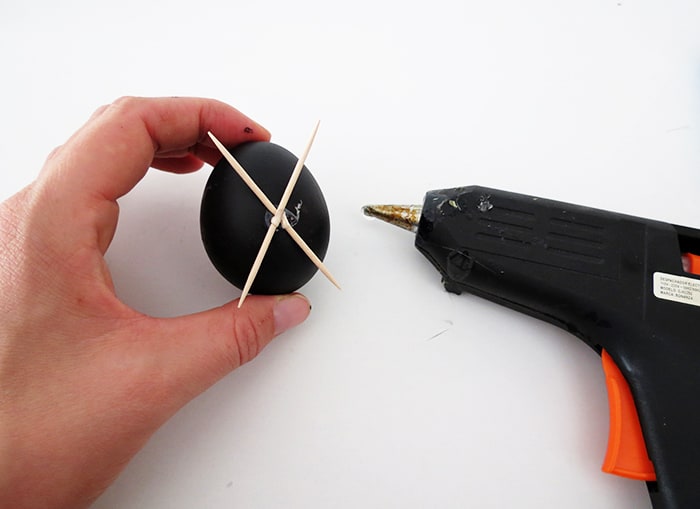
On the “back” of the egg, use your glue gun to fix two toothpicks to make the ninja swords. You can also use cold silicone glue if you don’t own a glue gun or if you want to make this Easter craft with kids.
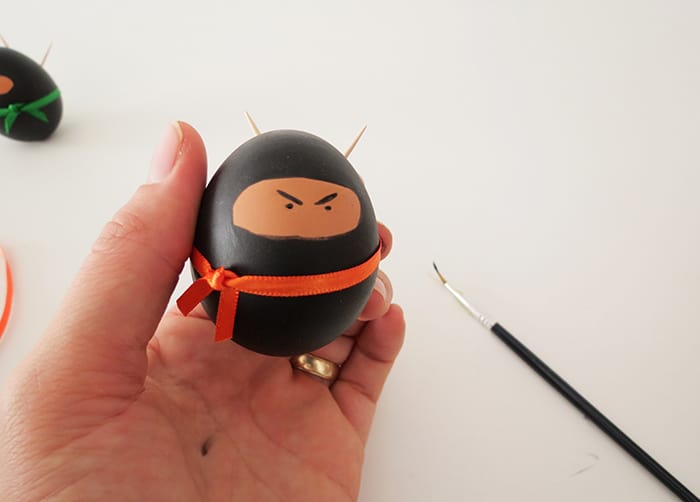
Attach a colored ribbon to make the belt, you can add a dot of glue to hold the belt in place if necessary. Draw the eyes and the eyebrows od the ninja. You can use a small paintbrush or a black sharpie. Have fun making different facial expressions: happy, angry, bored… You can also add eyelash to make girl’s ninja.
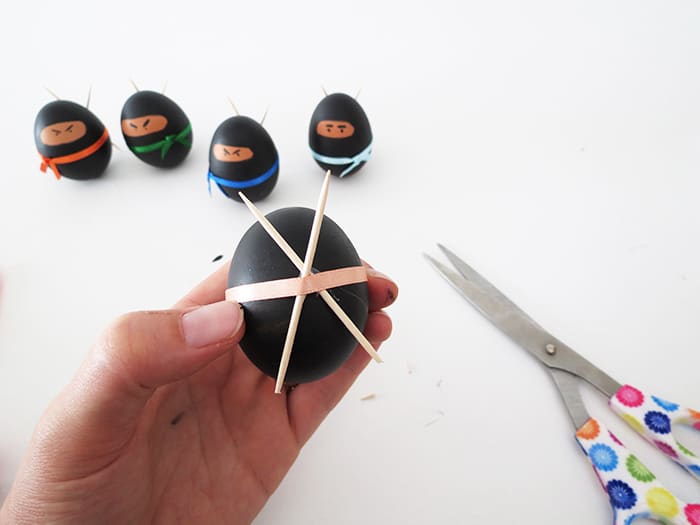
You may have to cut a little the tips of the toothpicks for the egg to stand by itself.
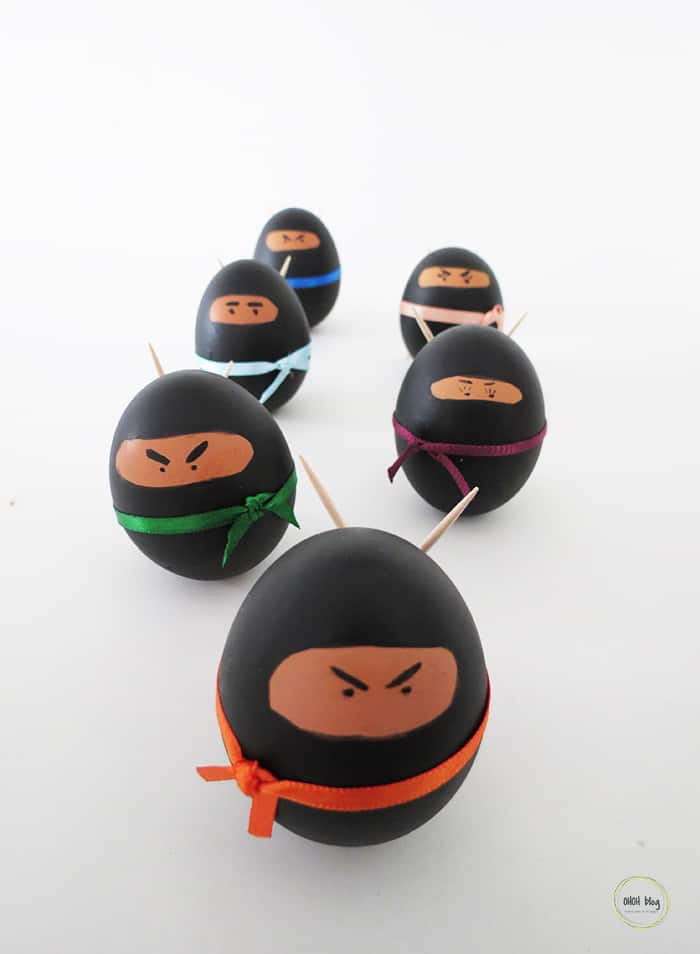
Done! Your Ninja eggs army is ready to fight. It’s a super fun Easter craft to make. Quick tips: let paint dry fully between coats, supervise children when using hot glue, and experiment with different ribbon colors and facial expressions for variety.