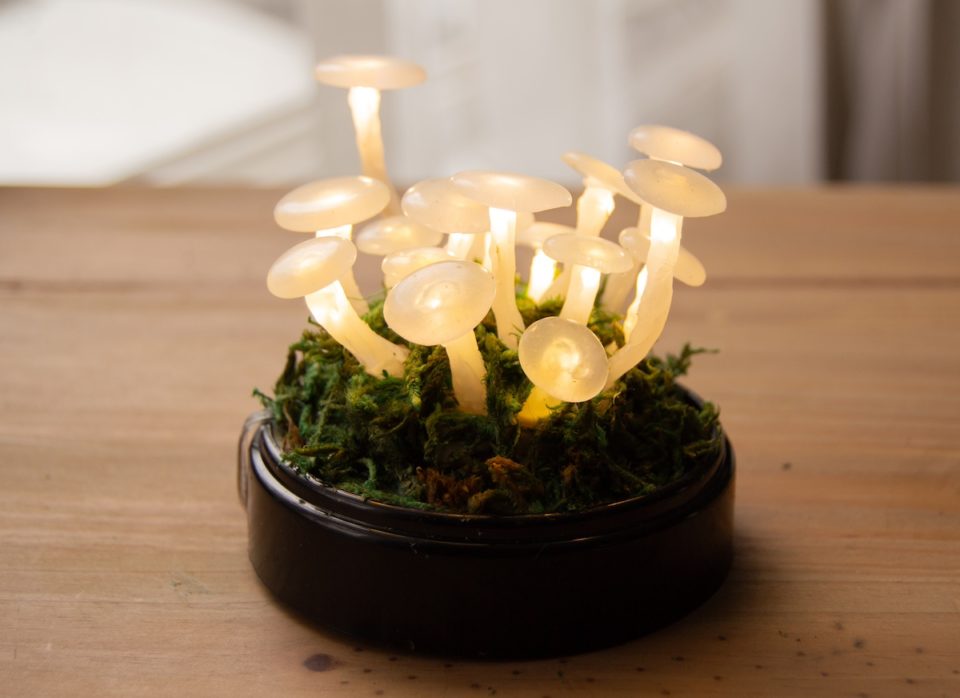
DIY Hot Glue Mushroom Lights
Are you looking for a fun and creative DIY project that will add a touch of whimsy to your home decor? Look no further than these enchanting hot glue mushroom lights! With just a few simple materials and a little bit of imagination, you can transform plain old hot glue into a stunning display of glowing mushrooms that will bring a magical ambiance to any room. Once completed, You now have your very own DIY hot glue mushroom lights that will bring a touch of magic to any space. Place them on a shelf, hang them from the ceiling, or use them as a centerpiece for a cozy dinner party. The possibilities are endless, and the result is sure to be absolutely enchanting!
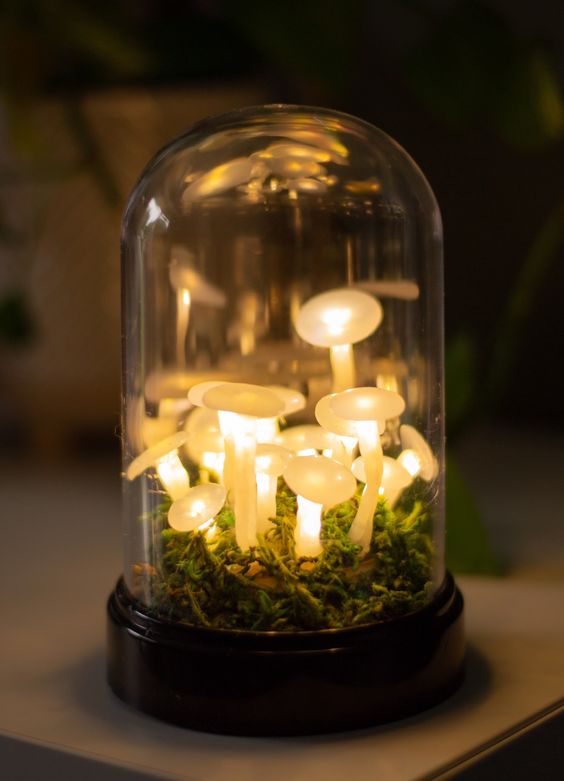
Materials
- Glue sticks
- LED string lights
- Wood slice
- Cloche or round hanging planter
- White glue
- Moss or other covering for the base
- Parchment paper
Tools
- Hot glue gun
- Heat gun
- Tweezers
Instructions
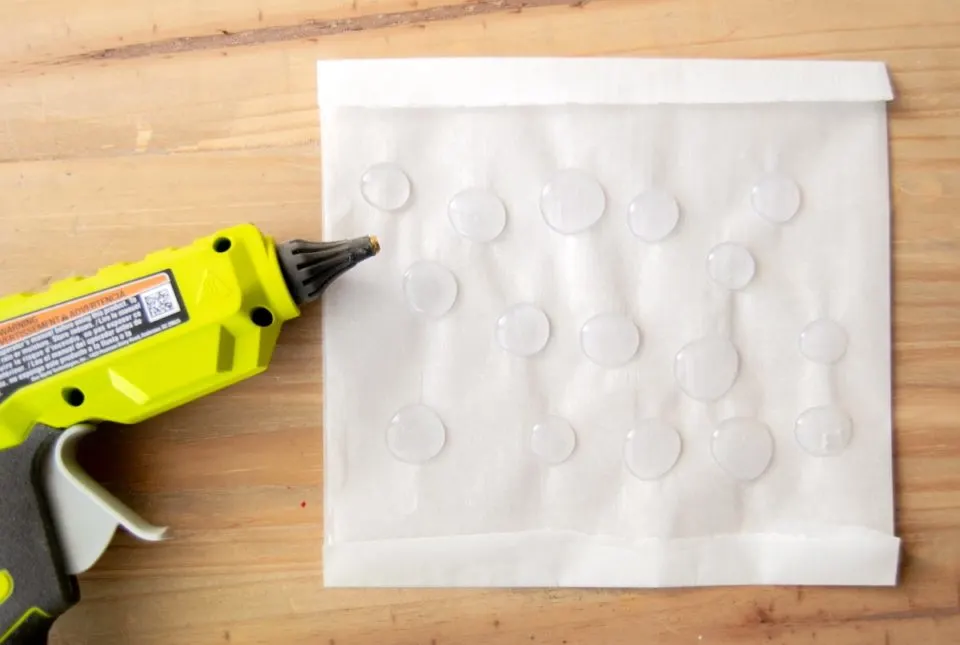
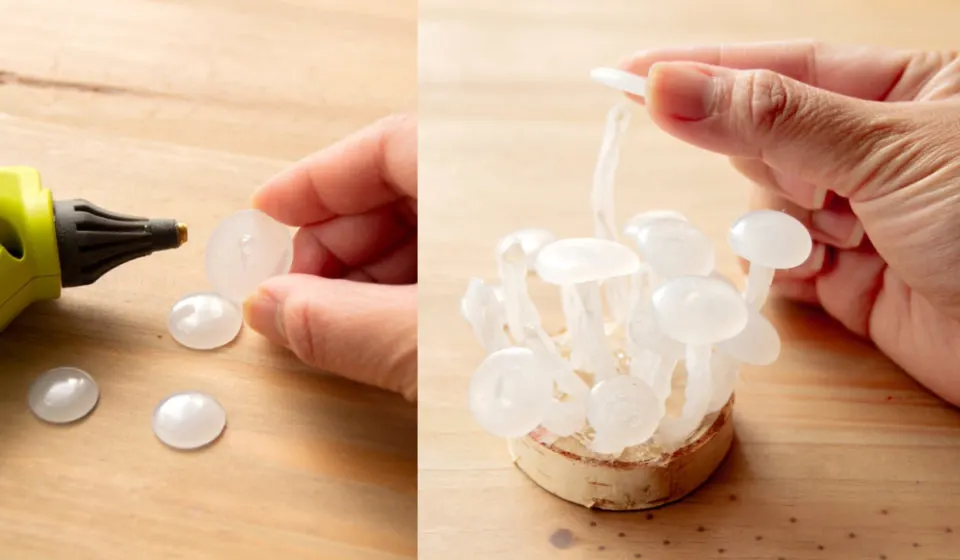
- Create your mushroom tops by squeezing a glob of glue onto a flat piece of parchment paper. It might take a few tries to make them completely round. Create big and small ‘mushroom tops’ for variety.
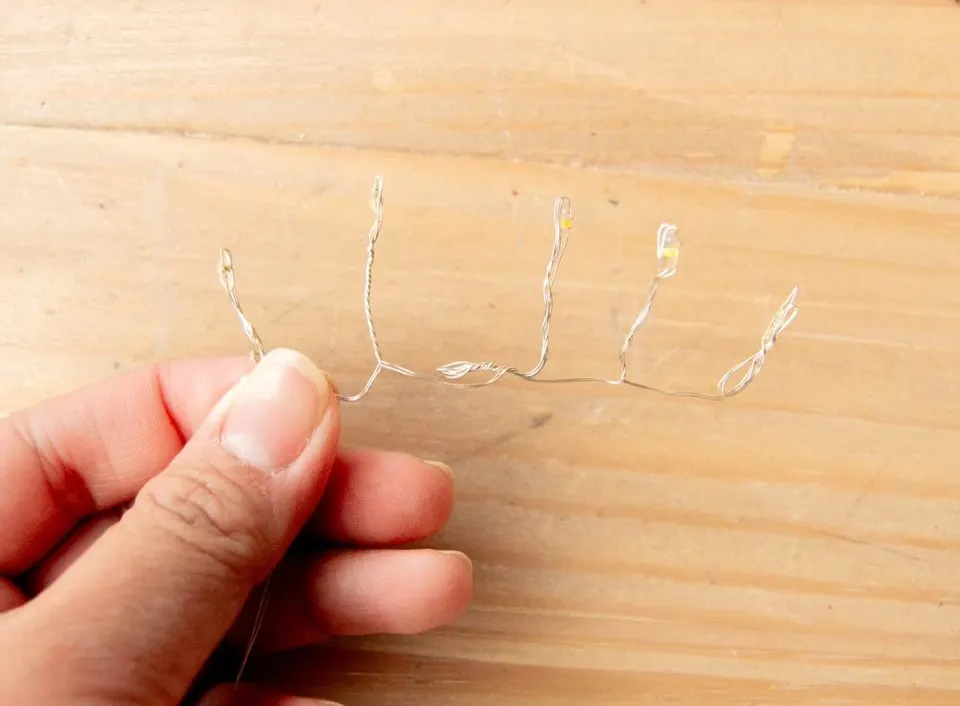
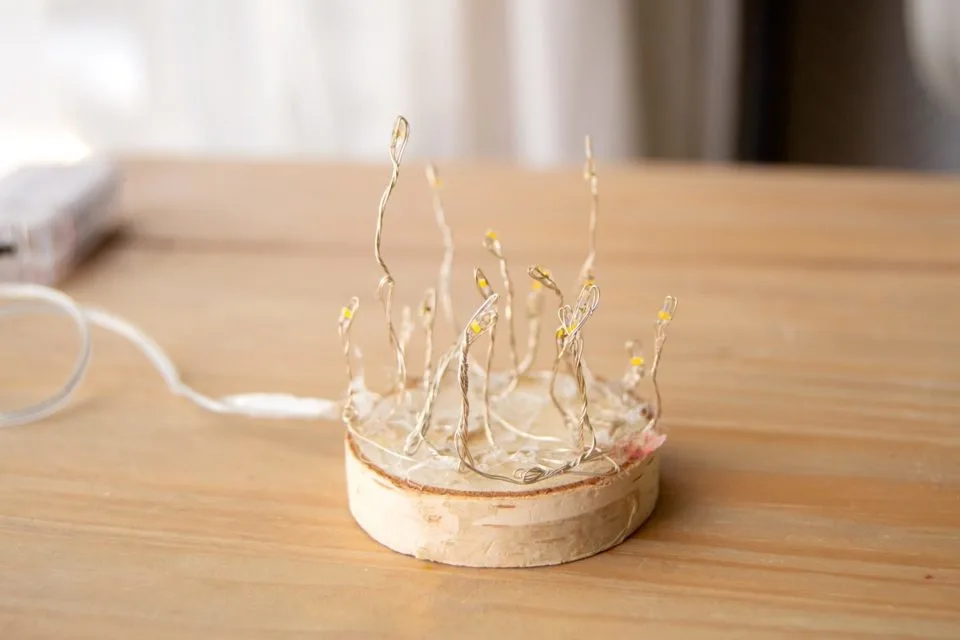
Start forming your mushroom stems by twisting your LED string light, making sure you twist it with the LED light on top. Create taller and shorter stems by either twisting it once (for taller) and folding and twisting a few times (to make them shorter).
Arrange the LED lights onto the wood slice, distributing the shorter and taller stems.
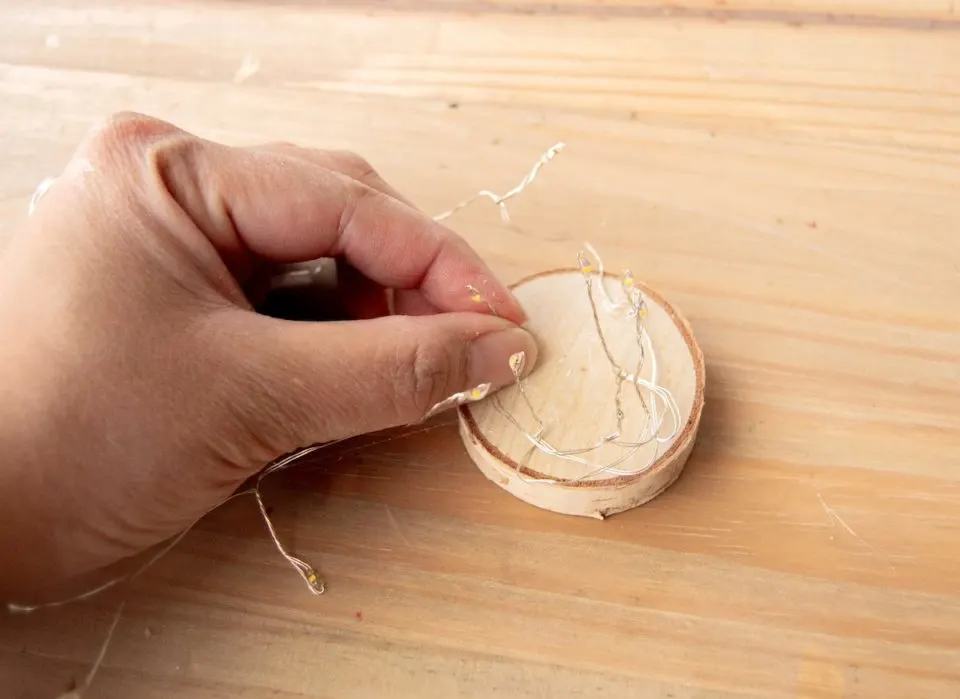
Once you are happy with the placement, use hot glue to secure the bases of the ‘twists’ onto the wood slice.
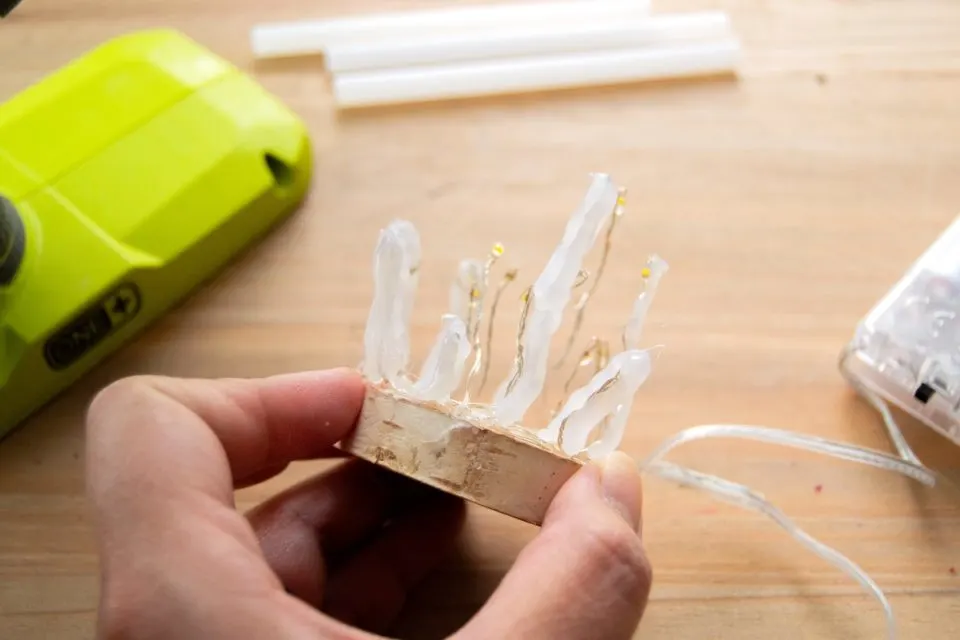
To create a chunkier stem, use hot glue and cover the twisted LED ‘stems’ with it. If you find your stems looking drippy, use a heat gun briefly to soften the hot glue and shape it with your fingers to make it smoother.
Attach the mushroom tops to the stems by pressing the center of the underside of your mushroom top onto the tip of your heated hot glue gun. Squeeze a small amount of hot glue onto it and press onto the tip of a stem. Repeat until you’ve attached mushroom tops to all your stems.
Prior to attaching the mushroom scene to your cloche, remove any protruding parts from the bottom. I used a heat gun to soften the plastic before snapping it off with a wire cutter.
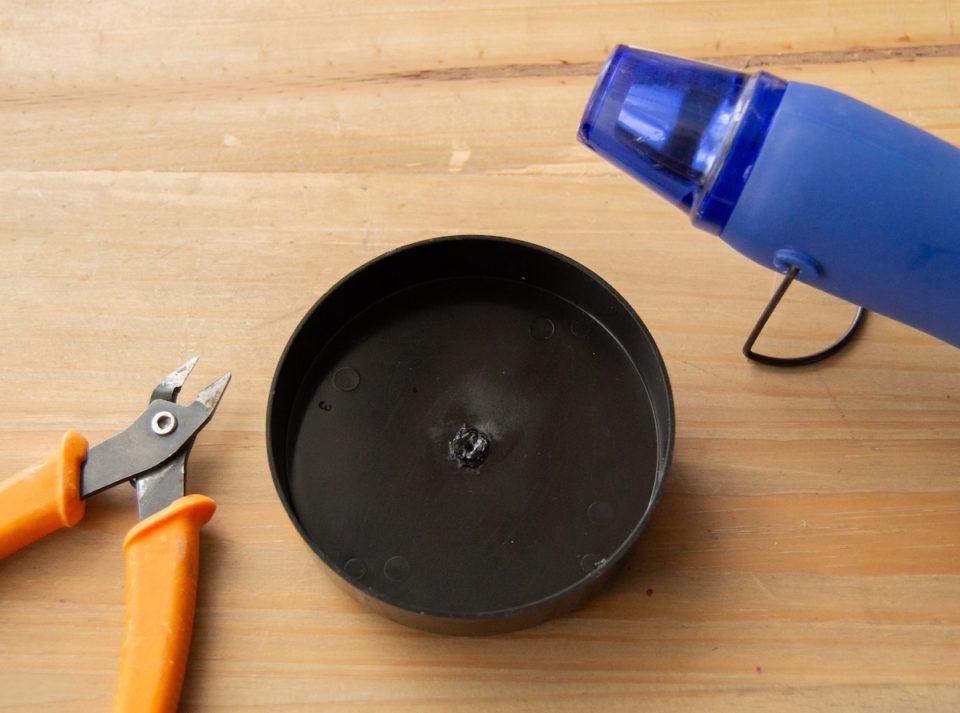
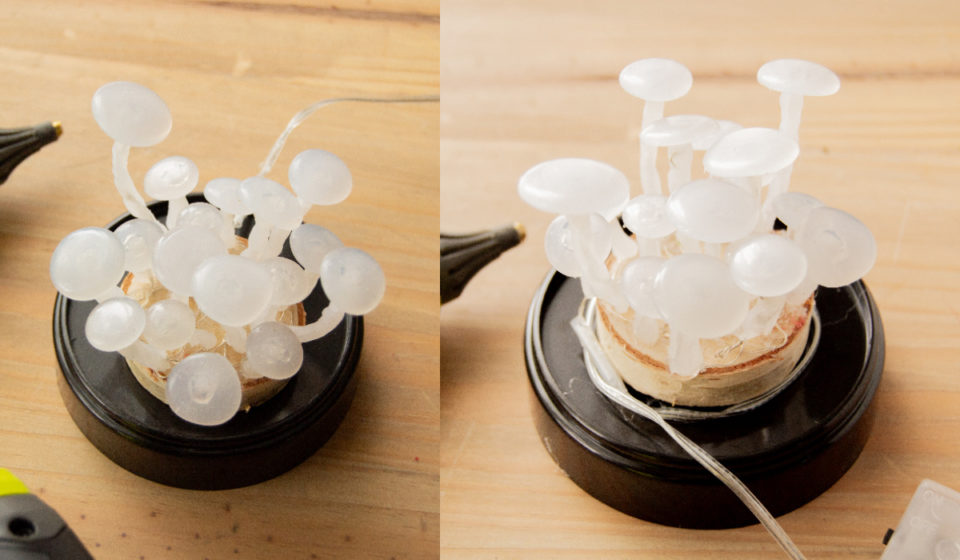
Attach the wood base onto the cloche by hot gluing it. Wrap the cord around the base and secure if necessary.
Add some moss to hide the LED cords onto the base of your mushrooms. Glue the moss on with white glue, and use tweezers to help you put moss around the base of the mushrooms.
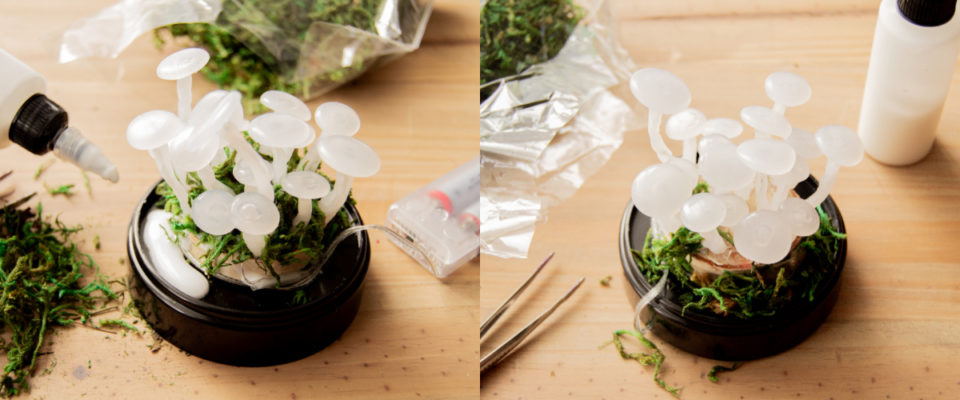
Add the cover and turn on the light. Your hot glue mushrooms should glow peacefully.