DIY Popsicle Stick Coasters — 2 Easy, Cute Designs (Square + House)
Make charming, budget-friendly coasters from popsicle sticks in just a few simple steps. These quick crafts are perfect for beginners and make great gifts. You can paint them, add embellishments, and seal them for durability. Below are materials, step-by-step directions for two coaster styles (Simple Square and House), and handy finishing tips.
Materials:
Popsicle sticks (craft sticks or tongue depressors will work)
Paint (optional)
Hot glue and a glue gun
Cute embellishments of your choice (buttons, washi tape, small beads, etc.)
Directions:
Simple Square Coaster:
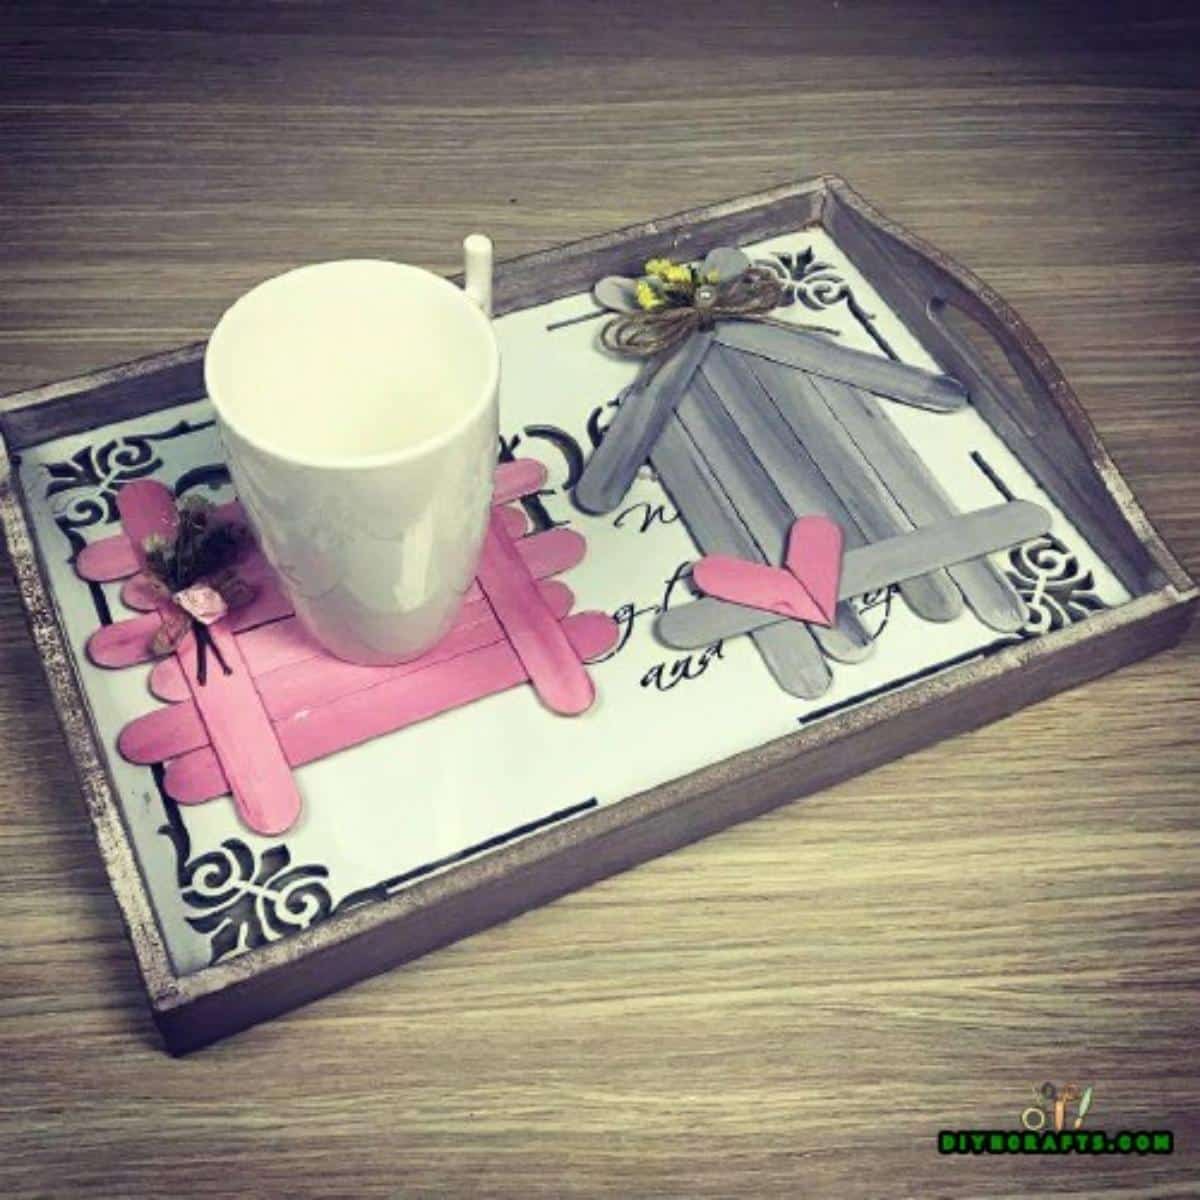
1. Paint your popsicle sticks first if you want a colored finish — the example shown uses pink.
2. Line up about 6 sticks next to each other so their long edges are flush.
3. Use hot glue to attach 2 other sticks, one at either end, perpendicular to the rest. This secures them in a square coaster shape.
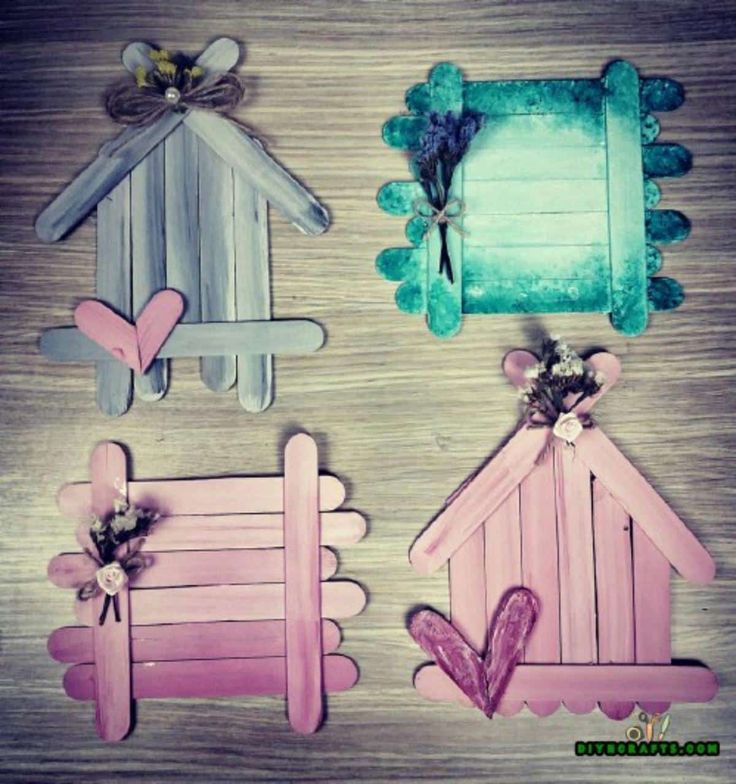
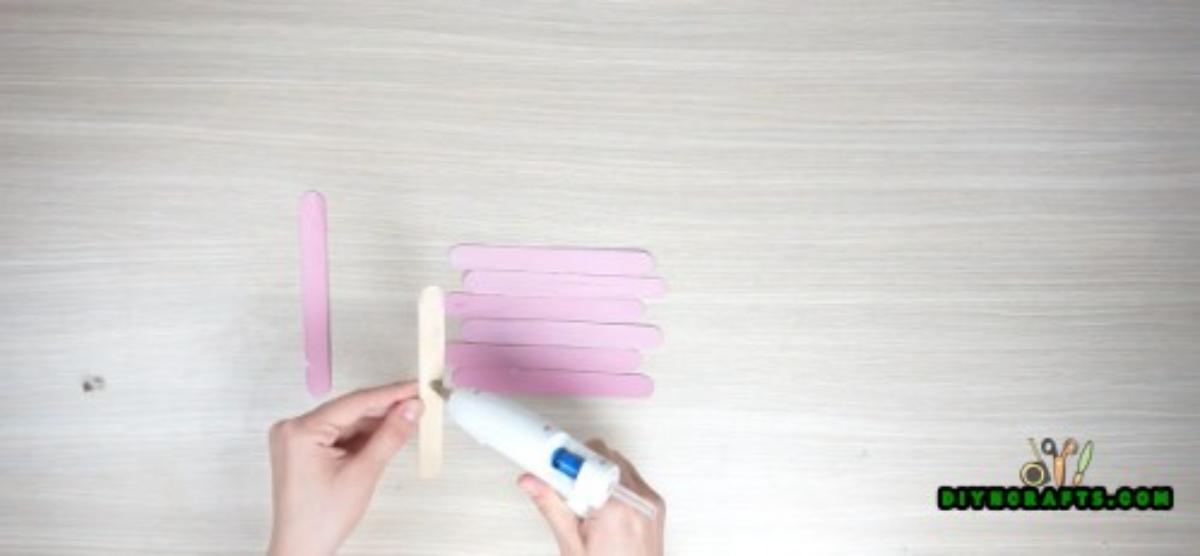
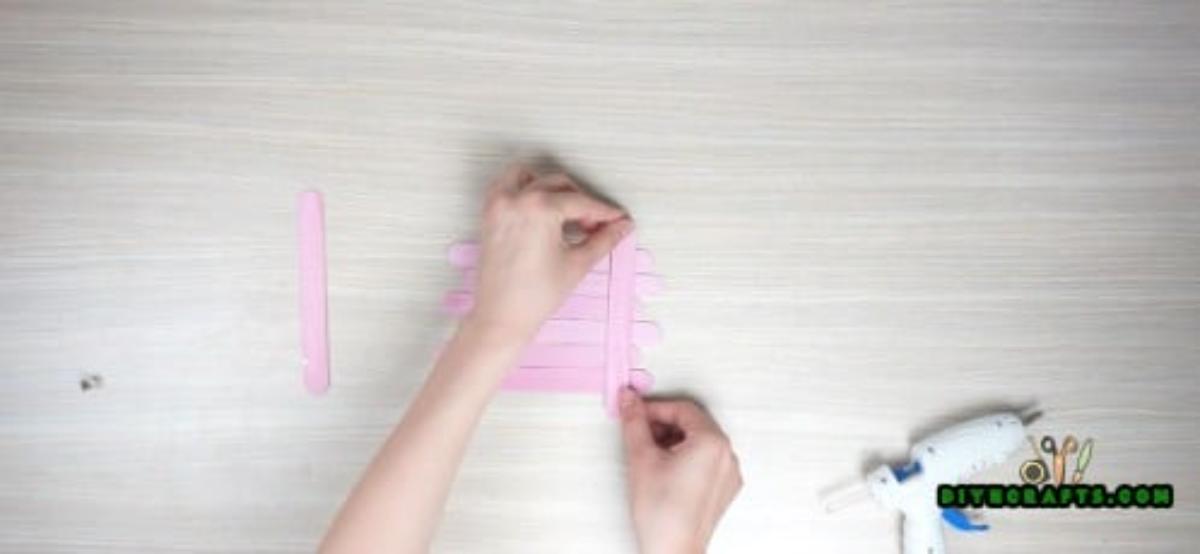
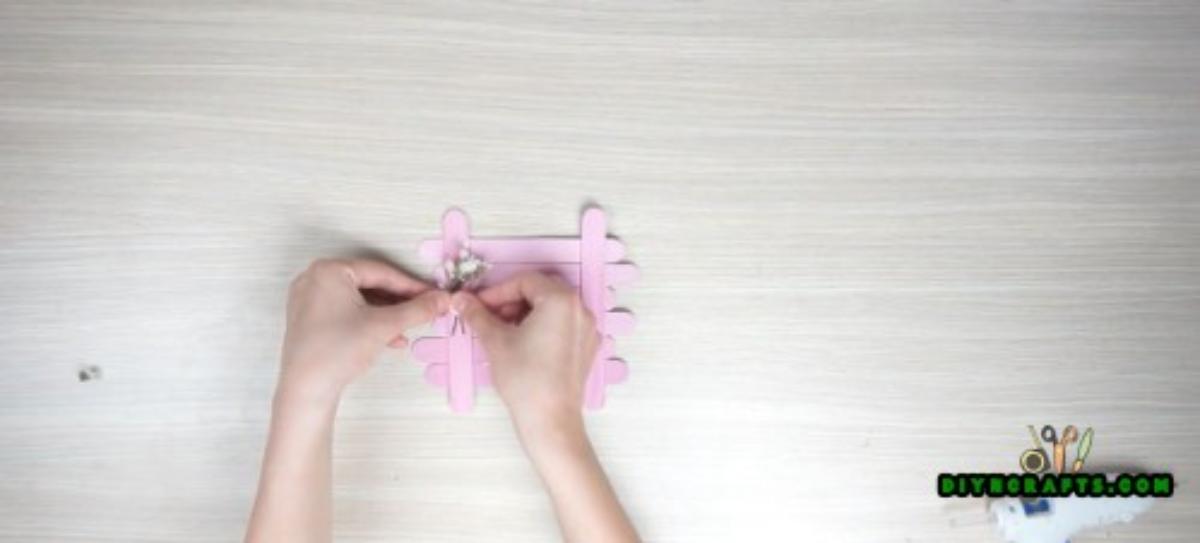
Attach embellishments of your choice to personalize the coaster.
House Coaster:
1. Paint your popsicle sticks if you want a specific color; the example uses blue.
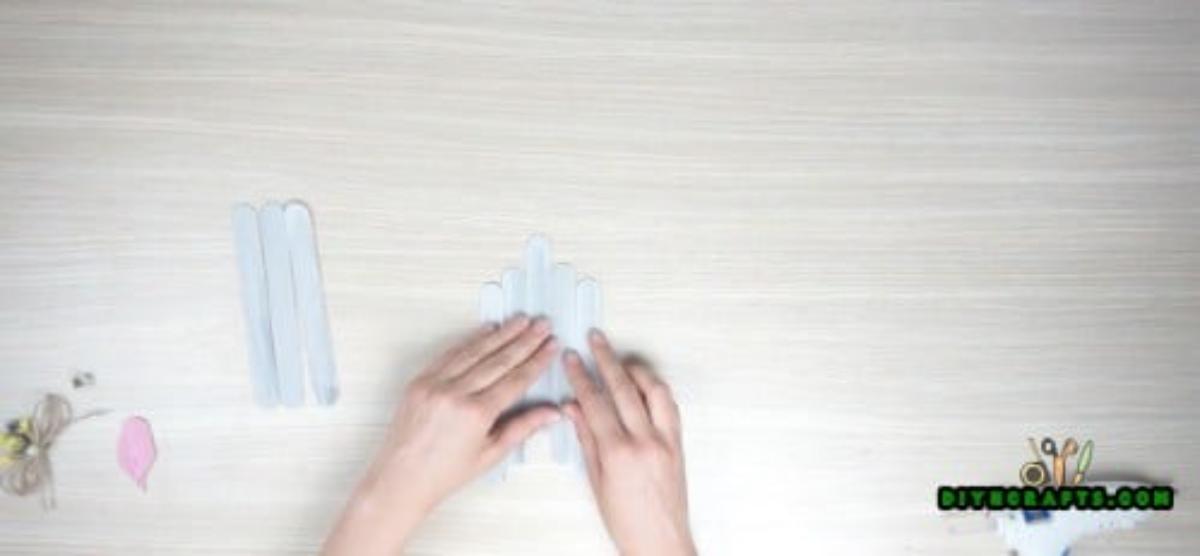
2. Line up 5 sticks in a row so the middle stick is slightly taller than the two next to it, and the outer two are lowest — this creates a peaked roof silhouette.
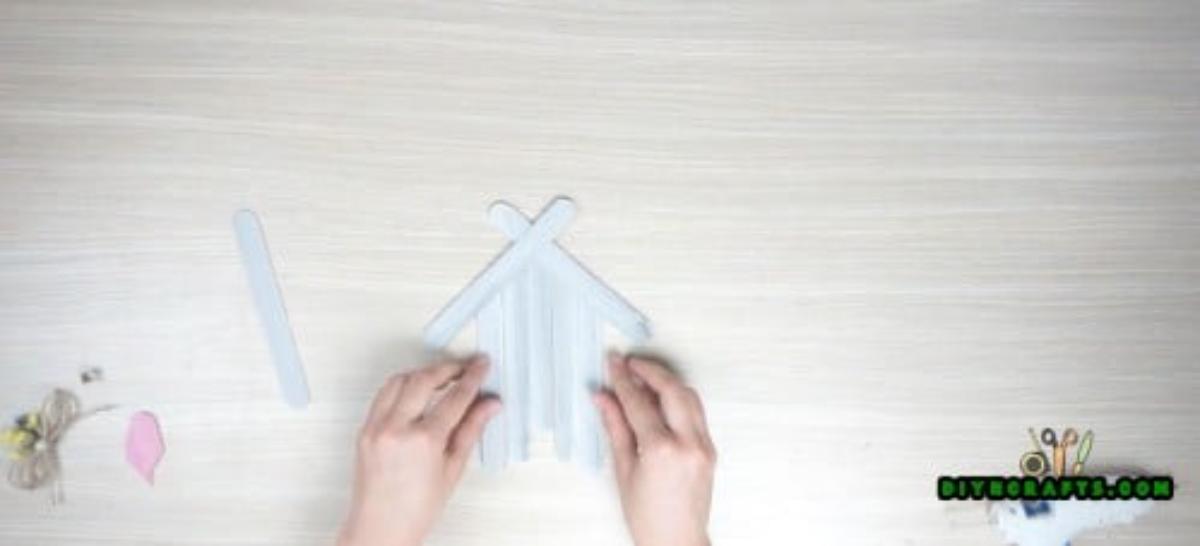
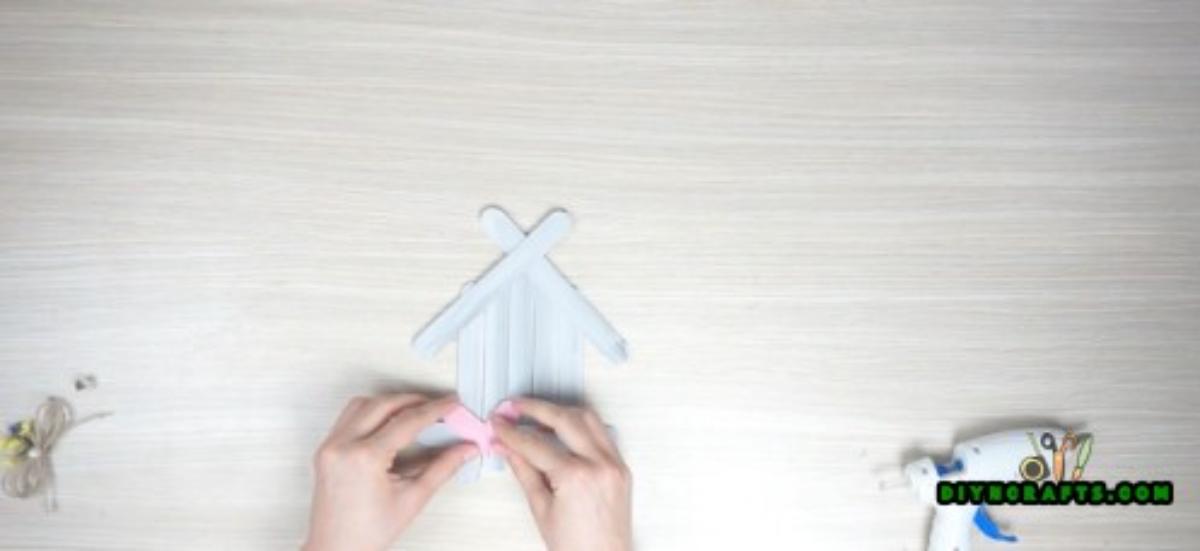
3. Get 2 more popsicle sticks and crisscross them to form the roof. Glue them to the top of the arrangement.
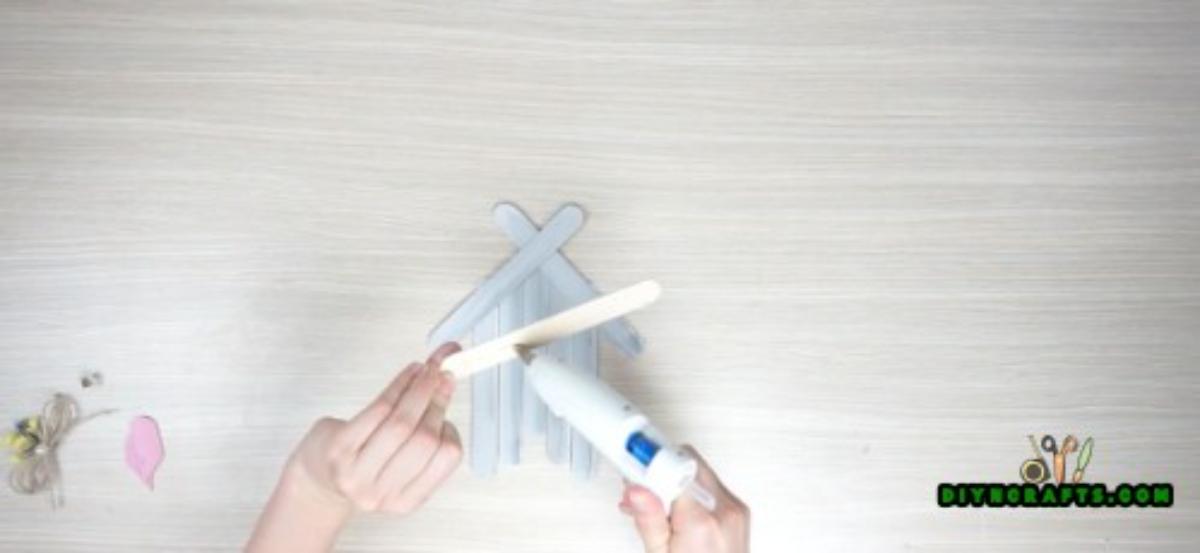
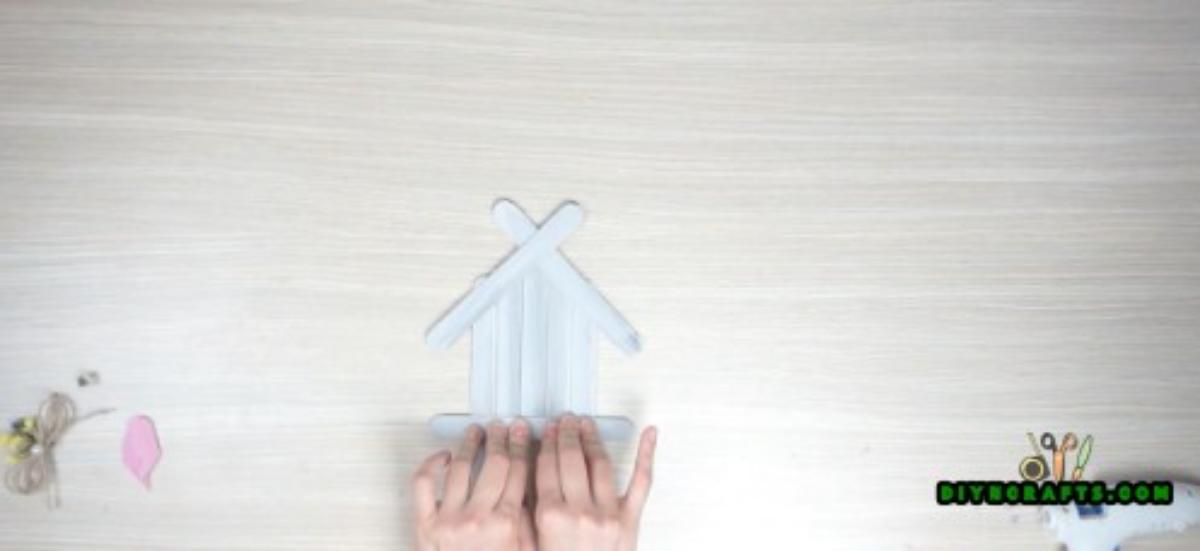
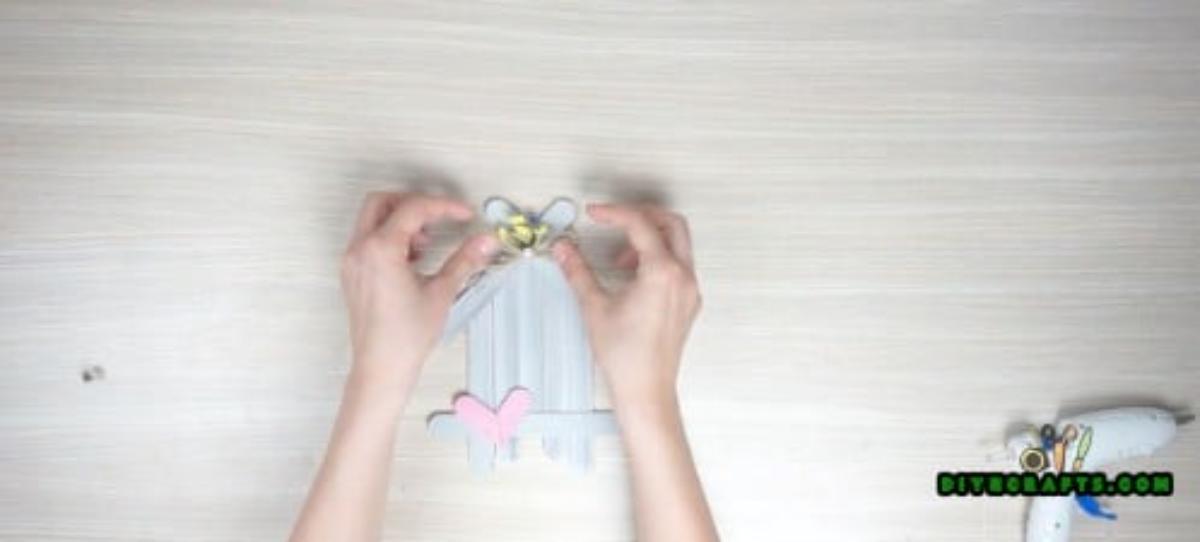
4. Glue one more popsicle stick across the base to finish the house shape.
5. Add embellishments like little windows, stickers, or a small heart to personalize your house coaster.
Finishing Tips
- Optional: Seal your coasters with a clear waterproof sealant or Mod Podge to protect the paint and make them more water-resistant.
- Add small felt pads or cork to the underside to protect tabletops and prevent slipping.
- Use caution with hot glue; supervise children and allow glue to cool fully before handling.
These popsicle stick coasters are quick to make and highly customizable — have fun experimenting with colors, patterns, and decorations!