Easy Crochet Kids Braided Pixie Hat — Free Pattern for Ages 3–10
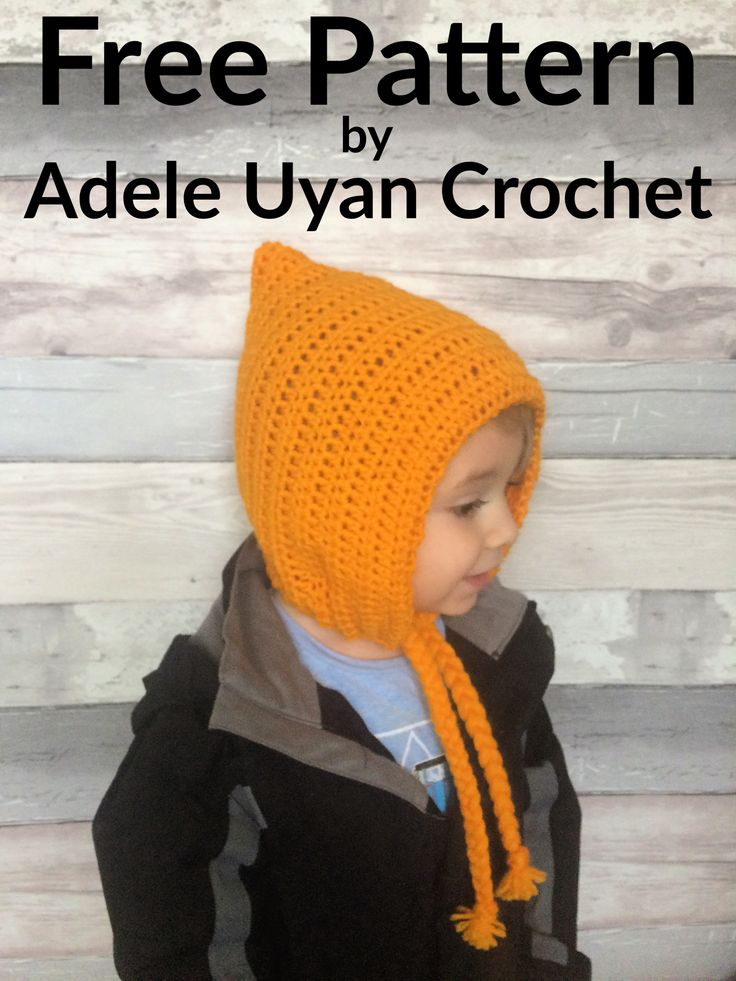
Make a cozy, stylish Crochet Kids Braided Pixie Hat—an easy, beginner-friendly free pattern suitable for ages 3–10. This adorable pixie-style bonnet features a braided detail at the front and soft double-knit yarn for warmth and comfort. The pattern uses a simple rectangle-to-bonnet construction, so it's quick to work up and easy to size by adjusting the starting rectangle dimensions.
Materials:
This pattern should be suitable for beginners.
This hat should fit approximately ages 3–10 years. It will be baggier on a 3-year-old and tighter on a 10-year-old; you can easily size up or down as needed to get the look and fit you want.
I crochet quite tightly so you may need to experiment with hook sizes to get the required hat size. My finished hat is 8.5" wide and 9" tall, so aim for a starting rectangle of around 17" x 8.5".
For this free crochet pattern, you will need double knit yarn in the colour of your choice. You will also need a 6mm crochet hook, a tape measure, a pair of scissors and a yarn needle.
Braided Pixie Hat (free crochet pattern)
Main:
ch62, hdc in 3rd ch from hook and across (60)
ch2, turn, hdc in st at base of ch and across (60)
repeat row 2 another 20 times, or until piece measures approximately 17" x 8.25"
fold in half lengthwise to make a bonnet shape, stitch the back together then bind off
Neck:
with wsf, join yarn in corner st, ch1, sc in same st and each row across (45)
ch1, turn, *sc in next st, sc2tog*, repeat from *-* across (30)
ch1, turn, sc across (30)
repeat row 3 (30)
do not ch or turn, work a second sc in corner st, *sc in next st, sc2tog*, repeat from *-* across front to end, sc in corner st, join with slst to previous corner sc, bind off and weave in all ends
Braids:
cut 12 lengths of yarn measuring 30" each
find the corner of the hat, at the front, and thread the 12 lengths through, hanging half of the length either side of the hole, so you end up with 24 strands of yarn
braid the strands together in groups of 8
tie off with a knot at the bottom and trim the ends
repeat on the other side of the hat
Finishing tips: Check fit before trimming braid ends, and adjust braid length to suit your child. To size the hat differently, increase or decrease the starting rectangle length and width slightly and re-check measurements as you go.