Save Money with Reusable DIY Dryer Sheets — Easy Sew & No‑Sew Flannel Tutorial
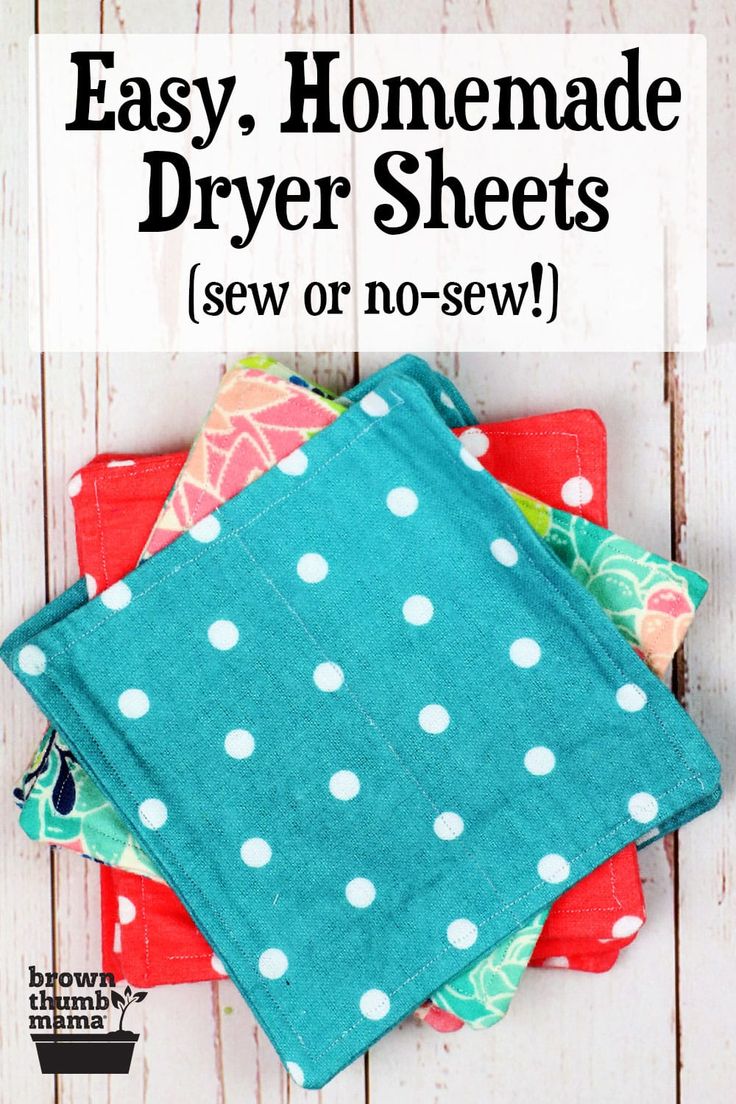
Creating your own DIY homemade dryer sheets is an easy, eco-friendly way to freshen laundry while reducing waste and saving money. This simple flannel tutorial shows a basic sewn version with a quick no-sew alternative. Make a batch to keep in the dryer and enjoy reusable, fabric-based sheets that are gentle on clothes.
Materials
Sewing machine
½ yard flannel fabric
Matching thread
Straight pins
Fabric scissors
Ruler
Iron
Pinking shears (for no-sew option)
Instructions
1. Measure and cut 12 square pieces of fabric. Mine are about 5 inches square.
Cut flannel squares ready for assembly.
2. Pair squares and pin 2 pieces with the printed (right) sides together.
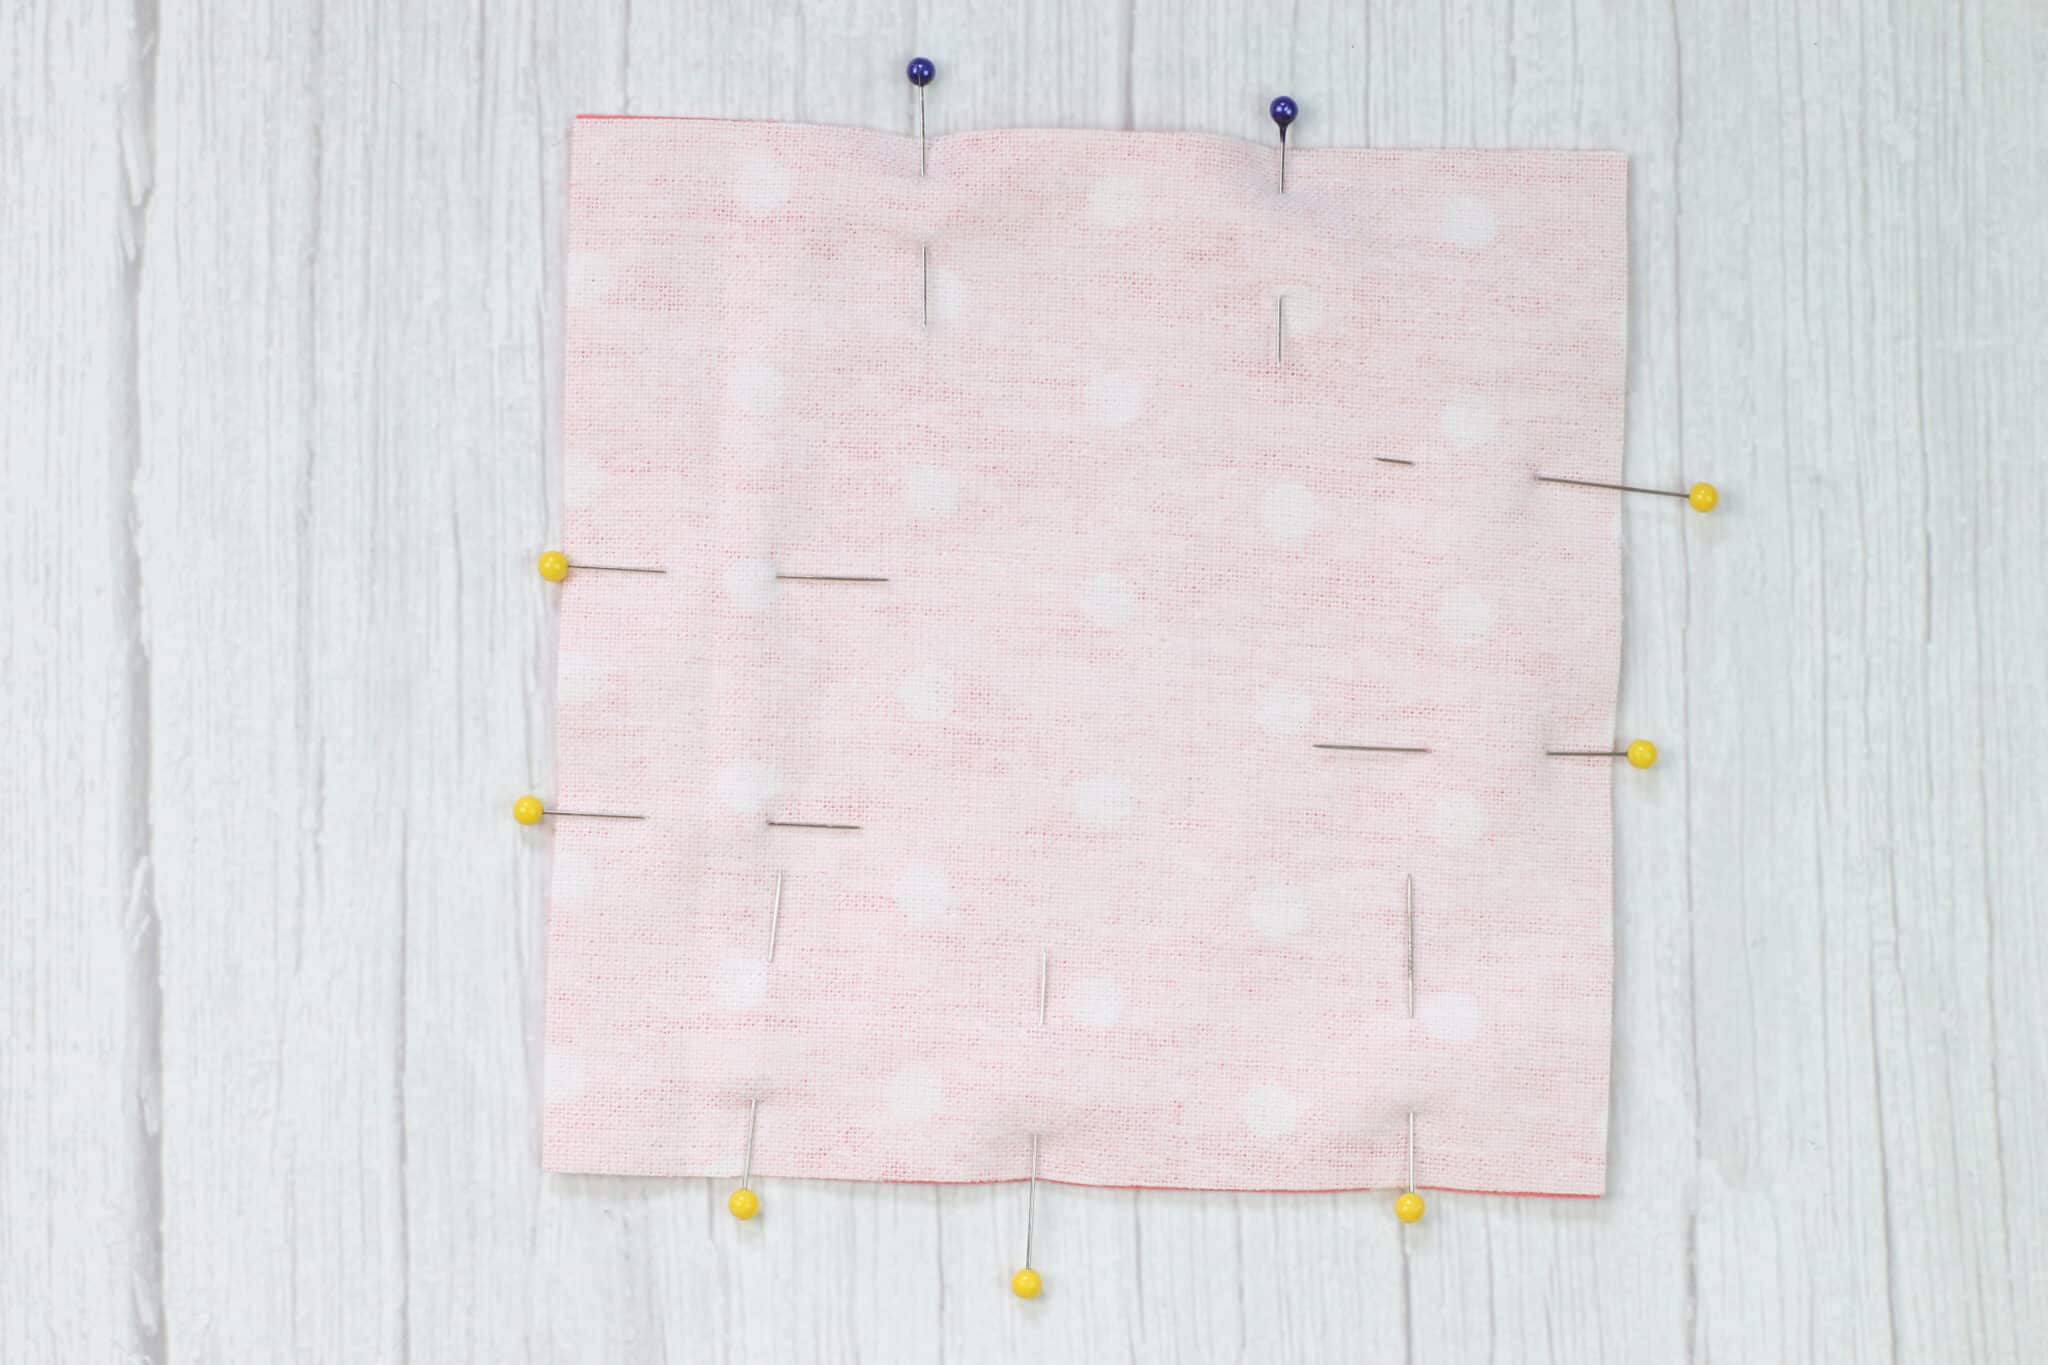
Pin two squares right sides together before sewing.
3. Sew around all four sides, leaving a roughly 3” gap so you can turn the square right-side-out.
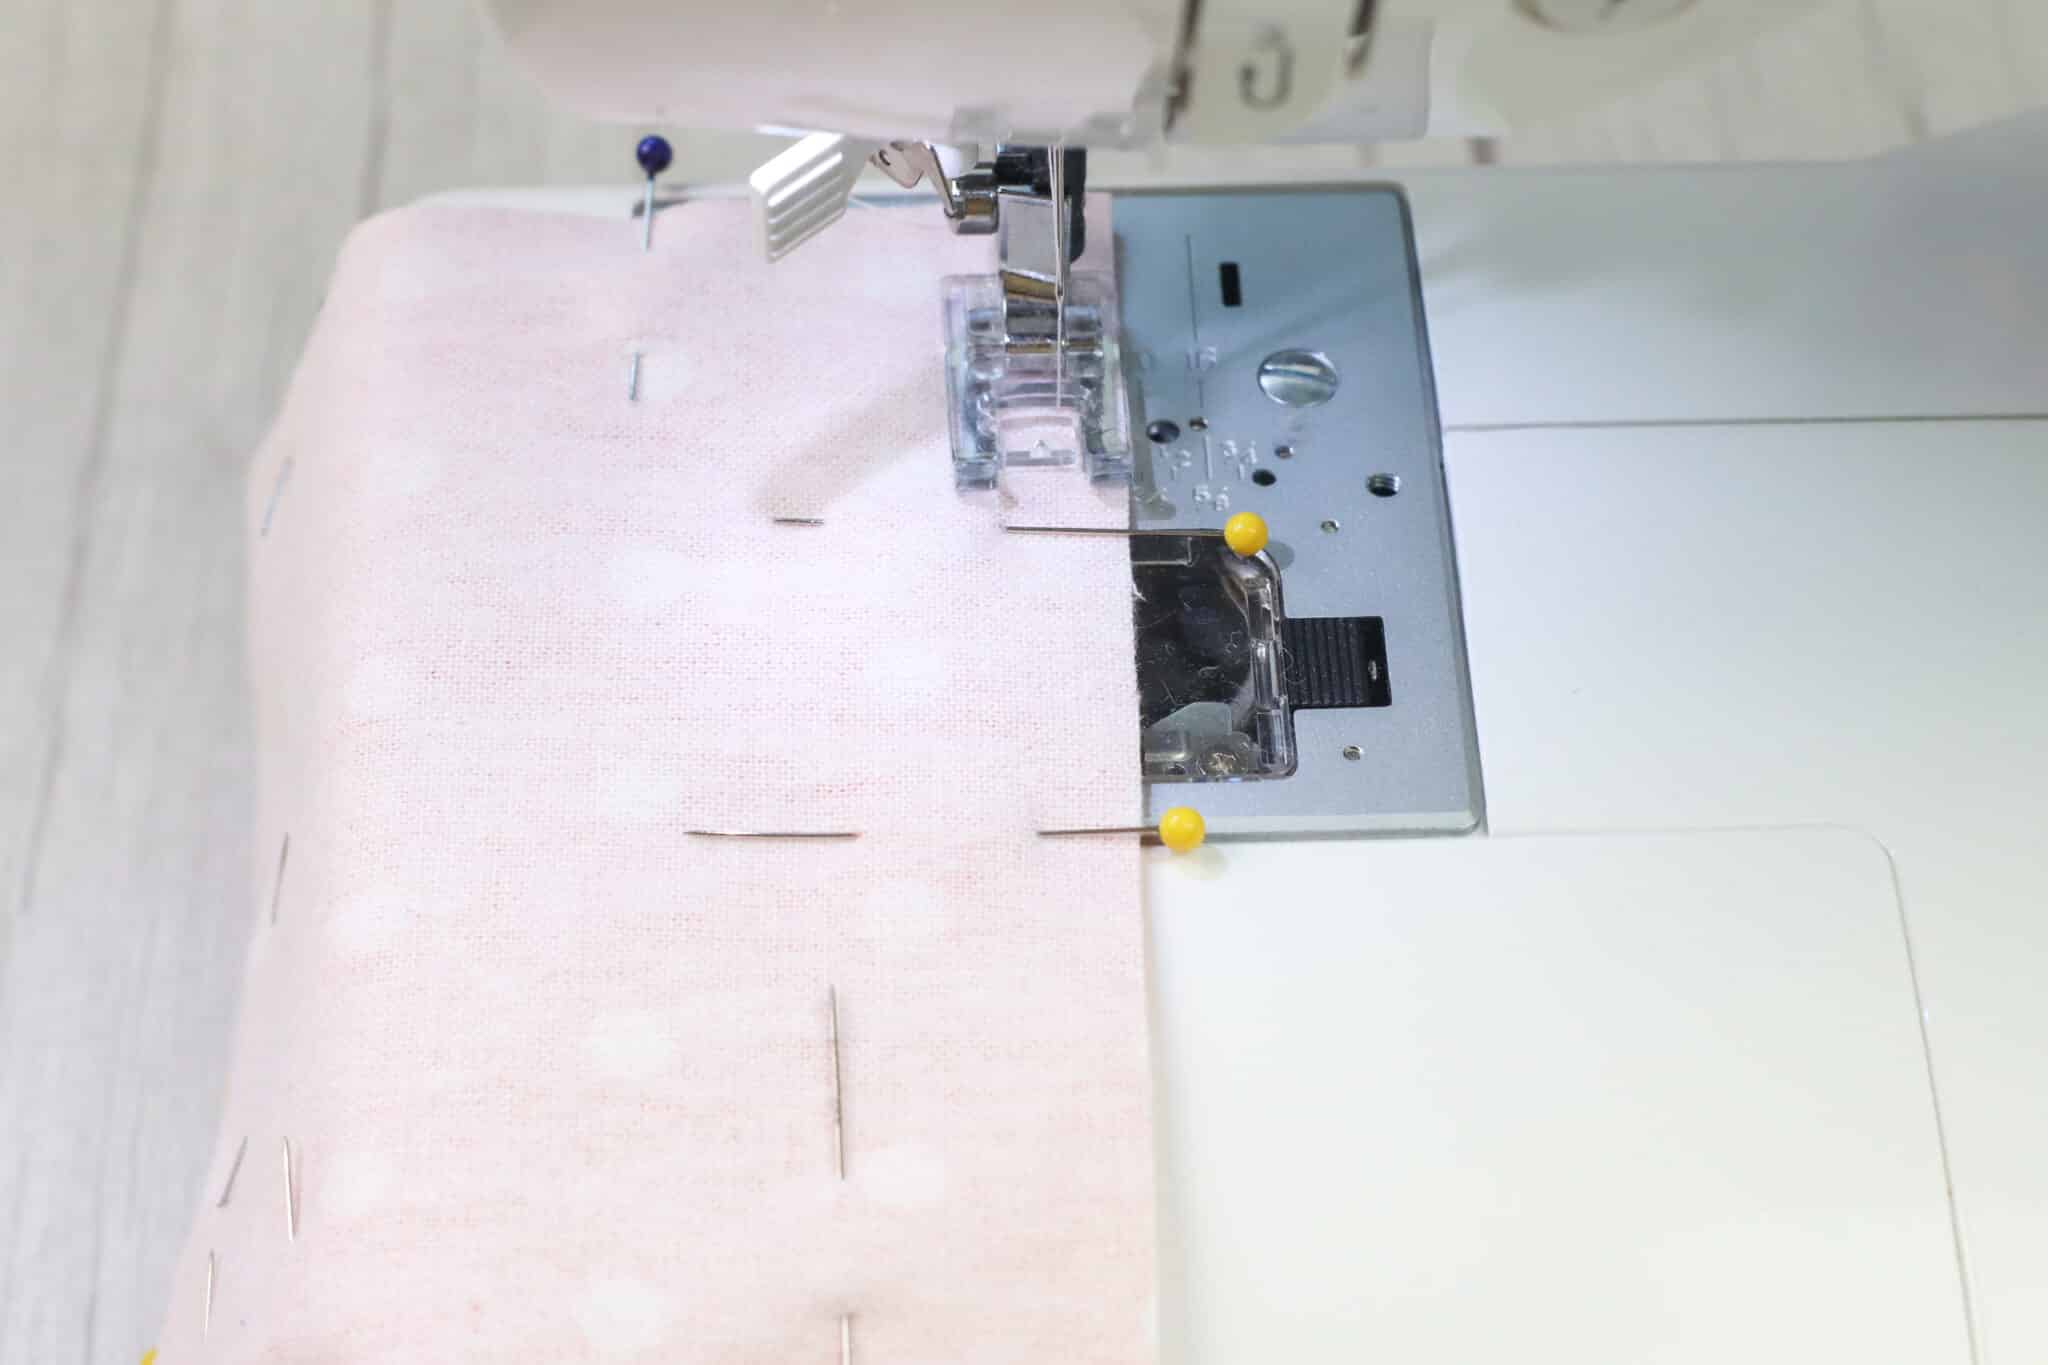
Sew around the edges and leave an opening for turning.
4. Clip a tiny bit of fabric from the corners (without cutting the stitching) to reduce bulk when turned.
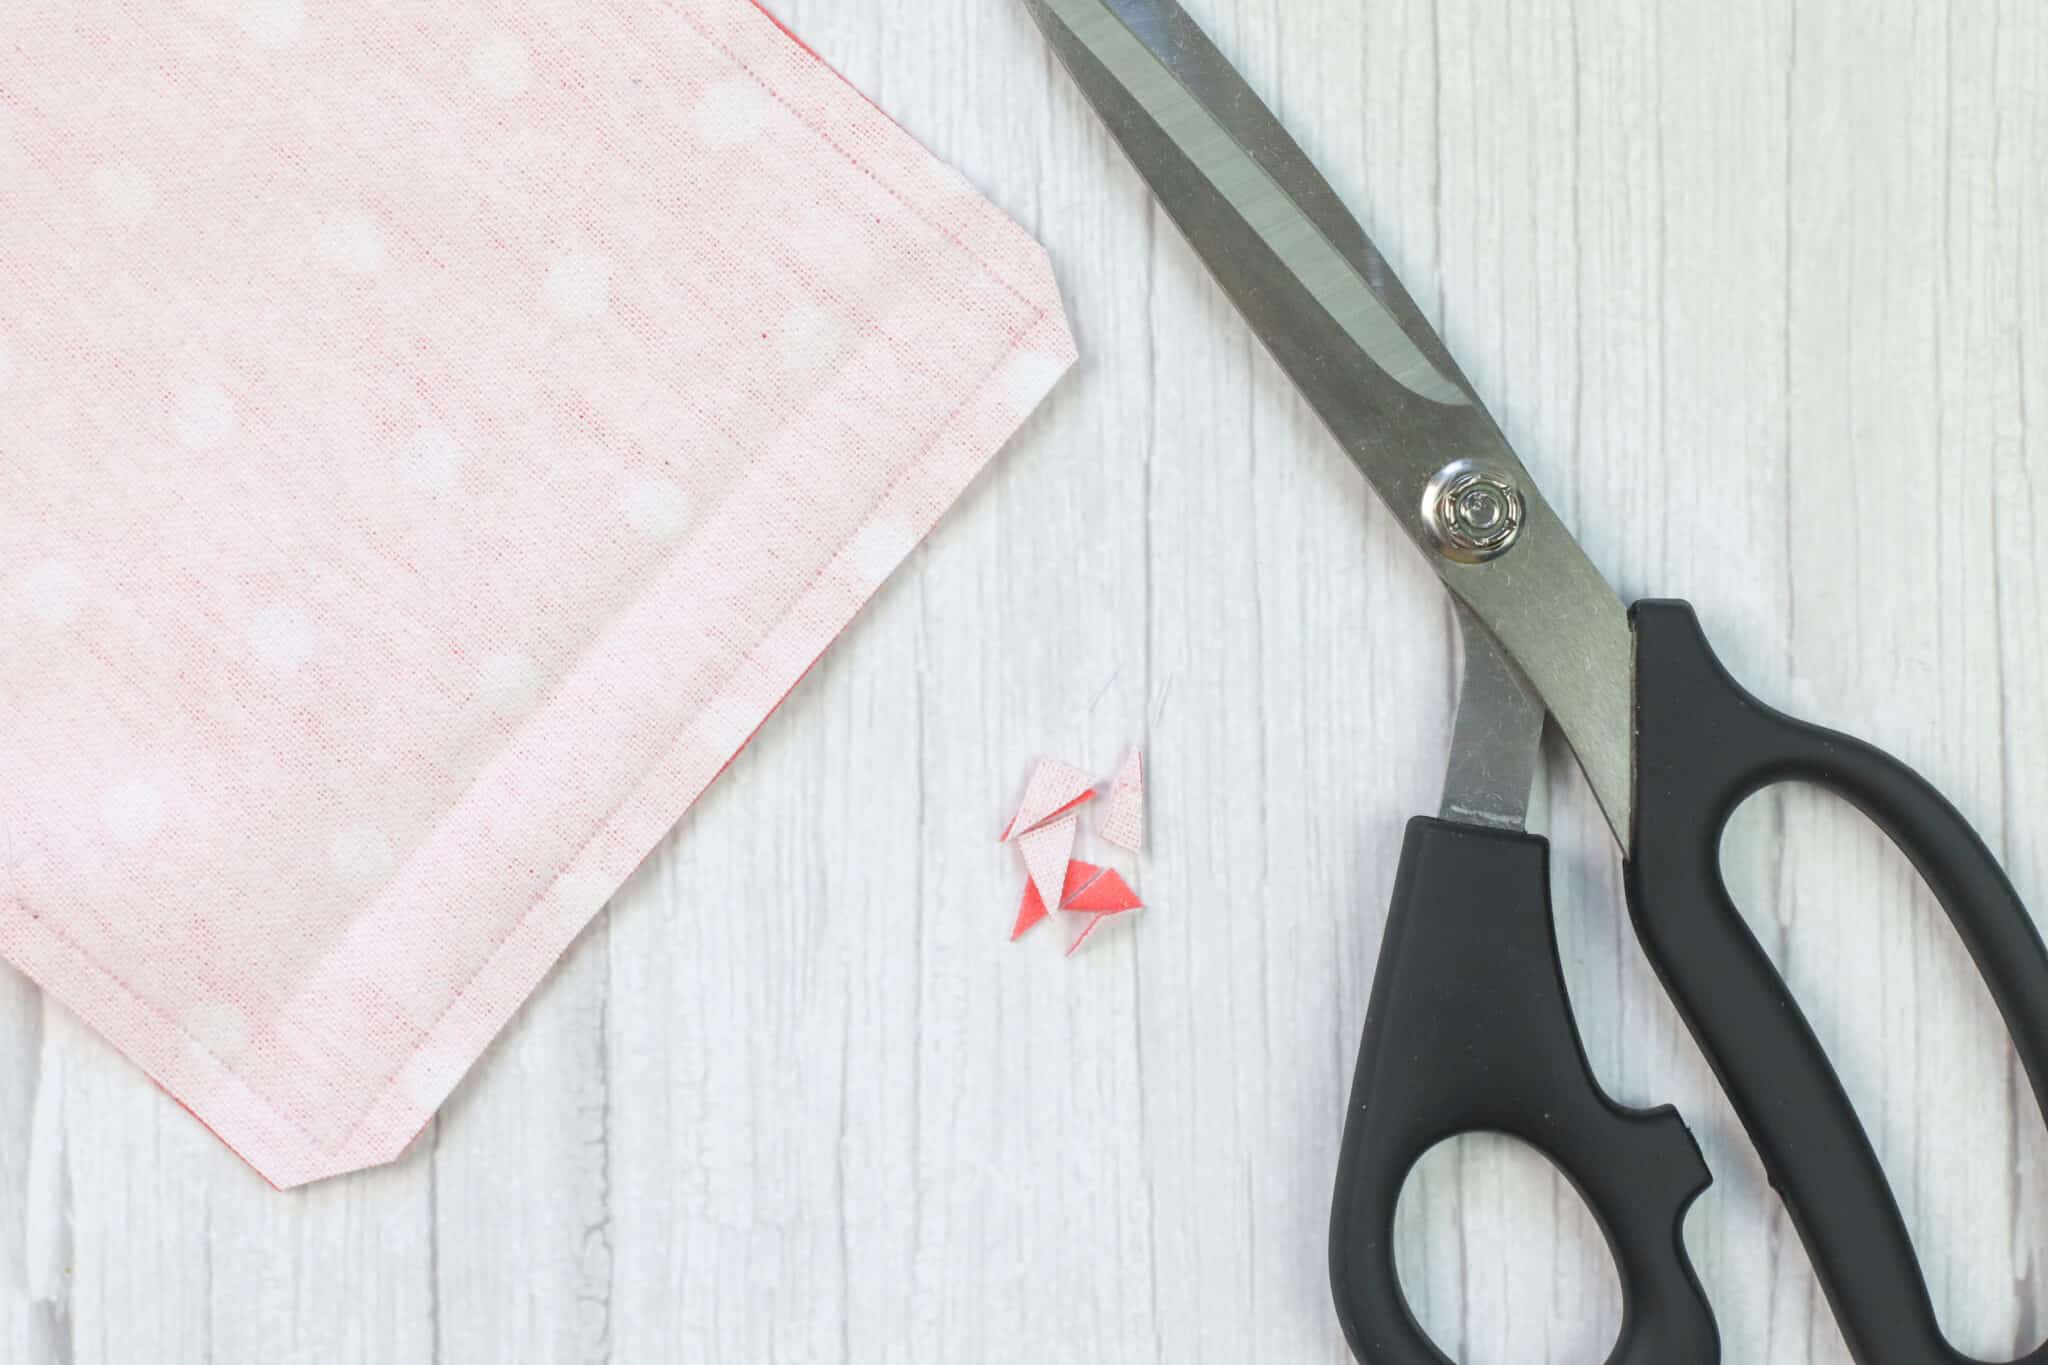
Trim the corners carefully so the corners will be crisp when turned.
5. Turn the squares right-side-out, using a chopstick or pencil to push out the corners. Press each square with a warm iron.
6. Stitch all the way around the edges of the square, and stitch a line through the middle to keep it from twisting and to give the sheet structure.
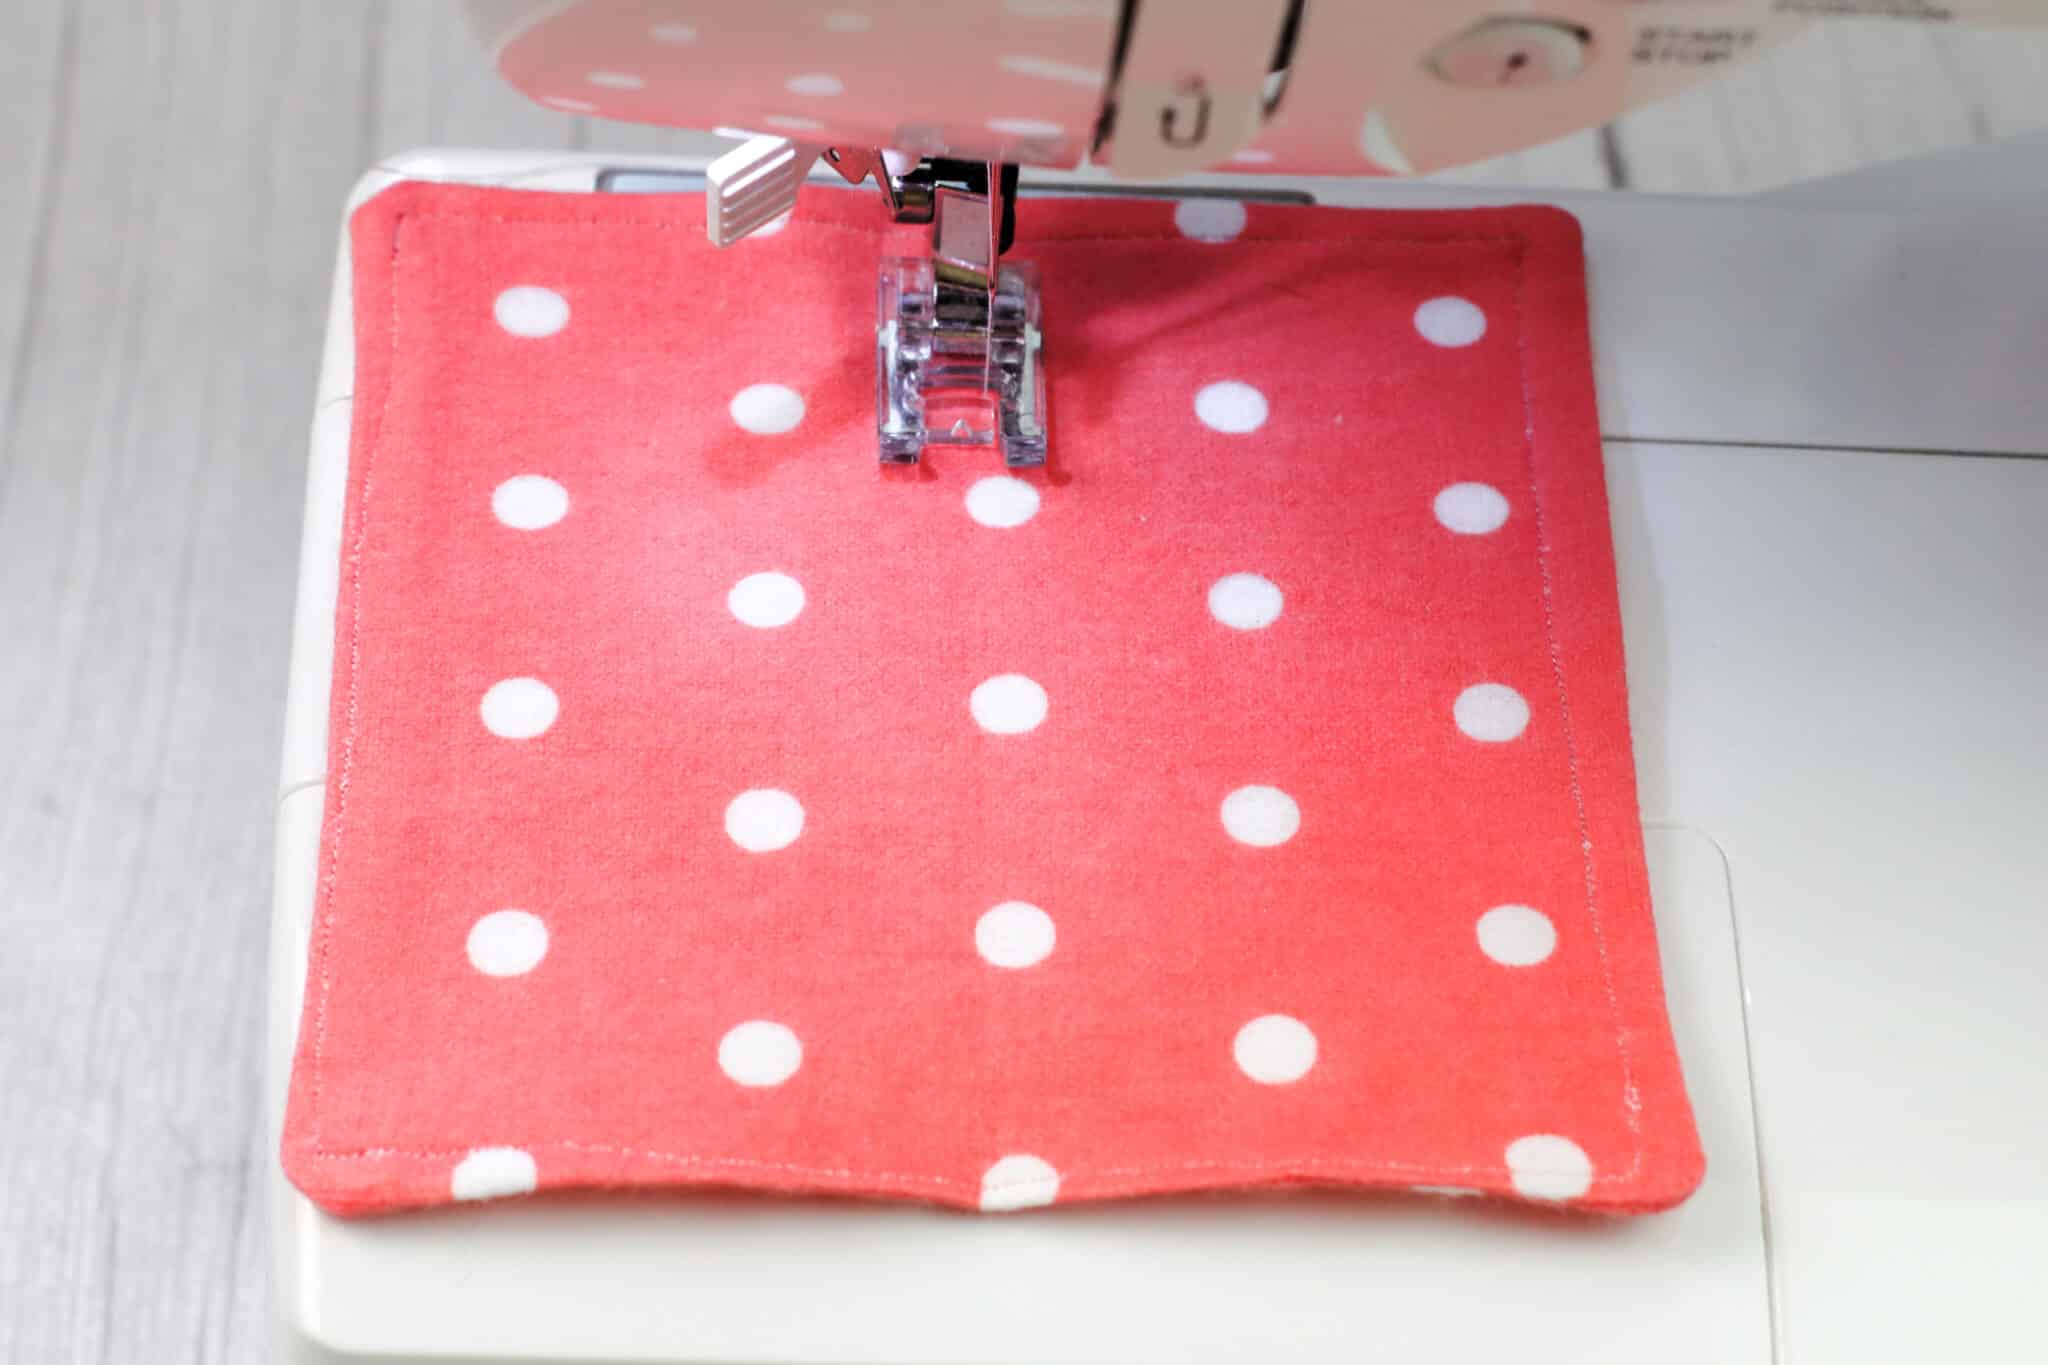
Final topstitched dryer sheet with a center stitch to prevent twisting.
Notes
I am not a fussy seamstress, and you shouldn’t be either. Homemade dryer sheets work just fine if the stitches are crooked or the squares are not perfectly square.
No-Sew Version
Cut fabric squares with pinking shears to help prevent fraying. For each load of laundry use 2–4 squares, depending on load size and how much freshening you want.