Brighten Your Table: DIY Watermelon Painted Napkins — Easy Sponge-Stamp Tutorial
Add a juicy pop of color to your dining table with these DIY watermelon painted napkins. This easy sponge-stamp project turns plain white cotton napkins into fun, summer-ready napkins using simple acrylic paints and a homemade sponge stamp. The result is playful, washable table decor that's great for picnics, parties, or everyday use.
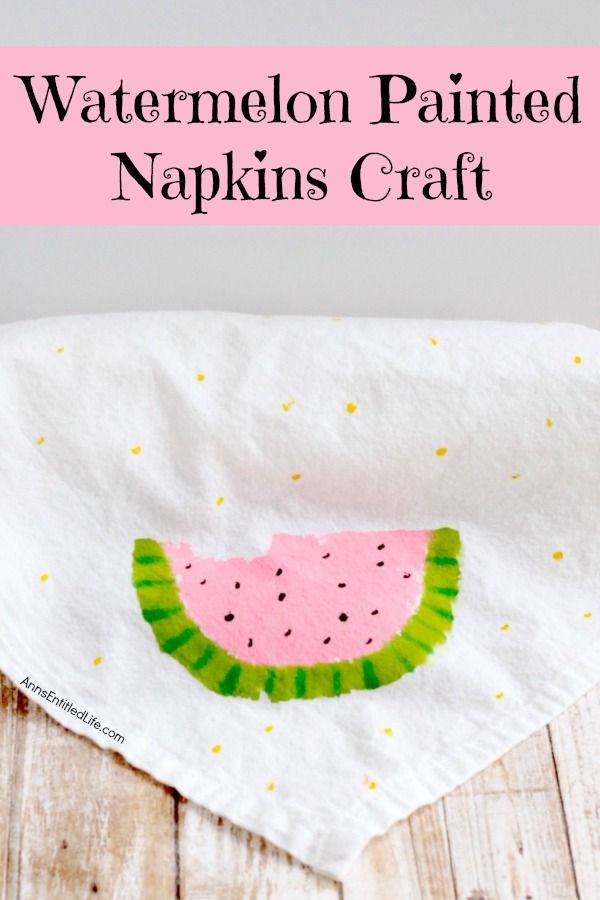
Caption: Finished watermelon-painted napkins ready to brighten a table setting.
Materials
Light Green Acrylic Paint
Pink Acrylic Paint
Yellow Acrylic Paint (optional accents)
Black (or dark) Paint for seeds
Cloth Napkins: White cotton napkins work best — oversized cotton napkins are shown
Acrylic Medium (to mix with paint so the design stays flexible)
Tools
Paintbrushes
Cardboard (to protect your work surface and insert inside napkins)
Sponge (to cut into a stamp)
Permanent Marker
Scissors
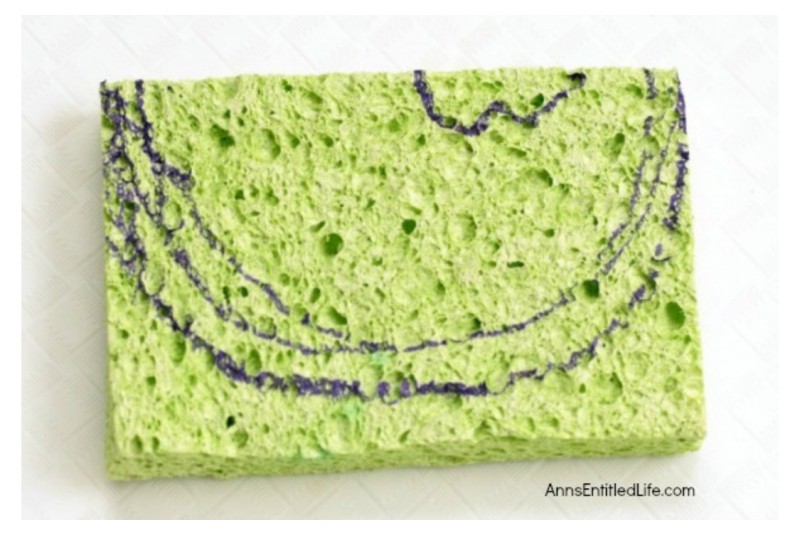
Caption: Marking the watermelon shape on a sponge to create a custom stamp.
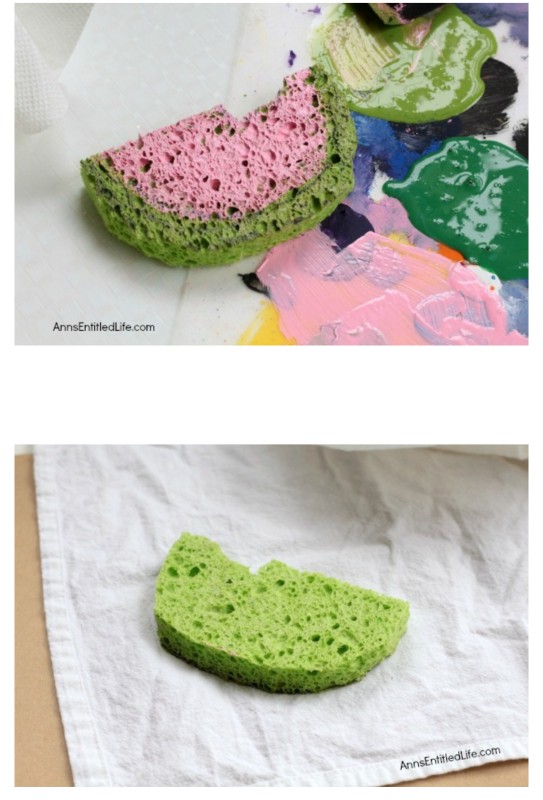
Caption: Using the cut sponge stamp to apply layered watermelon colors to a napkin.
Instructions
1. Prepare your work area by laying down cardboard or another protective surface. Insert a piece of cardboard inside each napkin to prevent paint from bleeding through.
2. Create your sponge stamp: with a permanent marker, draw the watermelon flesh and the rind lines on a dry sponge. You can choose a simple semicircle or add a small bite shape — the bite is optional.
3. Wet the sponge and squeeze out excess water, then cut out the stamp along the marker lines.
4. Mix your paints with acrylic medium at about a 2:1 ratio (more medium than paint). This keeps the painted area flexible on fabric and prevents stiffness once dry.
5. Layer a corner of the napkin over the cardboard and press the sponge stamp onto the napkin: apply the light green and pink paints to the appropriate sponge areas (rind and flesh) and stamp onto the fabric. Repeat to create the desired pattern on each napkin.
6. Let the base layer dry, then add accents: use darker green and black paint to define the rind edge and paint seeds. Add optional yellow dots or other small accents to vary each napkin slightly so they coordinate without being identical.
7. Allow the paint to dry for at least two hours. To set the paint so napkins can be washed, dry them in a clothes dryer on high heat for one hour or iron the back of the design (follow paint and medium manufacturer instructions). These steps help the design withstand laundering.
Tips
- Test your paint mixture on a scrap of fabric before stamping the final napkins to check color and flexibility.
- Work in small batches to keep paint from drying on the sponge between stamps; you can reapply paint to the sponge as needed.
- If you prefer, use fabric-specific paints instead of acrylic mixed with medium; both approaches are described here, but adjust curing instructions according to the product used.
Notes
The time estimates are for a single napkin; making multiple napkins increases active time but stamping itself goes quickly once the stamp is prepared.