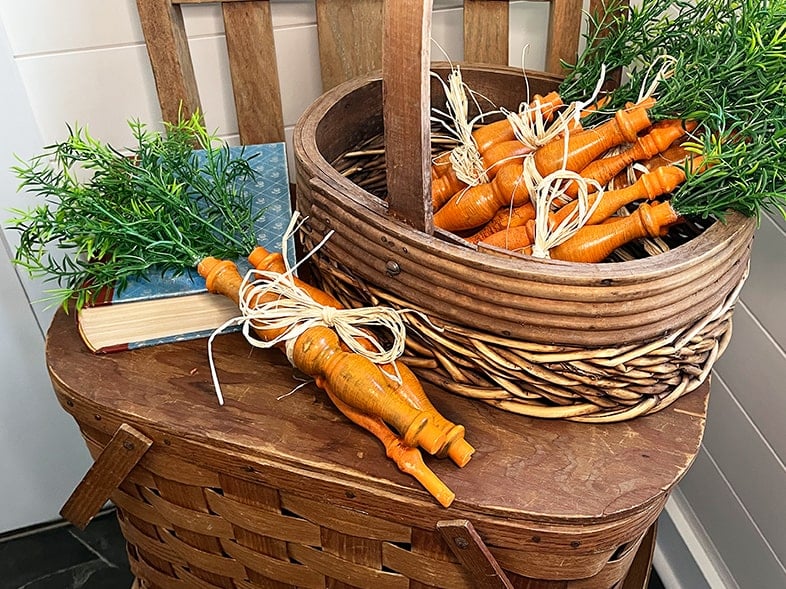
DIY Repurposed Wooden Spindle Carrots
Transform ordinary wooden spindles into charming decorative carrots with this fun and creative DIY project. By repurposing old spindles, you can give them new life as whimsical home decor that adds a touch of rustic charm to any space. This project is perfect for those looking to add a unique and personalized touch to their home without breaking the bank.
Supplies:
- Wood spindles (mine are 8 and 9 inches long)
- Greenery
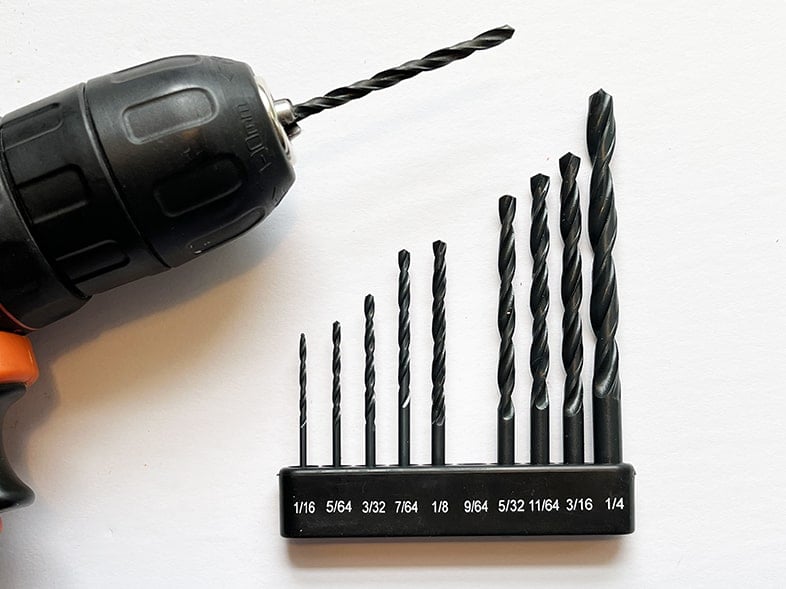
- A drill and small drill bit –and a vice grip (more on that below)
- Orange paint
- Paint brushes
- Light grit sandpaper (optional)
- Wire cutters
- A hot glue gun
How to Make Wooden Spindle Carrots – 3 Easy Steps
STEP 1: Drill A Hole In The Top Of The Dowel
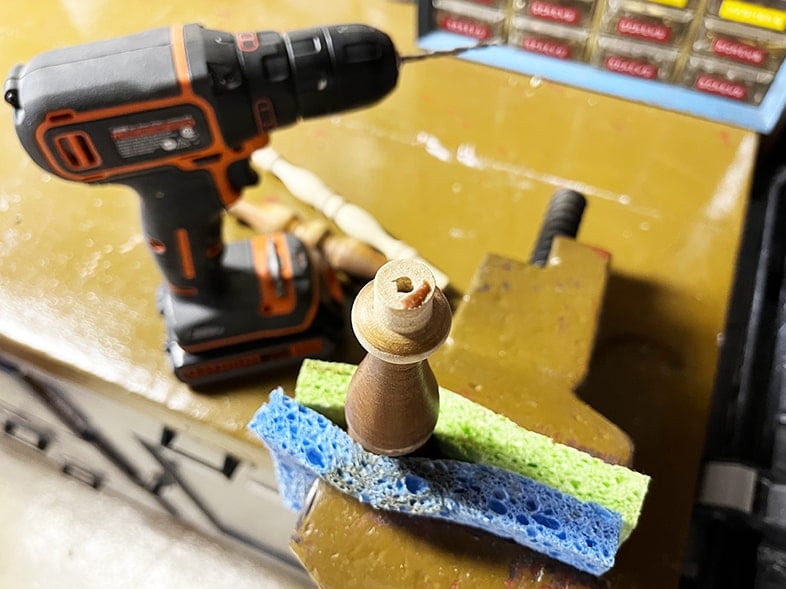
Start by drilling a hole into the top of your dowel about a half-inch deep to glue greenery into.
Don’t make the width of the hole too big, it should be just big enough to fit the stems snuggly. I recommend doing testing on scrap wood first.
Here, I used two sprigs of artificial rosemary and a 9/64 drill bit.
Tip: Use two cellulose sponges to protect your spindle from damage when using a vice grip.
STEP 2: Sand And Paint
Lightly sand your spindles if needed and paint them with any orange paint you have on hand. You can use chalk paint, acrylic paint, or even spray paint.
Note: Be careful when sanding old spindles as they may have been painted with lead paint. I’m not an expert on this but you can read more about lead paint.
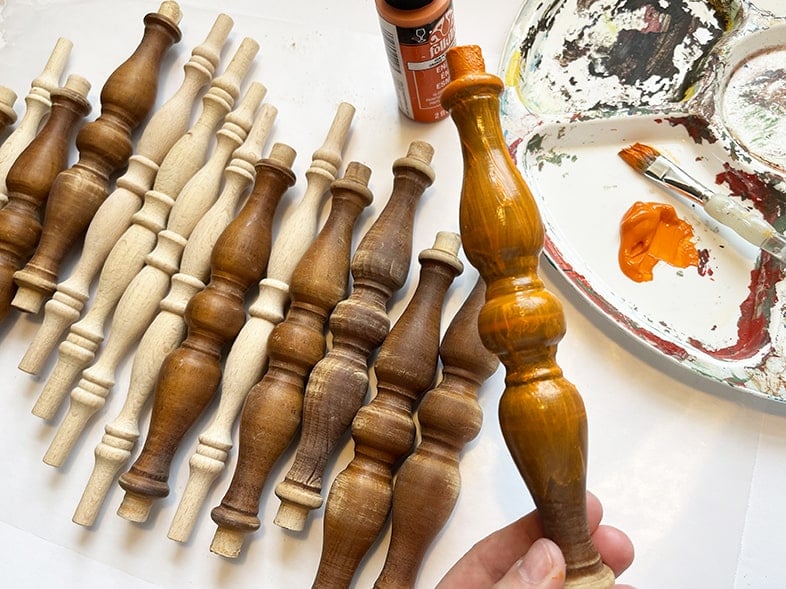
First coat of paint.
It took two coats of paint to get the orange color I wanted. The paint I used was technically formulated for use on glass surfaces so that may have been why. I did however apply the second coat of paint with a chip brush. This went faster and gave the carrots a textured look (photo below).
Tip: Let your finished spindle carrots dry on a non-stick surface like waxed or parchment paper.
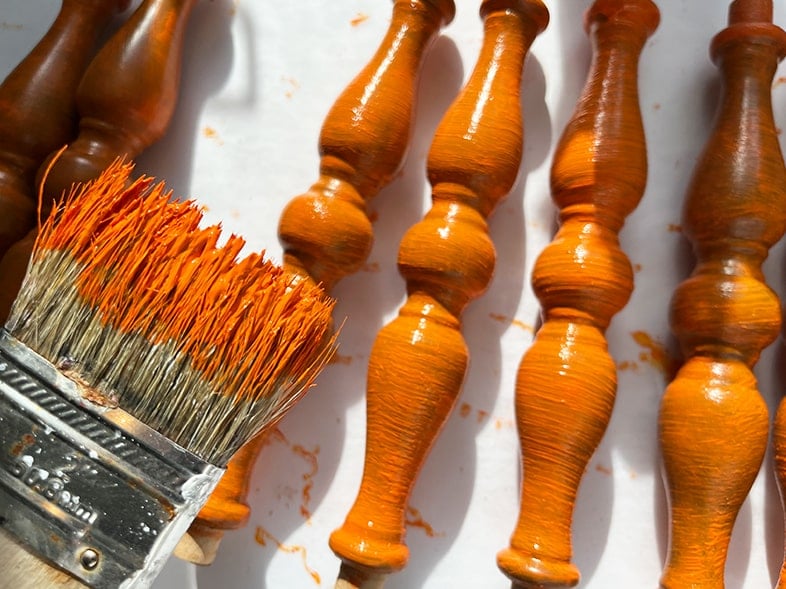
STEP 3: Add Greenery
Once the paint has dried, it’s time to add greenery.
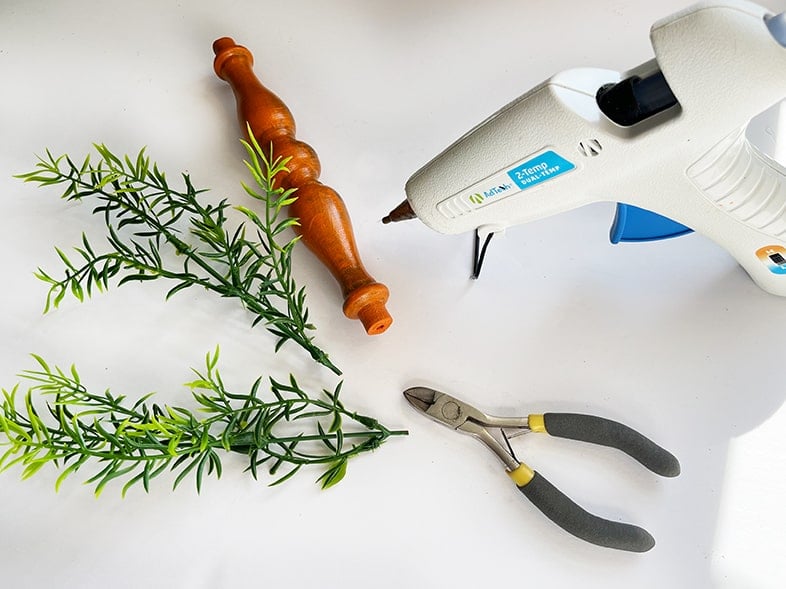
Use wire cutters to cut greenery stems to size. Put hot glue into the pre-drilled hole and push your stems into the glue. Add more glue around the top.
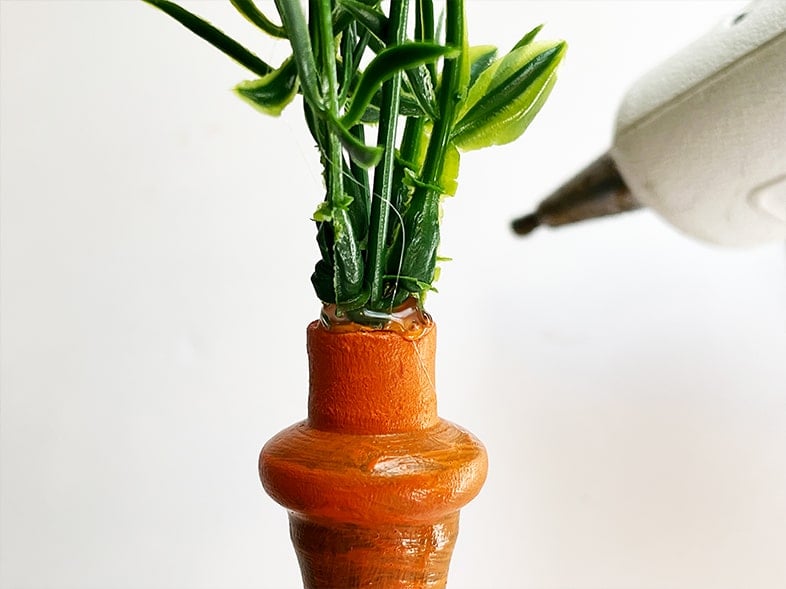
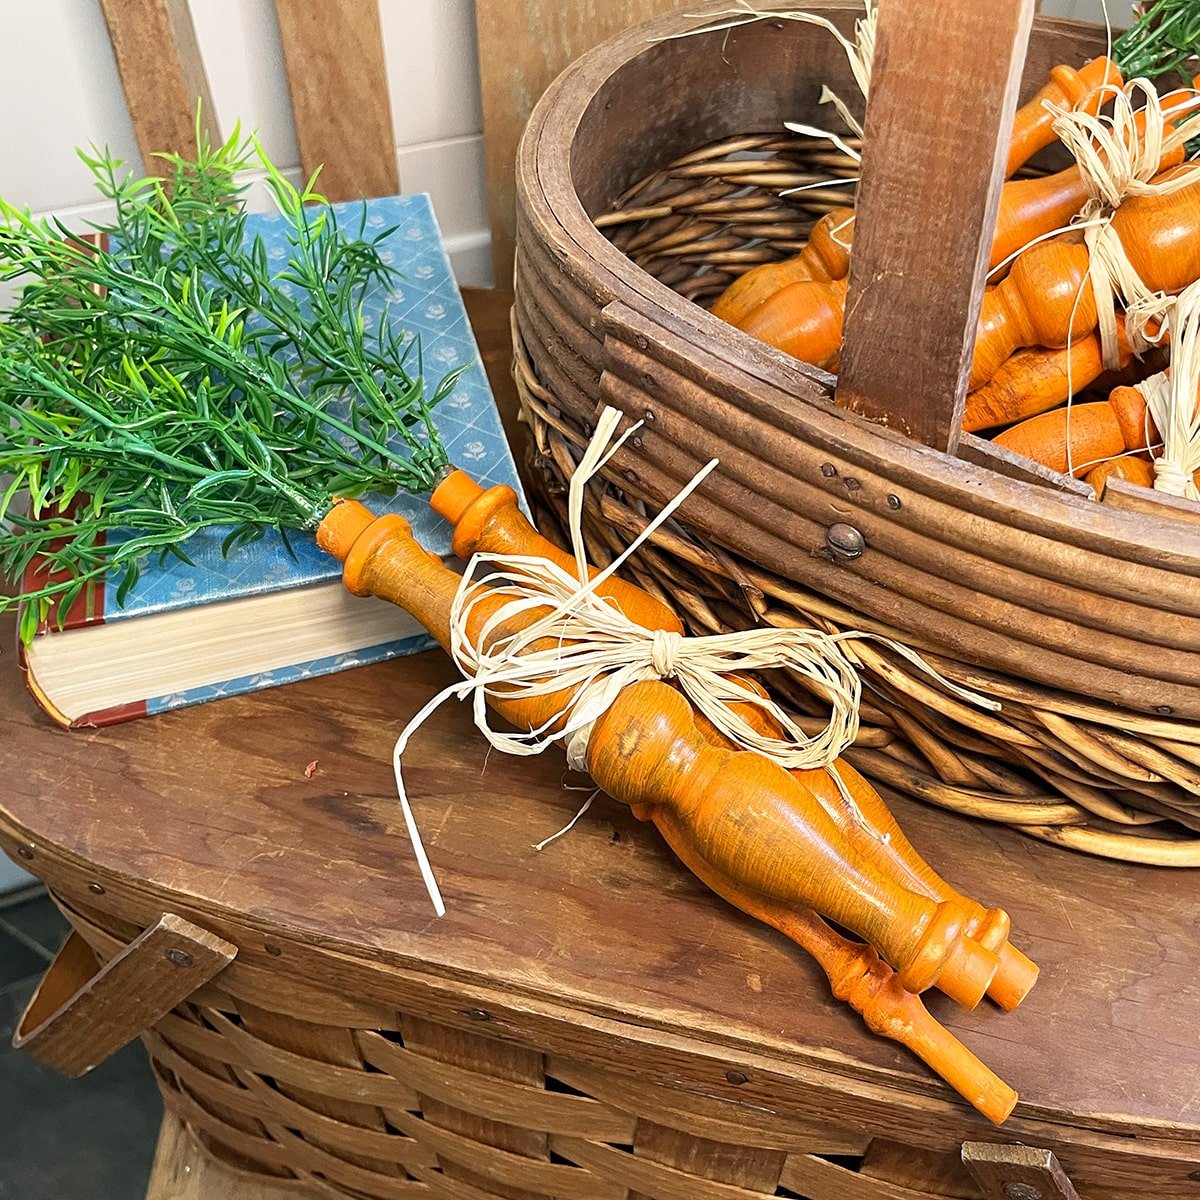
Here’s another photo of my finished carrot bundles. I did sand a few spots on each carrot to give them that vintage-worn look. I love how they came out and can’t wait to take them over to my booth!