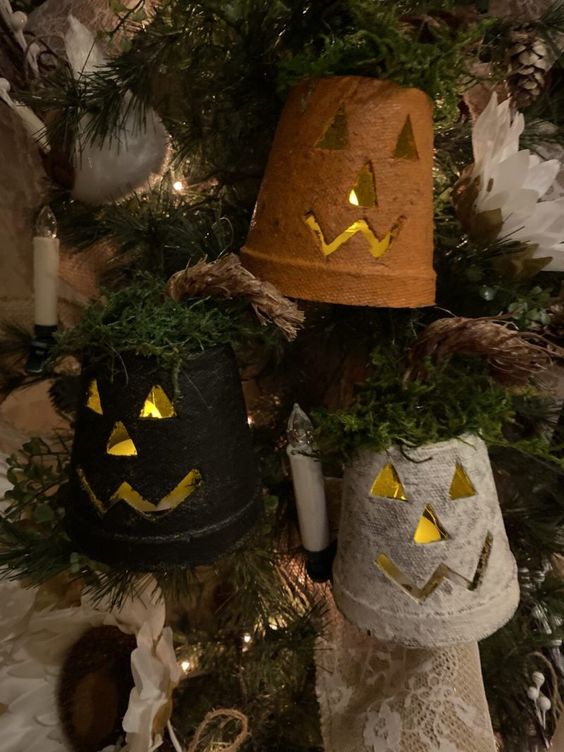
DIY Peat Pot Pumpkin
Looking to add a touch of creativity to your fall decor this season? Why not try making a DIY Peat Pot Pumpkin! This fun and easy project involves using small peat pots, paint, and some artistic flair to create adorable pumpkin decorations for your home. Simply paint the peat pots orange, add a little green stem on top, and voila - you have a charming pumpkin ready to adorn your mantel or table. This project is great for all skill levels and can be a fun activity to do with friends or family. So, grab your paintbrushes, let your imagination run wild, and enjoy crafting your own little pumpkin patch with these delightful DIY Peat Pot Pumpkins!
Here is a list of what you will need:
- Peat Pots (Walmart)
- Craft Paints in Your Choice Of Colors
- Paint Brushes
- X-Acto or Utility Knife
- Pencil
- Mod Podge
- Preserved Green Moss
- Stem of Your Choice
- Hot Glue Gun and Glue Stick
- Battery Operated Timer Tea Light (Amazon)
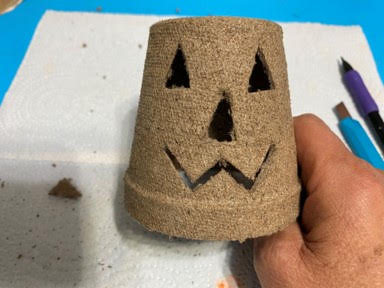
Drawing And Cutting Out The Face
Using a pencil draw out the face you would like your pumpkin to have then using a X-acto knife cute out the face.
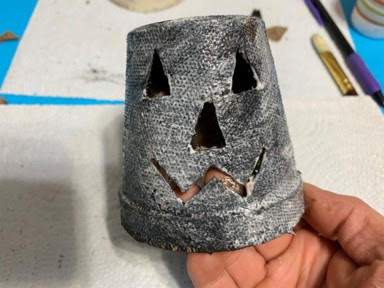
Painting and Sealing
After you have cut out the face of the pumpkin paint your pumpkin with craft paint in the color of your choice, there are two ways you can paint the pumpkin you can do a dry brush which means after dipping your paint brush in the paint dab it on a paper towel then paint your pumpkin you don’t want to cover the whole pumpkin you want some of the peat pot showing, or you can give it two coats of paint then take a fine piece of sandpaper and lightly sand so some of the peat pot shows through the paint this will give it a distressed look.
Next cover the whole pumpkin a coat of mod podge and let dry.
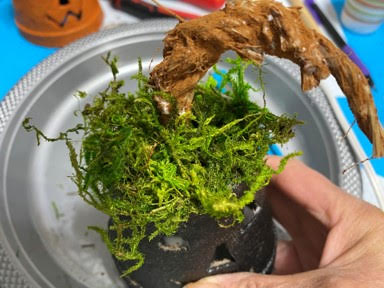
Adding Stem and Moss
Once the mod podge has dried using your utility or x-acto knife cut a small hole in the top middle of the pumpkin this will be where you are going to add your stem. Next insert the stem of your choice, if you would like to make my realistic stem you can find the directions on my blog called DIY Pumpkin Stem, then add hot glue around the stem to hold in place. To add the preserved moss add hot glue around the top of the pumpkin and glue on the moss.
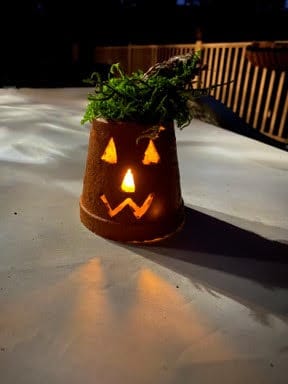
Adding the Tea Light
Now that your pumpkin is finished you can set him on a cabinet, table, etc. and place a battery operated timer tea light under him so he will light up, if you would like to hang him on a tree just take a piece of thin wire wrap one end inside the pumpkin around the bottom of your stem then wrap the other end of the wire around the bulb of the tea light so it is hanging up inside the pumpkin, I am sorry I forgot to take pictures of this step. I like to use the battery operated timer tea lights so I don’t have to be turning them off and on you can see which ones I use on my recommended products page.