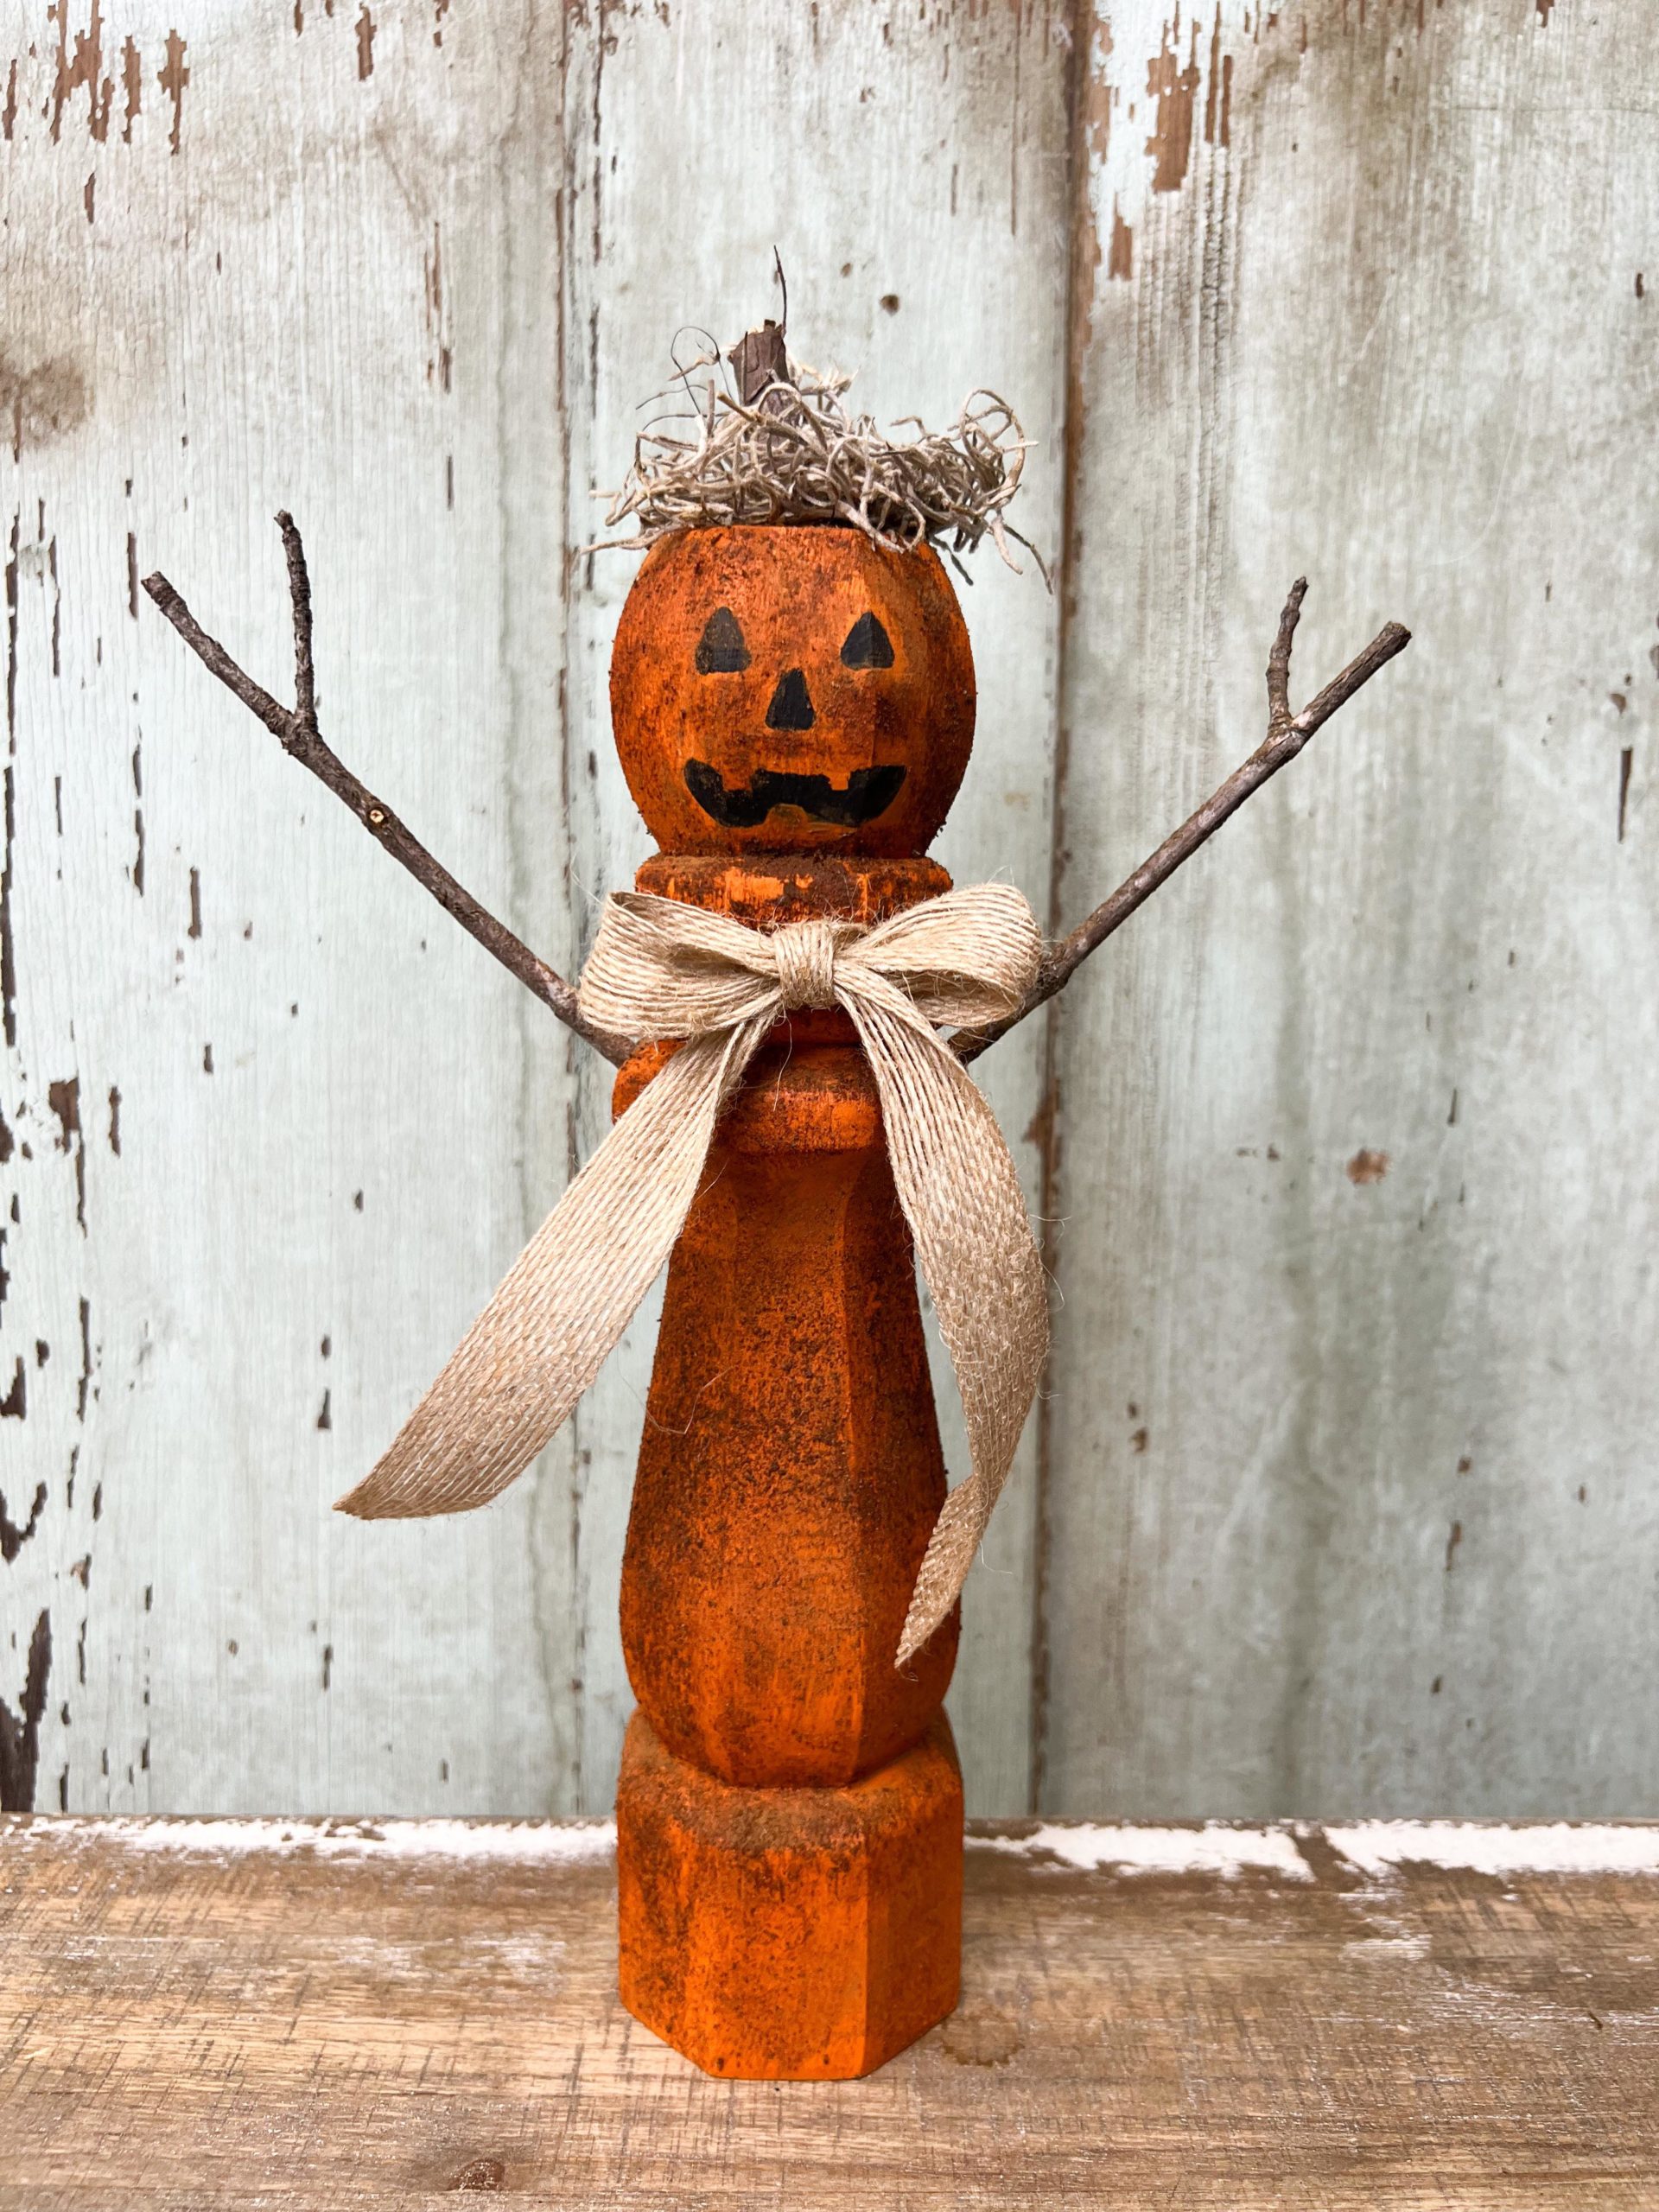
DIY Primitive Pumpkin Doll
Creating your very own DIY Primitive Pumpkin Doll is not only a fun and festive project but also a great way to add a touch of handmade charm to your autumn decor. To make this adorable craft, you can start by gathering some basic materials such as orange fabric, stuffing, twine, and some dried twigs for the stem. Cut out two pumpkin-shaped pieces of fabric and sew along the edges, leaving a small opening to stuff the doll. Once stuffed, carefully close the opening and shape the fabric into a round pumpkin shape. Next, add some rustic charm by tying a piece of twine around the pumpkin to create those classic pumpkin sections. Finally, finish off your pumpkin doll by attaching a dried twig as the stem. This delightful DIY project is a wonderful way to get creative and bring some cozy fall vibes into your home!
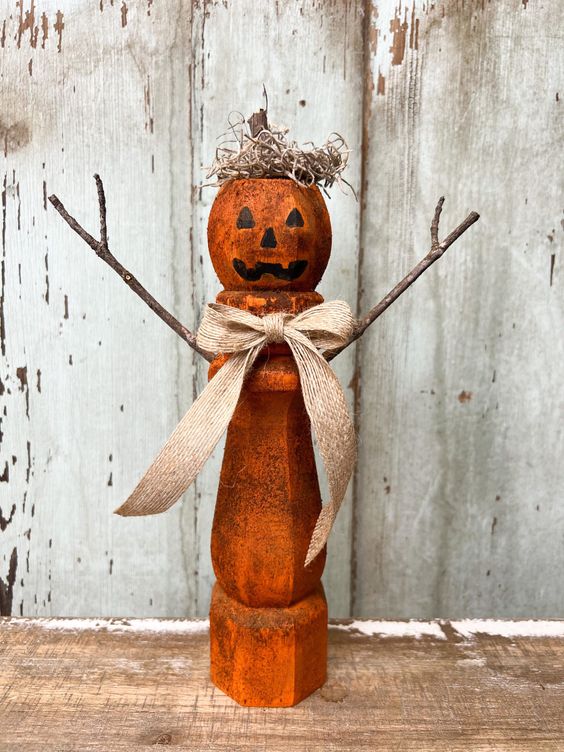
The supplies that I’ll be using are:
1. One 9” traditional wood leg from Home Depot
2. Two tree limbs for arms
3. Small tree limb for stem
4. Cinnamon 5. Decoupage by DecoArt
6. Black Chalky finish paint by DecoArt
7. Spiced Pumpkin Acrylic paint by DecoArt
8. Drill and drill bit ( you’re drill bit should be the size of your tree limbs)
9. Spanish moss
10. Burlap ribbon
11. Paint brush
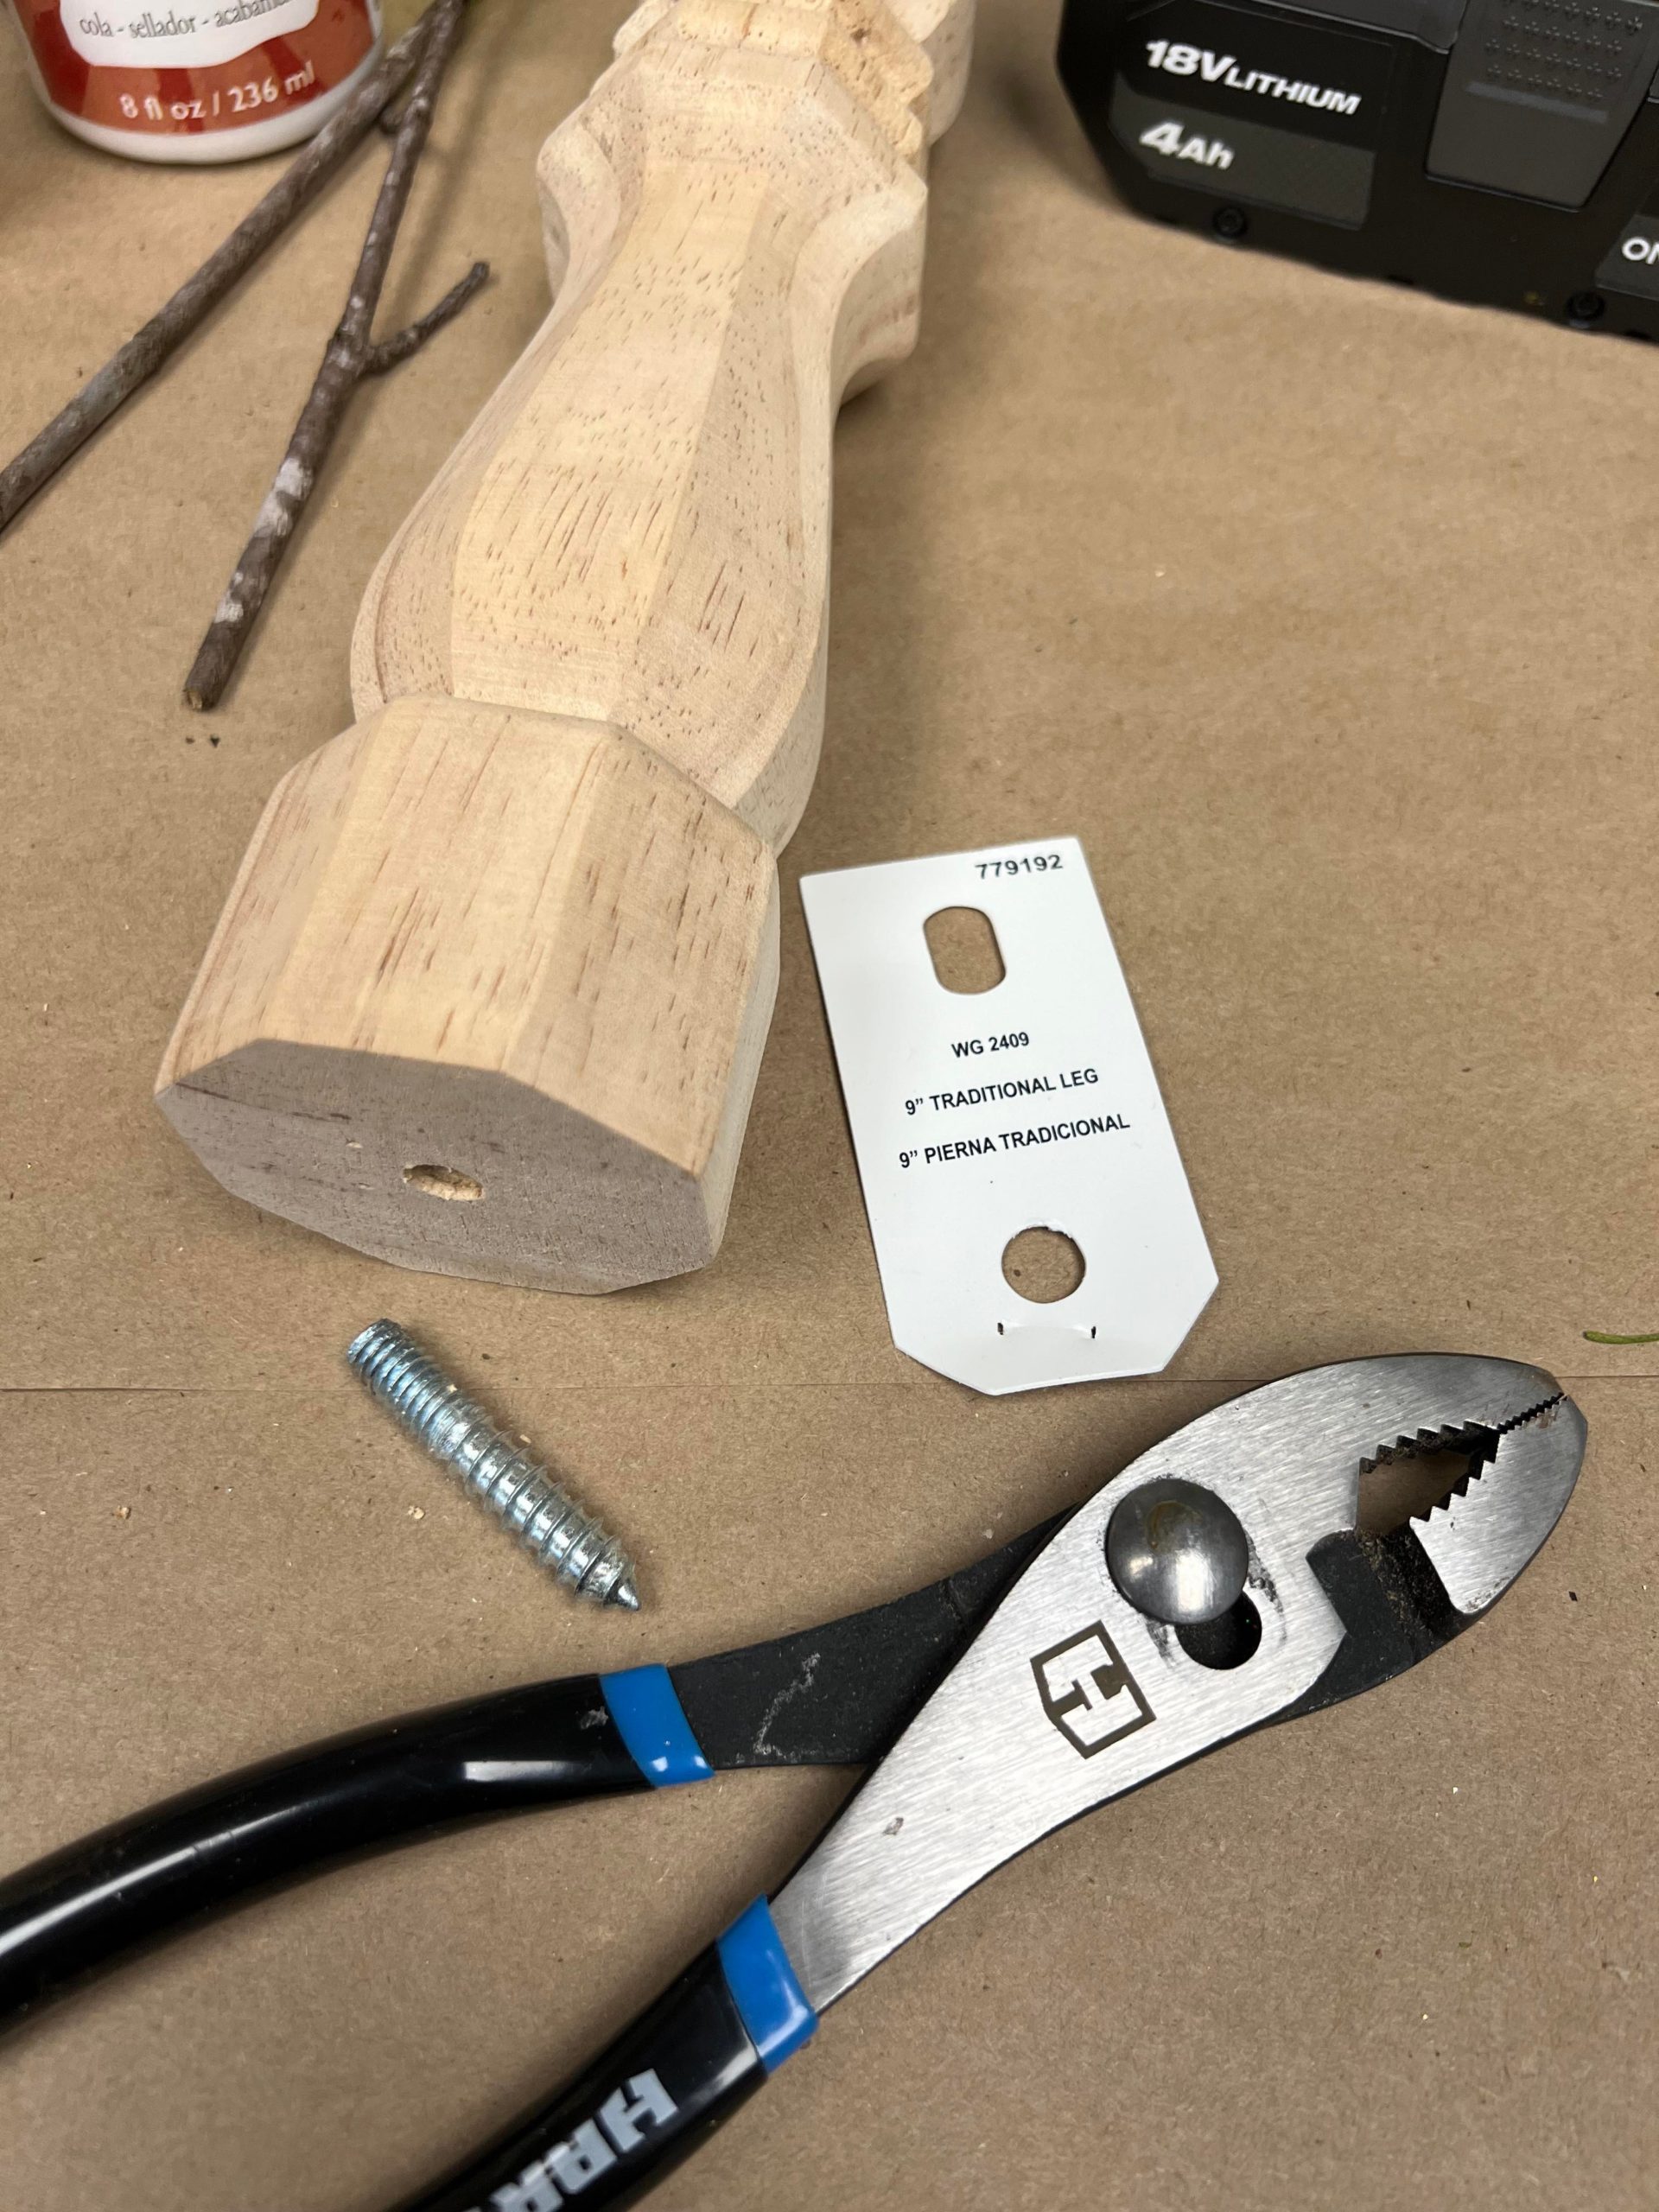
You will want to remove the screw from the bottom of leg.
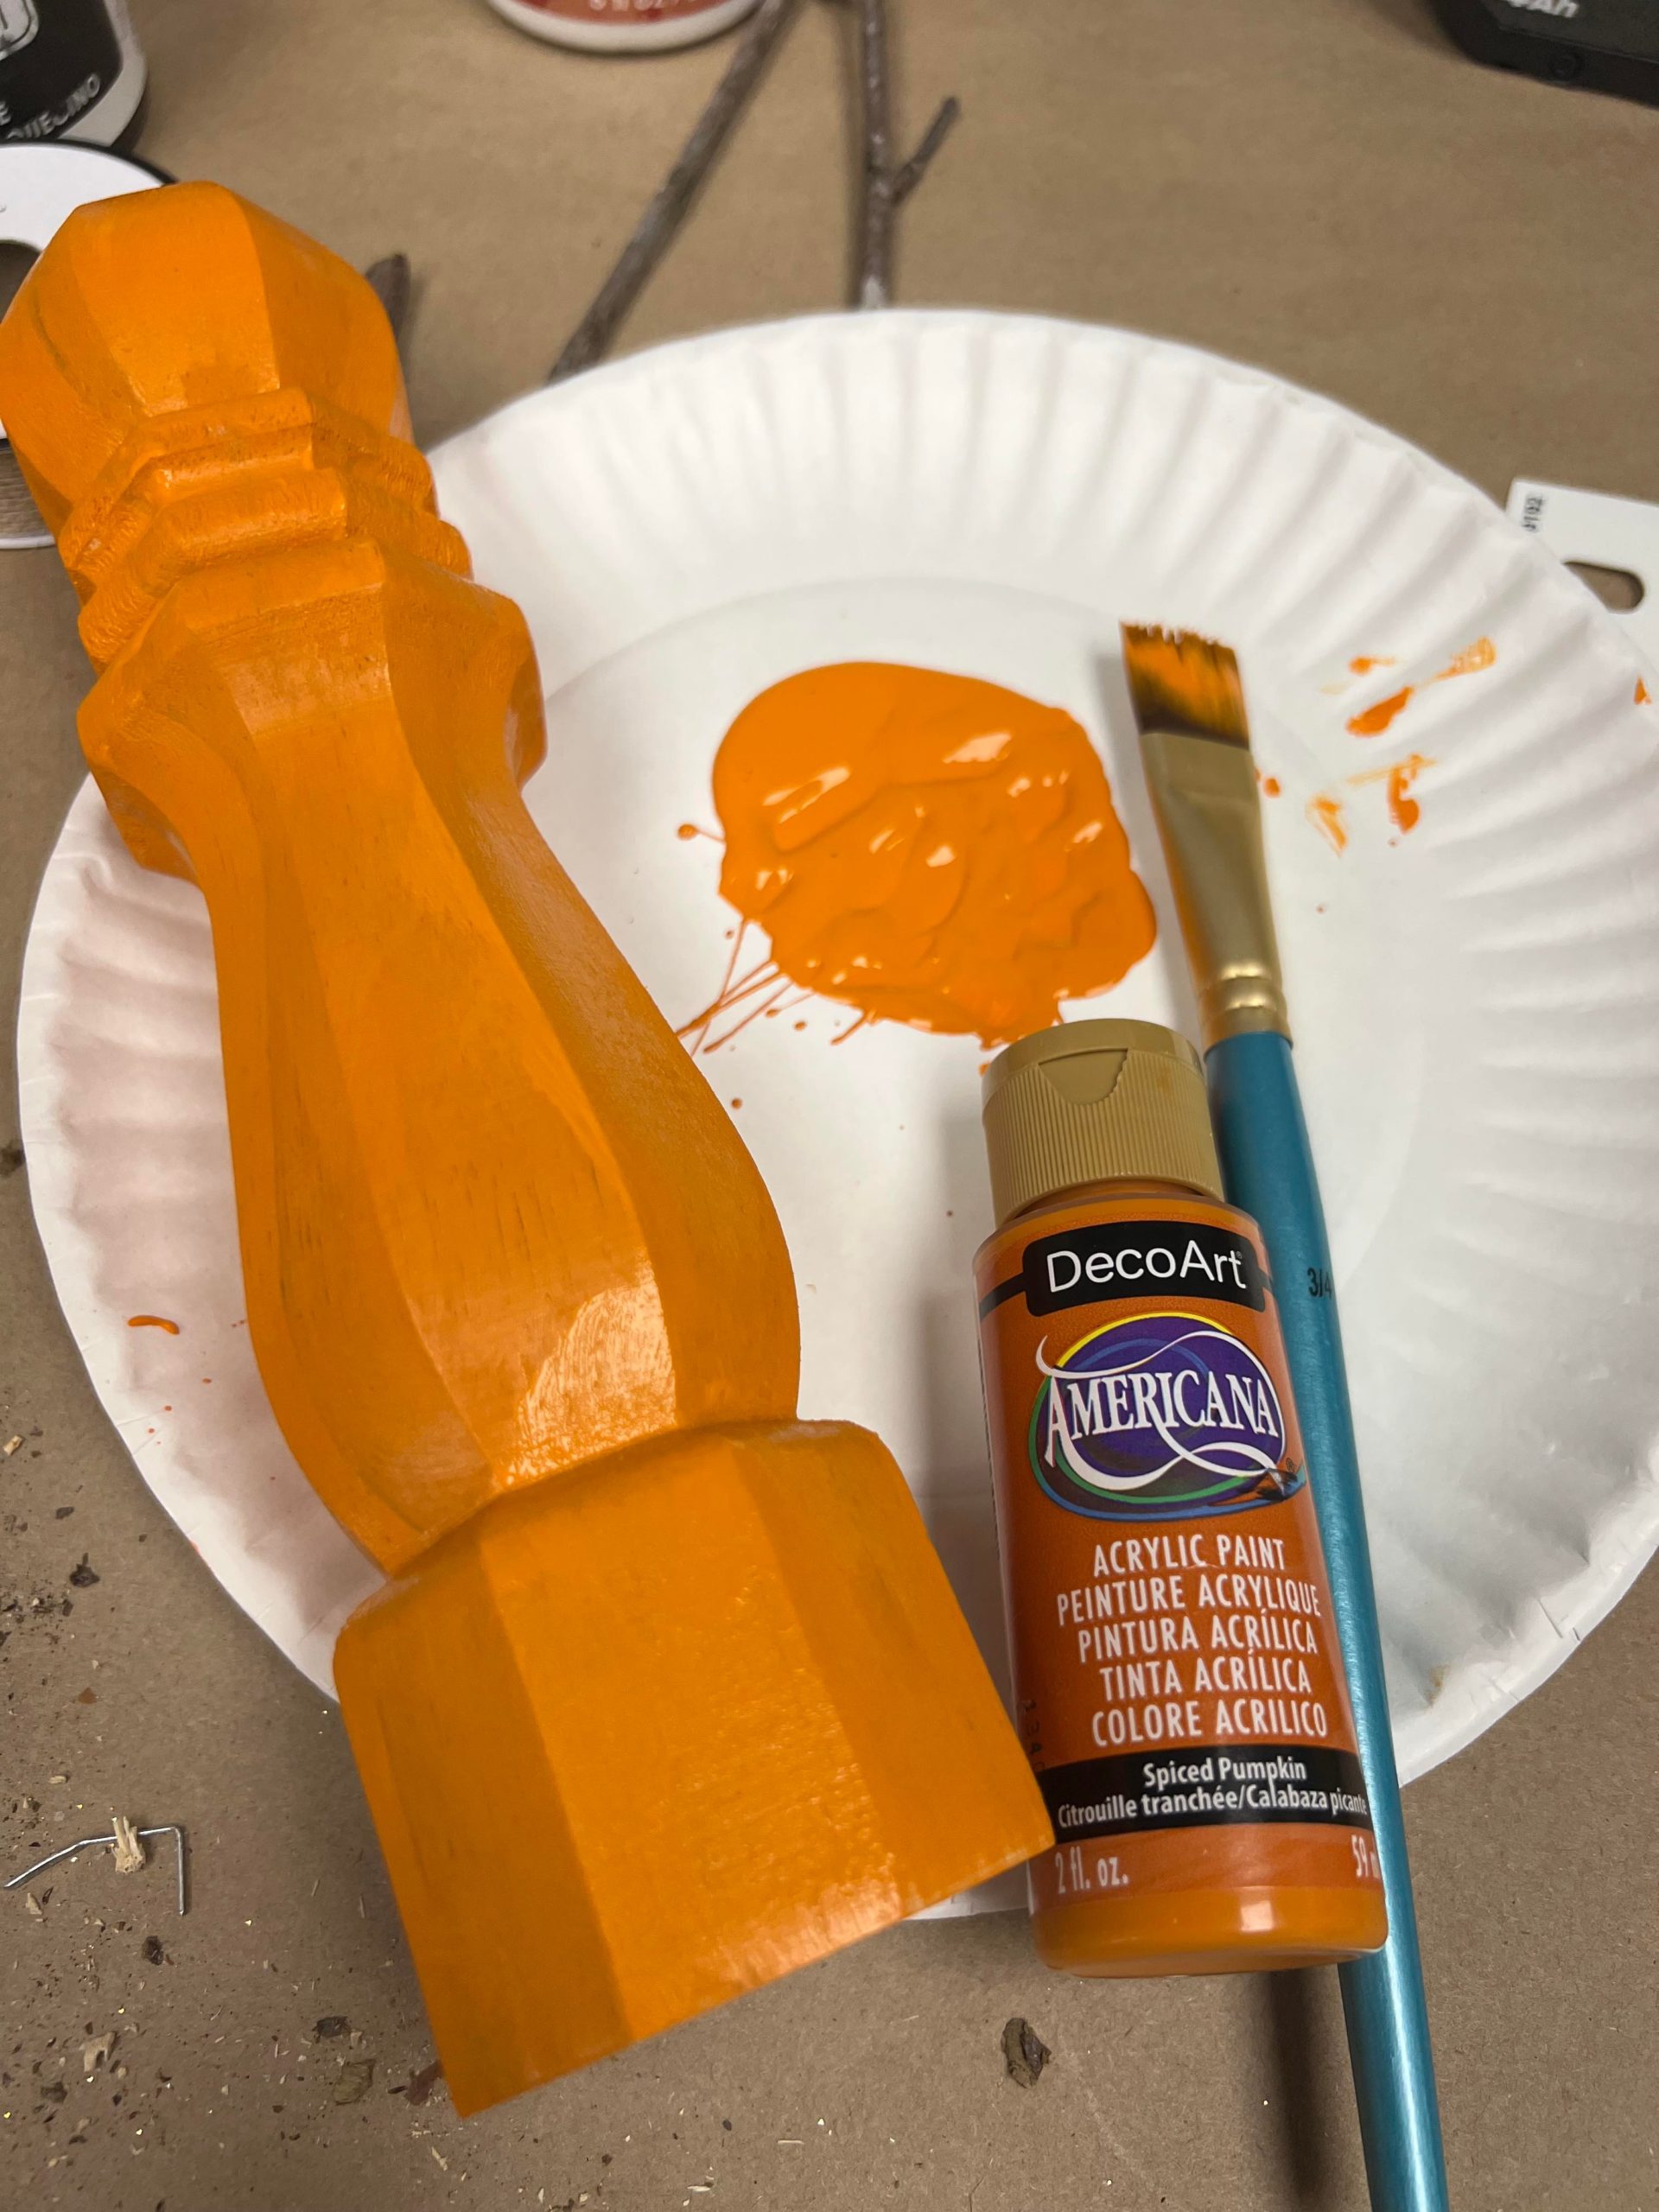
Once you have the screw removed you’ll want to paint the leg with the Spiced Pumpkin paint.
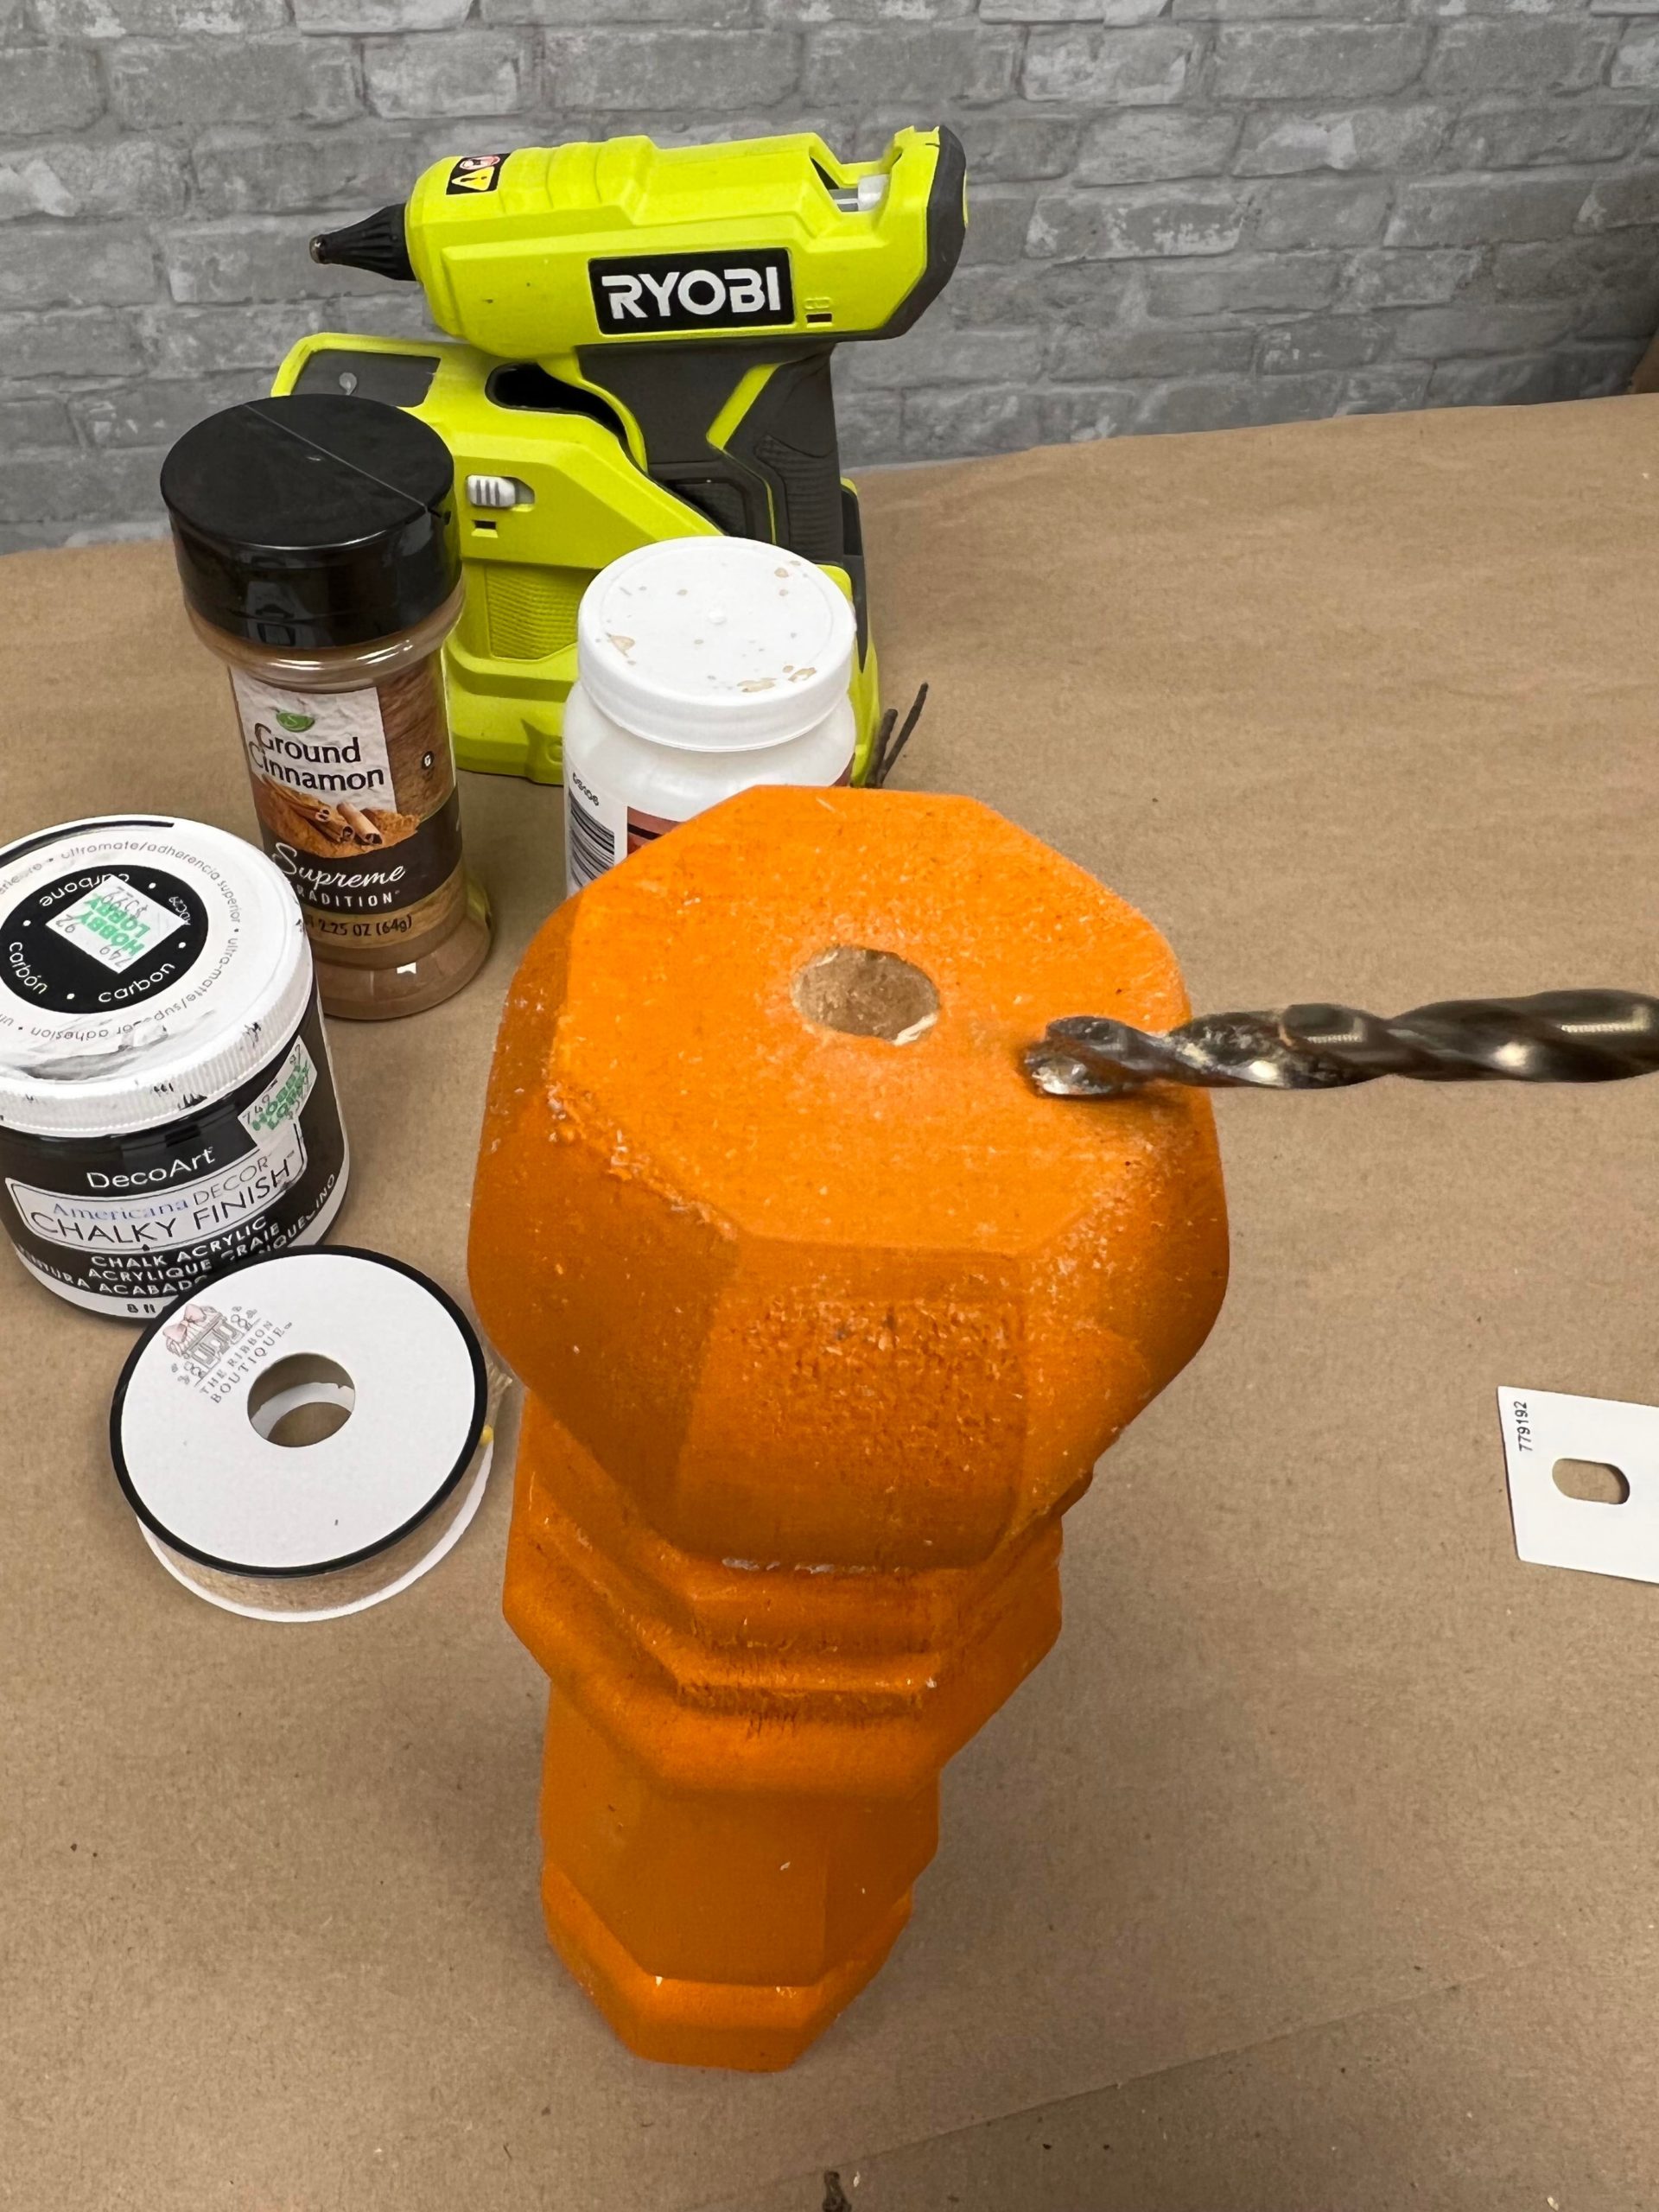
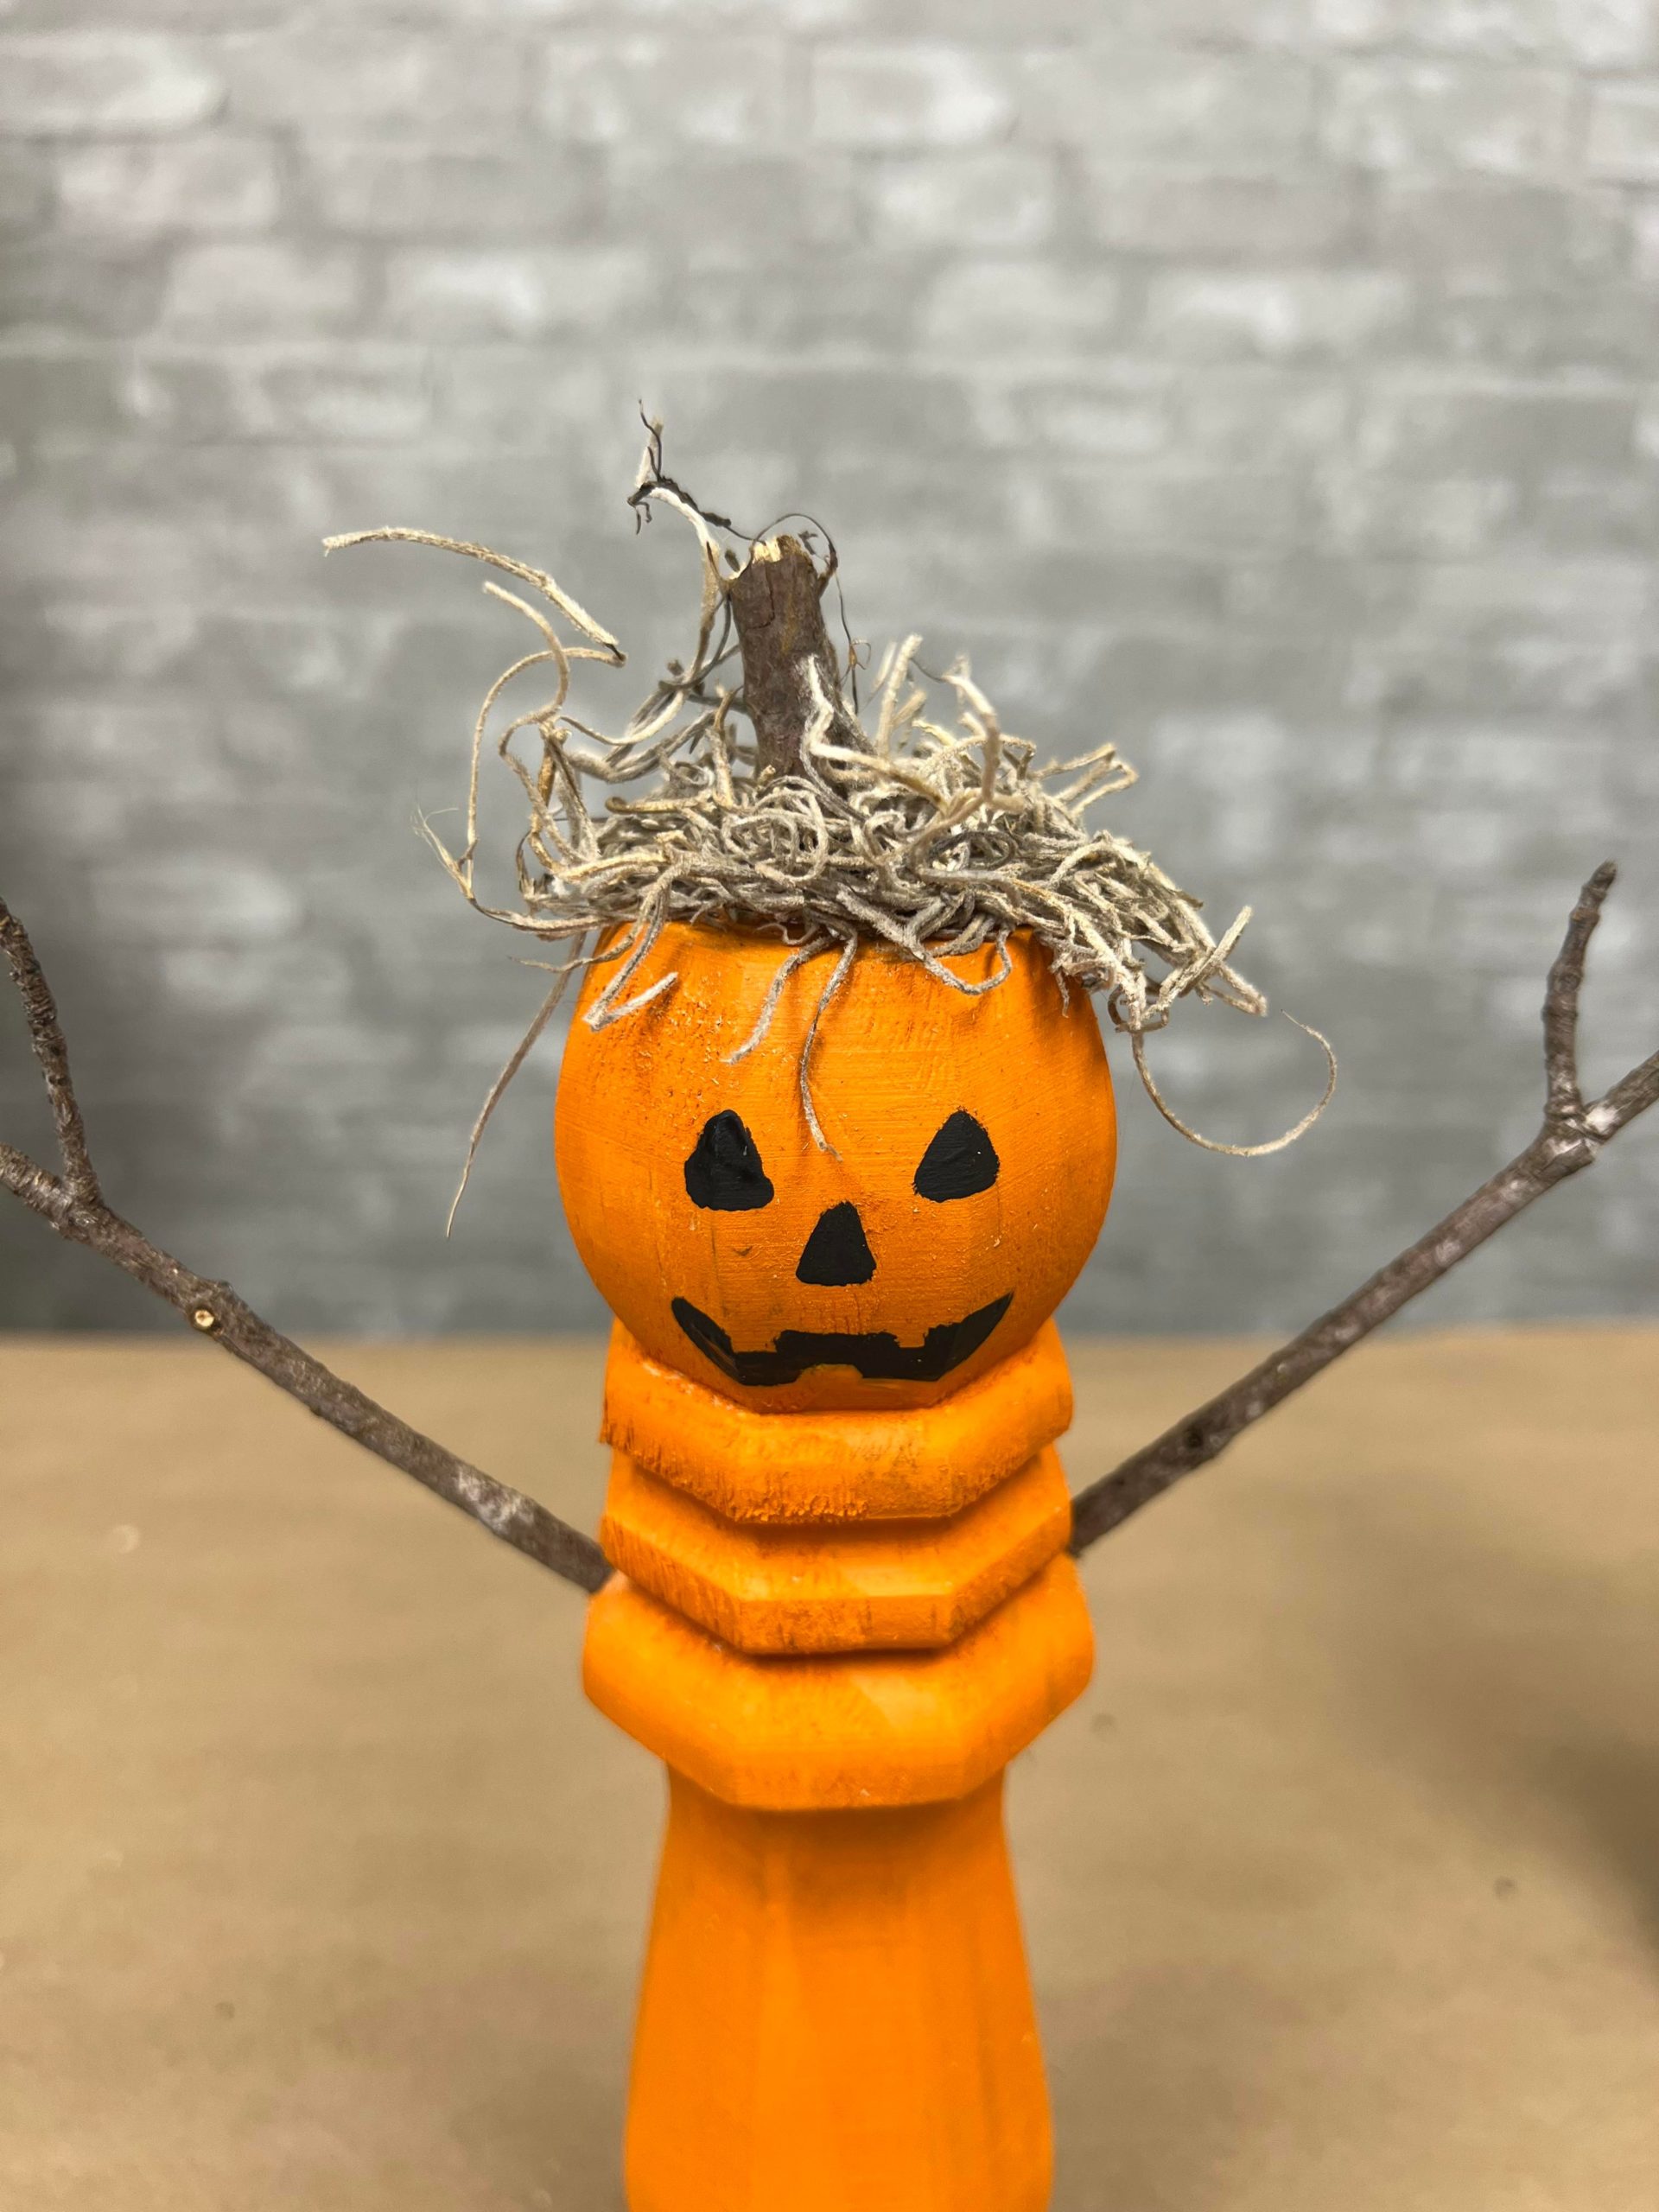
I drilled a hole on the center top of the leg.
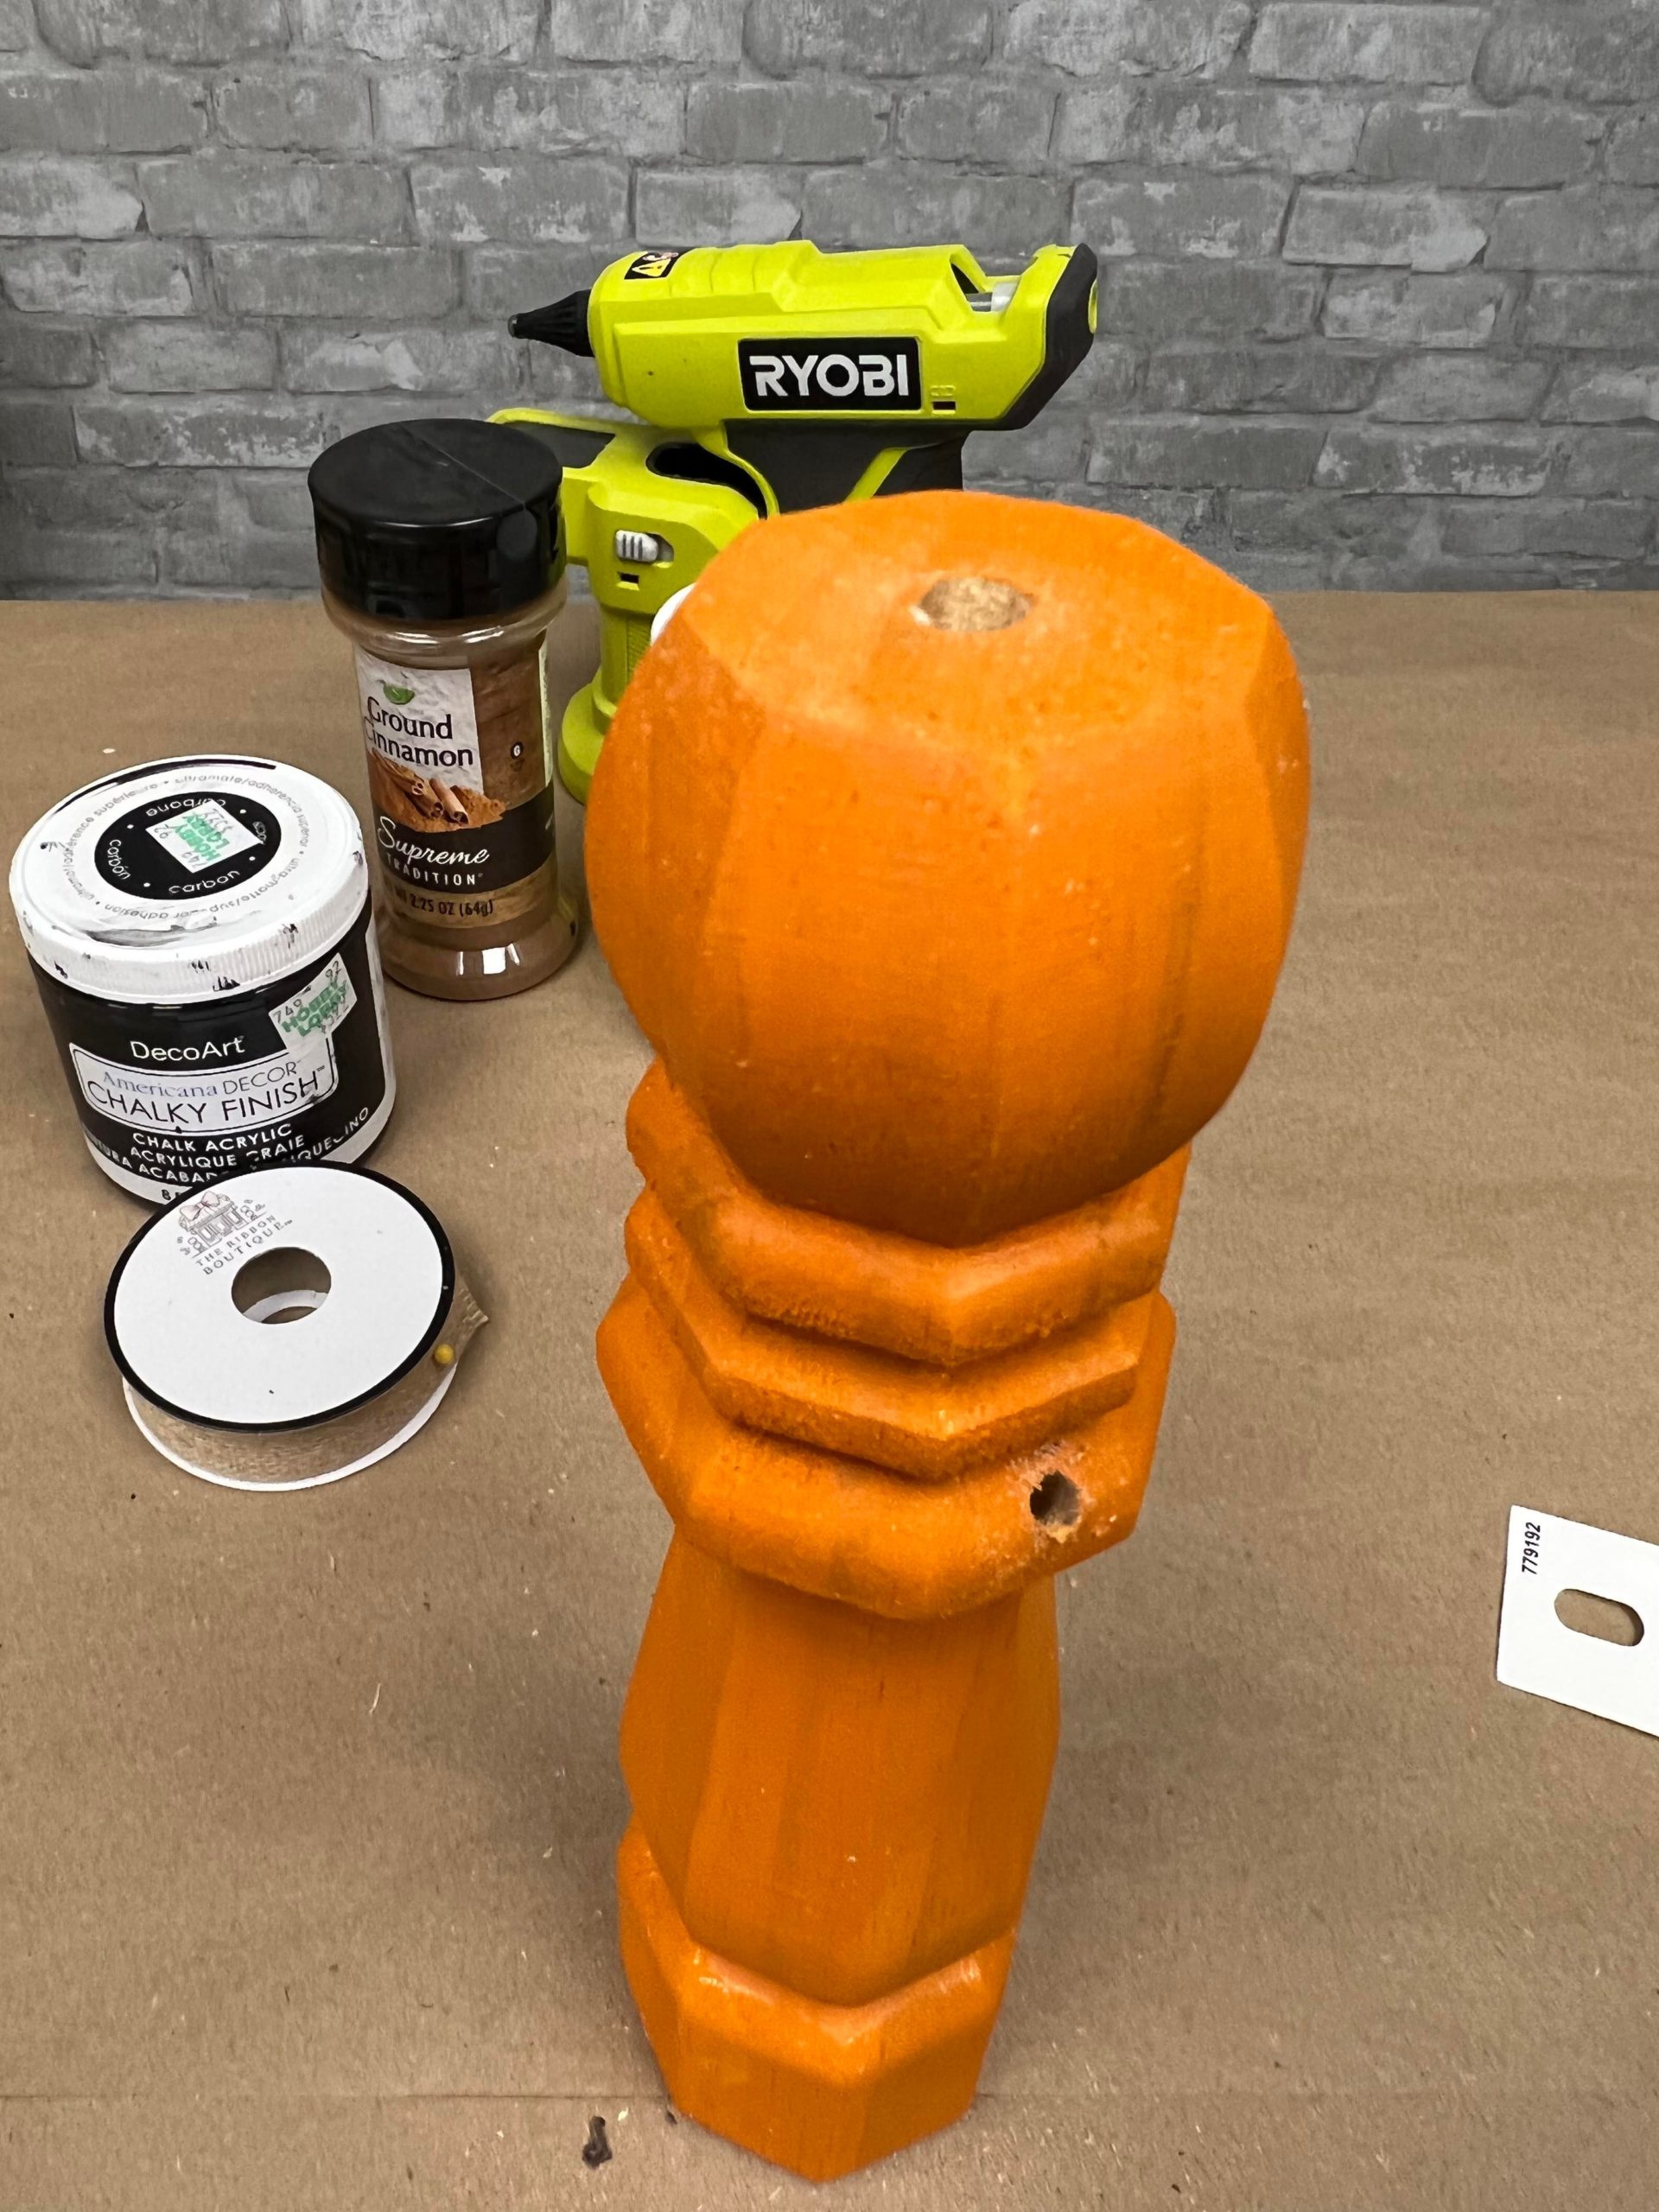
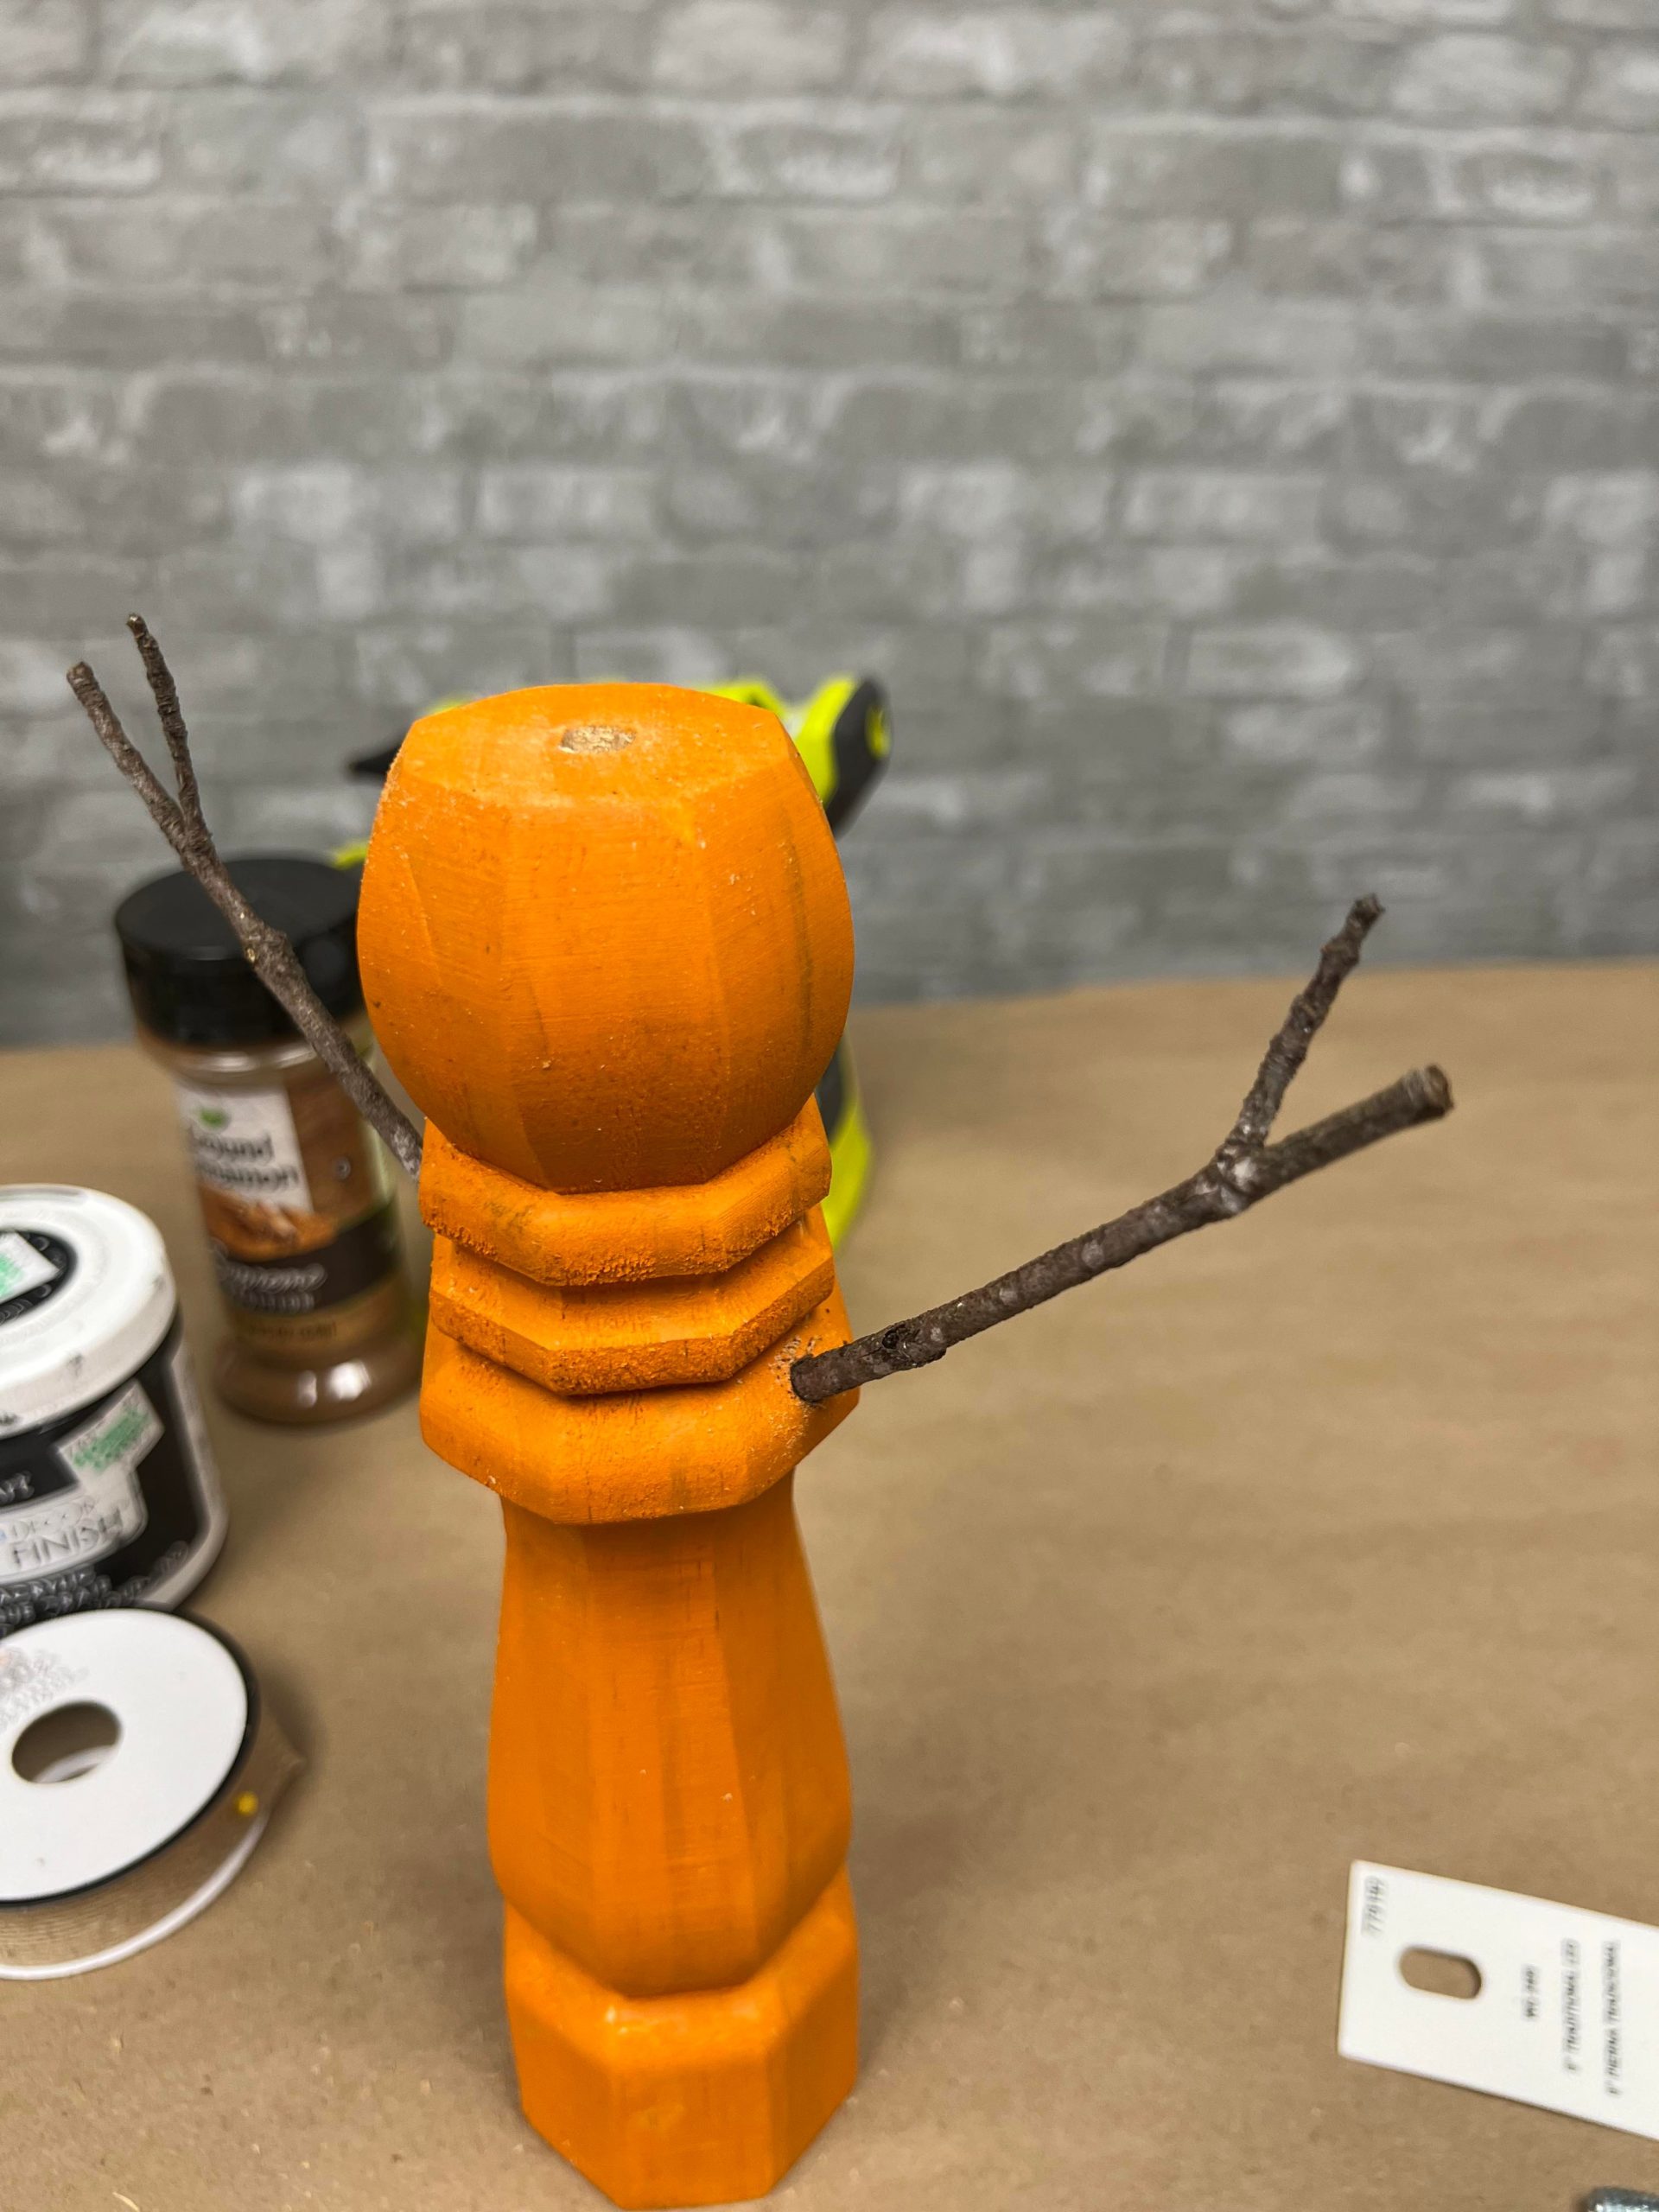
I drilled a hole on each side as shown in photo above for the arms. You can add a small amount of hot glue to secure the tree limbs in place.
I used the black paint to make a face. Once I had the face painted on I then added the decoupage and cinnamon.
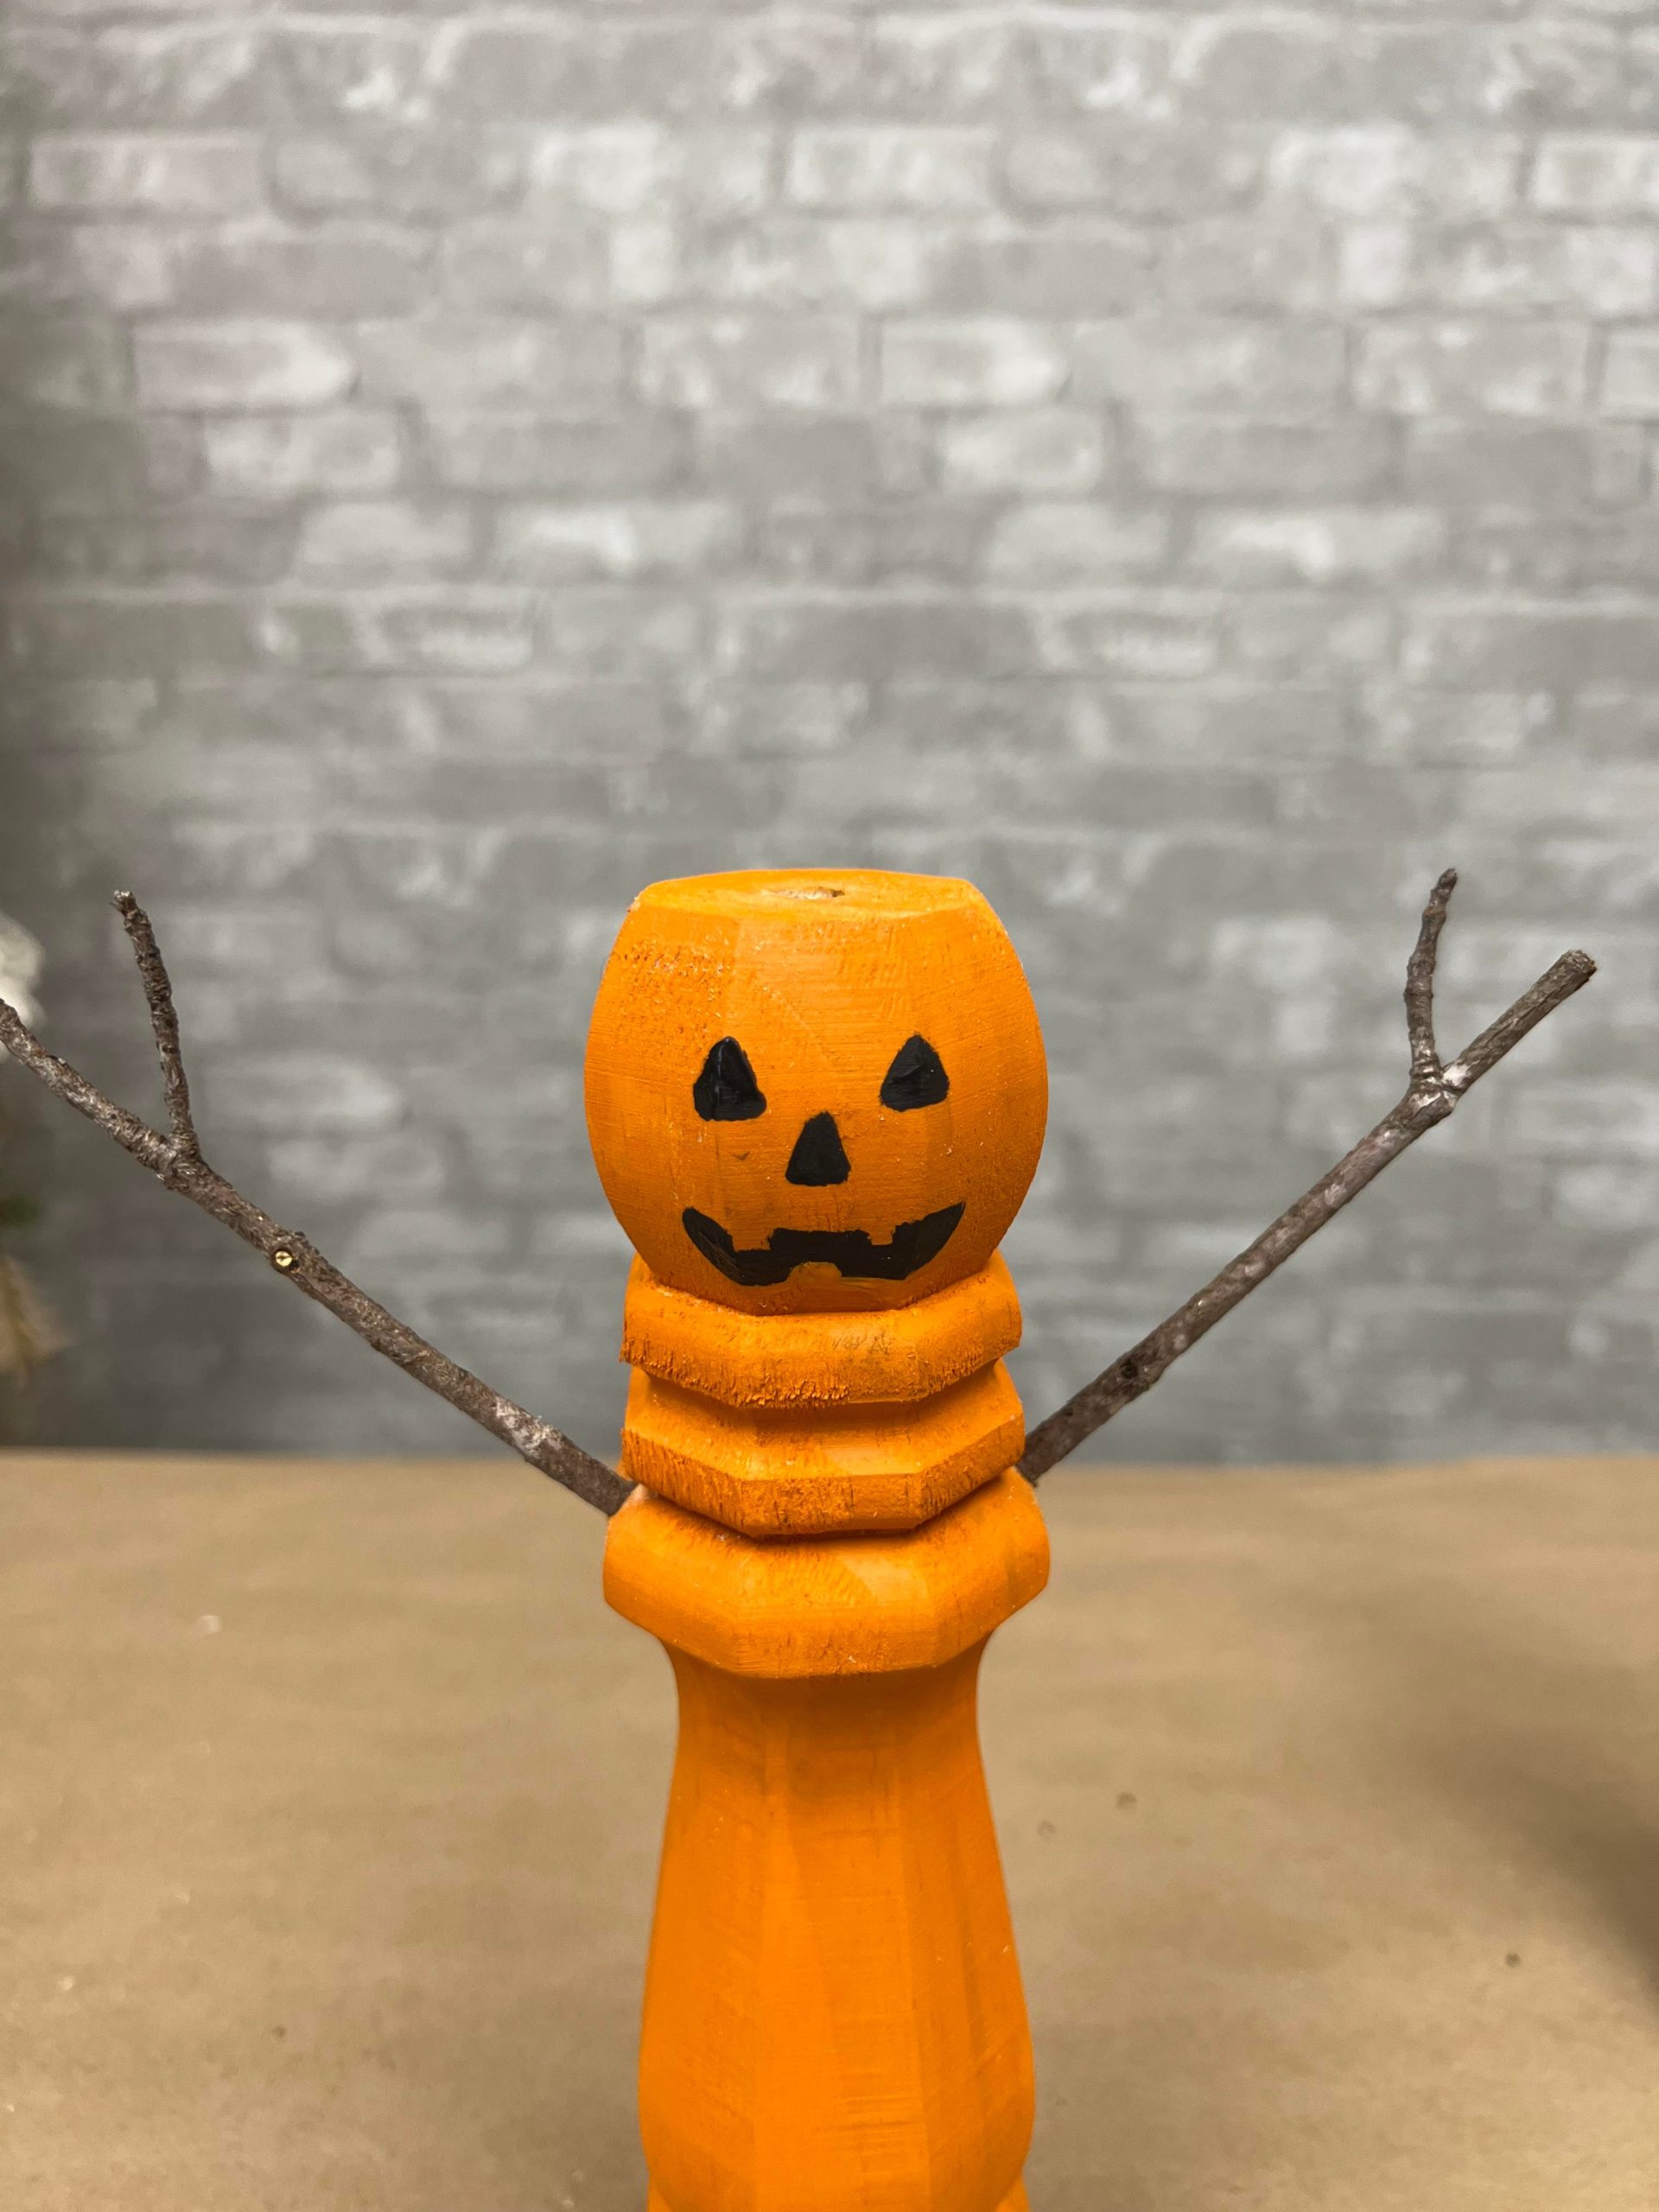
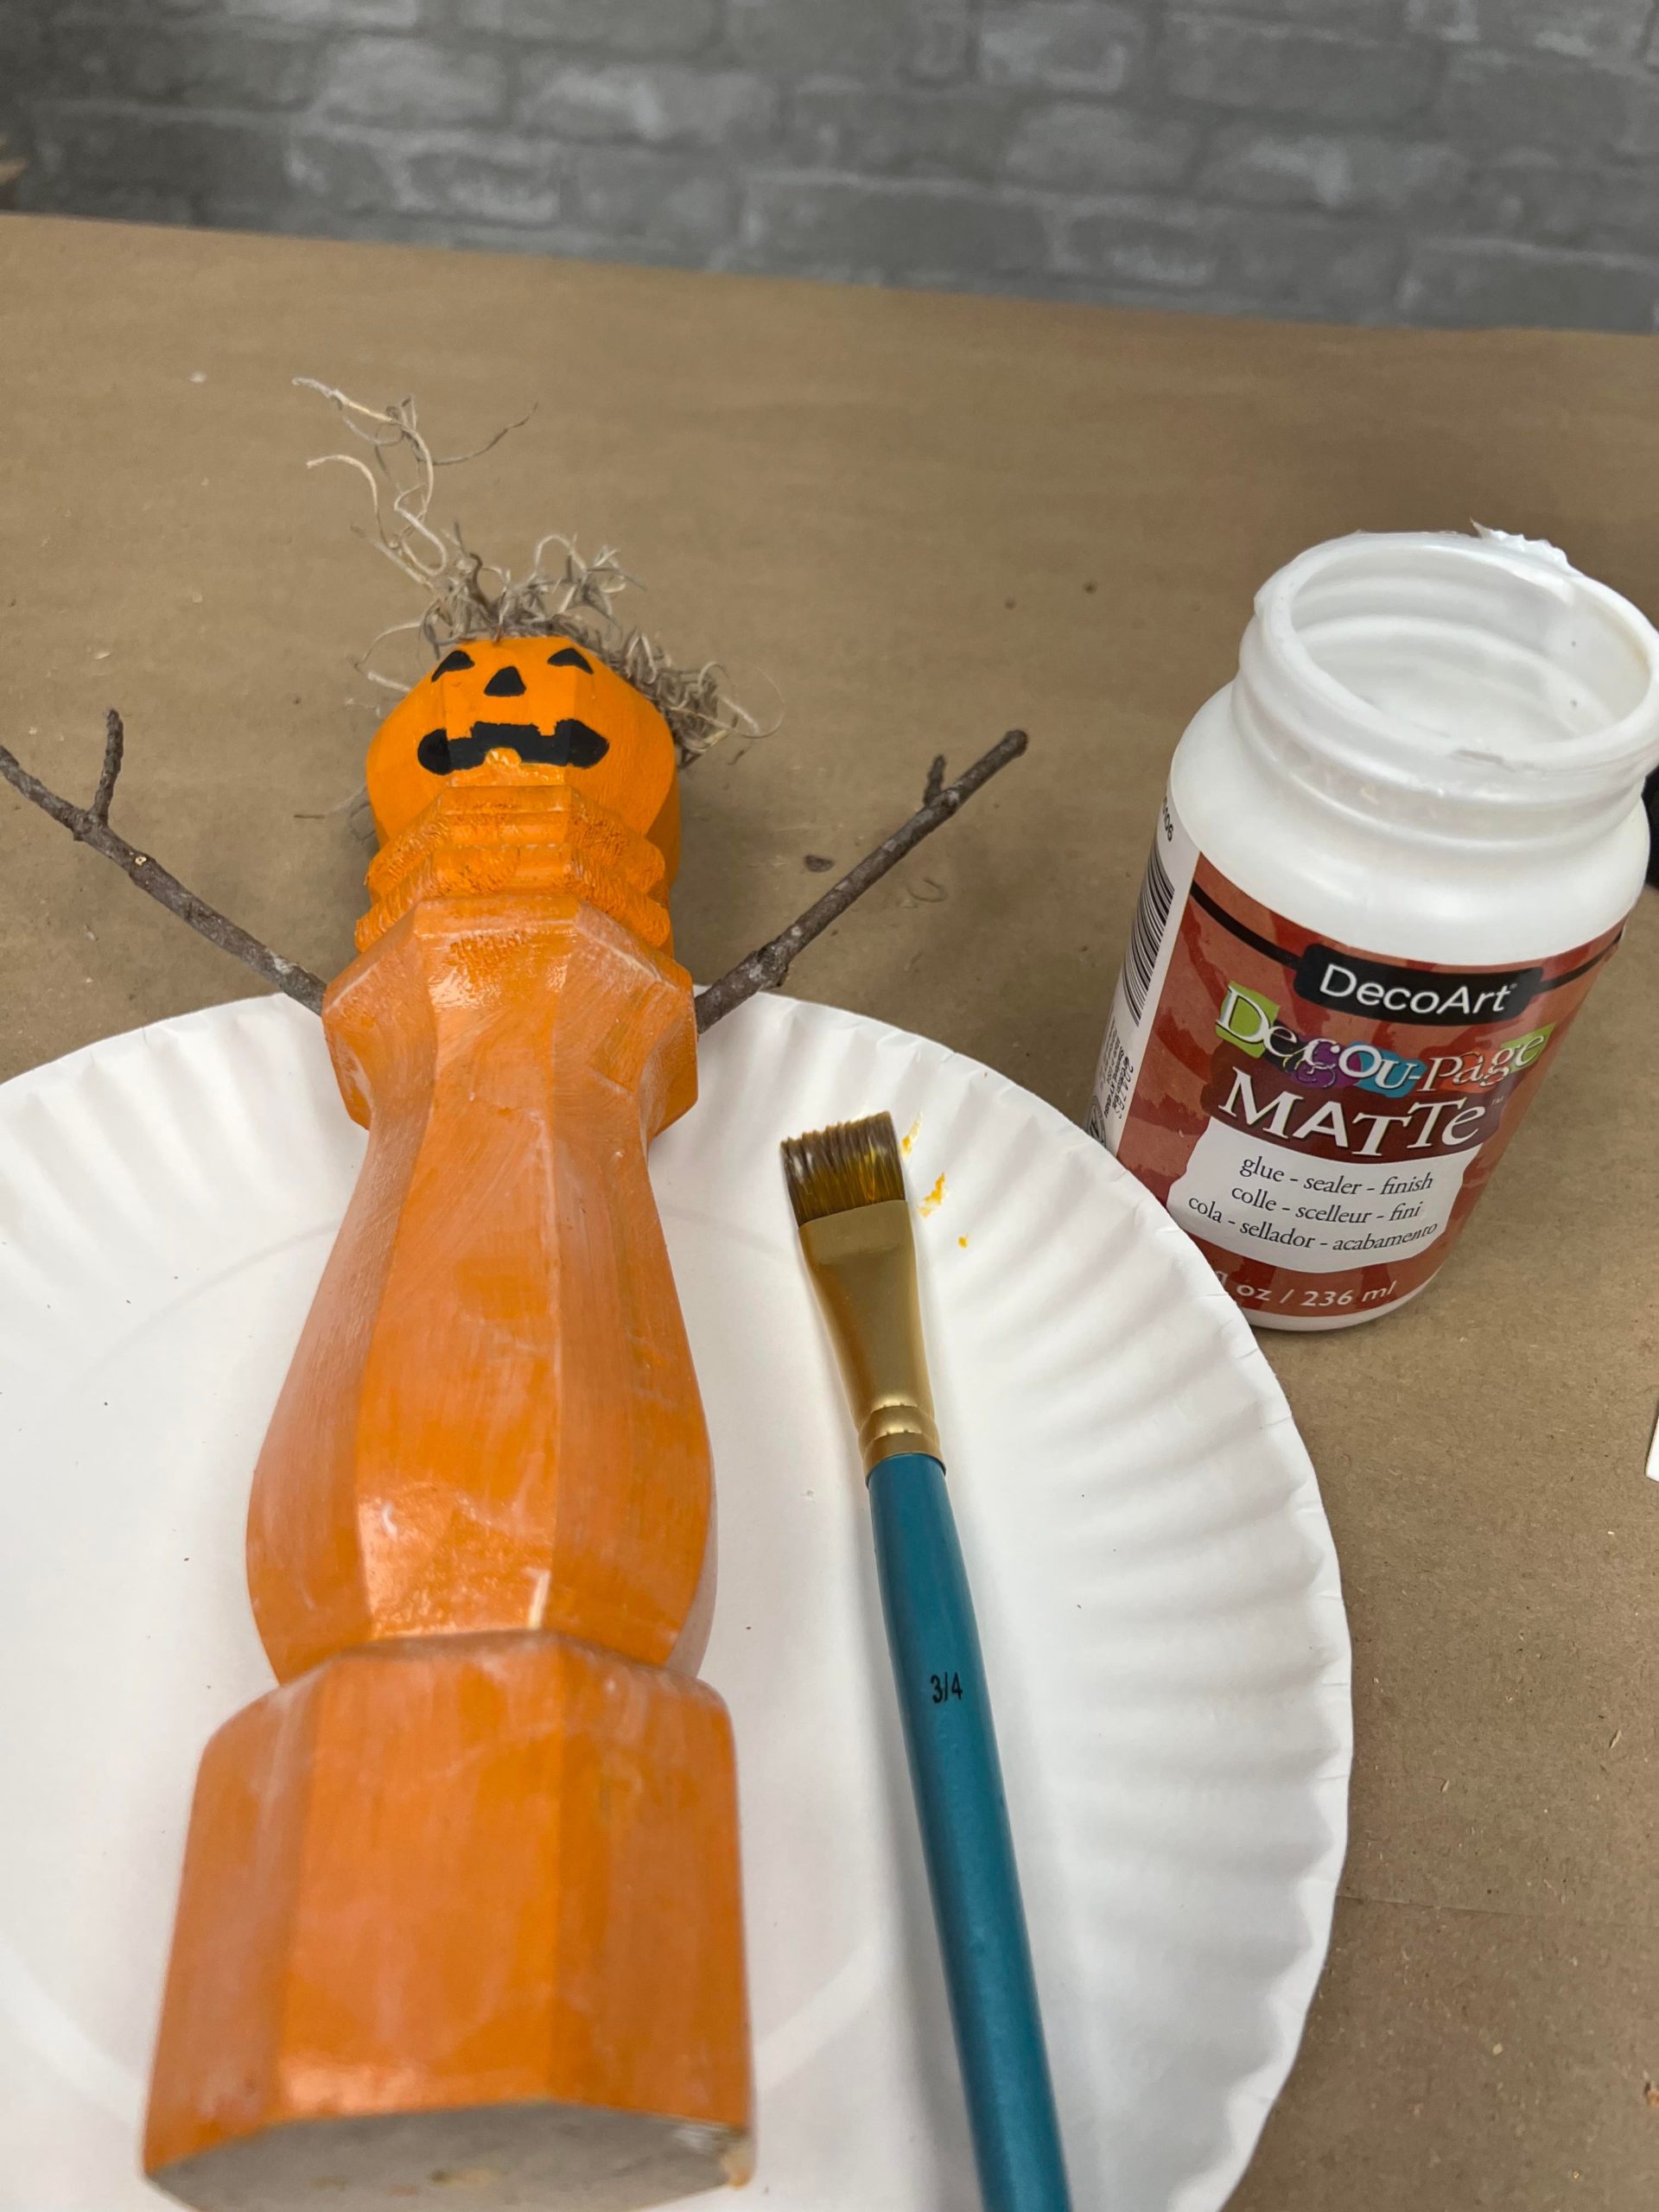
I brushed on the decoupage and then sprinkled on the cinnamon.
