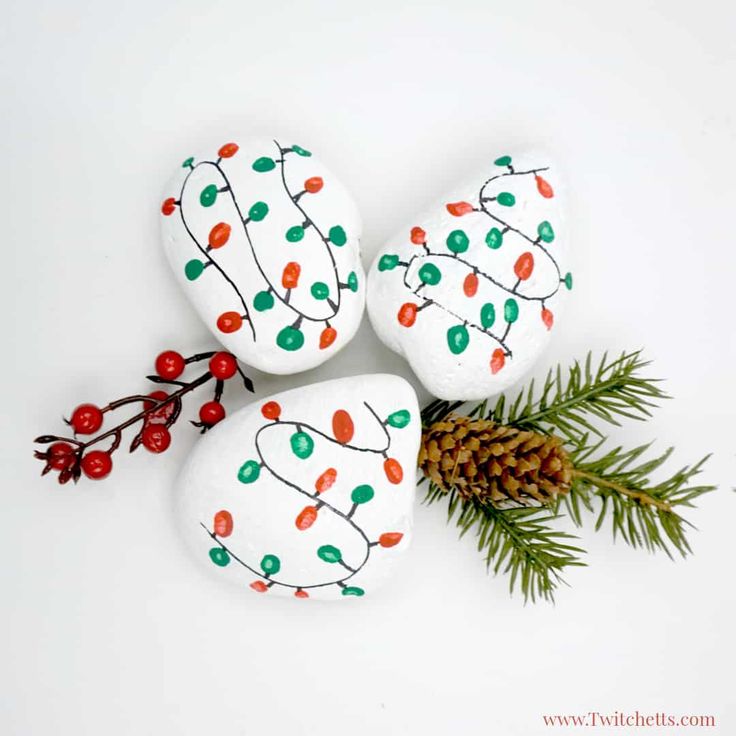
Christmas Lights Rock Art
Oh, Christmas Lights Rock Art is such a dazzling and creative way to spread holiday cheer! Using colorful Christmas lights to illuminate rocks with beautiful patterns and designs truly brings a festive spirit to any outdoor space. It's amazing how the twinkling lights can transform ordinary rocks into stunning pieces of art that shine bright during the holiday season. Whether it's a jolly snowman, a sparkling tree, or a cheerful message like "Joy to the World," Christmas Lights Rock Art is a whimsical and heartwarming way to share the magic of Christmas with everyone who passes by. So go ahead, get creative, and let your holiday spirit shine through this charming and joyful craft!
Supplies for Christmas Painted Rocks
- Rocks.
- Paint. White and any colors for lights.
- Sharpie.
- Foam Brush.
- Cotton Swabs.
- Mod Podge.
- Acrylic Sealer. (If you are planning on hiding them outdoors)
How to make holiday lights on rocks
Here are step by step instructions to make Christmas lights rock art. You can see it all in action in the video below.
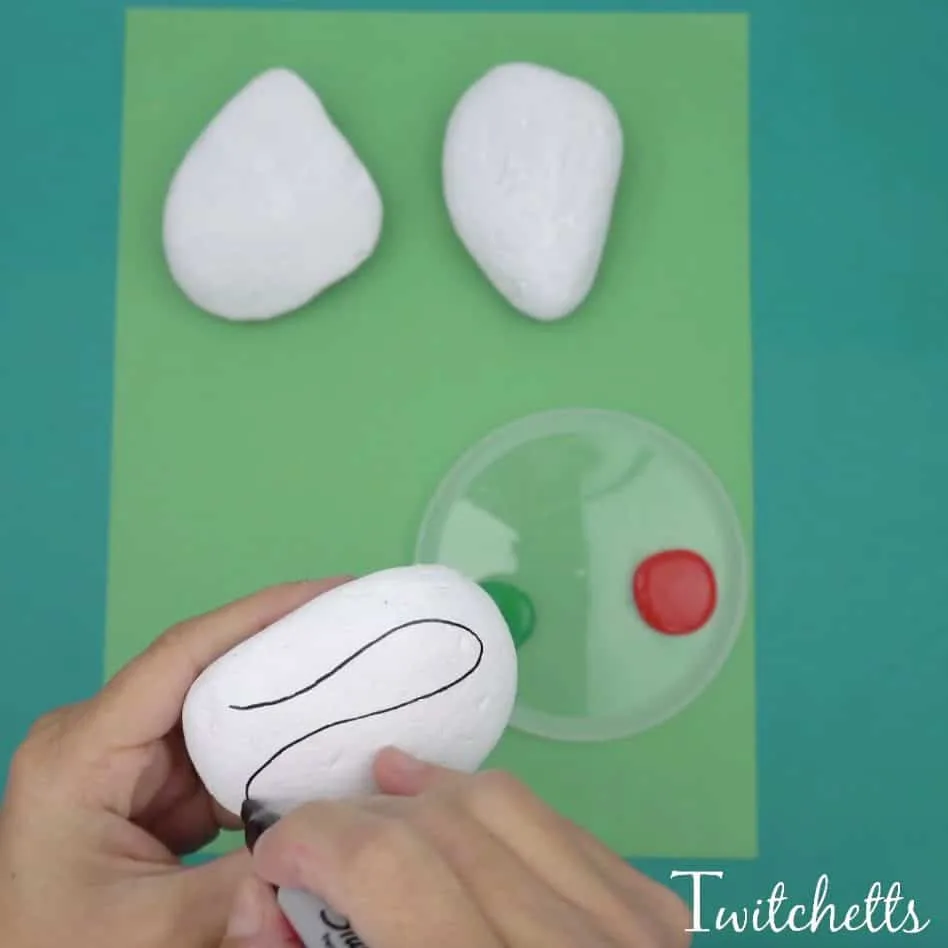
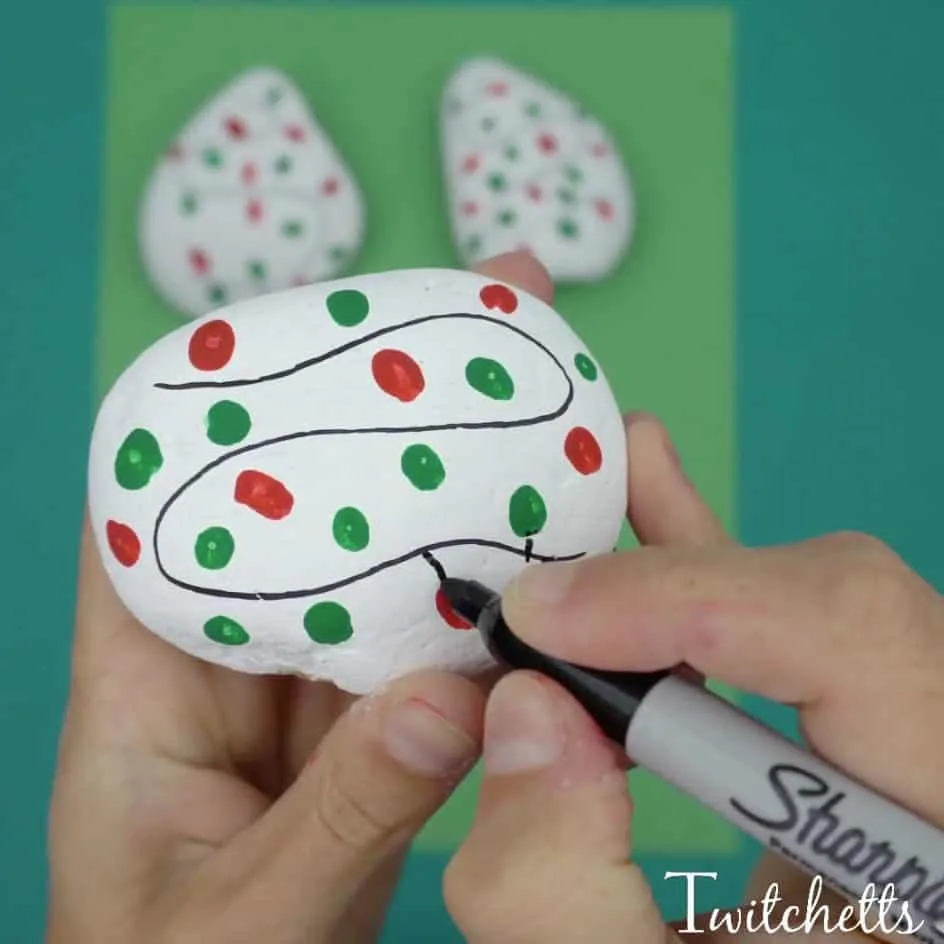
Always make sure to wash and dry your rocks. For these Christmas rocks, we started with a base coat of white. This way the lights pop a bit more on the rock. Once the rocks are dry, use the Sharpie to create a string for the lights. They can go any direction you like!
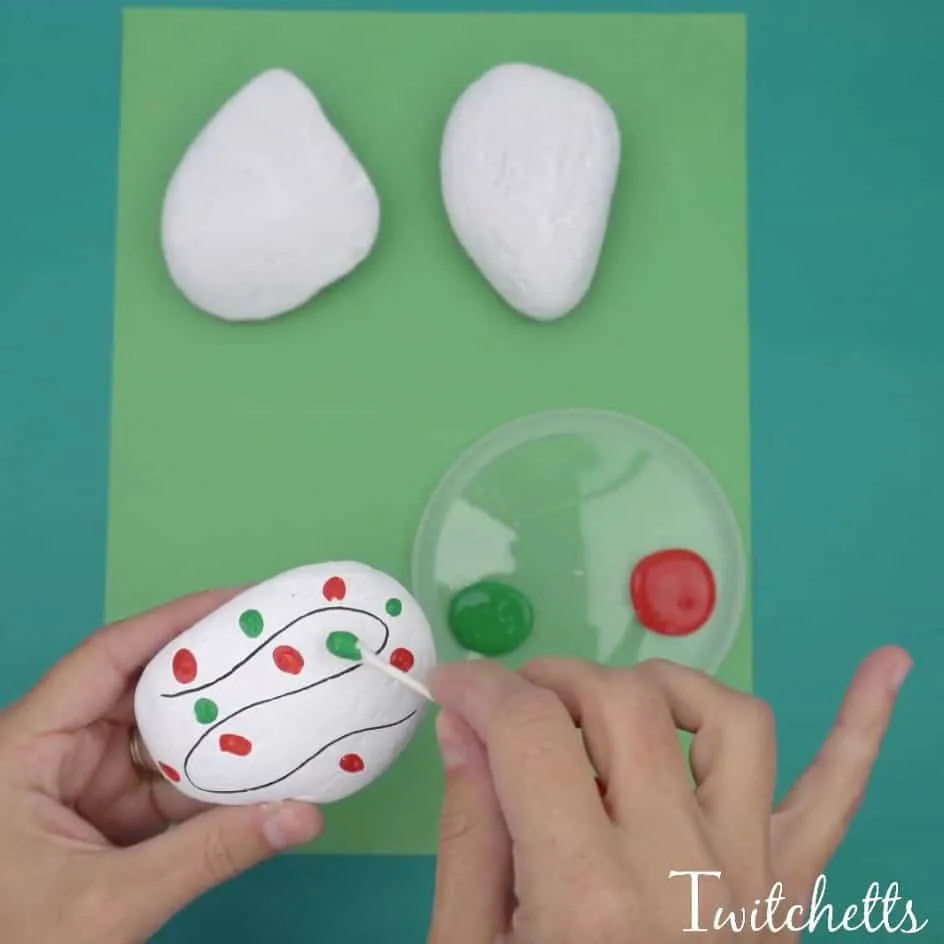
Using the cotton swab dab the lights along the line.
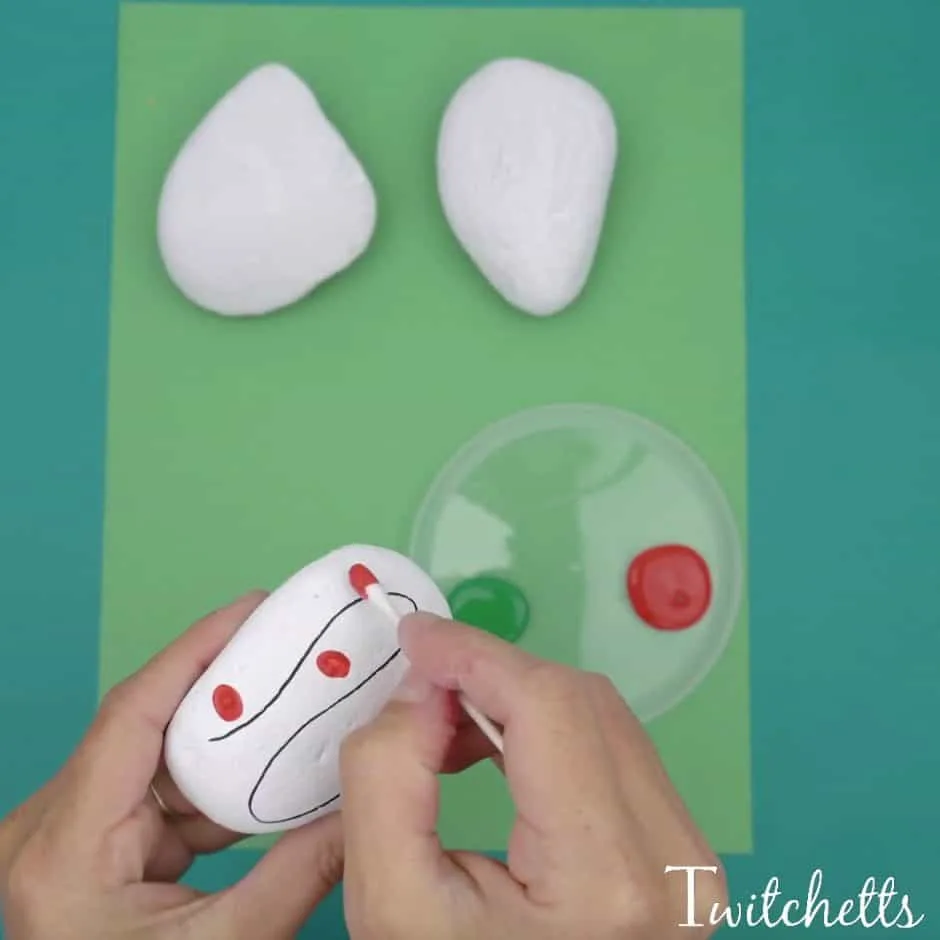
First, we added red, then green! Make sure they are a little bit away from the line.
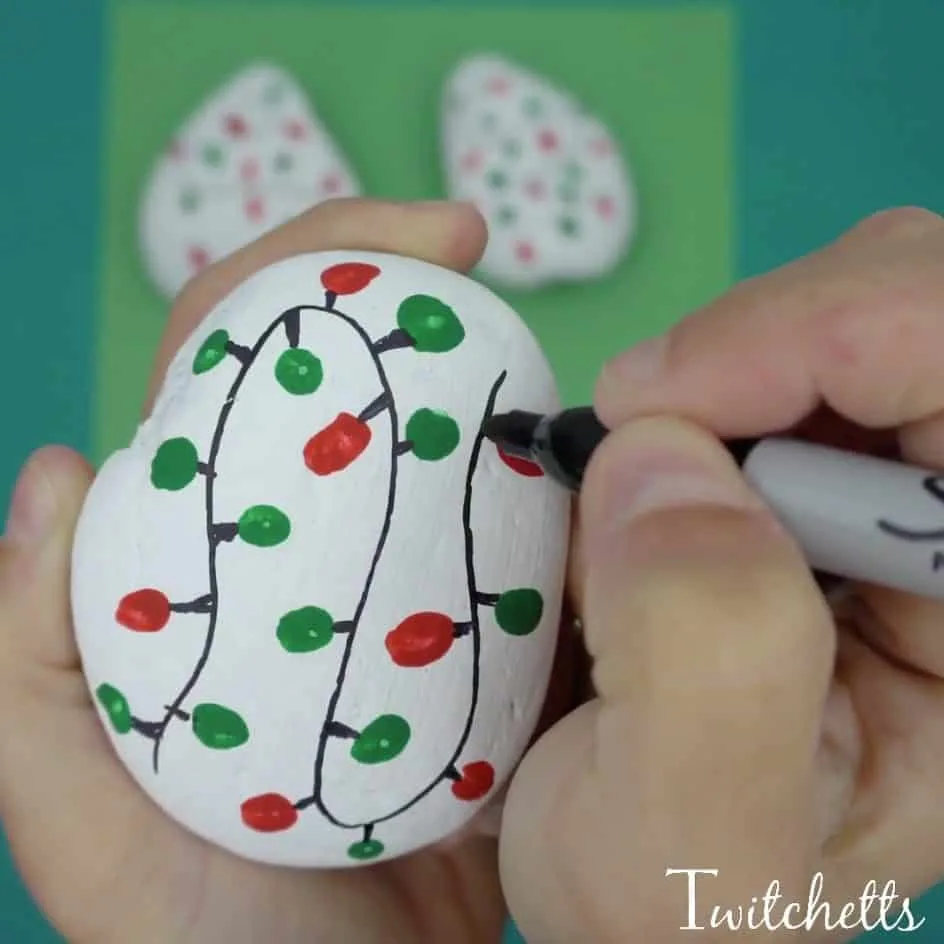
Once the lights are dry, go back in with the Sharpie to attach the bulbs to the string.
The bulbs can be on both sides of the string.
TIP when using a permanent marker on rocks you have to seal them with Mod Podge before spraying with a sealer. Otherwise, the marker will run.