Sign in Create account

Make Tissue Paper Flowers

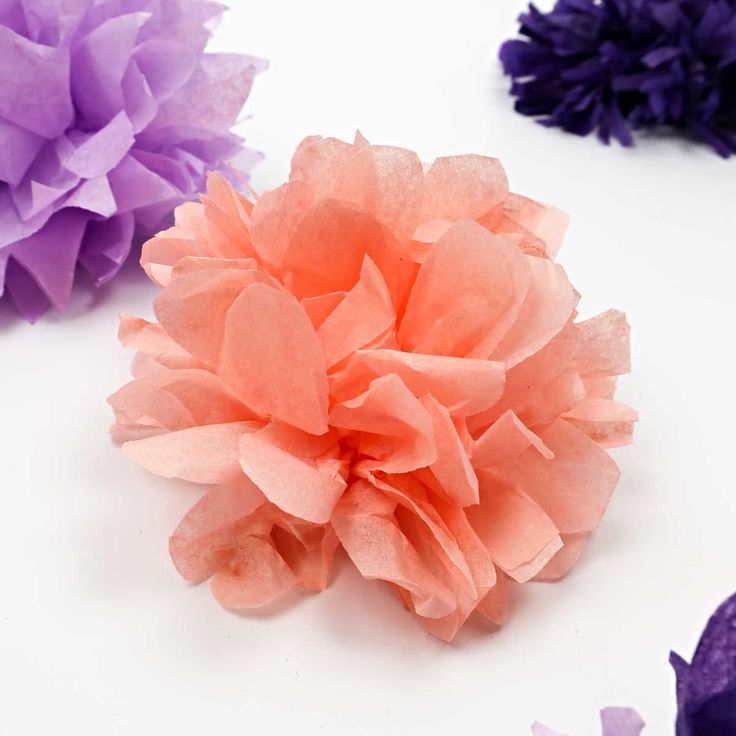
Creating DIY tissue paper flowers is a delightful and simple way to add a pop of color and cheer to any occasion. All you need is some colorful tissue paper, scissors, and a touch of creativity! By carefully folding and cutting the tissue paper, you can craft beautiful and vibrant flowers that can be used as decorations for parties, weddings, or simply brightening up your living space. Whether you're a crafting enthusiast or a beginner looking for a fun project, making tissue paper flowers is a lovely way to express your creativity and bring a touch of whimsy to your surroundings. Give it a try and enjoy the creative process!
Make Tissue Paper Flowers

Supplies and Tools You’ll Need

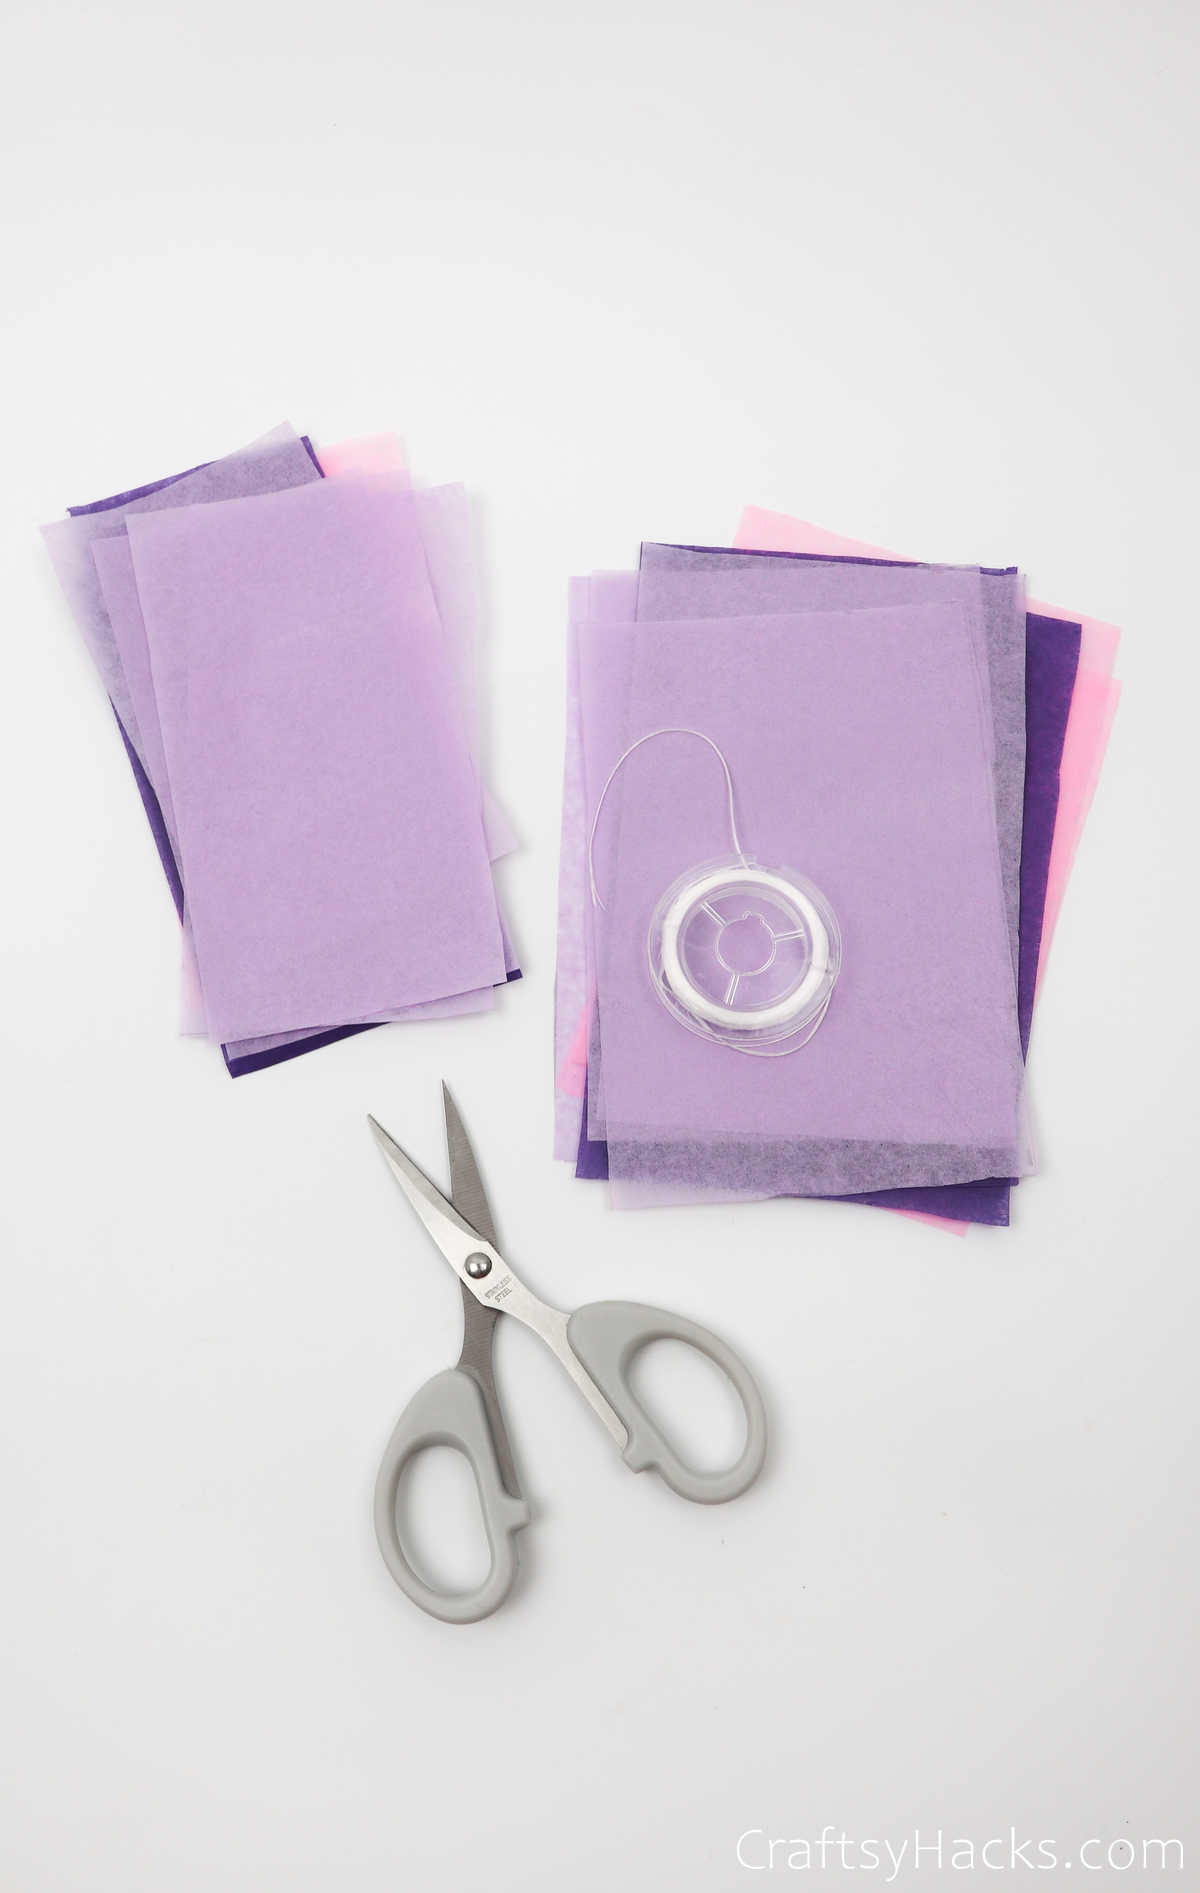
So, without further ado, take a look at the supplies you’ll need for this project.
For a small flower:
7x tissue paper pieces (3”x5”)
For a bigger flower:
8x tissue paper pieces (4”x6”)
Scissors
Thread

Make Tissue Paper Flowers

How to Make Tissue Paper Flowers

The key to making these already amazing flowers even more so is to play around with the colors you’re planning to use. Make sure to layer the petals with different shades and hues for the best possible outcome.

Step 1
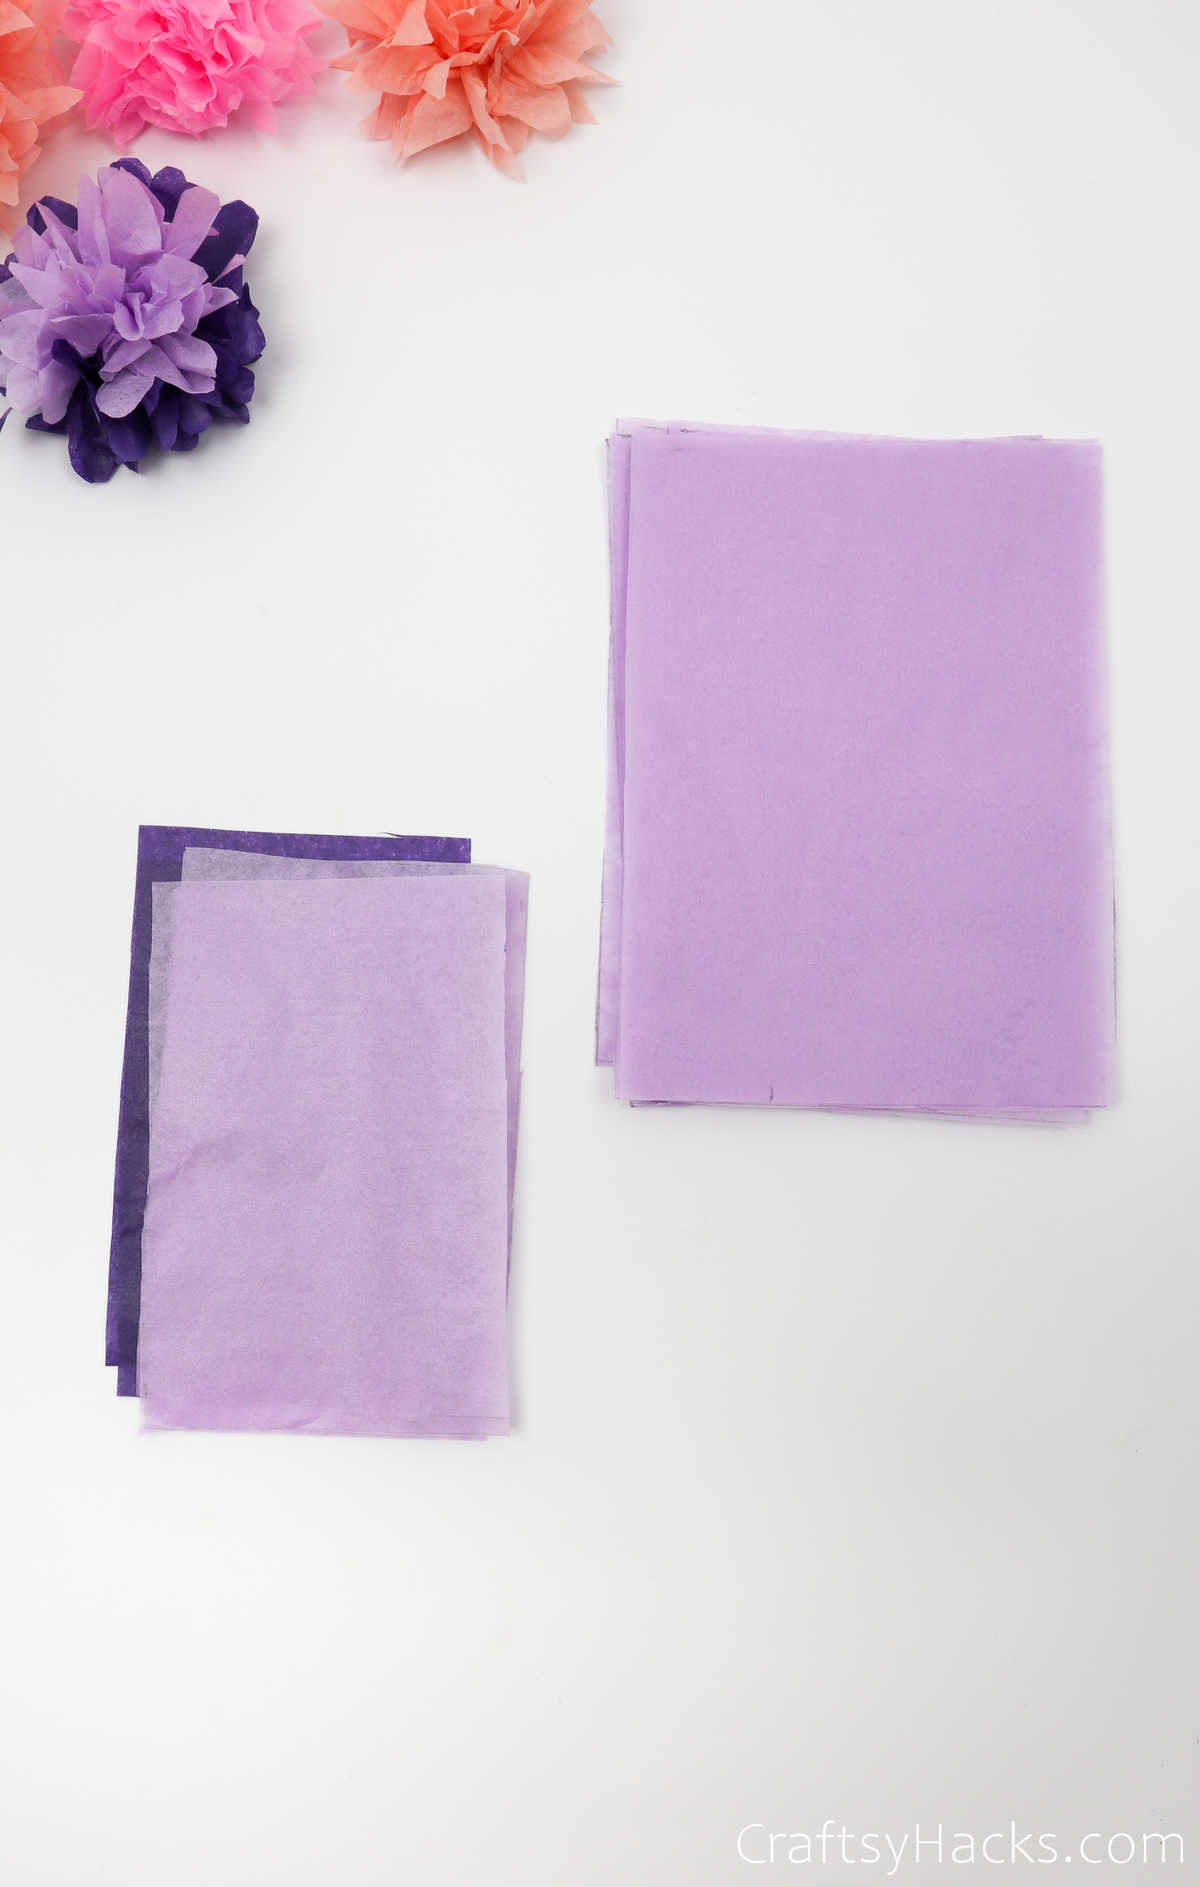
The first order of business is to pick out your tissue papers and what color(s) you want them to be. You will be placing them over each other, effectively stacking them and aligning them.

So, feel free to experiment and play around with the color at this juncture. Also, remember that the more layers you add, the thicker the stack and the fluffier or more lush the flowers turn out.

Make Tissue Paper Flowers

Step 2

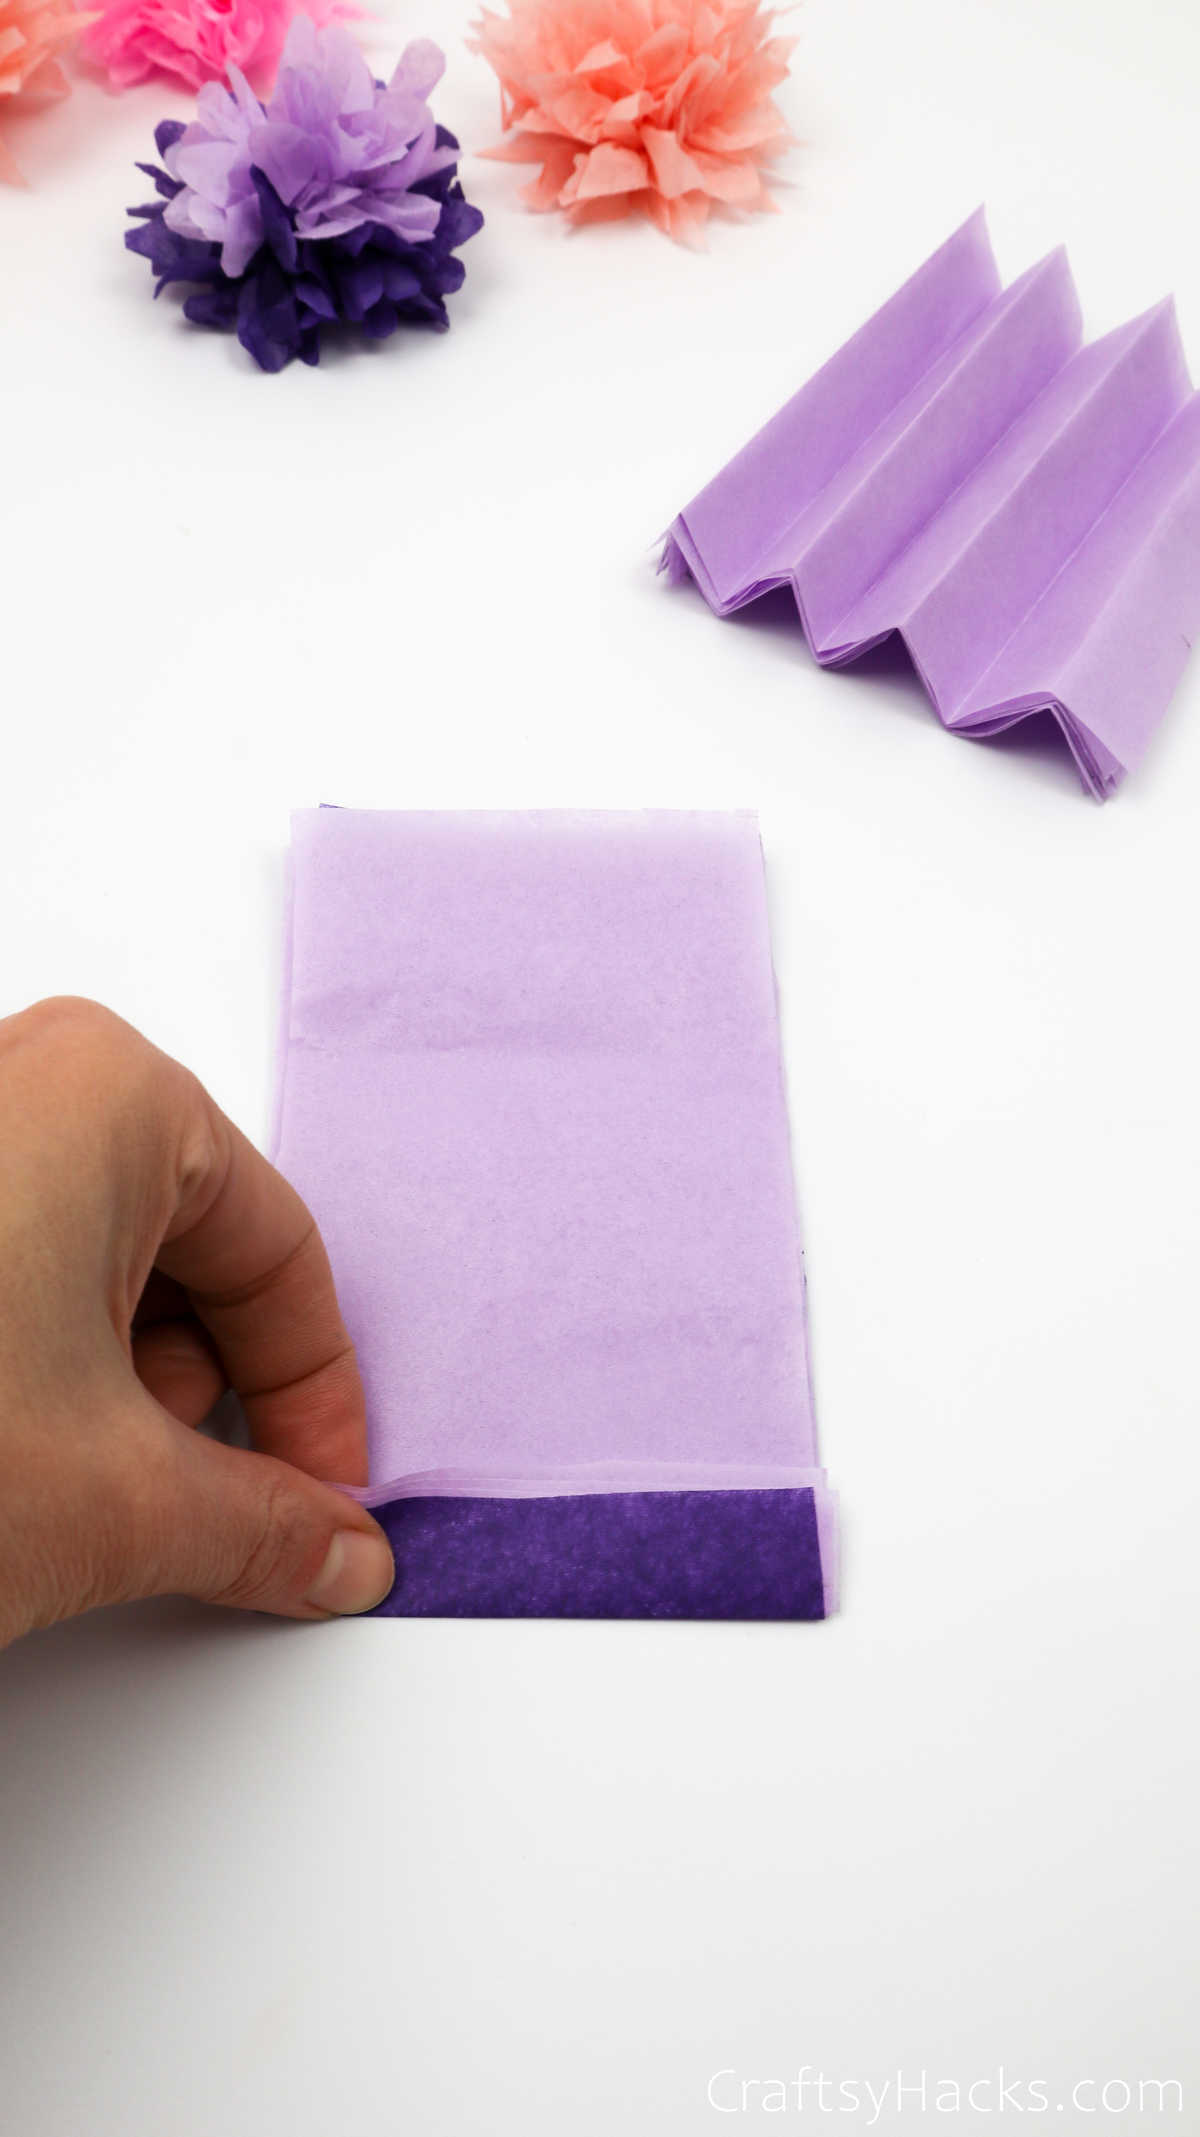
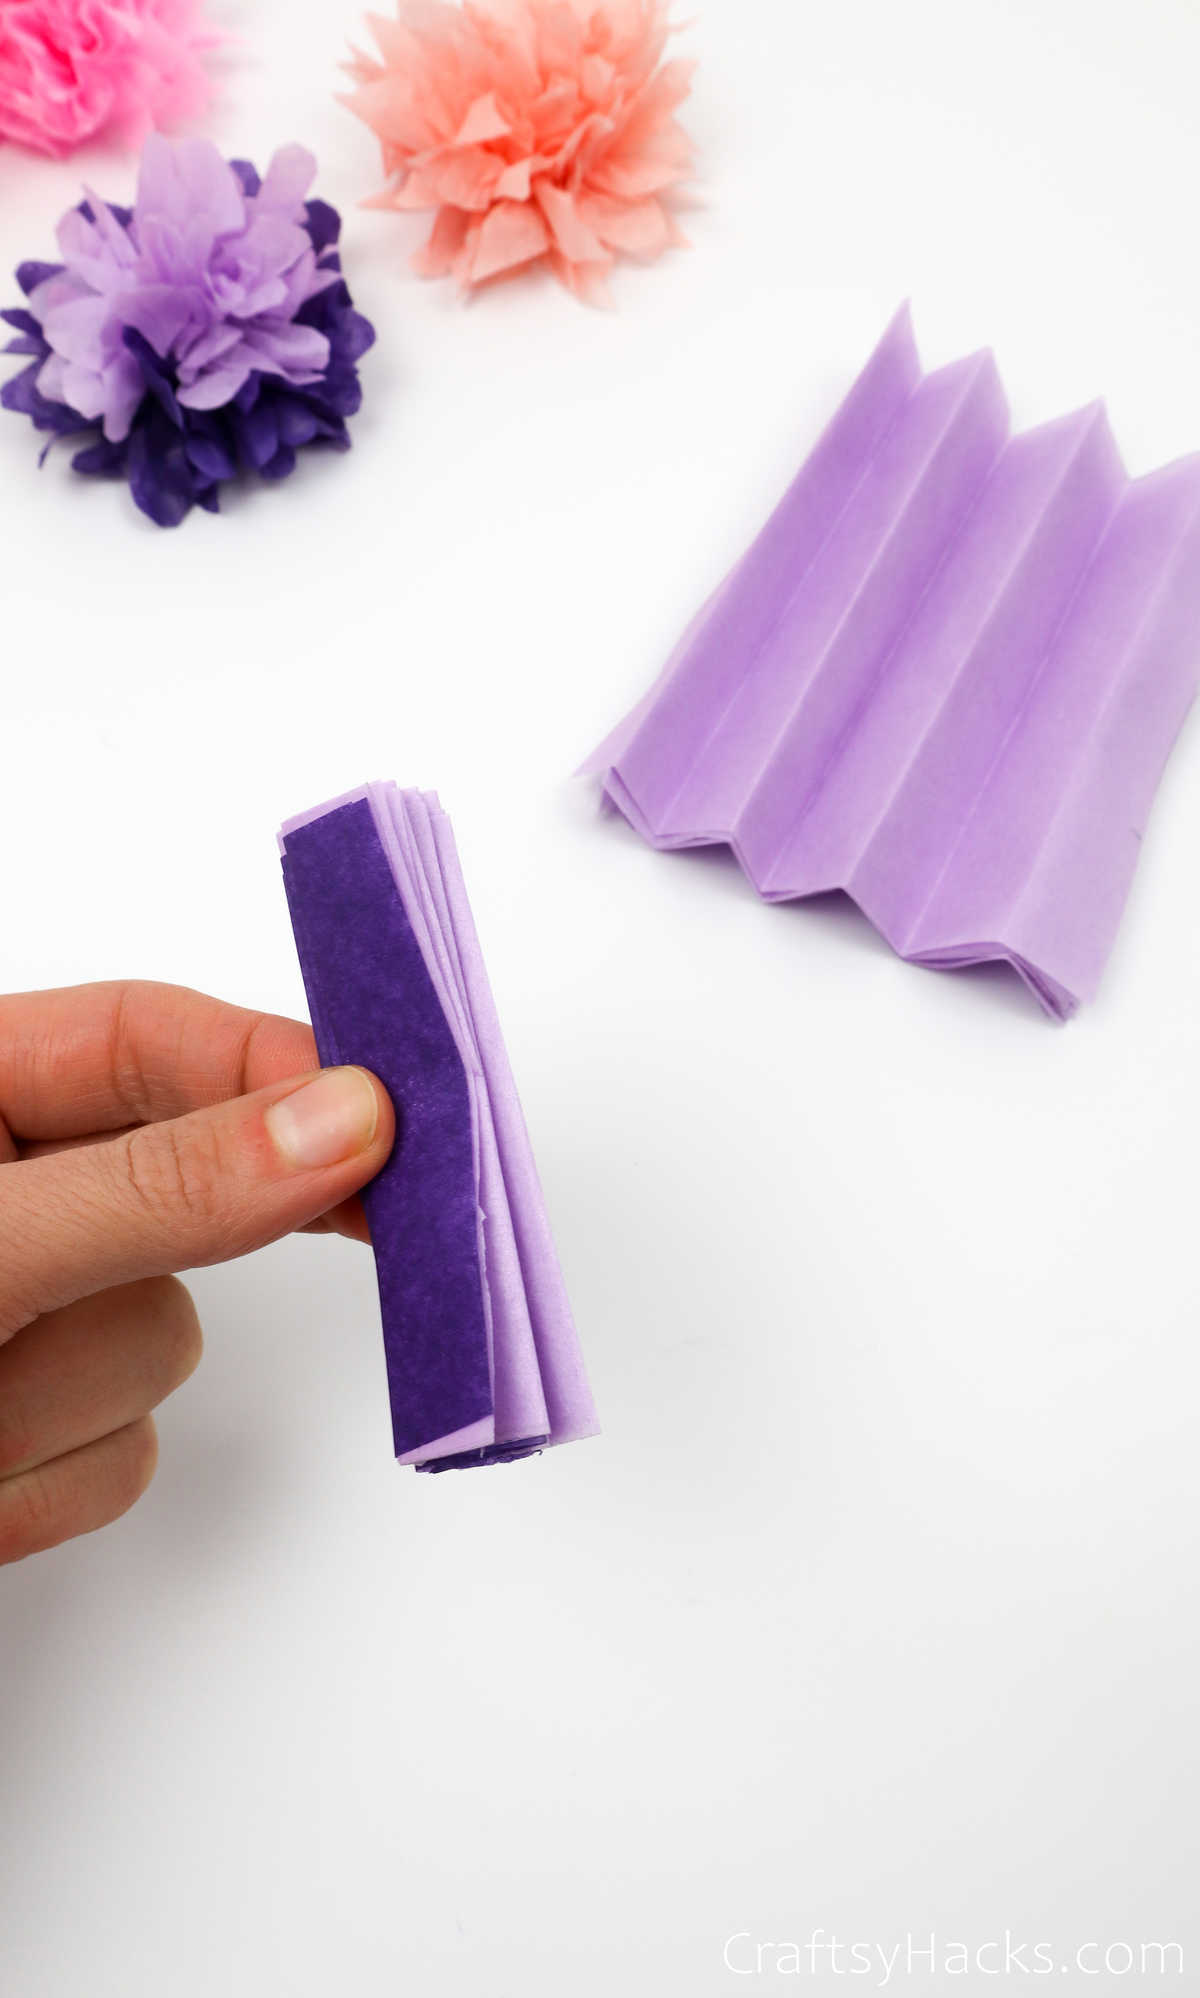
Once you’ve aligned all the layers of tissue paper, grab one end of the entire stack and start folding inwards. You’ll want to fold the sheets like you would fold paper to make a fan, which means you want an evenly corrugated shape, as seen here.

Make Tissue Paper Flowers

Go ahead and fold all your stack into these fan-like structures.
Make Tissue Paper Flowers

Step 3

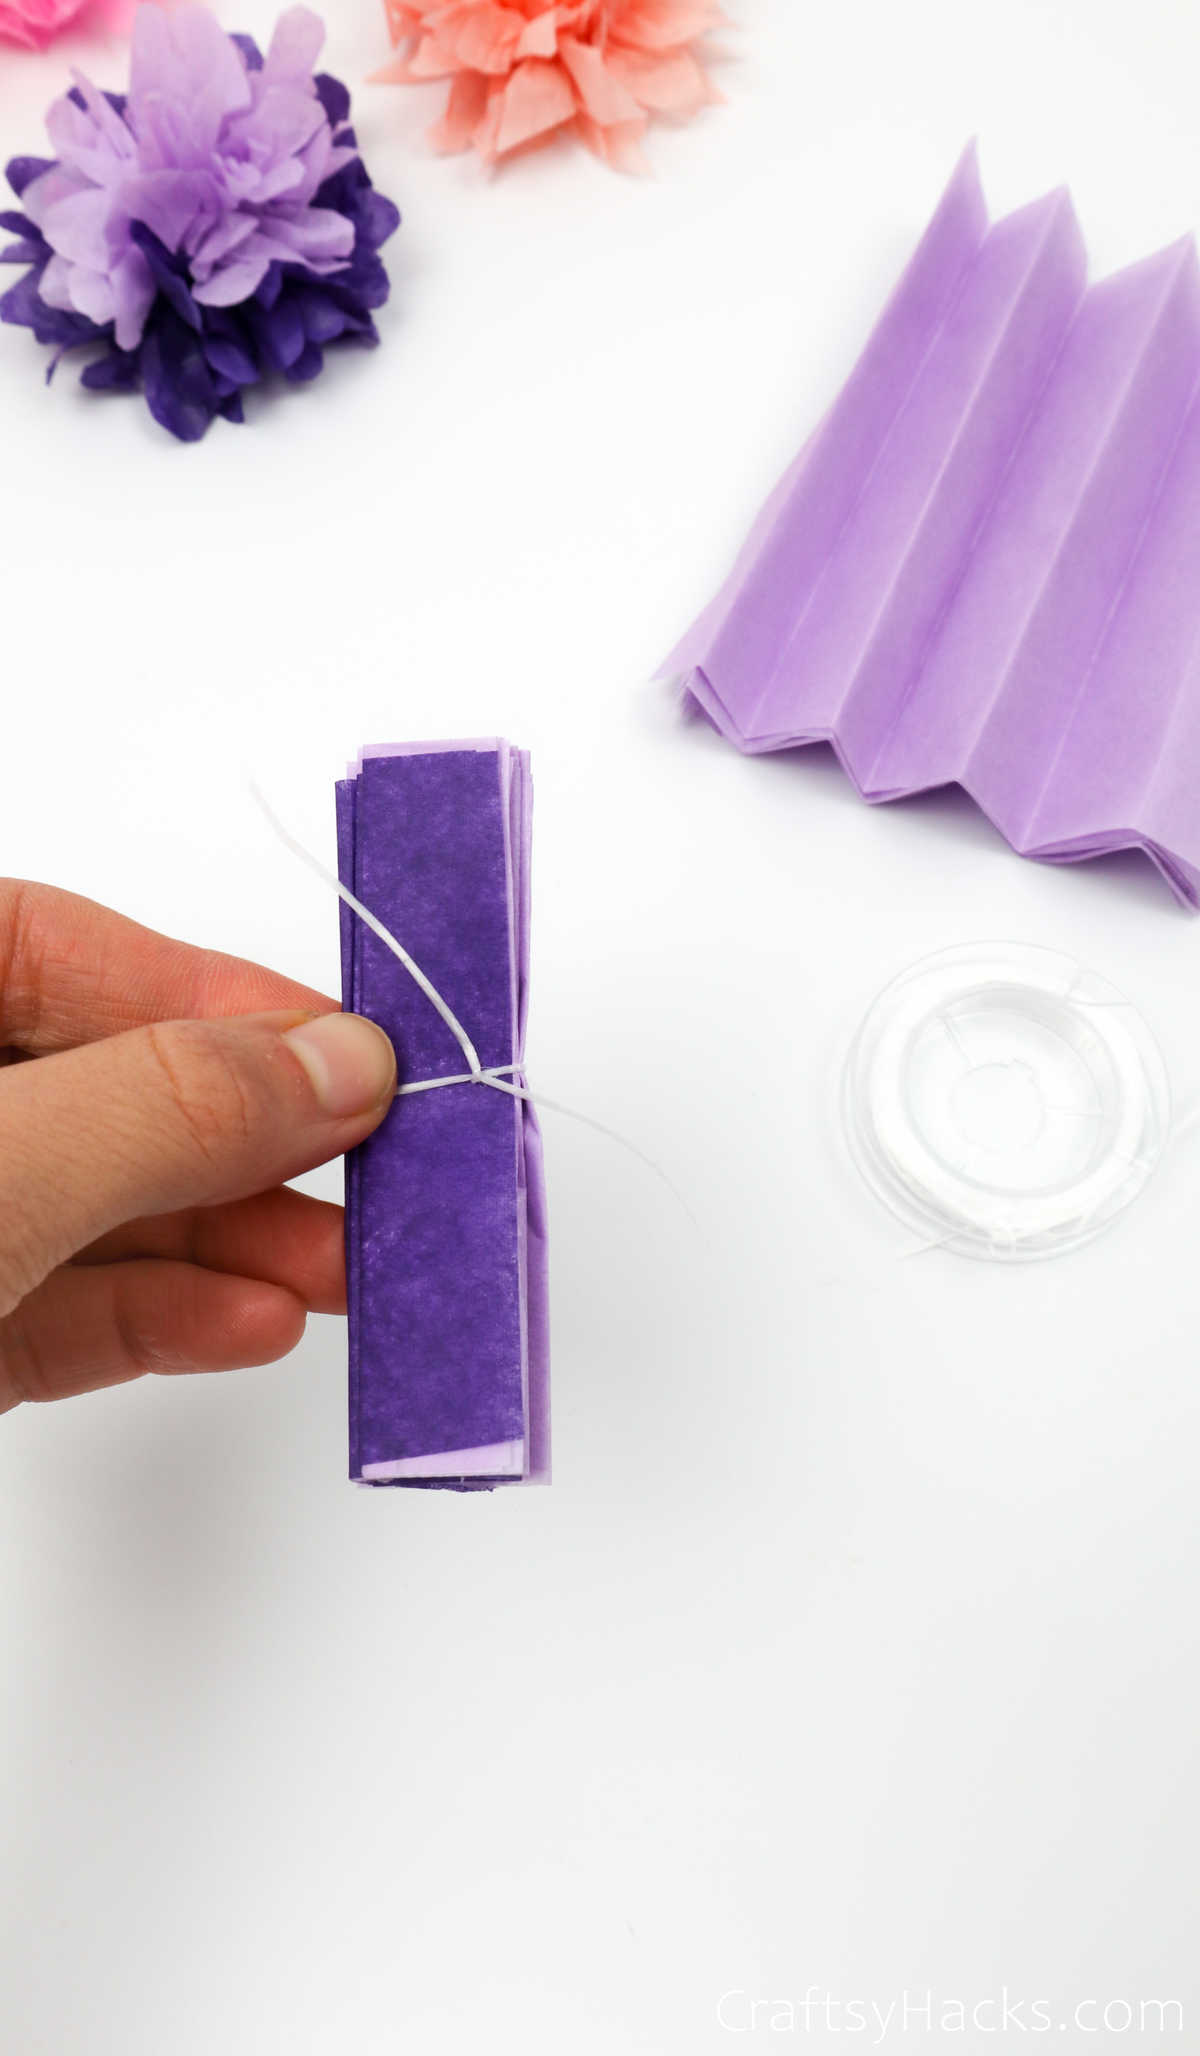
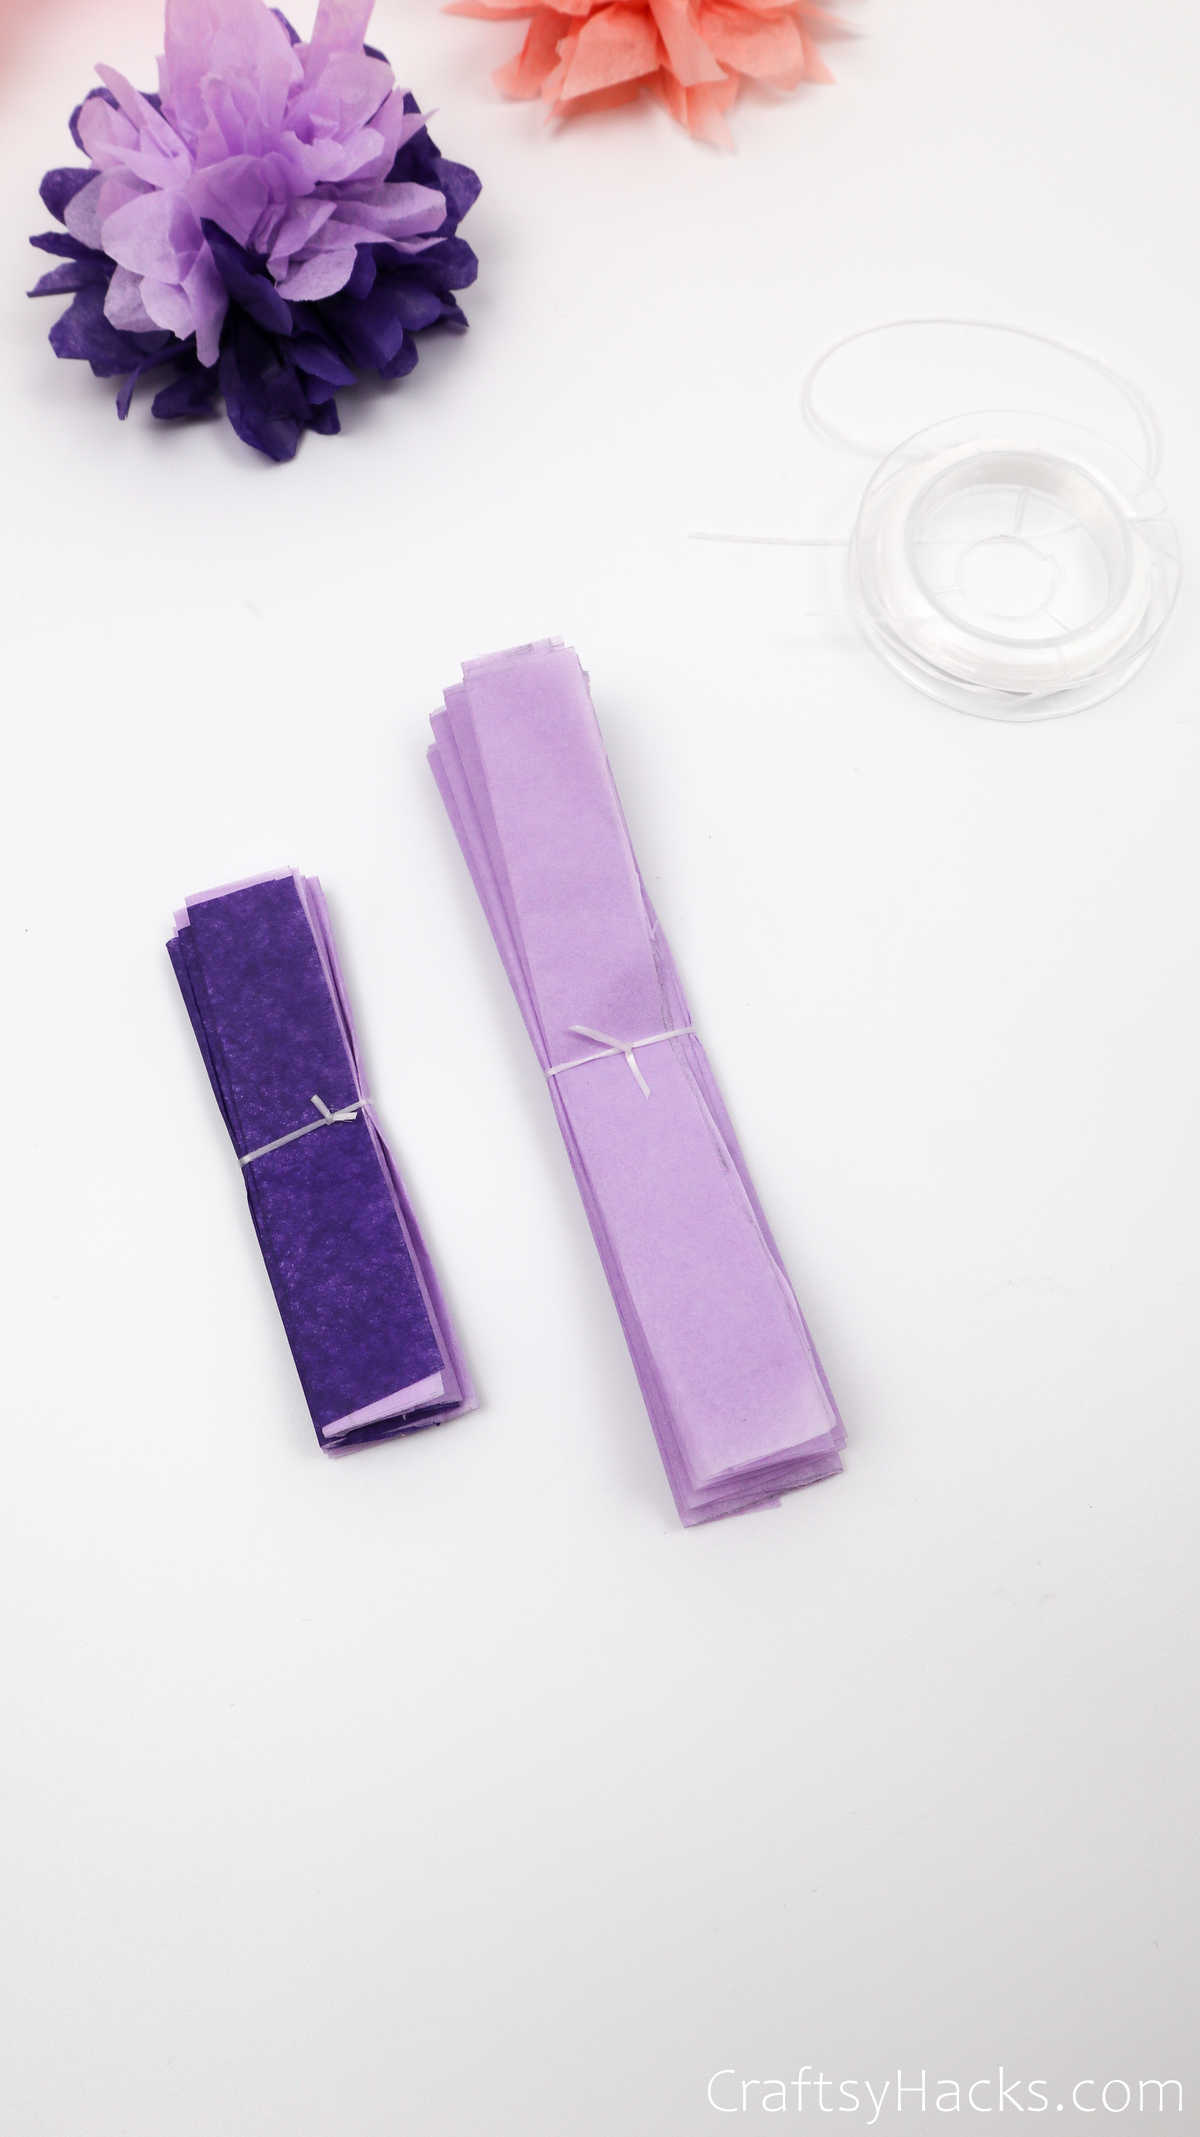
The next step is to grab a bit of thread and tie it around the middle of the folded sheets.

Make Tissue Paper Flowers

Tie all the different stacks you’ve folded in the same way.
Make Tissue Paper Flowers

Step 4

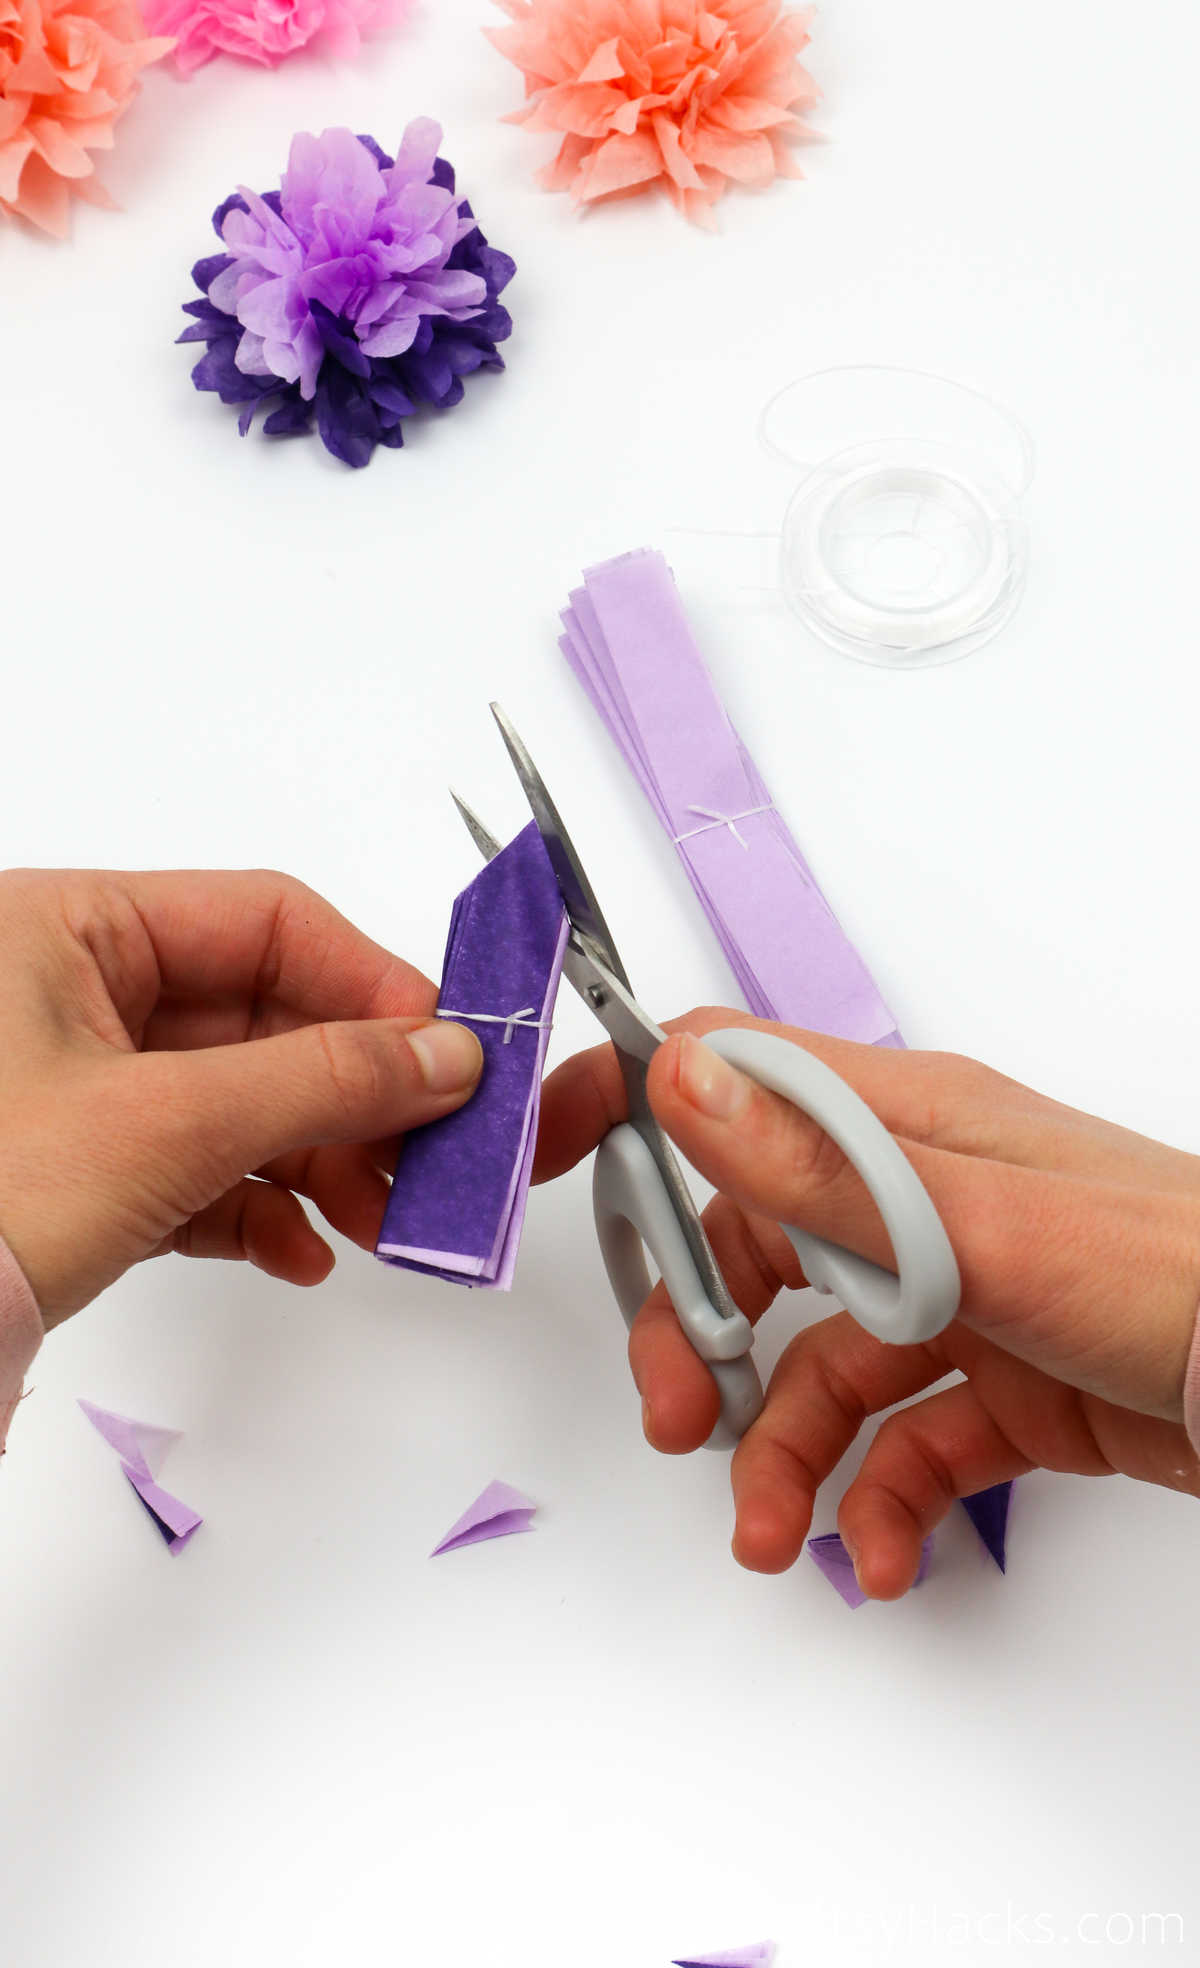
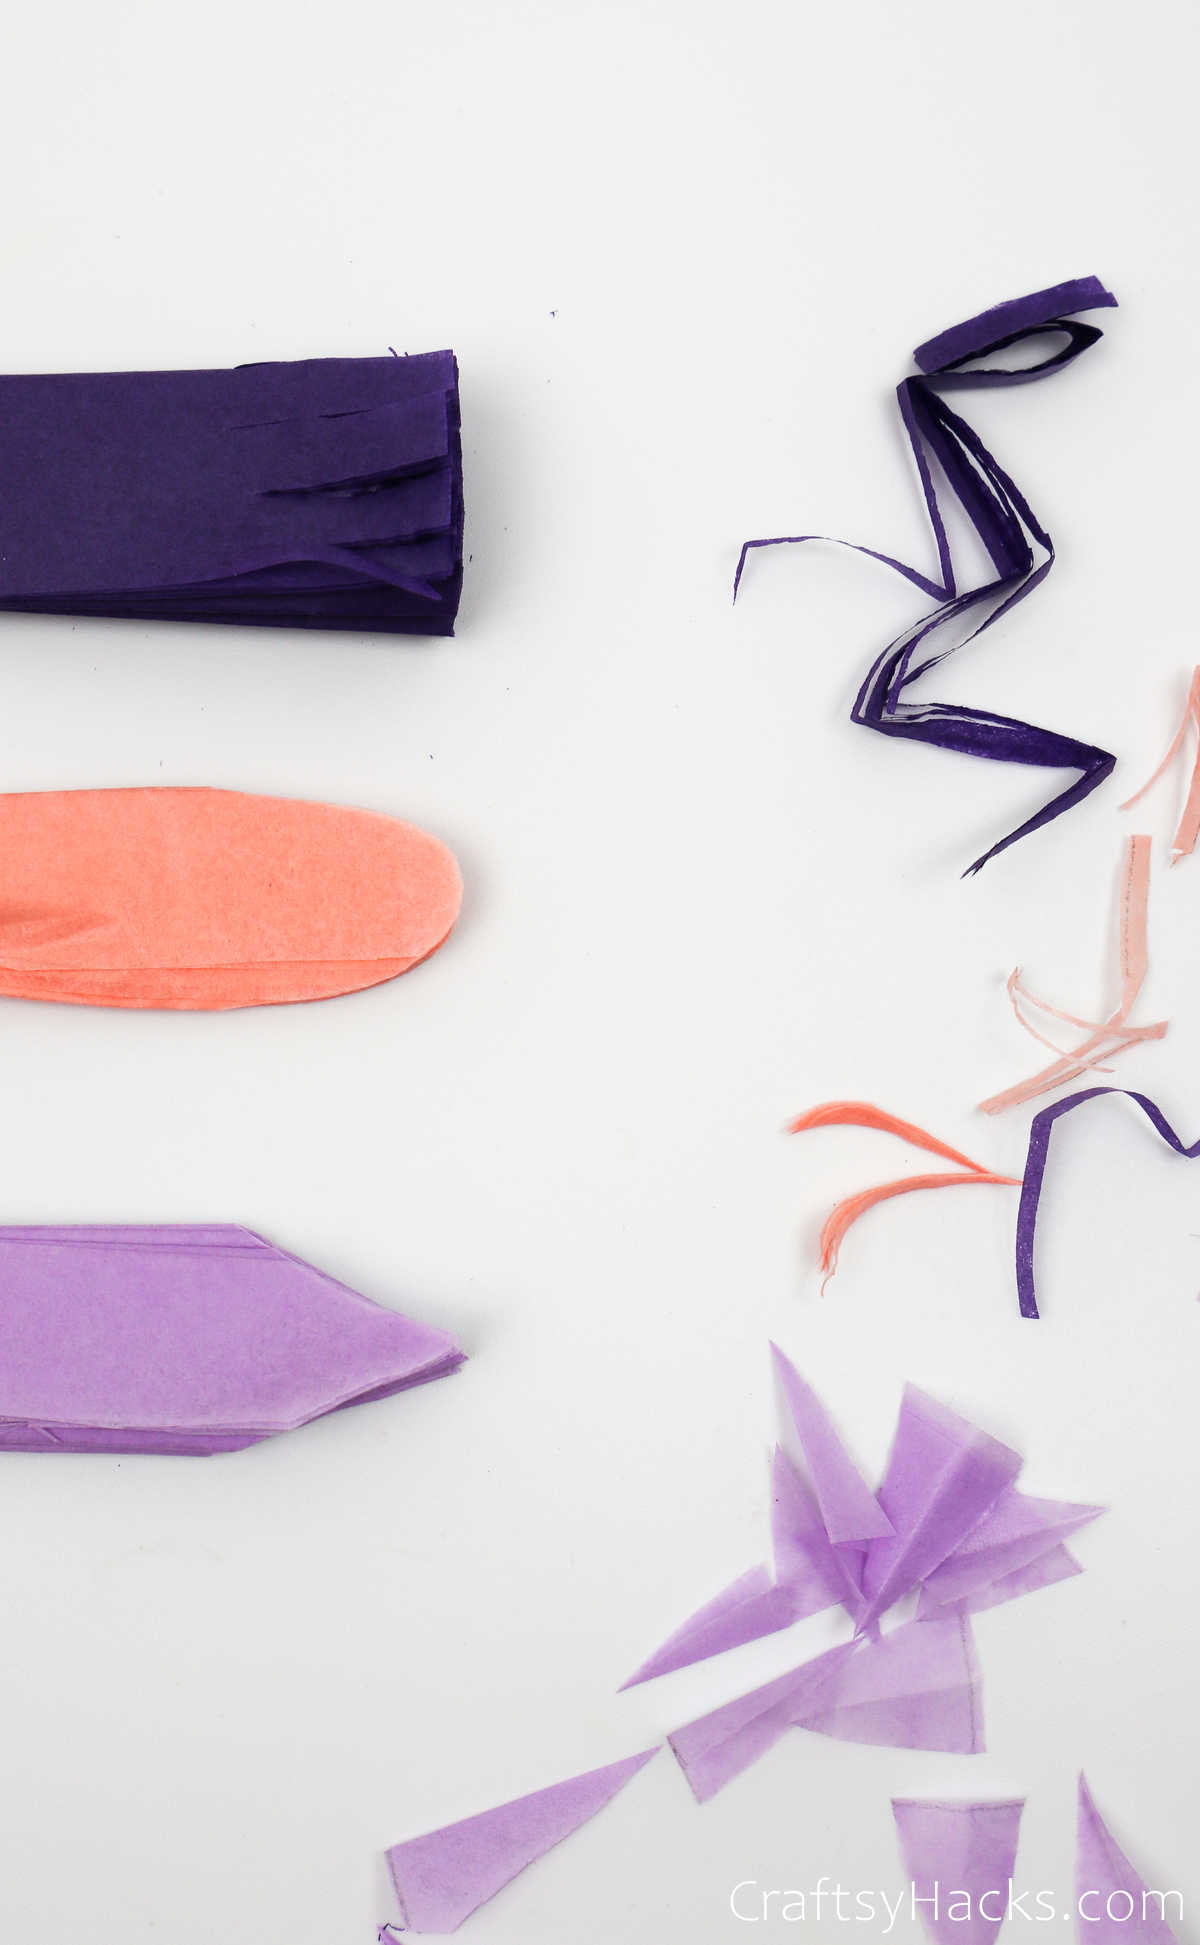
Grab a pair of scissors and cut the edges of each stack. You can get a little creative with this step, actually. Depending on how you cut the paper, your flowers will take on different shapes when you unfurl the paper.

Make Tissue Paper Flowers

For example, you can cut the stacks in a tapering V, a curved U, or even into stripped ends, as seen below.
Make Tissue Paper Flowers

Step 5

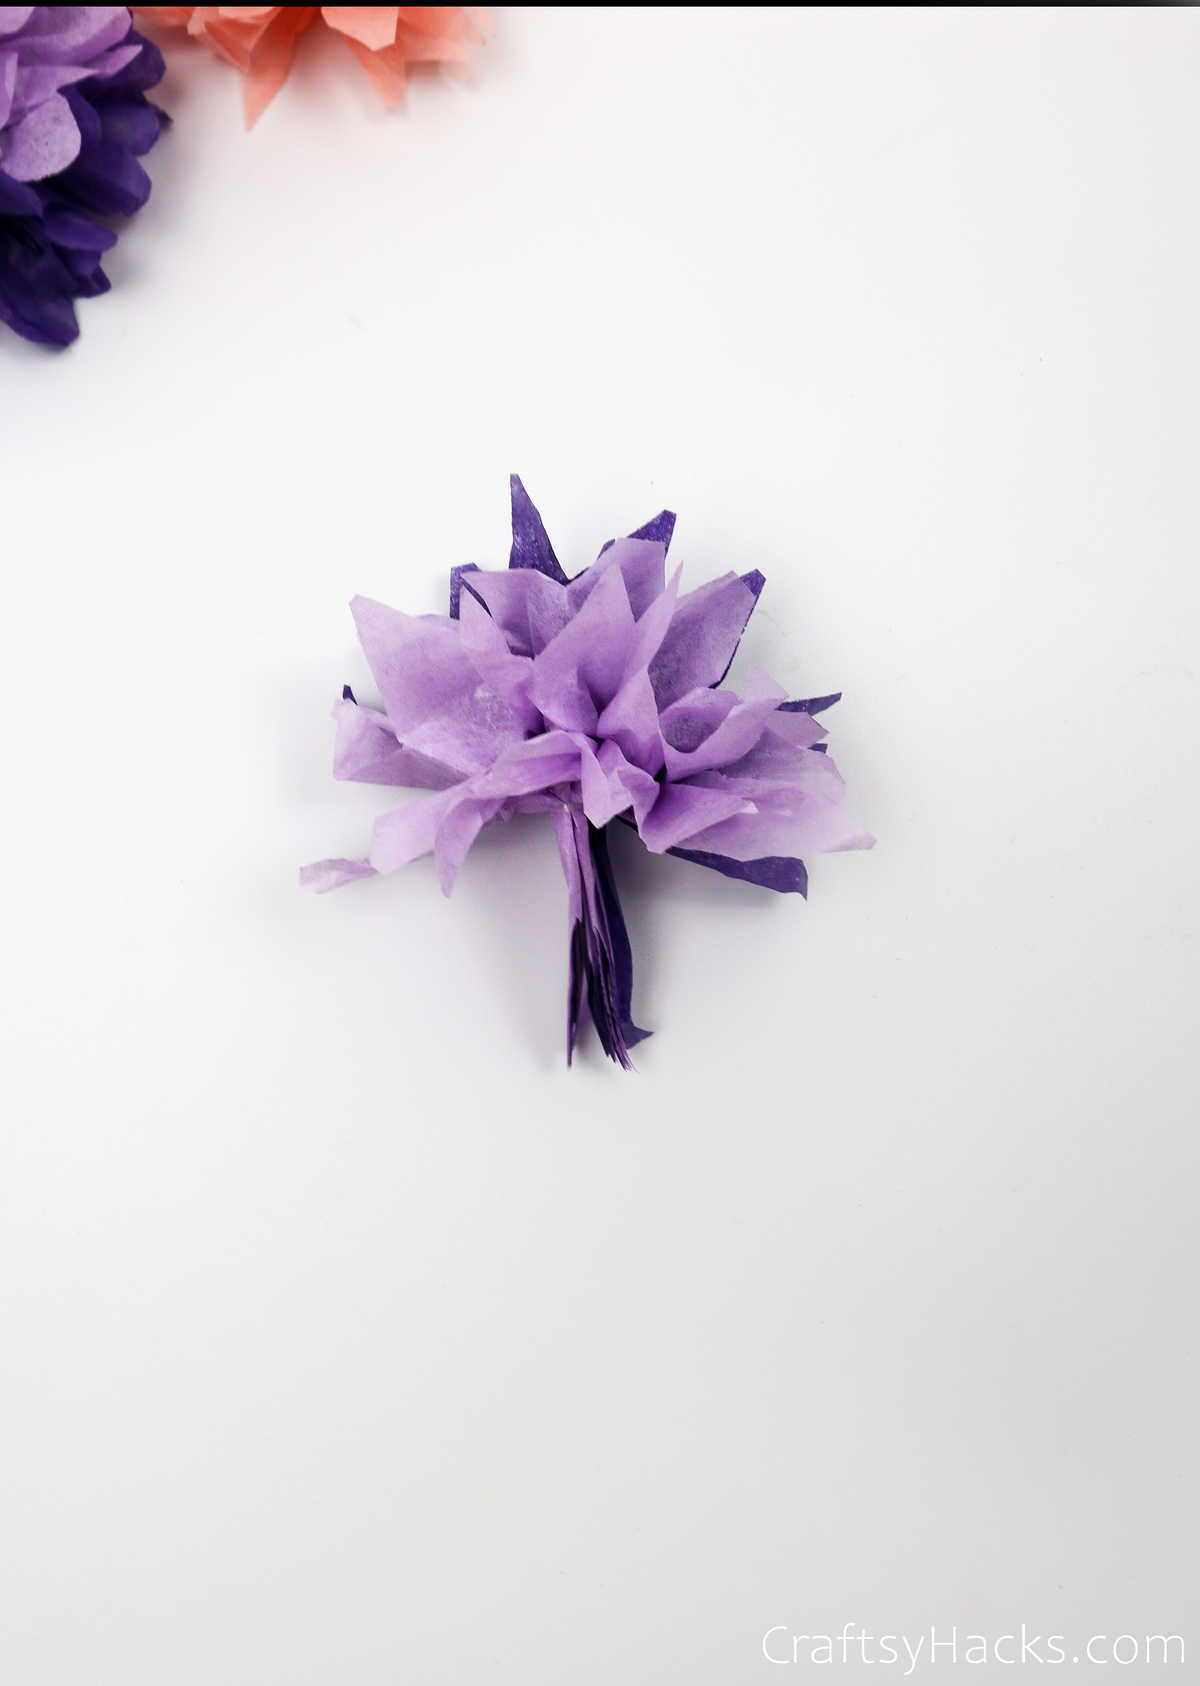
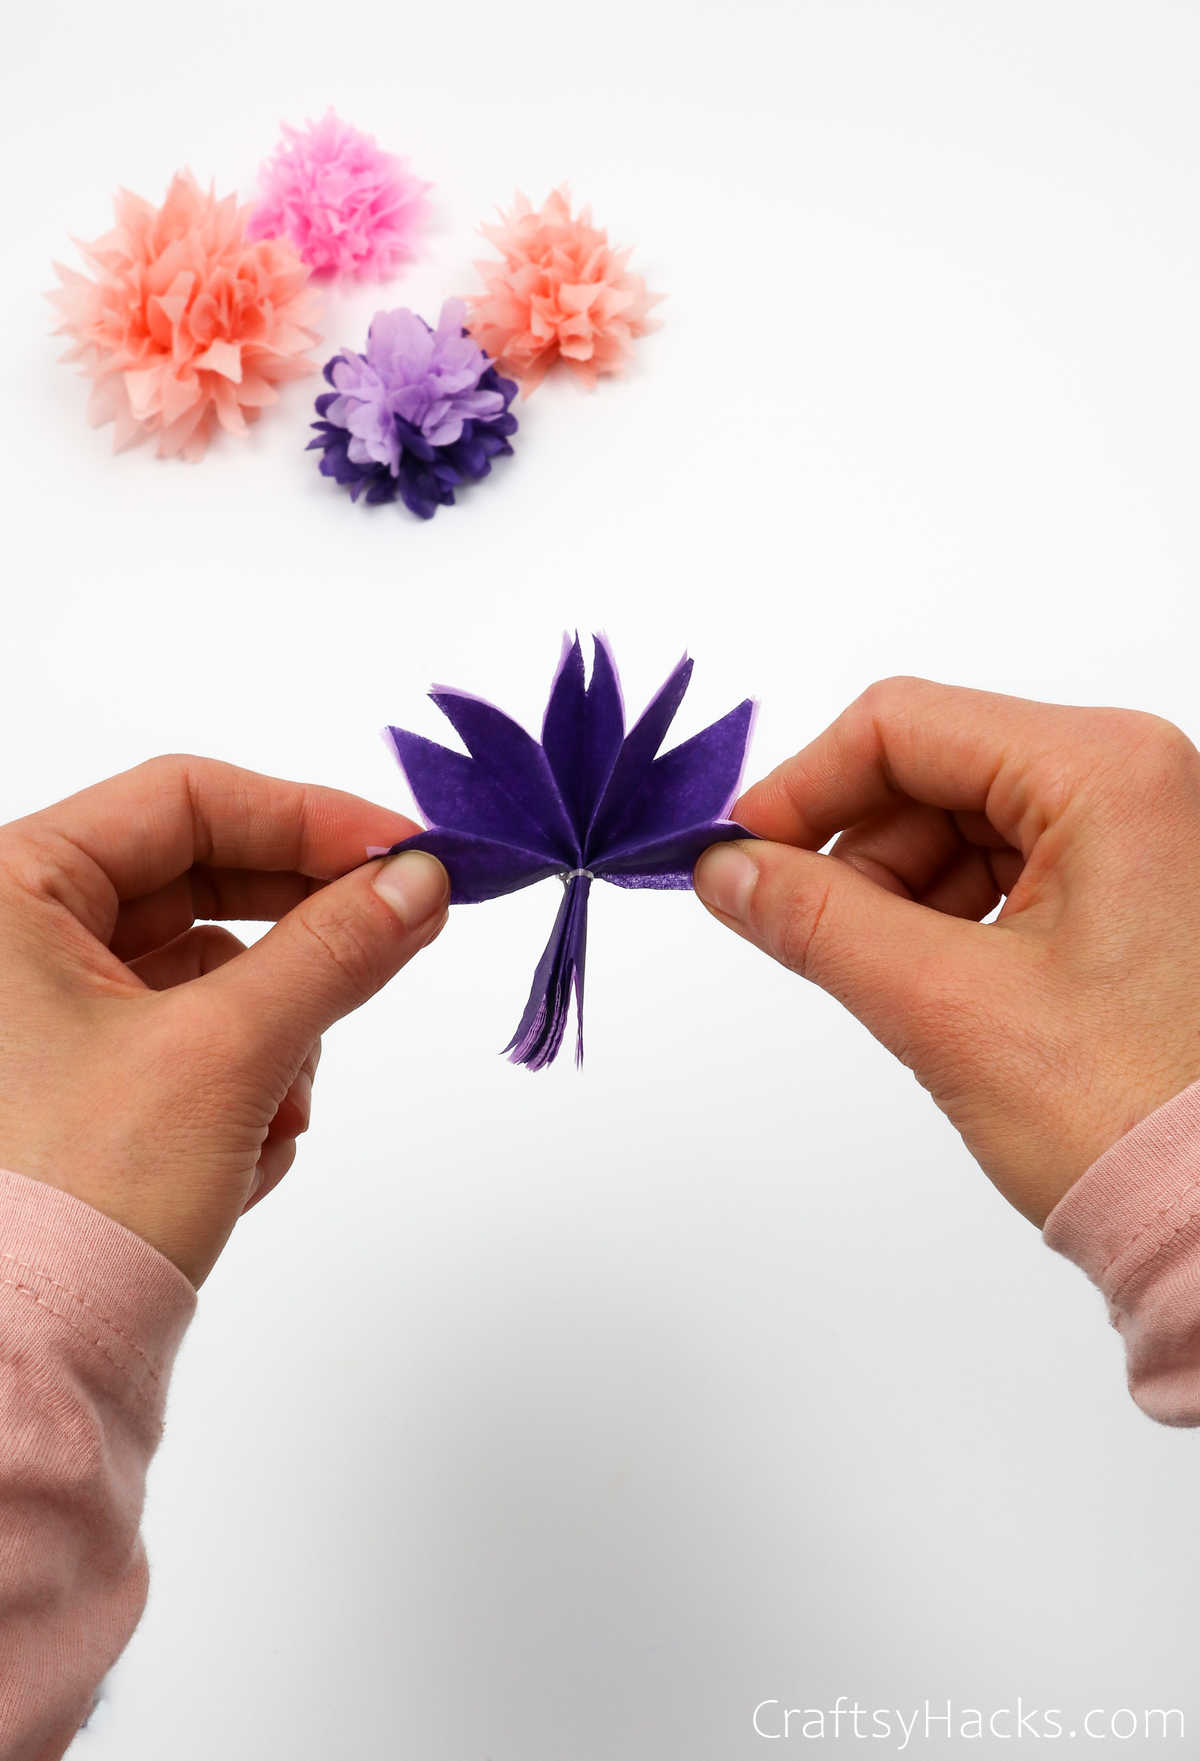
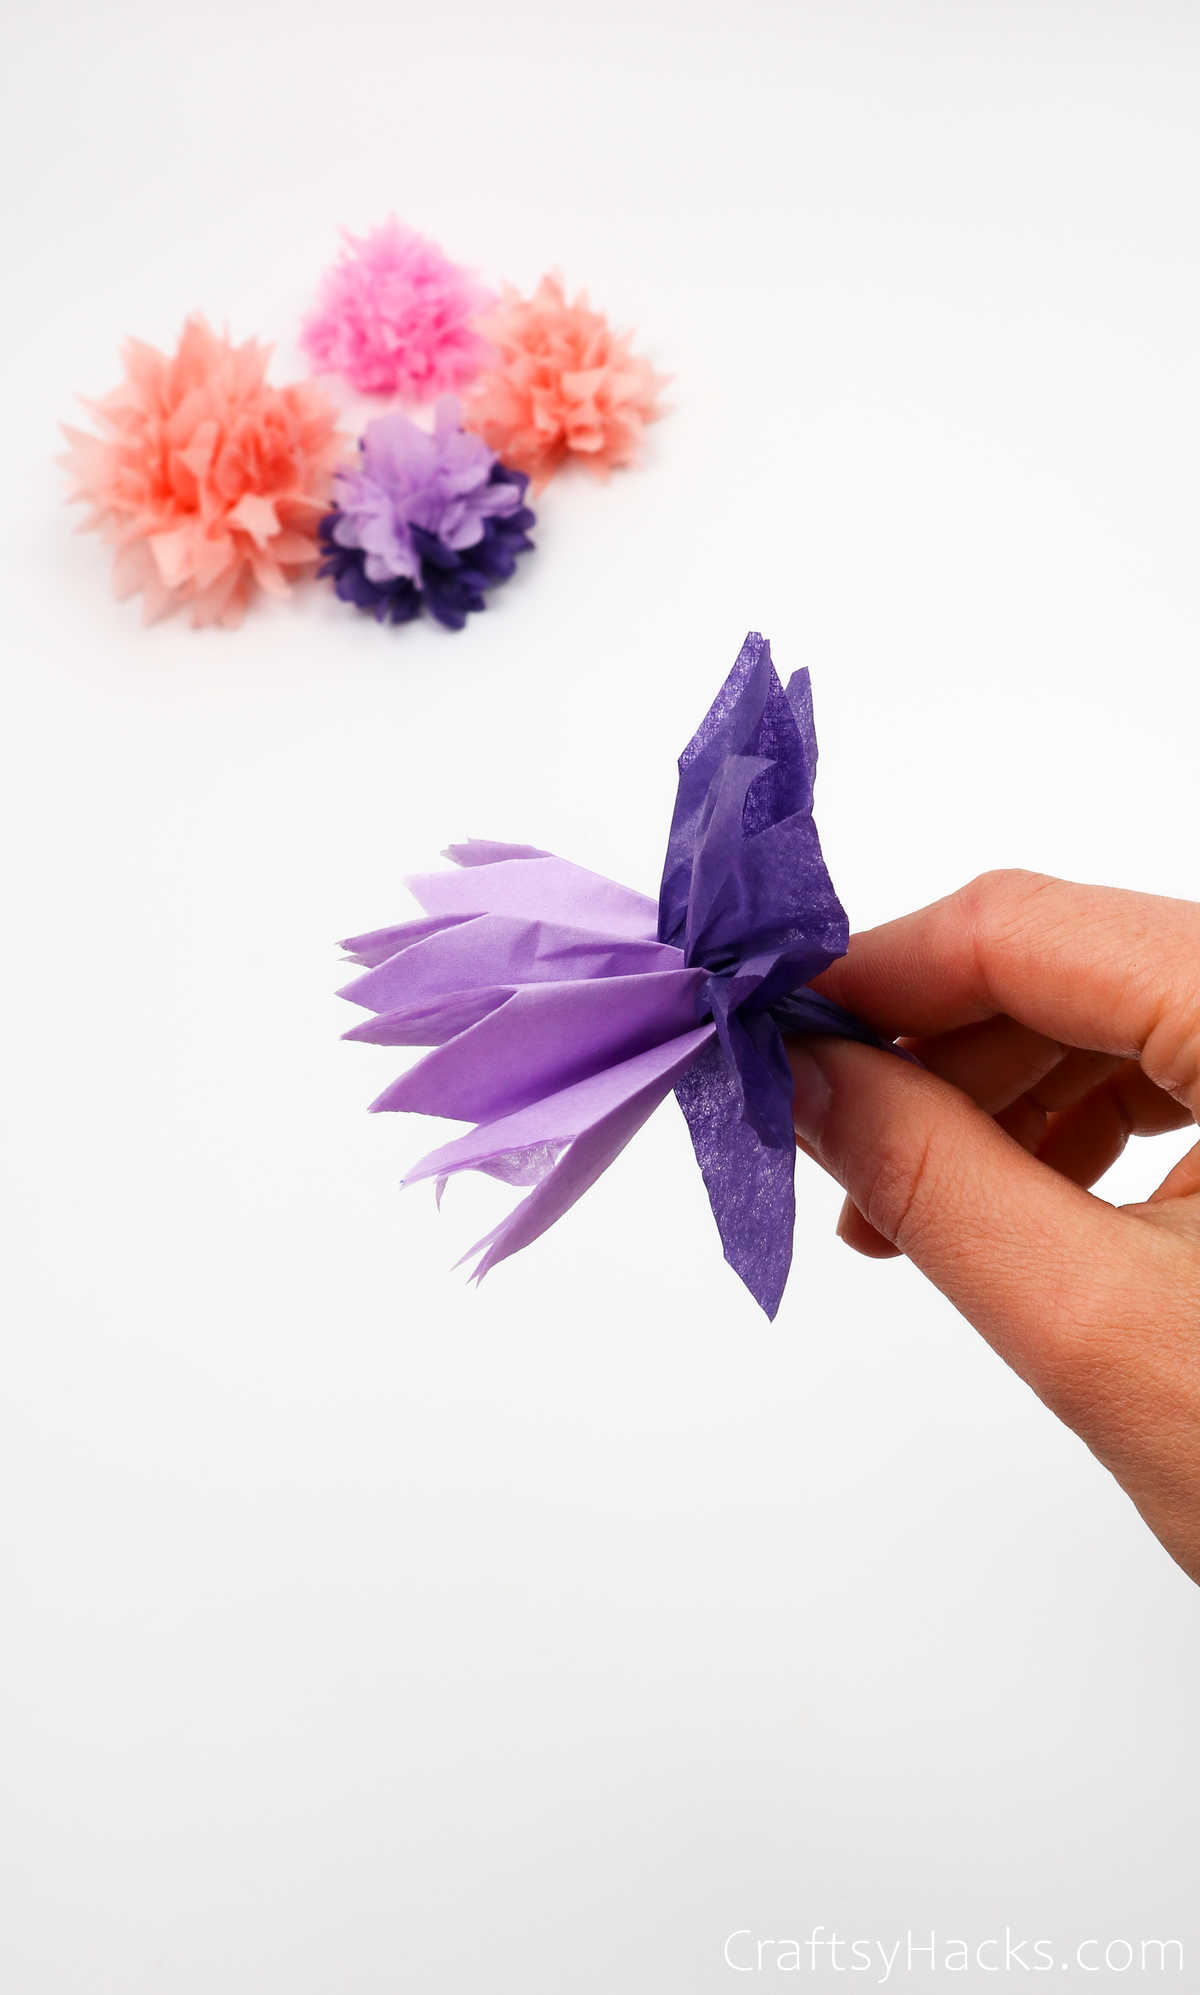
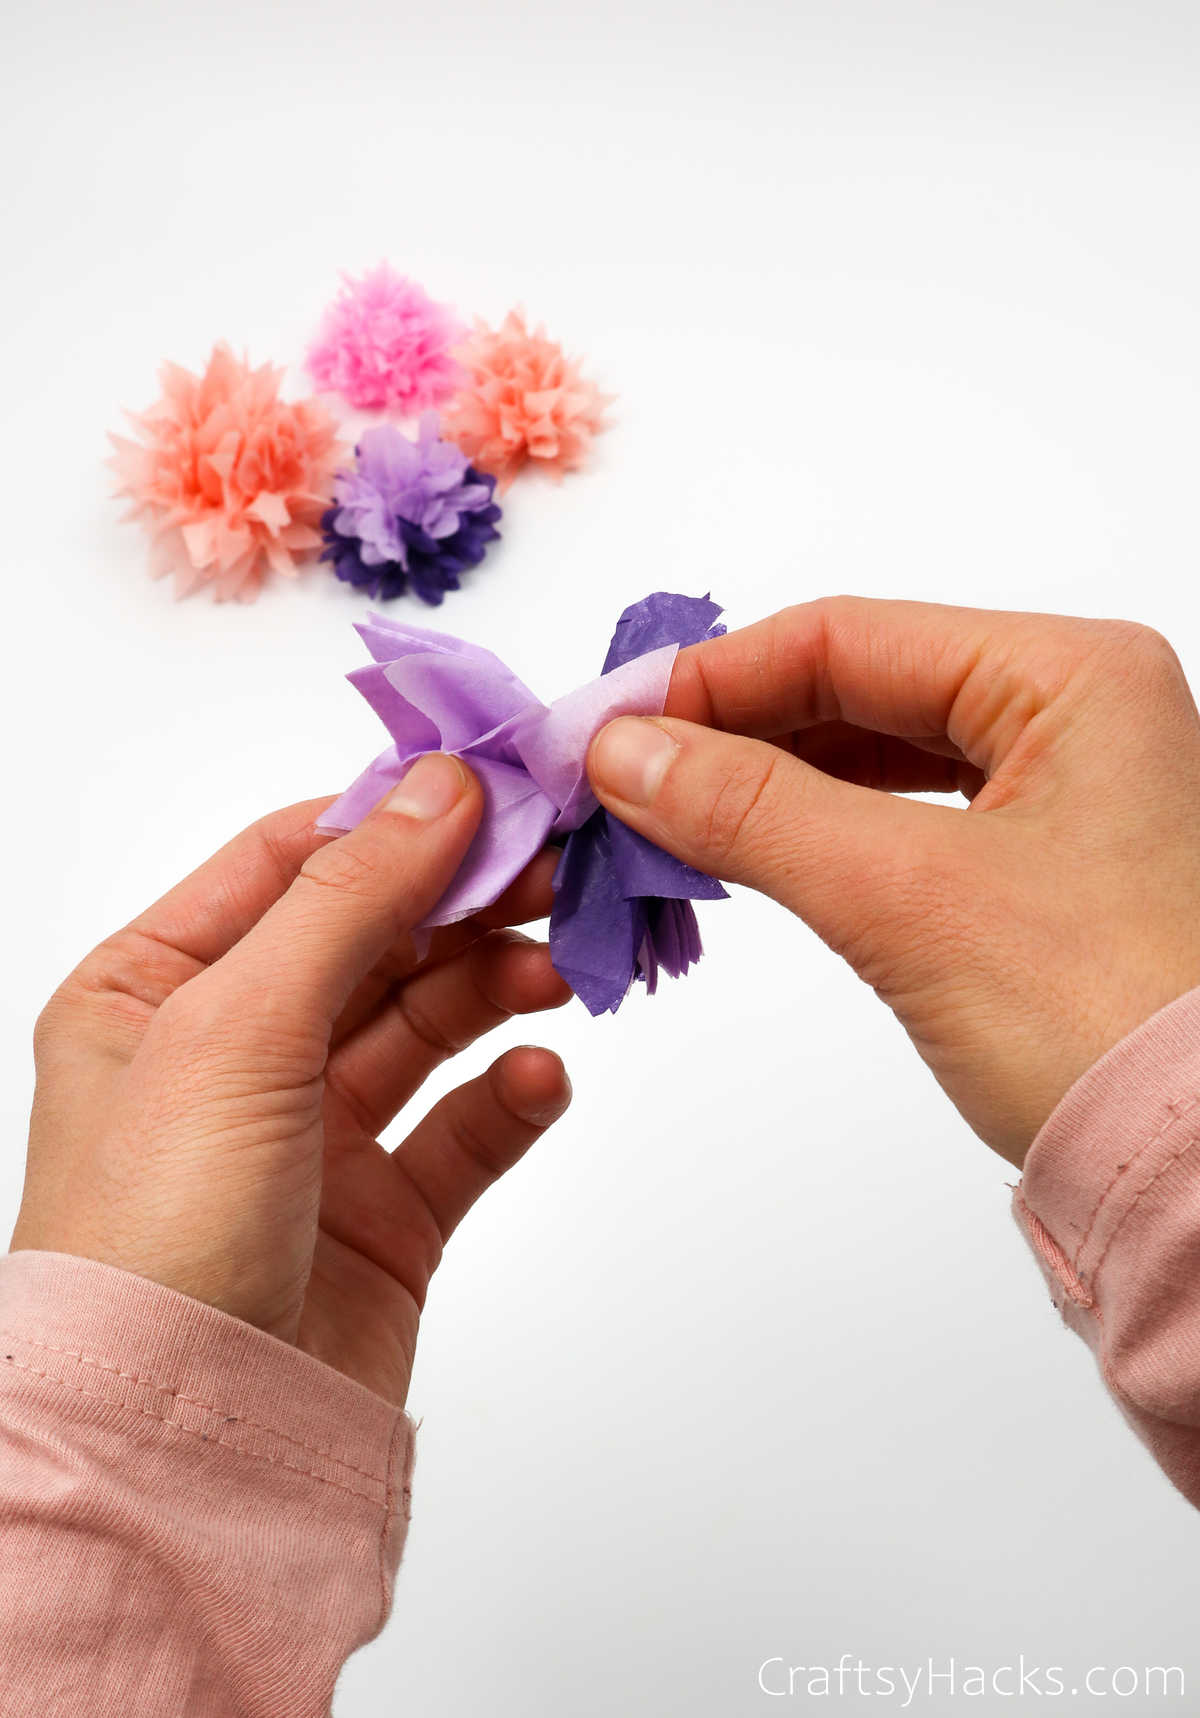
Then, carefully and gently grab the ends of the paper and unravel or pull the ends open.

Make Tissue Paper Flowers

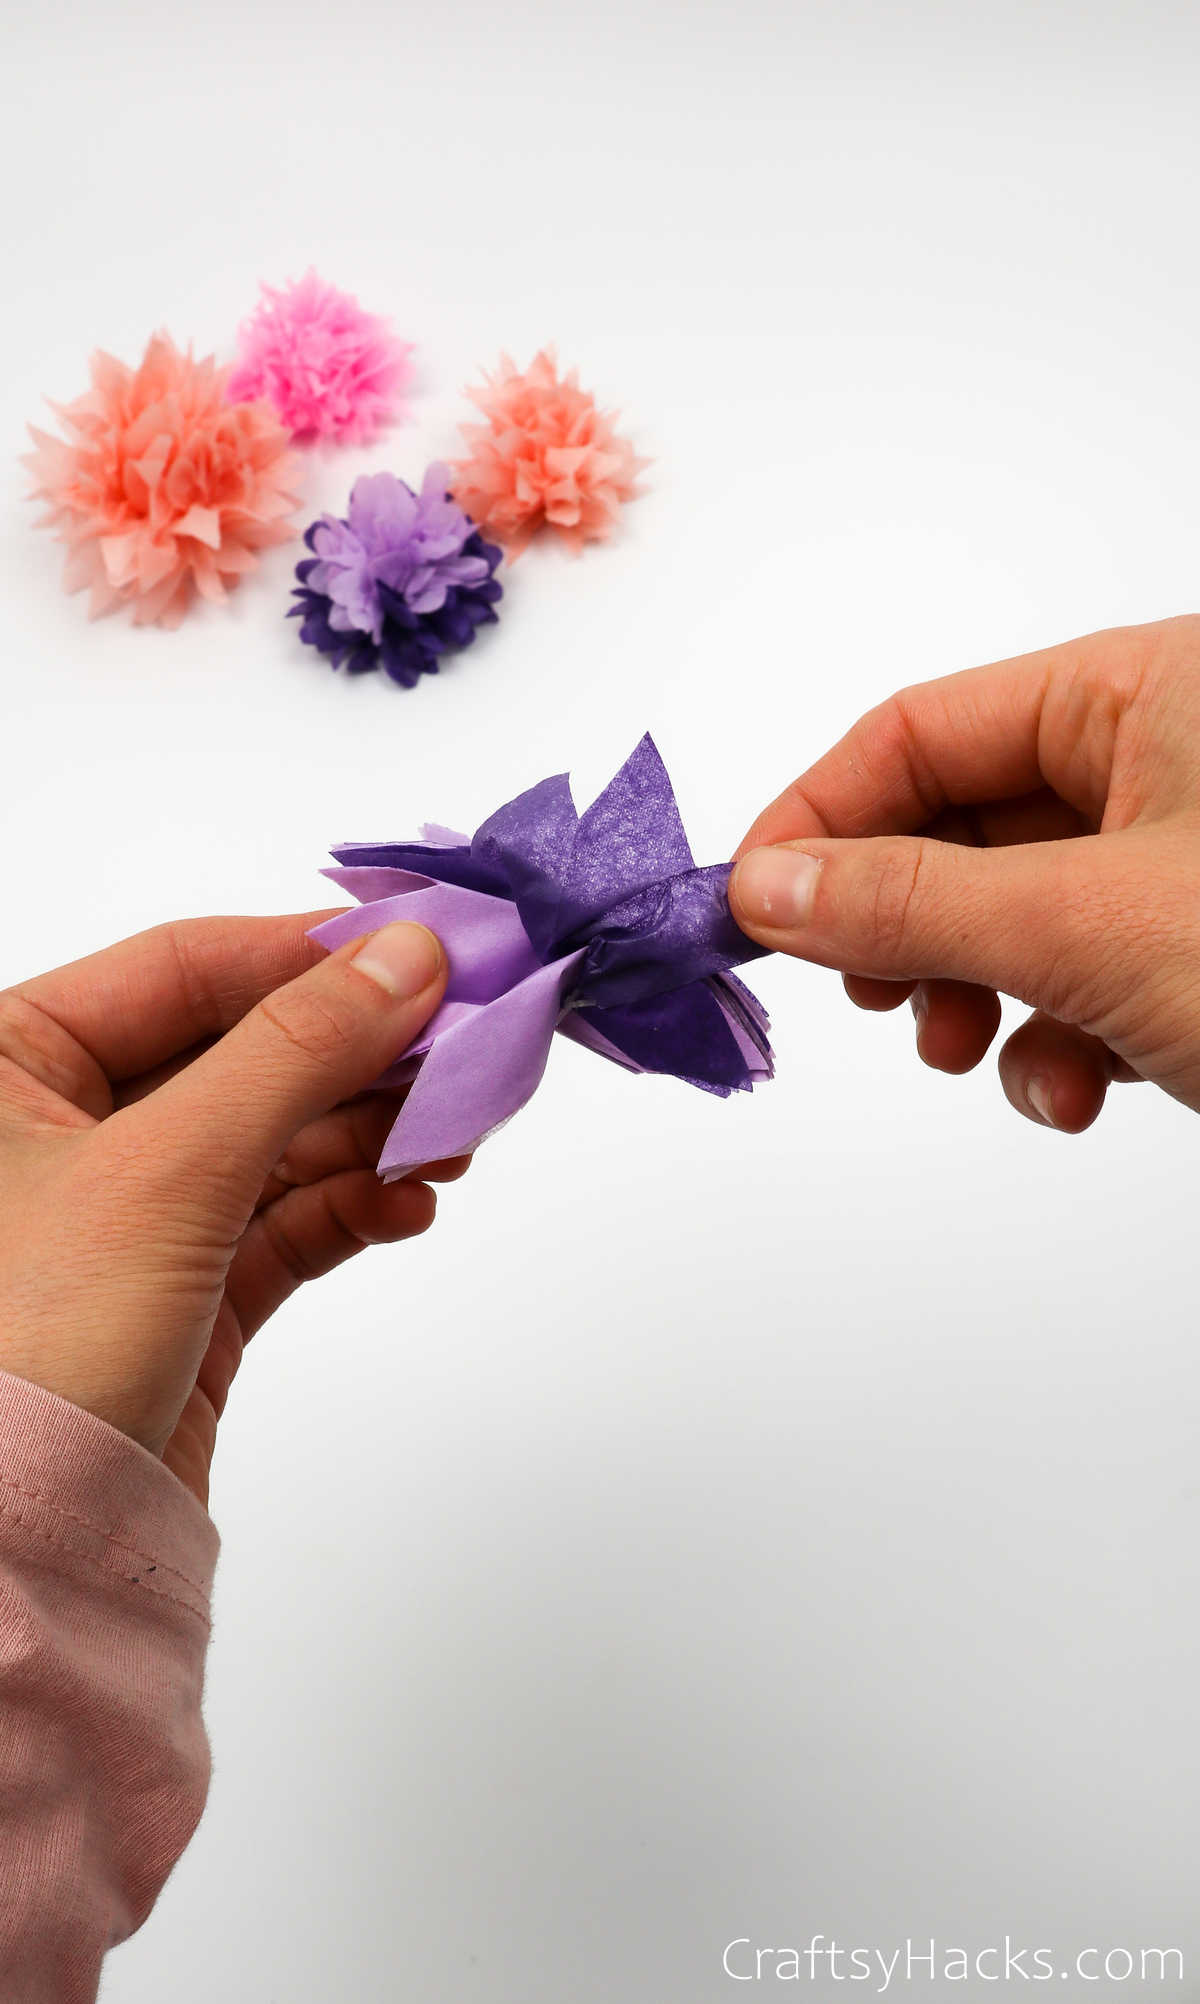
Spread every single layer and individual paper petal out and separate them from the stack.
Make Tissue Paper Flowers

If you’ve used different colors of tissue paper, you’ll probably want to unfurl them in accordance with the order you stacked them so that your tissue will retain the color pattern you intended to create.
Make Tissue Paper Flowers

Make Tissue Paper Flowers

Step 6

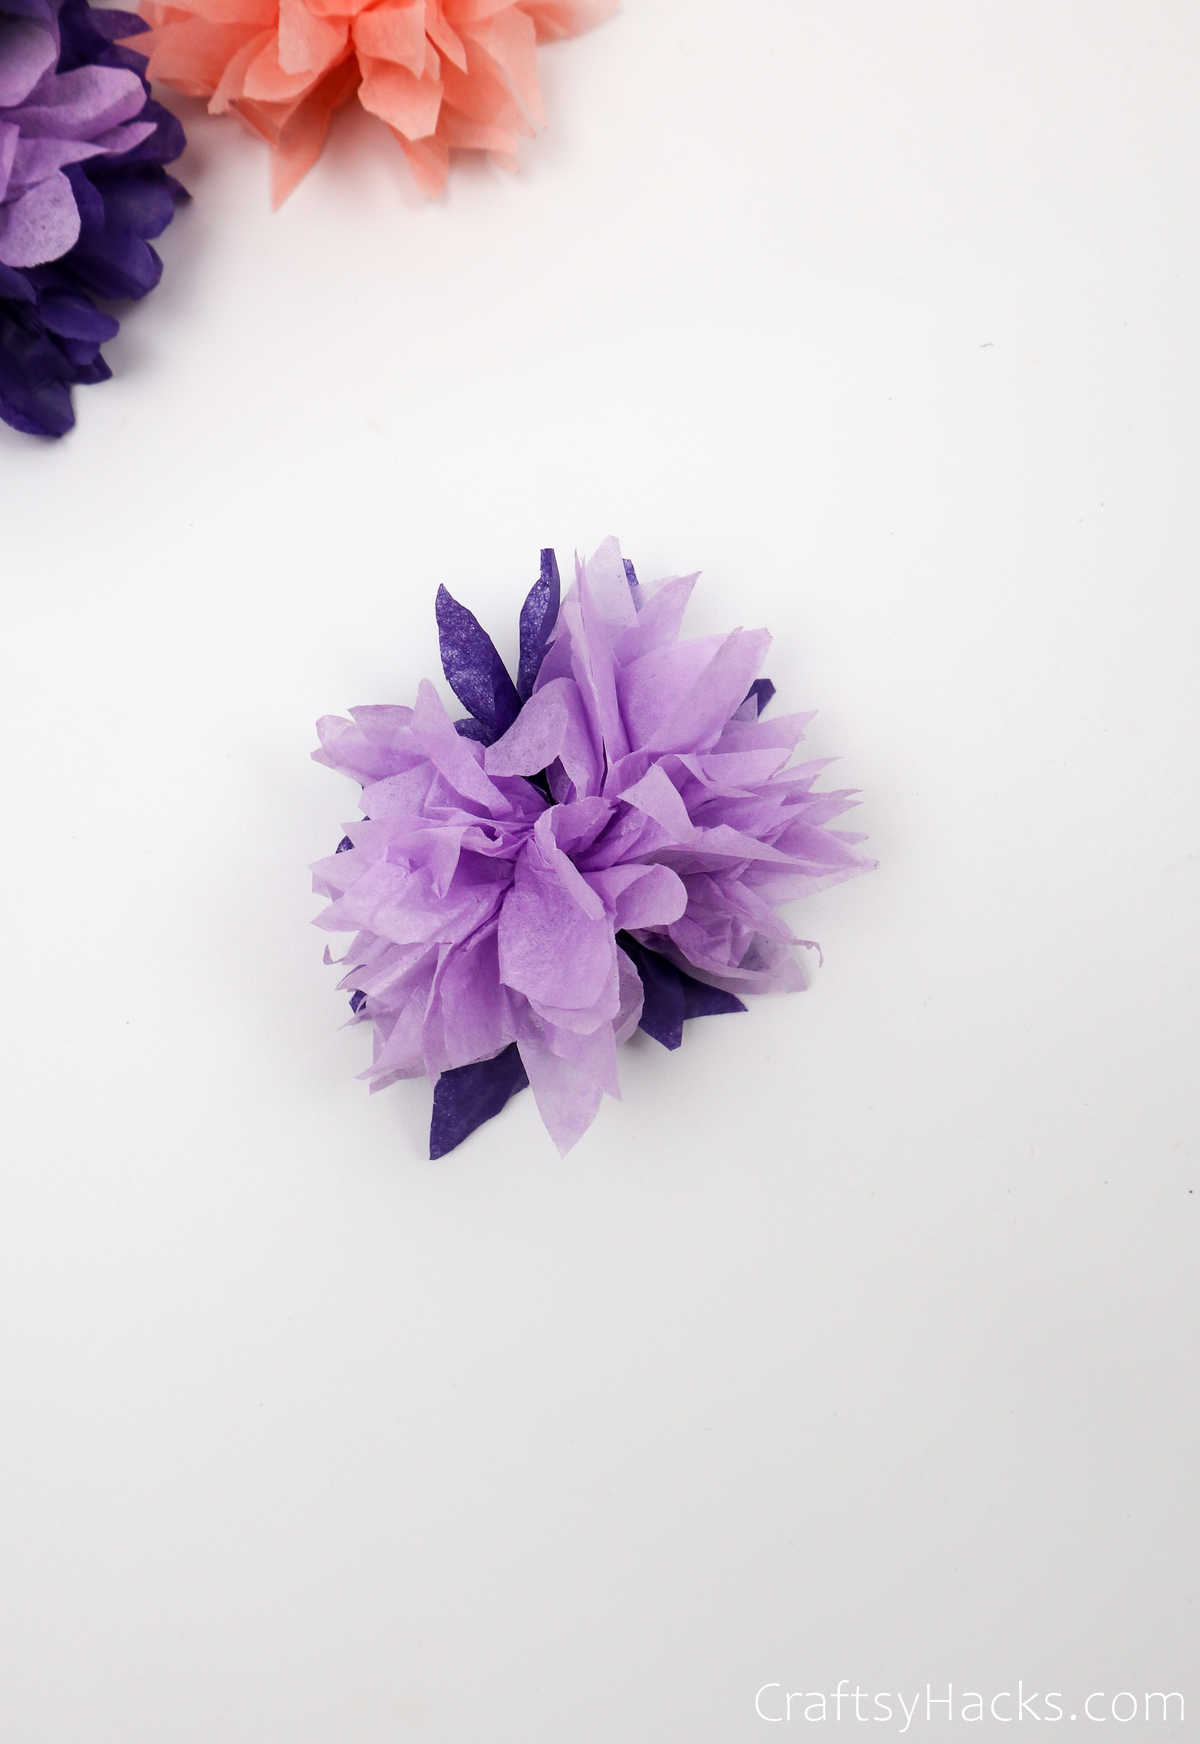
This is what the top half of the flower will look like when you’ve managed to pull apart every single sheet.

Make Tissue Paper Flowers

Now, repeat the same for the bottom half. You’ll want to create a fluffy ball-like shape, as you can see. That’s pretty much it for this project. Tweak your tissue paper petals a little, give it a little fluff, and you’re all set!
Make Tissue Paper Flowers

Like!
☆ Add To Favorites
956
No comments