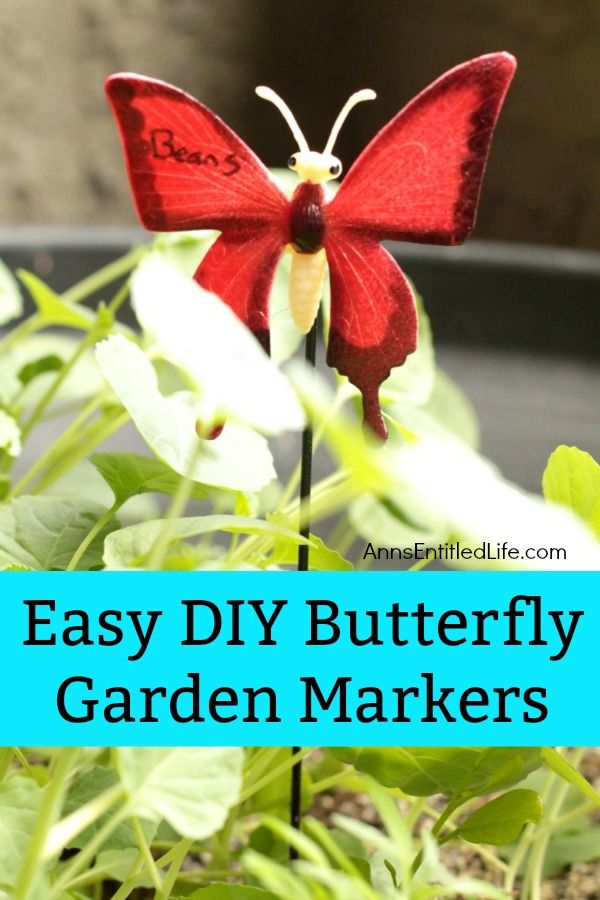
DIY Butterfly Garden Markers
Creating your very own DIY butterfly garden markers is a fun and creative way to add a personal touch to your outdoor space. Let your creativity soar as you craft these delightful markers that will bring a touch of charm and whimsy to your garden while also providing a welcoming spot for these graceful creatures to visit. Happy crafting!
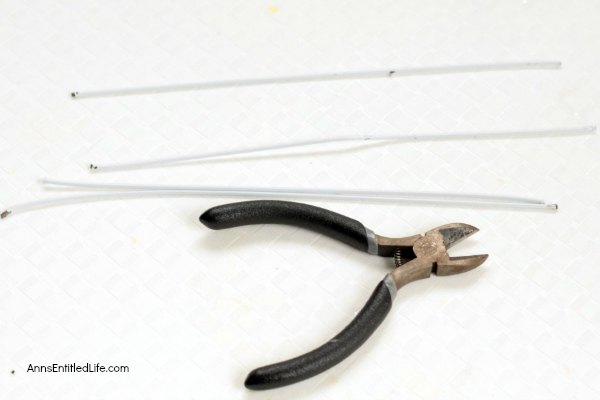
Easy DIY Butterfly Garden Markers Materials:
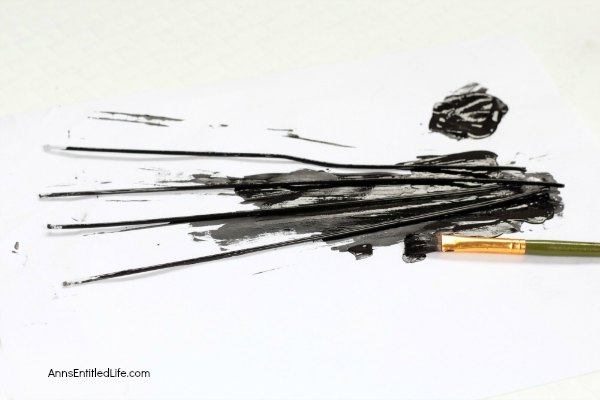
Once the paint dries, flip the butterflies over and add a line of glue across the butterfly bodies
Stick a wire into the glue, then add another layer to seal the wire inside the glue.
Wait for 24 hours for the glue to completely dry.
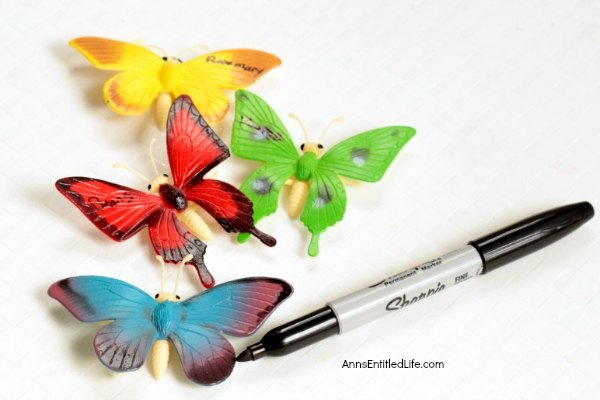
Once the glue is dry, write the name of your plants on the wings of the butterflies using a permanent marker.
If you grow something else later, you can wipe away the marker with a rubbing alcohol wipe and write in a different name for the new plant.
Place the butterfly garden markers in your garden or use them in potted plants so you can easily remember what plants you have growing in your garden!