DIY Upcycled Bowl Ladybug
Creating a DIY Upcycled Bowl Ladybug is not only a fun and creative project but also a great way to repurpose items around your home. By turning a simple bowl into an adorable ladybug, you can add a touch of whimsy to your decor or garden. Get your creativity flowing by painting the bowl in vibrant red and black colors, adding googly eyes, and attaching small wings made from recycled materials. This cute craft is a fantastic way to spend an afternoon unleashing your inner artist while giving new life to old items with a cheerful and eco-friendly twist. Happy crafting!
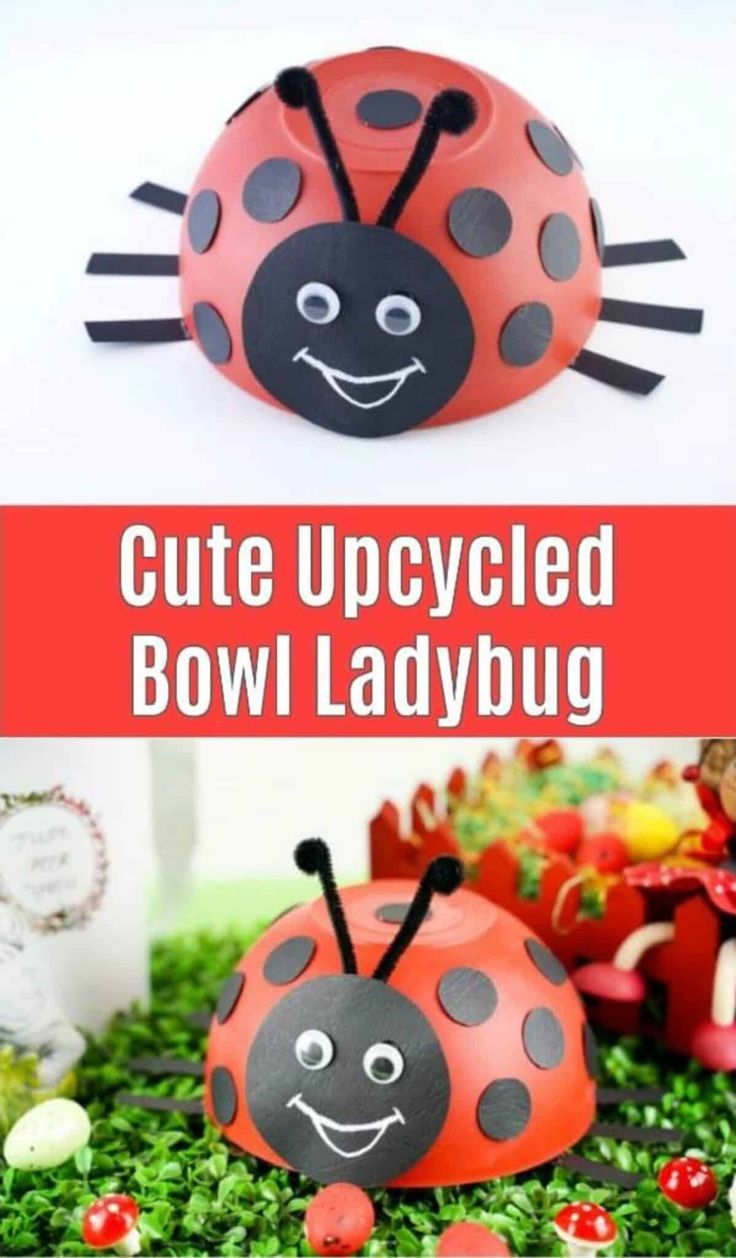
Materials
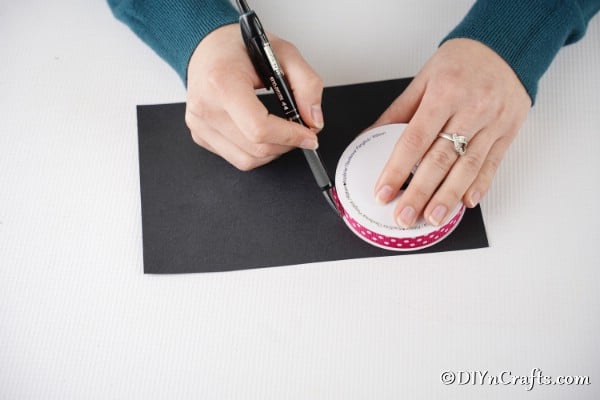
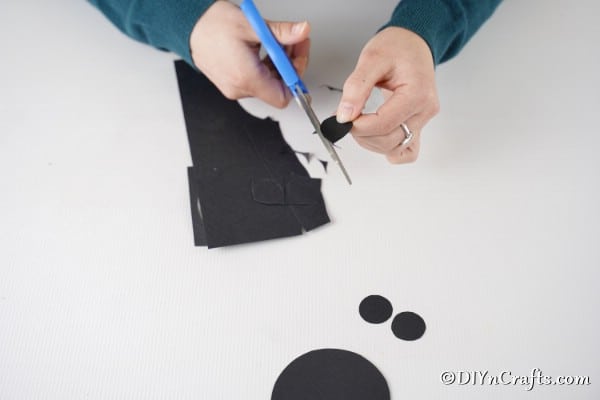
Cut out the large and small circles and set aside;
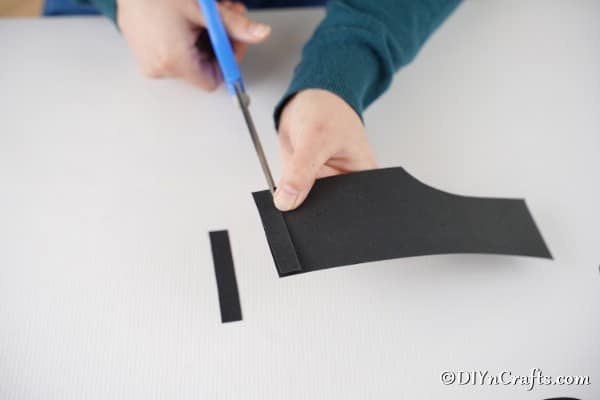
Cut out 8 equal strips of paper to use as the ladybug legs
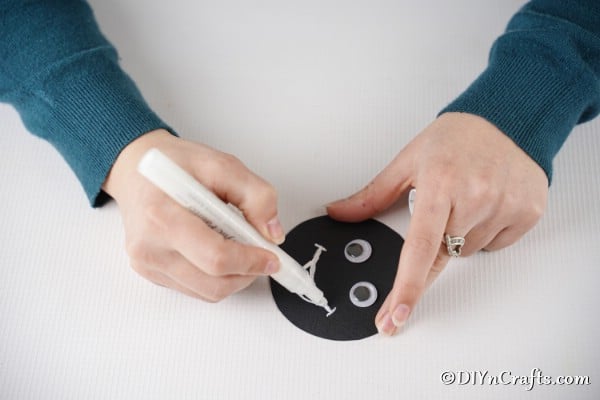
Now you will glue the googly eyes onto the larger circle and use a white paint pen to draw on a smile;
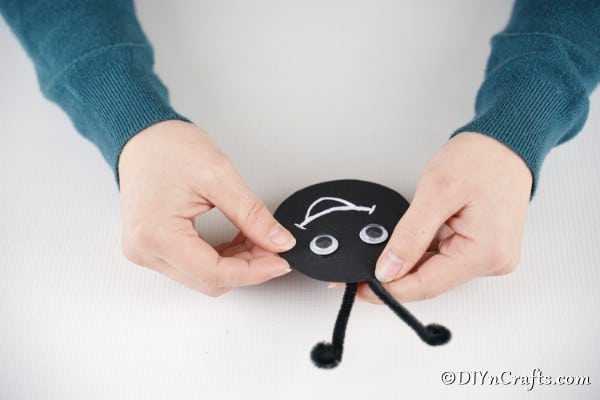
Use 2 pipe cleaners and curl one end on them to look like an antenna, then attach them to the back of the ladybug face;
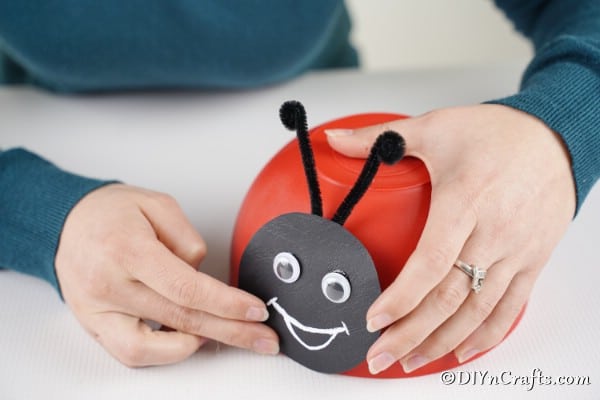
Glue the face onto the side of the bowl
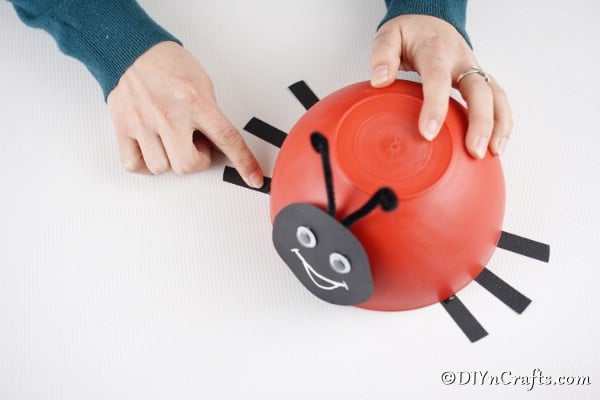
Now, glue 4 of the leg strips onto each side of the bowl, attaching underneath
Lastly, you will glue the spots onto the bowl at random places;
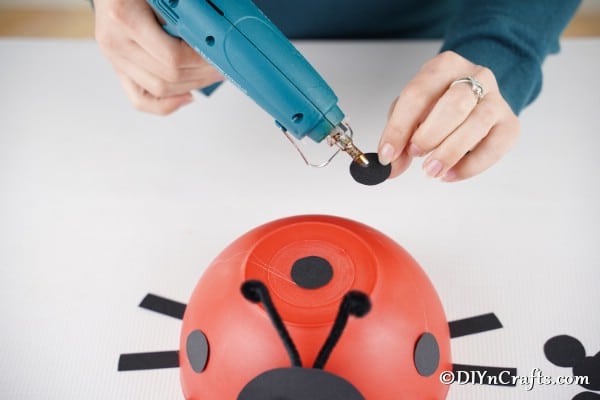
Now you can use your ladybug as a fun decoration for your next party!
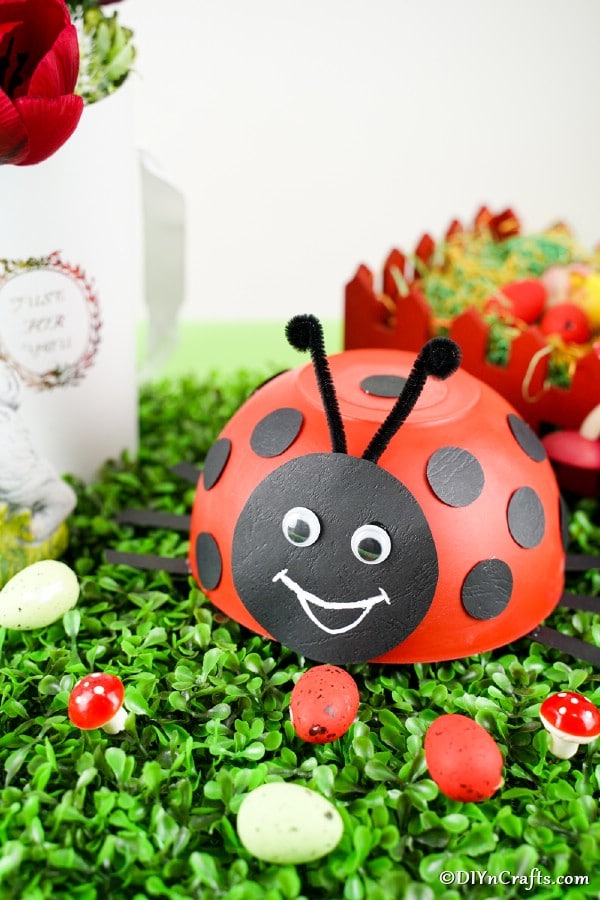
If you can't find a red bowl, feel free to spray paint any bowl with red paint instead!