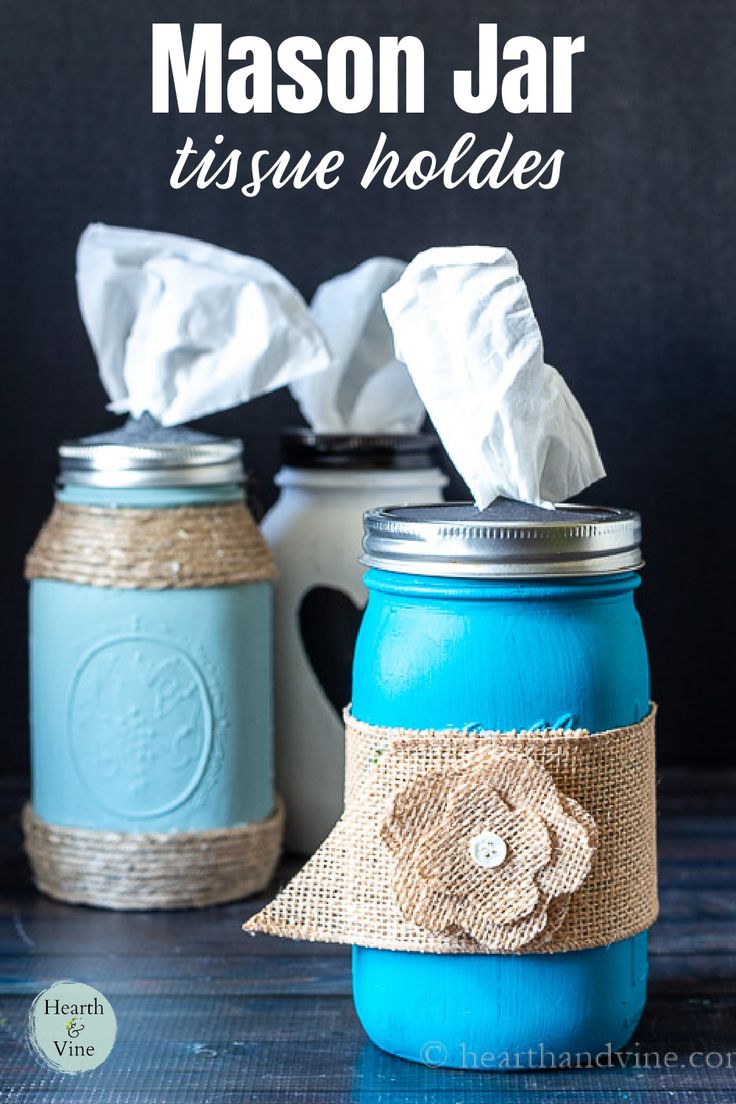
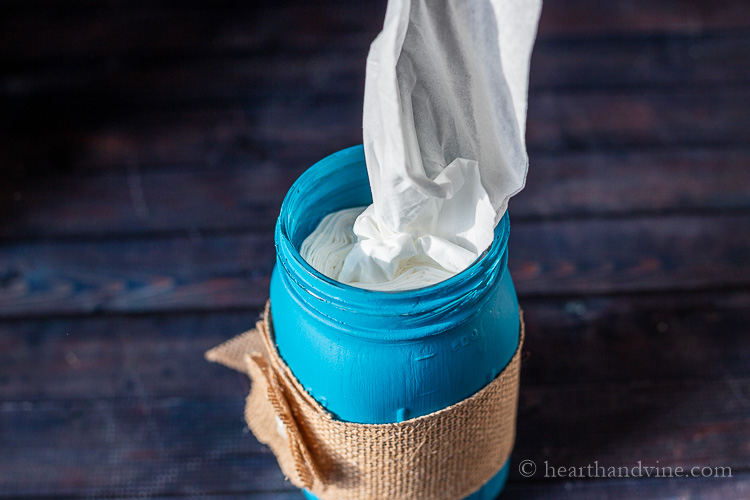
DIY Mason Jar Tissue Holder
If you're looking to add a touch of charm to your space while staying organized, why not try making a DIY Mason Jar Tissue Holder? It's a fun and creative way to add a rustic flair to any room in your home. All you need is a mason jar, some decorative elements like twine or ribbons, and your favorite tissues. Simply decorate the mason jar to your liking and fill it with tissues for a stylish and practical tissue holder that will surely impress your guests. So grab your crafting supplies and let's get started on this delightful project!
Materials
Quart Mason Jars
Chalk Paint/Craft Paint
Box of tissues travel size or small box
Felt
Cardstock
Jute
Burlap Ribbon
Scissors
Paint Brush
Pencil
Hot glue and glue gun
Instructions
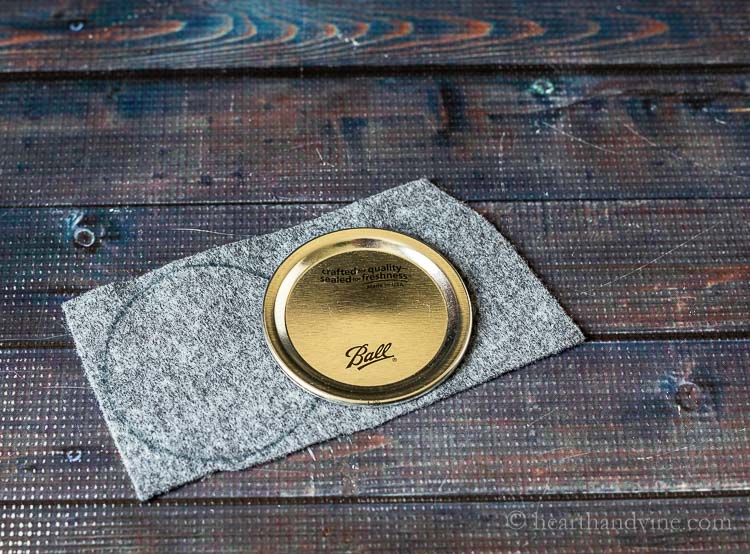
Make an opening for the tissues to be pulled through by tracing a circle around the mason jar lid insert.
Fold the felt circle in half and cut a 1 inch slit.
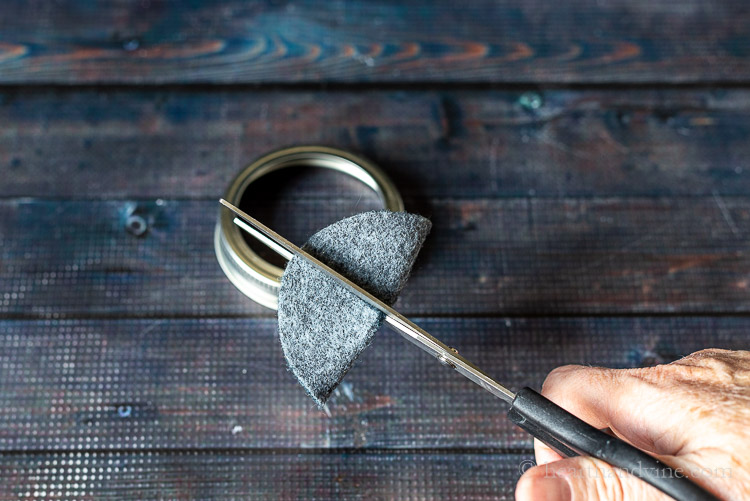
Fold it in half the other way and cut another slit.

Hot glue the felt on the inside of the mason jar ring.
Spray paint it to make the two pieces look more cohesive.
Decorate the mason jar however you like.
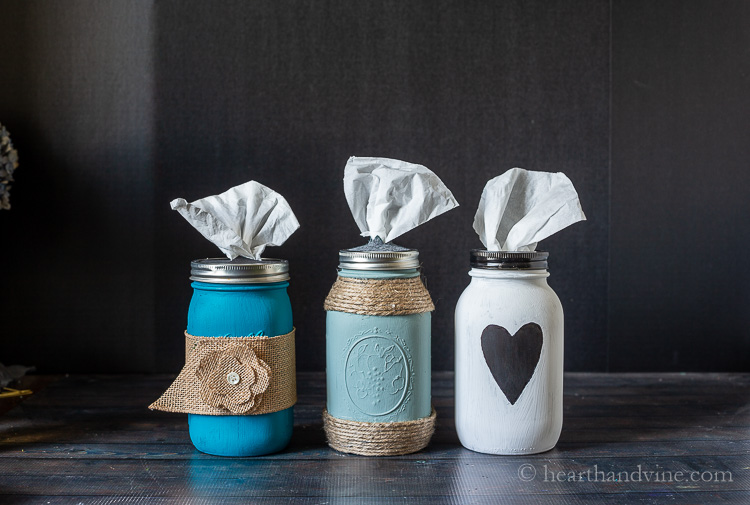
Farmhouse Style
Paint the center of one side black.
Cut out a heart or use a sticker to mask the black paint.
Hold it on the black paint or use a bit of double sided tape to brush white paint over top.
Remove the cardboard cutout or sticker and reveal the black underneath.
Coastal Style
Use a short bead of hot glue to place the jute along the bottom of the jar.
Keep adding glue and press the jute in place.
Add as much or as little as you like and continue the same on the top.
Blue with Flower
Make a flower by cutting three flower shapes. Two the same size and one slightly smaller.
Glue a length of ribbon onto the jar first.
Glue the three burlap flower shapes on top of each other.
Glue a small button.

No comments
Write a comment