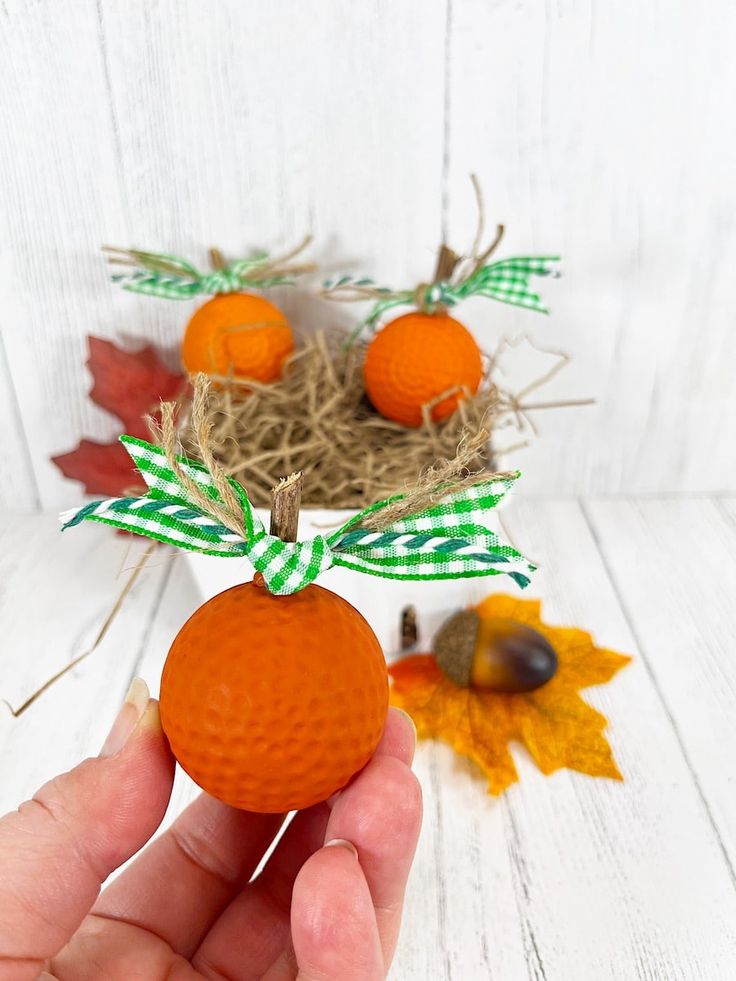
Looking for a fantastic way to add a touch of creativity to your Halloween decorations? Why not try making DIY Golf Ball Pumpkins! These adorable little pumpkins are so easy to create - all you need are some old golf balls, orange paint, and a bit of green felt for the stem. Simply paint the golf balls orange, glue on a tiny piece of green felt as the stem, and voilà - you have a charming pumpkin perfect for spicing up your fall décor. Get the whole family involved and have a blast customizing each one with funny faces or patterns. It's a fun and budget-friendly craft that is sure to bring smiles to everyone who sees them!
Materials
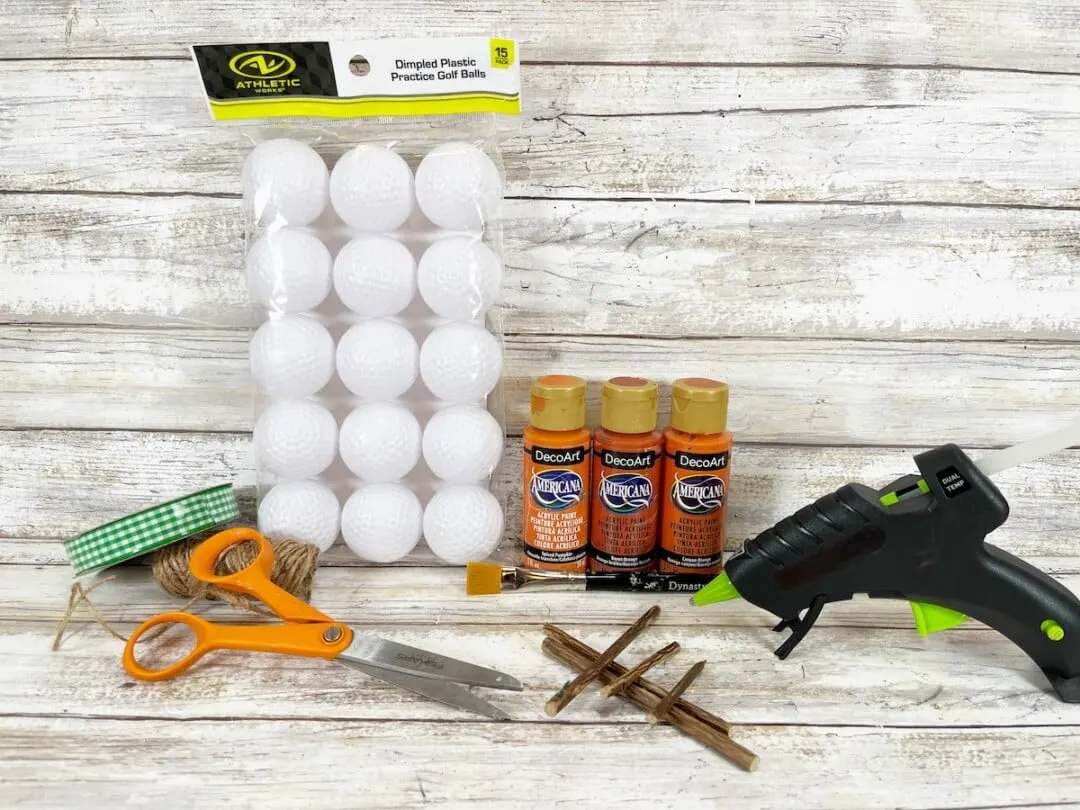
Plastic Golf Balls
Acrylic Craft Paint (I used DecoArt Americana in Canyon Orange, Burnt Orange, and Spiced Pumpkin)
Ribbon, Twine or Trim Scraps
Glue Gun and Glue Sticks
Small Twigs or Branches
Paintbrush
Scissors
Wire Cutters (optional)
Instructions
Step 1
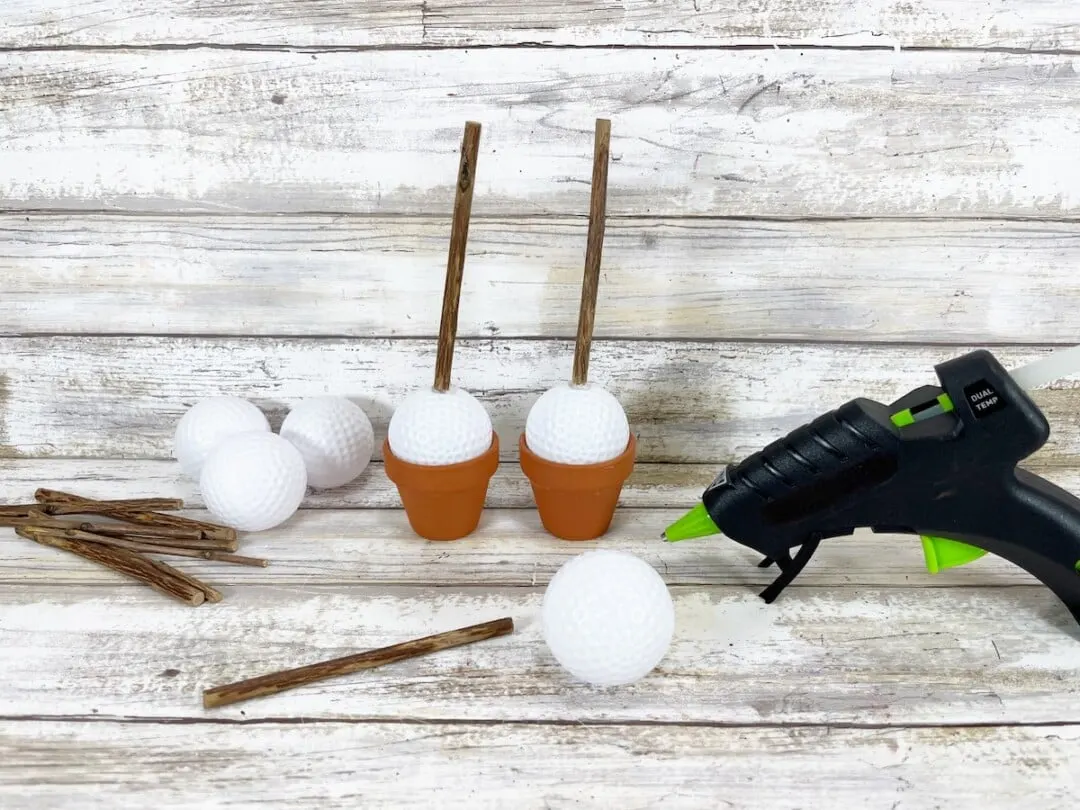
Using small twigs or pieces of tree branches from the yard, glue a twig or branch to the top of each plastic golf ball in the center.
Hold the twig or branch in place until the glue dries completely
Step 2
Paint the outside of the plastic golf balls with acrylic paint. I painted each plastic golf ball in a different color of orange. Allow to dry completely.
Helpful Tip: An easy way to let all sides of the golf ball dry at once is to turn the stem upside down and put in the drainage hole of a small clay pot.
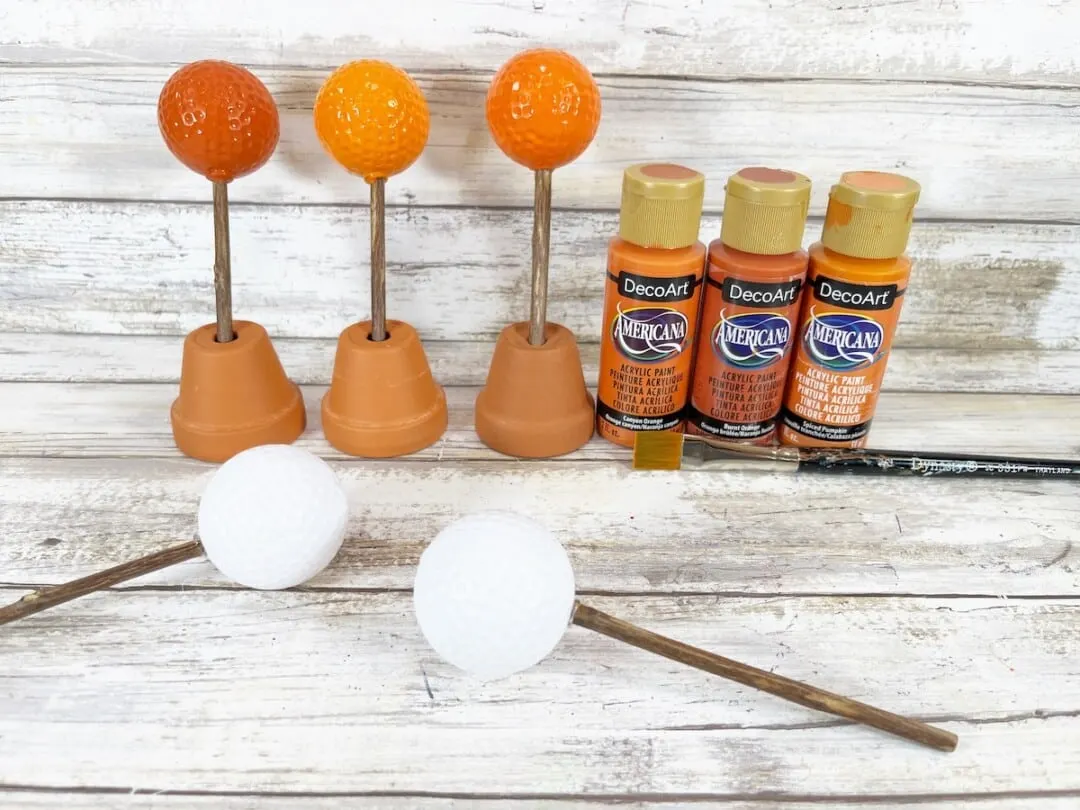
Apply a second coat of paint, if necessary.
Step 3
After the golf ball pumpkins are dry, trim the long stems with wire cutters (or scissors) to be about 1 inch long.
Step 4:
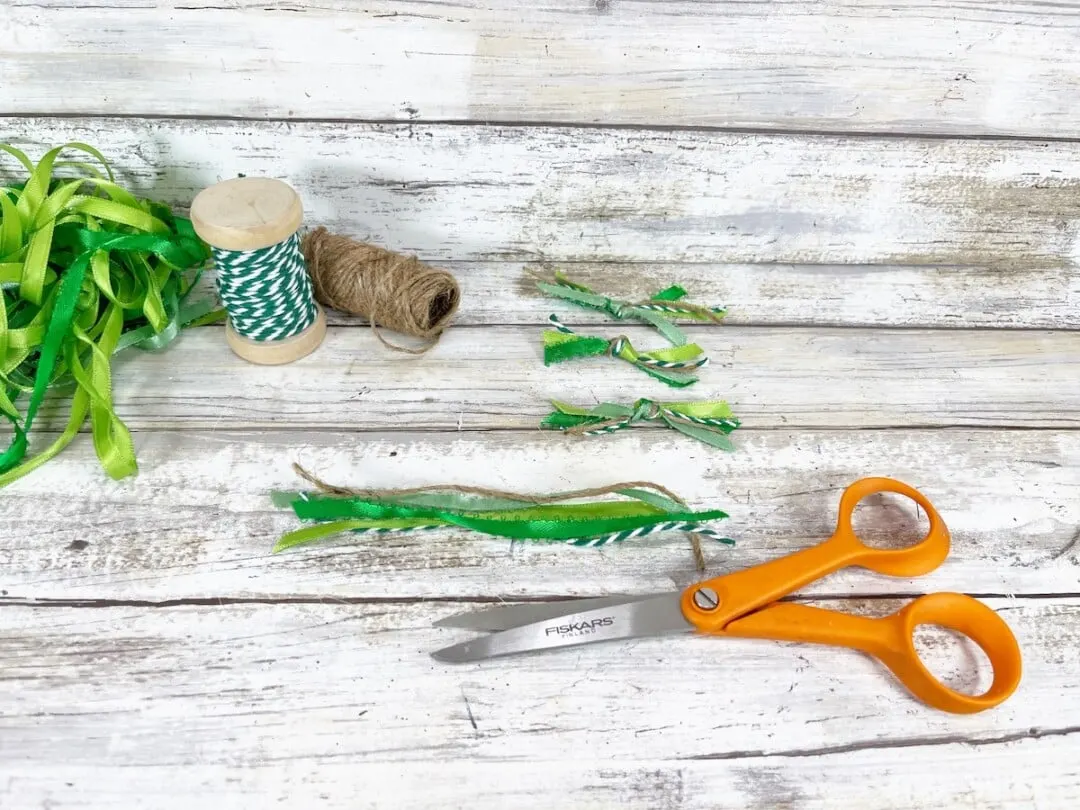
Cut assorted green ribbons, twine, and trims into eight-inch sections. Tie the bunch of trims into a knot around each golf ball pumpkin stem.
Trim any long ribbon ends with scissors.