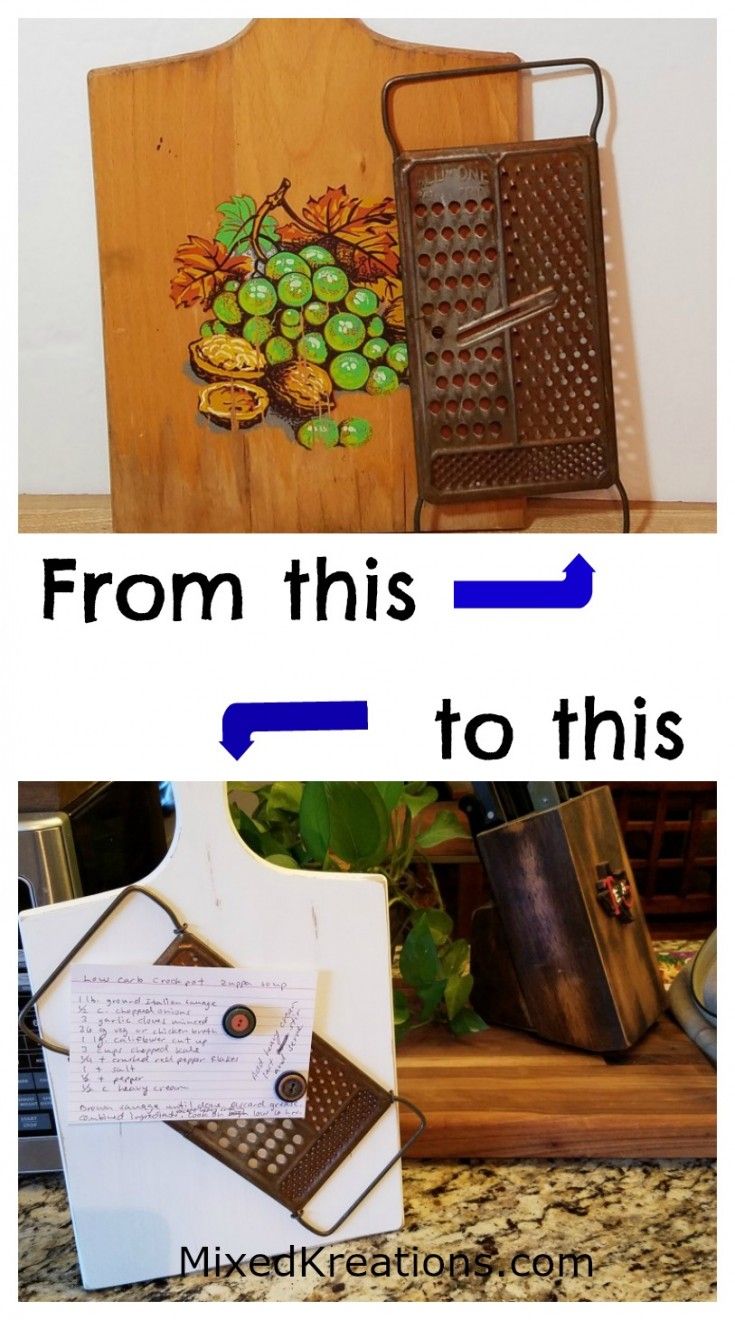
DIY Cutting Board and Rusty Grater Recipe Display
Looking to add a touch of creativity to your kitchen decor? Why not try repurposing a cutting board and a rusty grater into a unique photo and recipe display! This fun and easy DIY project not only gives new life to old kitchen items but also provides a charming way to showcase your favorite recipes or family photos. Get your creative juices flowing and give these forgotten kitchen tools a second chance to shine in your home!
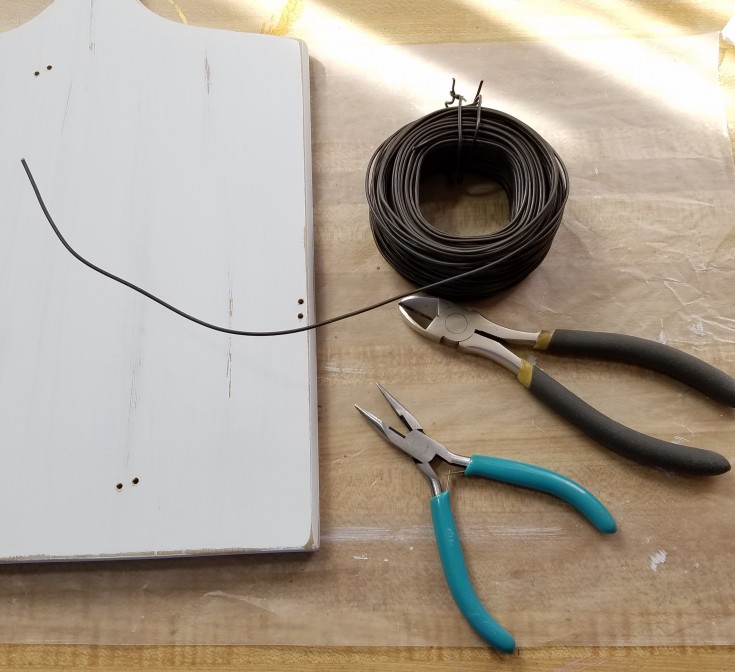
Repurposed Cutting Board and Rusty Grater Supplies
For this project, I started out giving the cutting board a sanding to remove the shine so that the paint will adhere to the wood better.
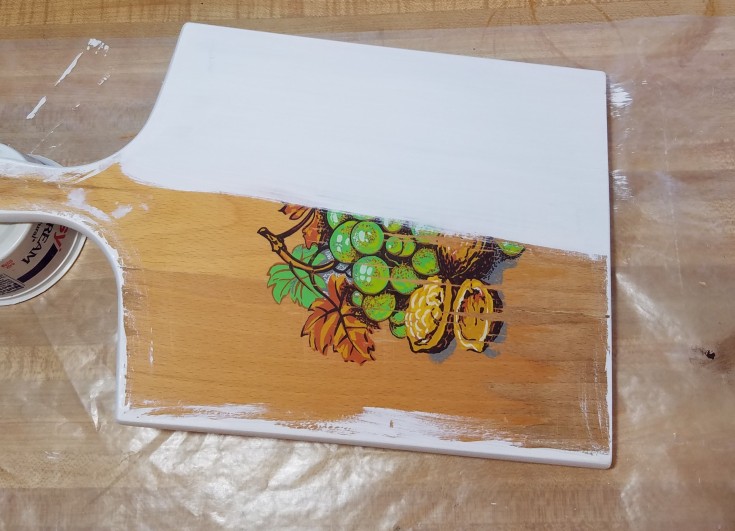
Next, I gave the wooden cutting board two coats of chalk paint (both sides and edges).
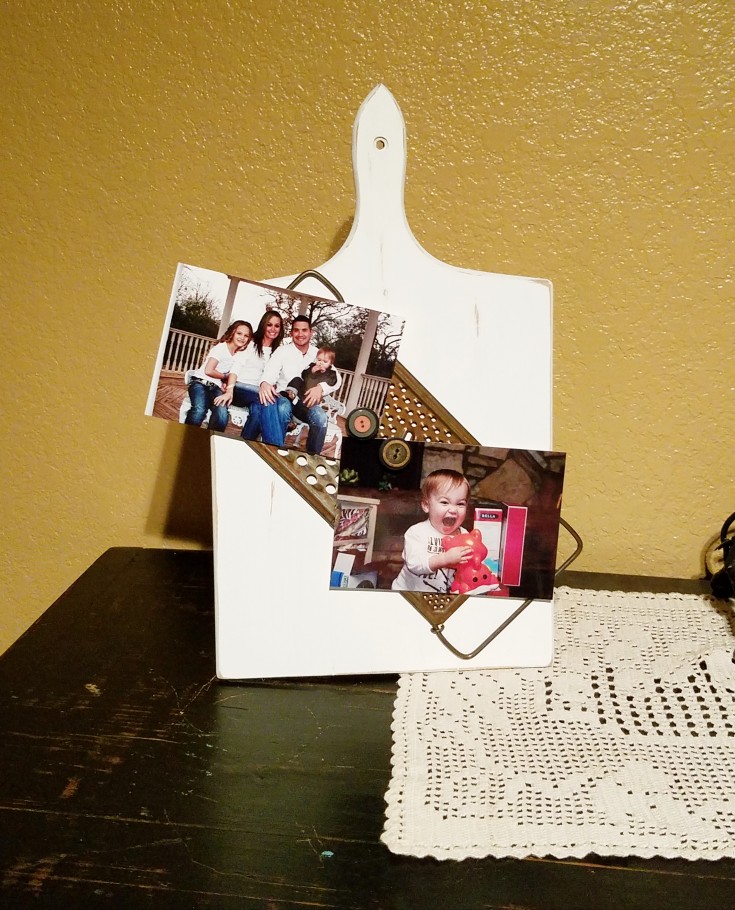
Once that dried I placed the rusty metal grater on the cutting board how I would like it to stay. Then I marked off where to add my wire to hold it in place.
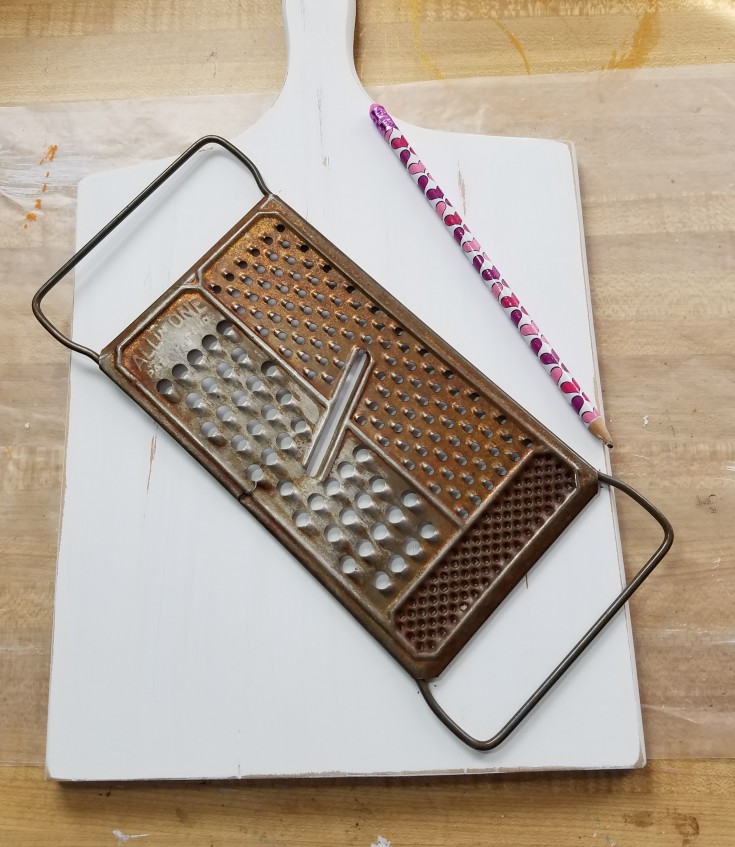
Then I drilled eight small holes for my wire.
Before taking it back inside I sanded the edges and top of the cutting board to give it a rustic/worn look.
Now back inside I positioned my grater and cut four pieces of wire about 2 1/2″ in length. Then I formed these into a staple and placed each end into the holes one on each side of the grater handle. Pushing them all the way down where the loose ends are sticking out of the back.
Once all the wire staples are in place I flipped the cutting board over.
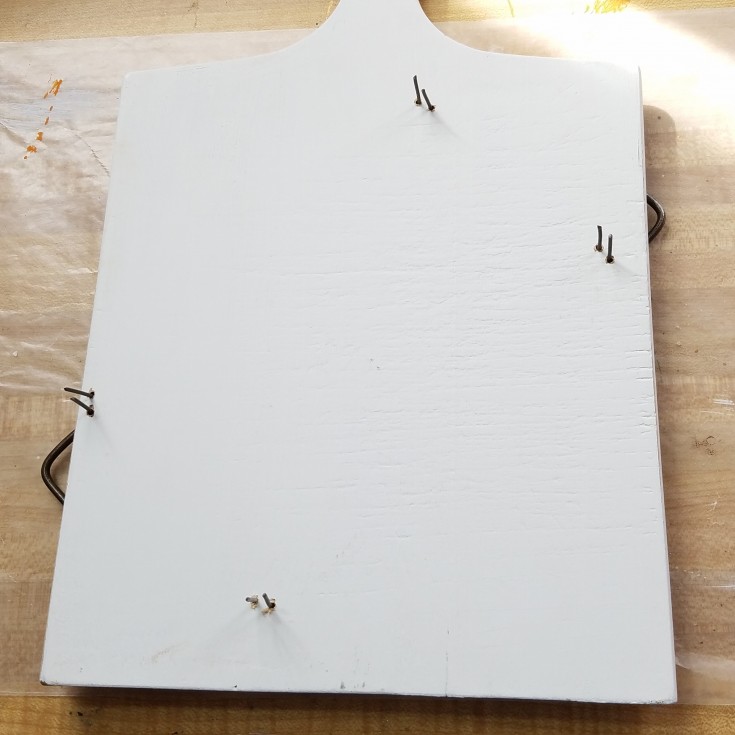
Grabbing my pliers I give each loose wire a twist to curl the end, then press it down flat to the back. This will hold the metal grater in position.
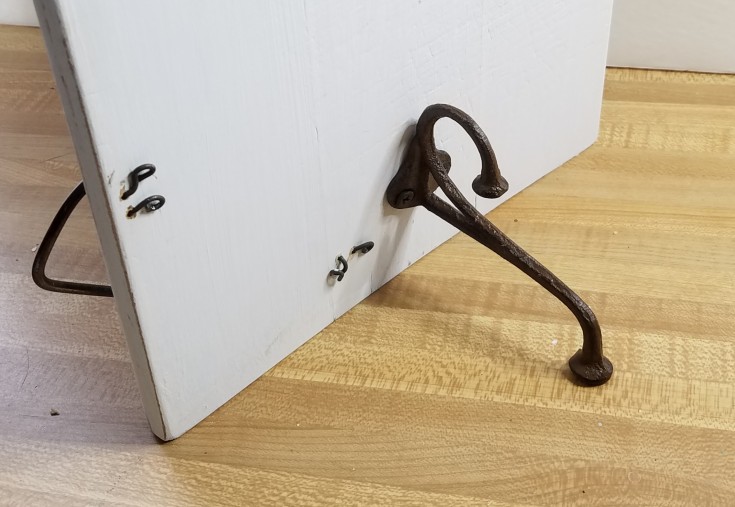
Now I took the coat hook and held it to the back of my repurposed cutting board and rusty grater getting it into position so that the cutting board will lean back slightly.
Once in position, I mark off where to place the screws, then screw the coat hook down.

All I did was glue the buttons on the magnets using E-6000 adhesive stacking the smaller buttons on top. Let that dry overnight, and that’s it.