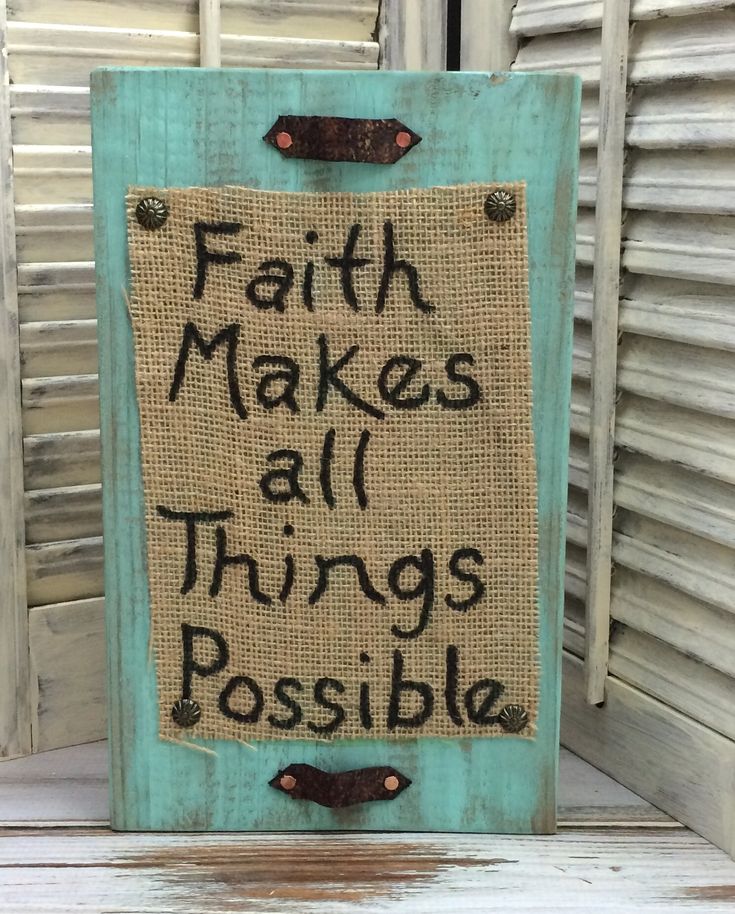
DIY Easy Rustic Sign
Creating a DIY easy rustic sign is a fun and creative project that can add a charming touch to your home decor. Feel free to get creative with embellishments like twine, faux foliage, or even small nails for an extra rustic flair. Once your sign is complete, hang it up in your entryway or living room to add a cozy and personalized touch to your space. This project is a great way to showcase your creativity and add a touch of warmth to your home with a personal touch.
You will need
2″ x 8″ x 12″ block of wood
Burlap cut slightly smaller then your block of wood
Acrylic paint (your choice)
Paint brush
Mod Podge
Black chalk marker
4 Copper tacks
4 upholstery tacks
Hammer
2 Leather strips
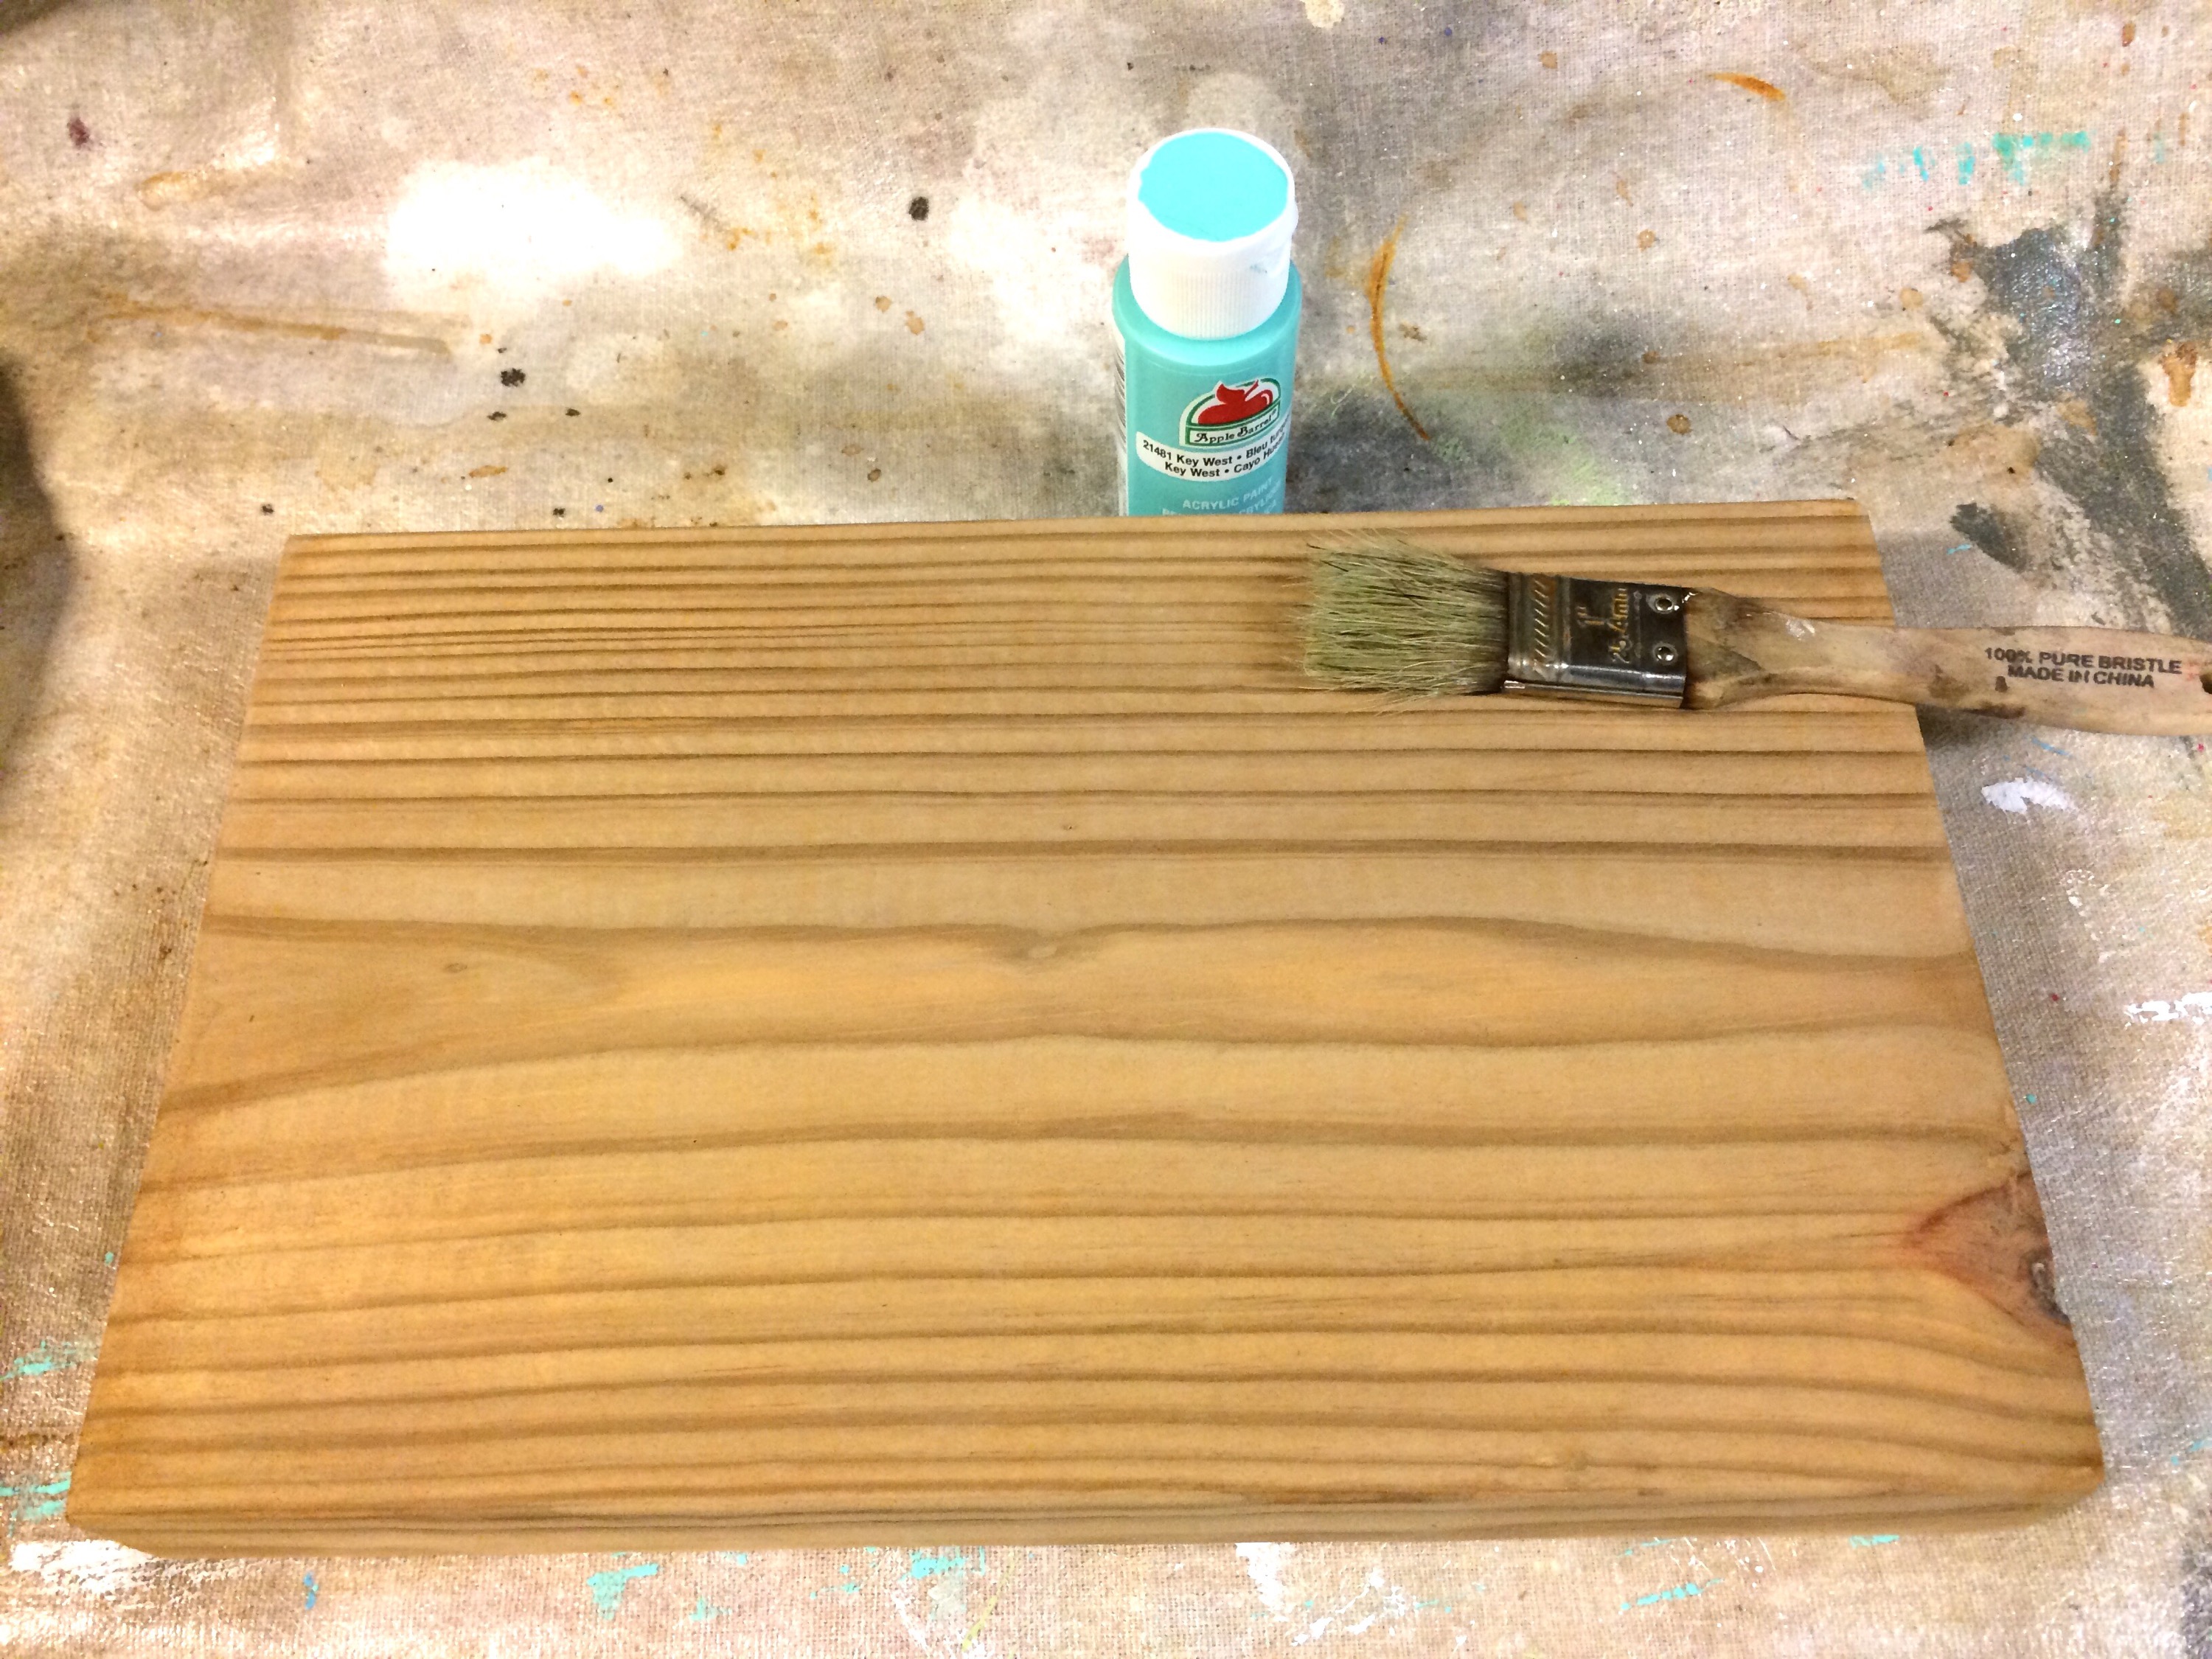
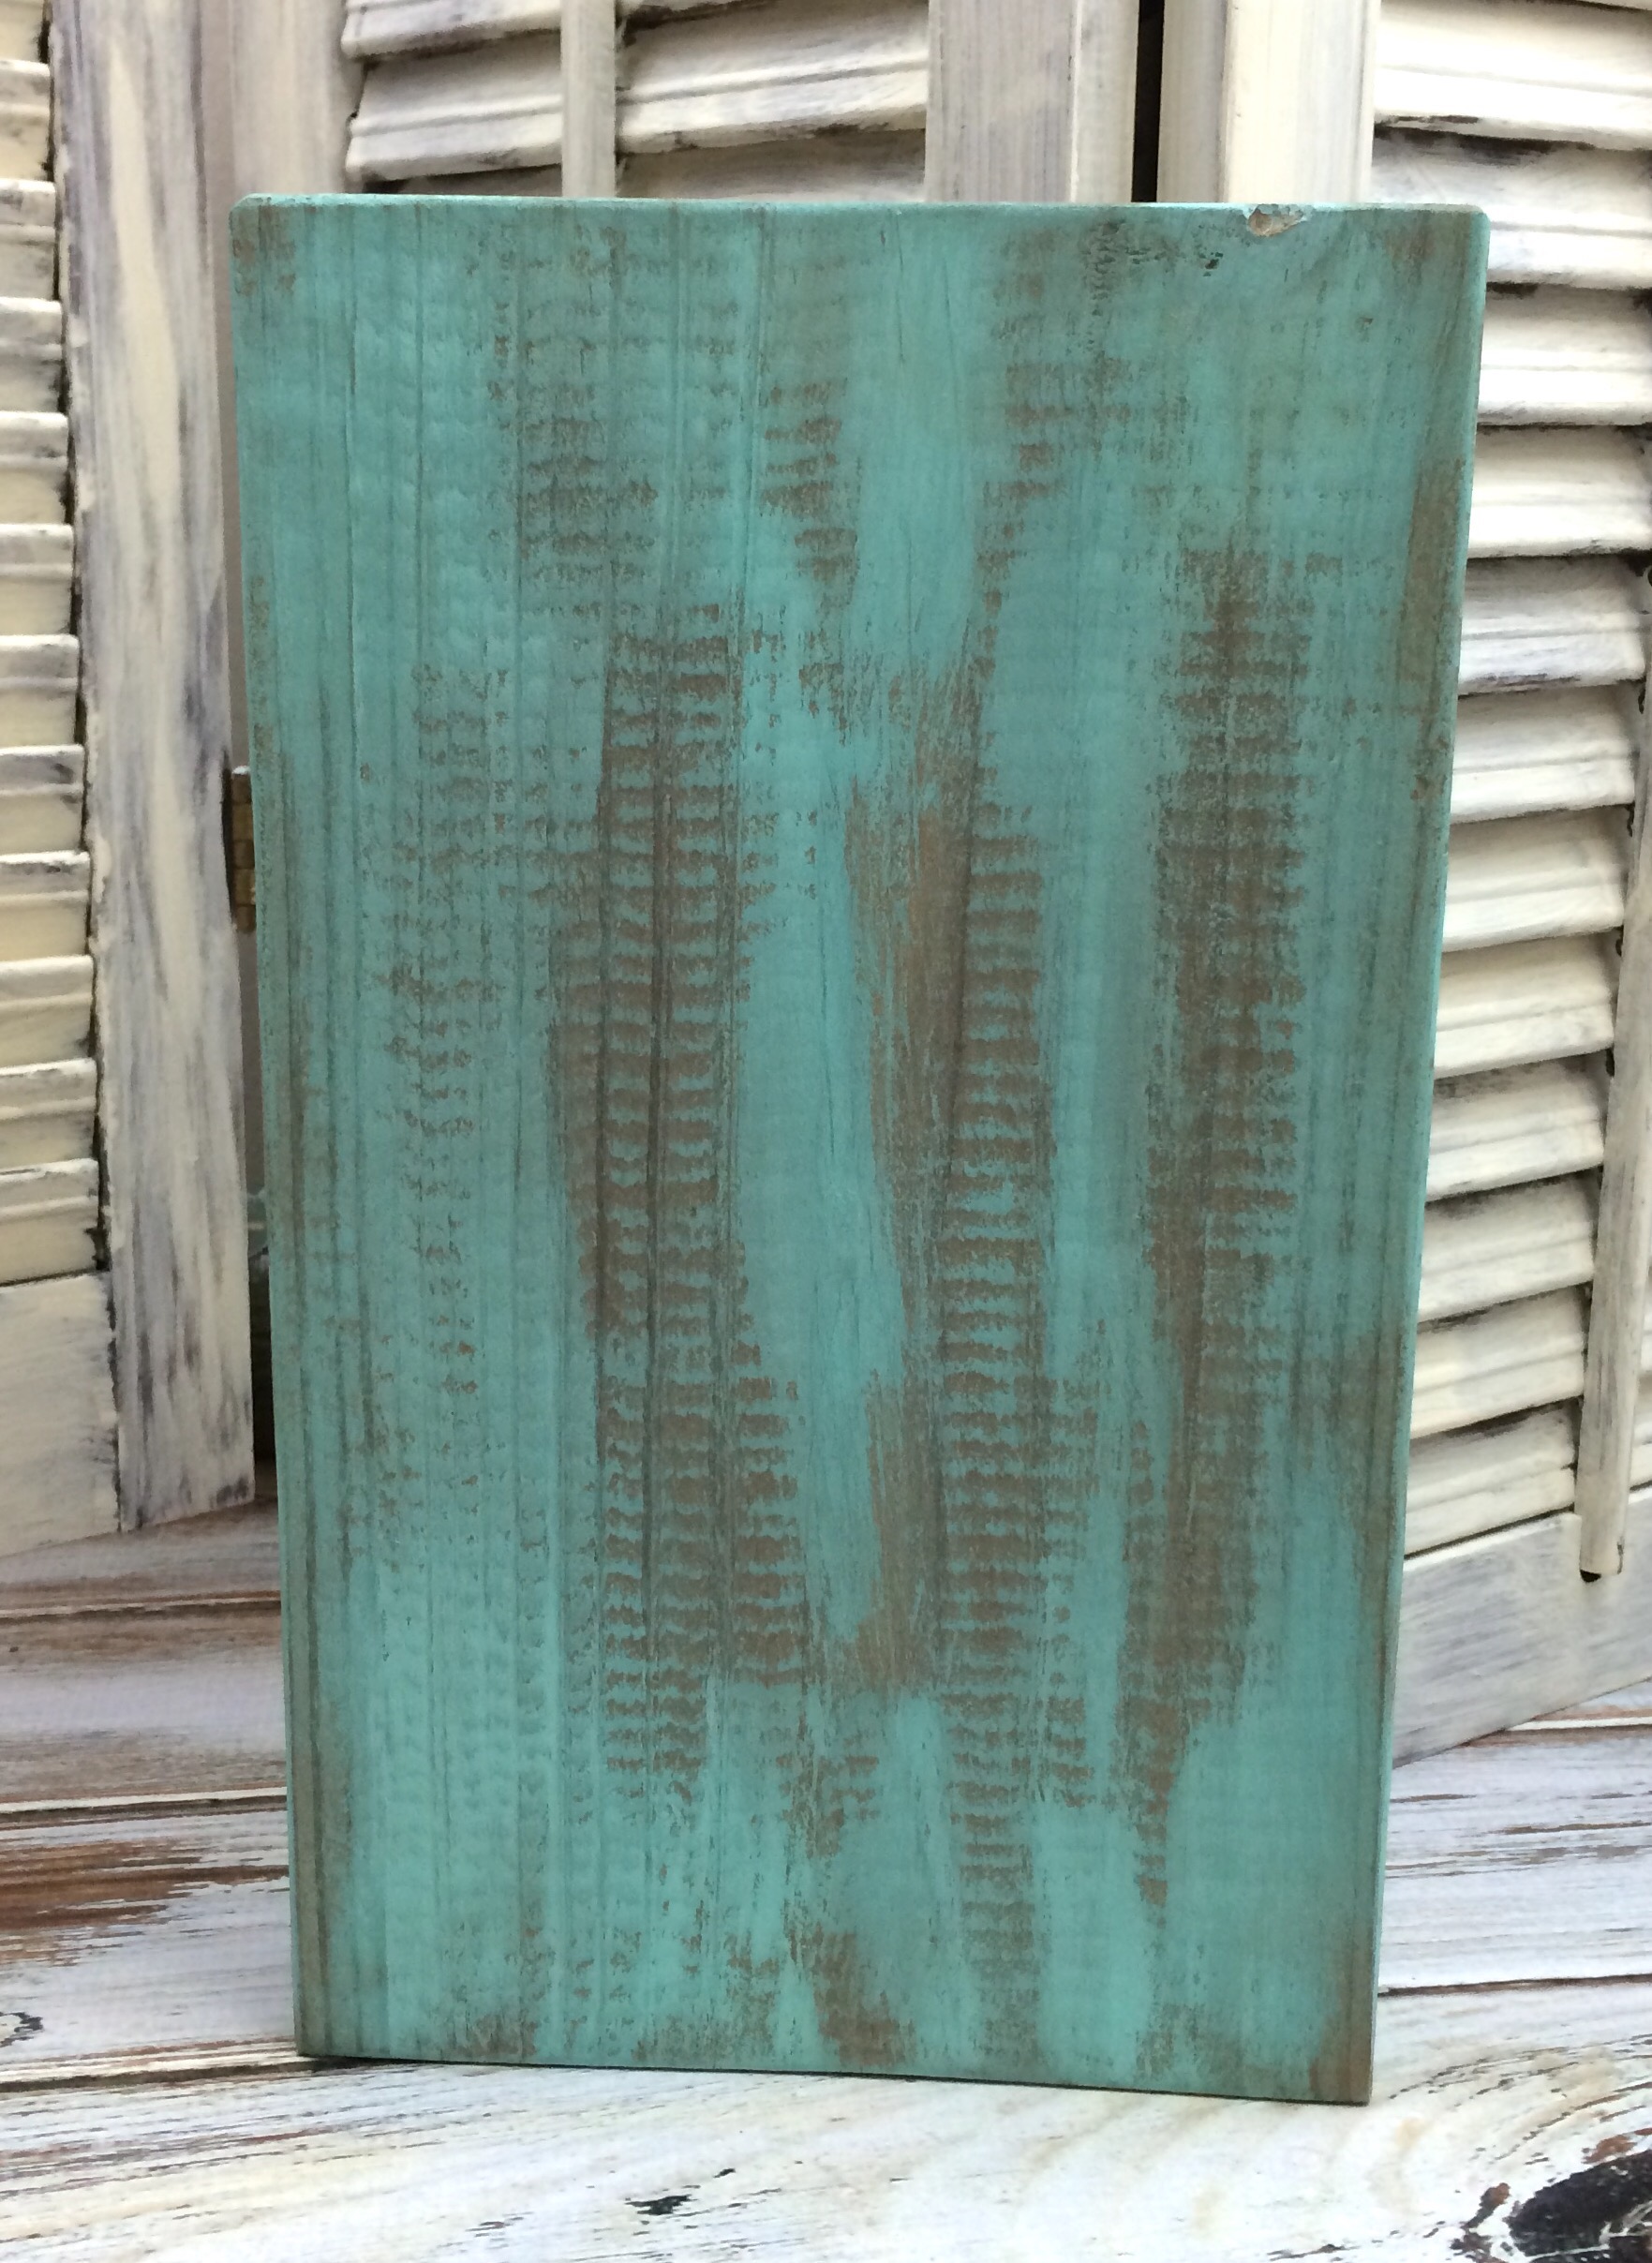
To make this easy rustic sign start off dry brushing your acrylic paint onto your block of wood leaving areas where the wood shows through.
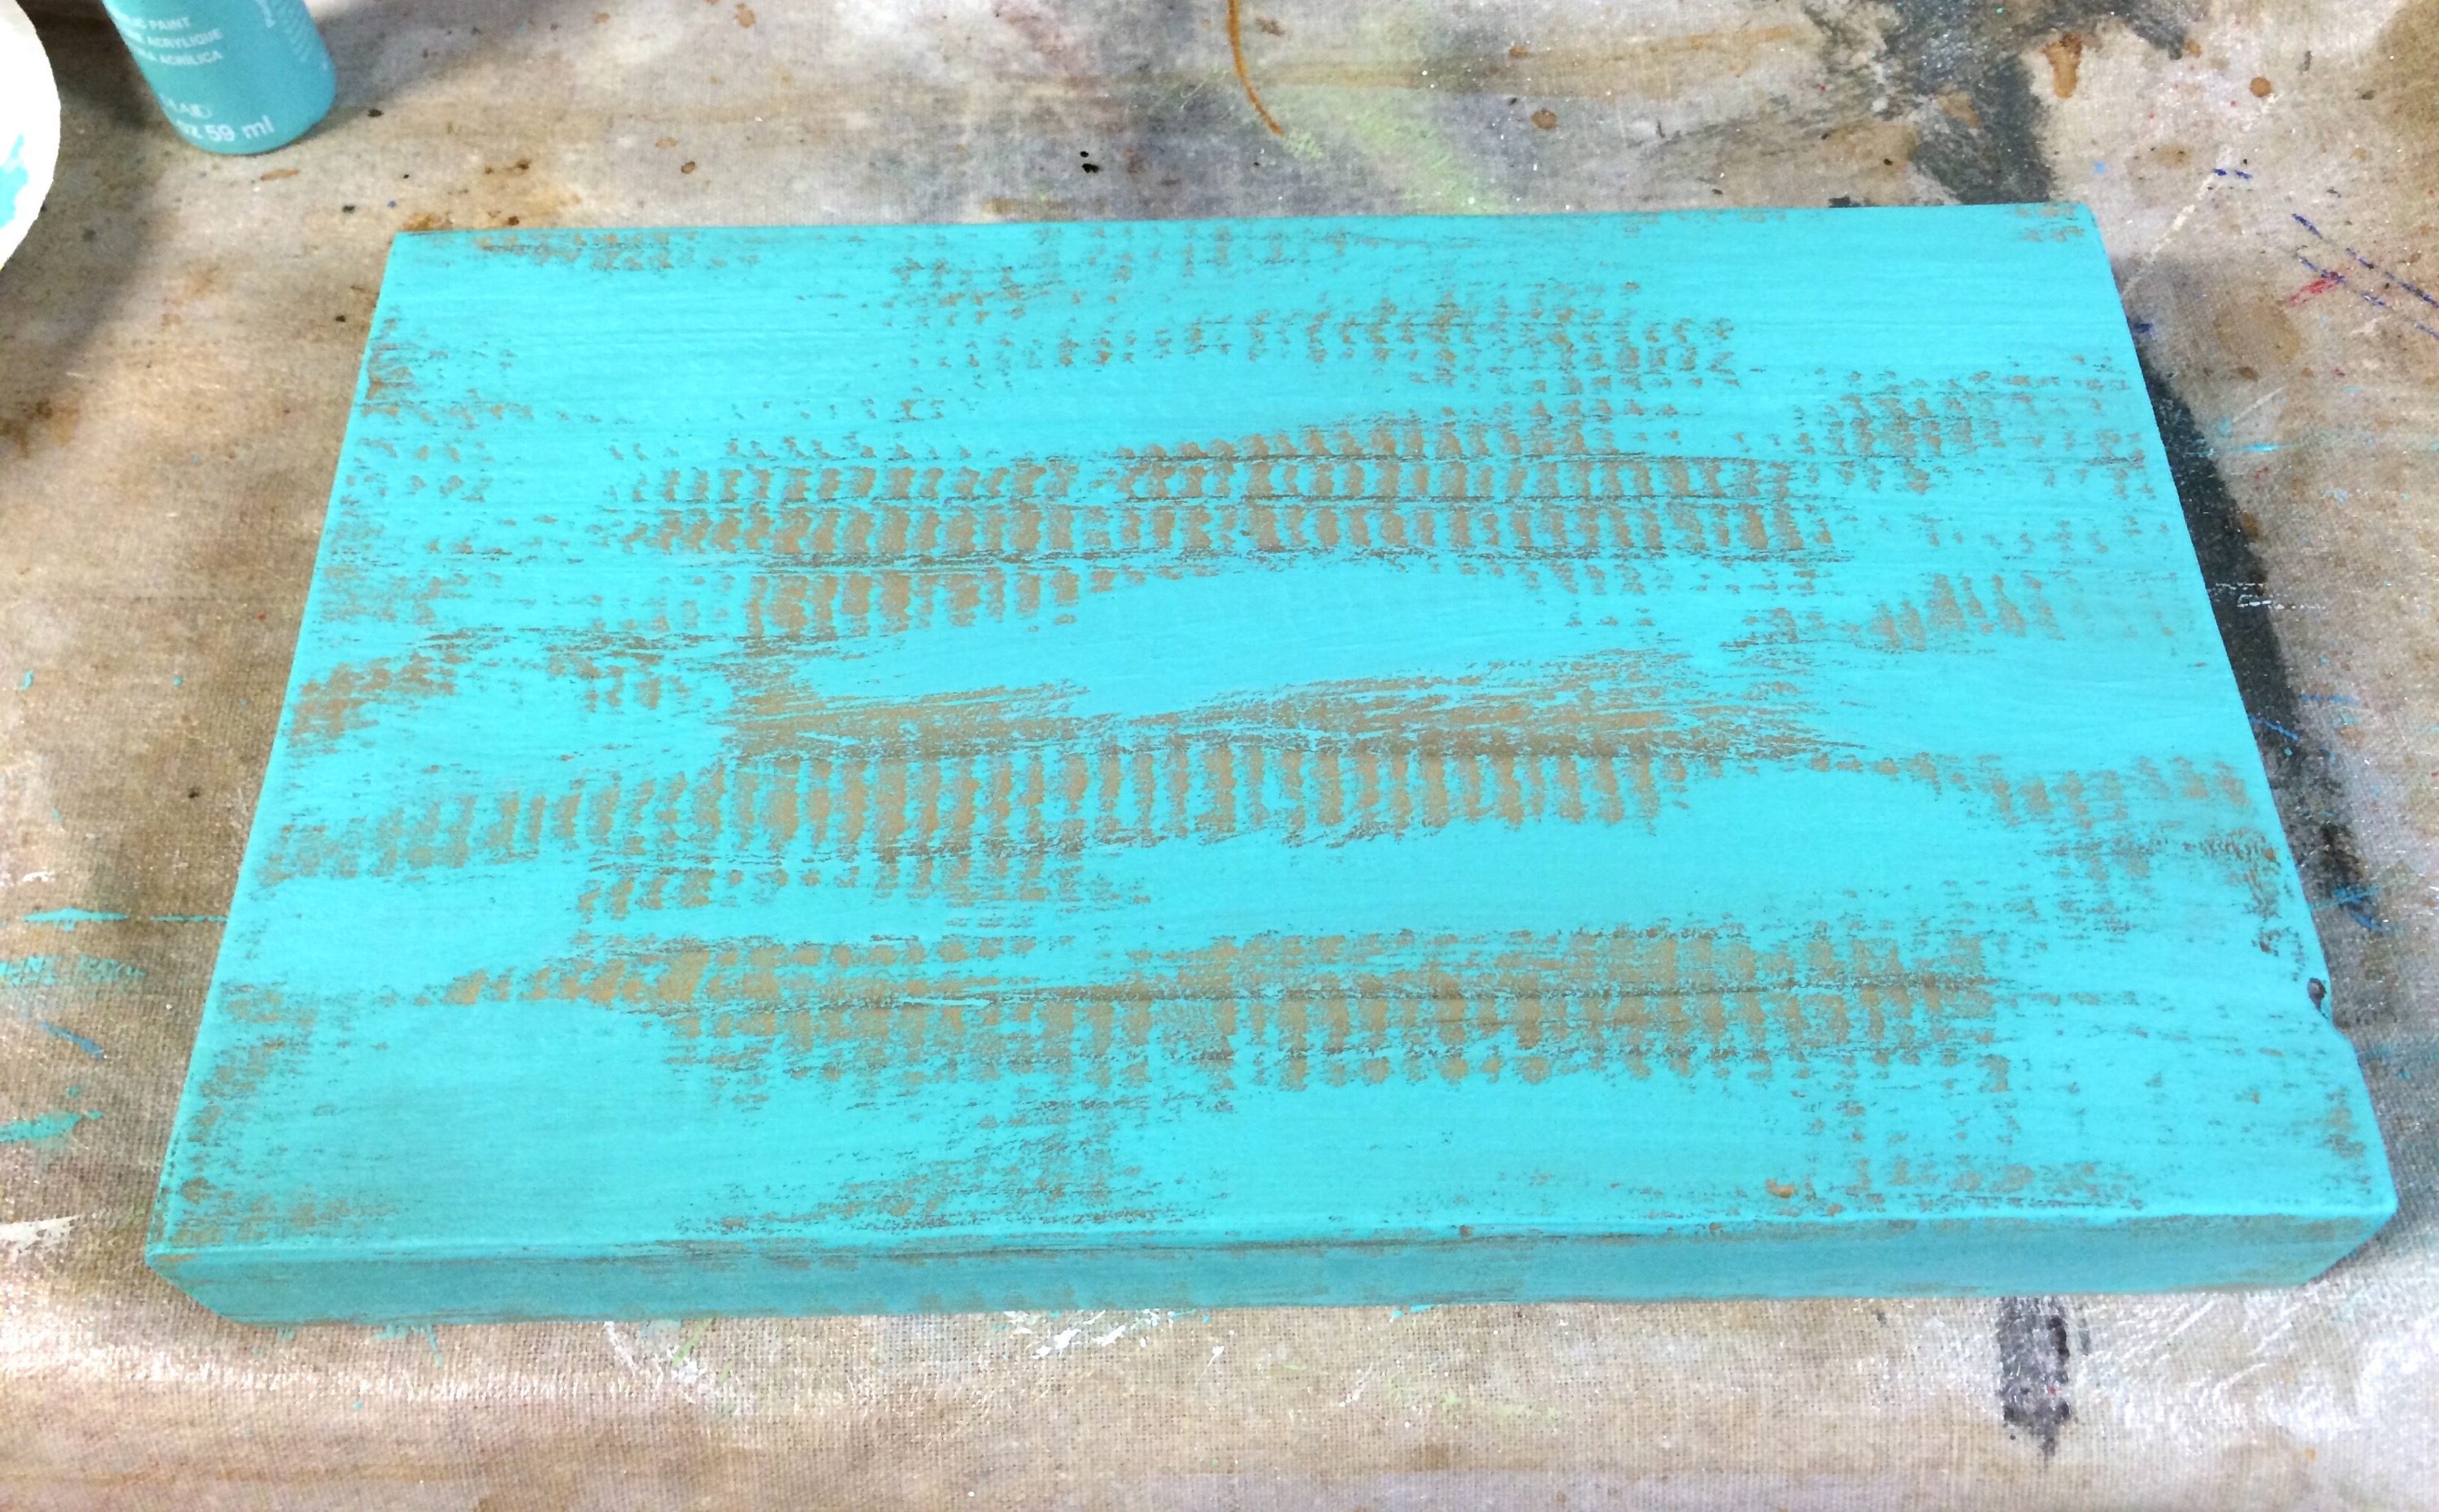
Let dry throughly.
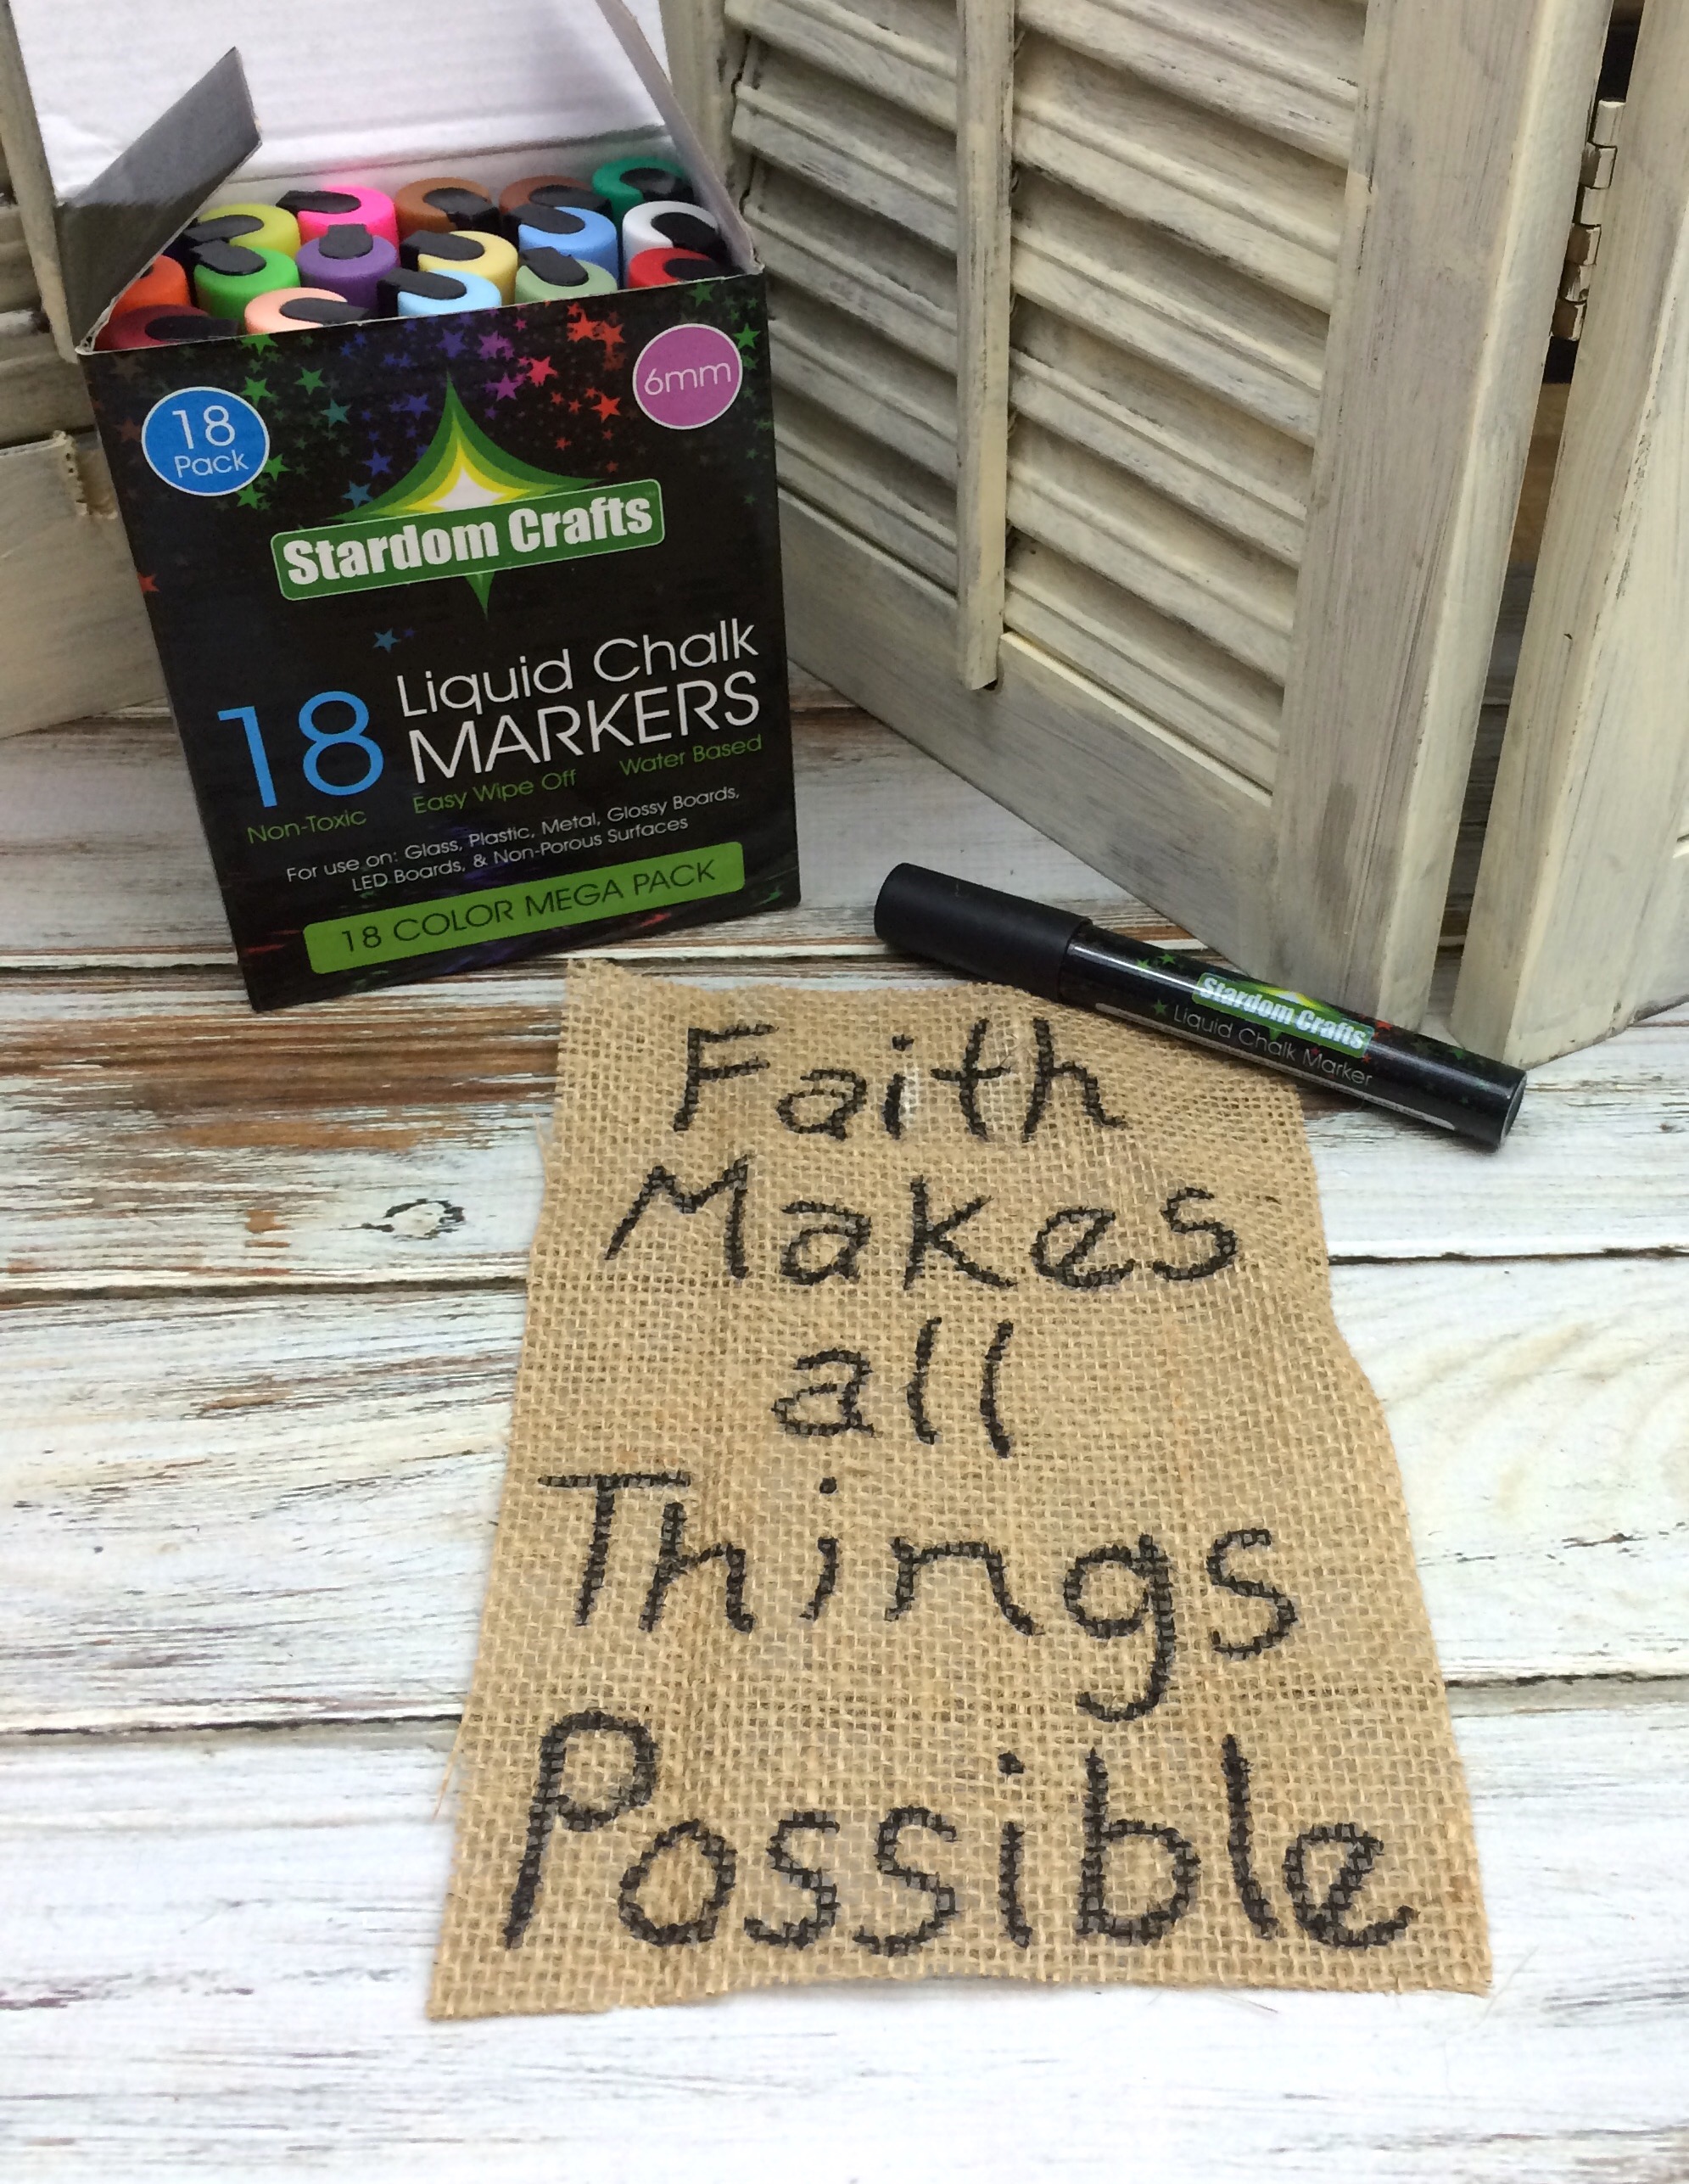
Cut your burlap, then add the lettering for your sign using the black chalk marker
Add a layer of Mod Podge to the front of your wood block, then place your burlap in place.
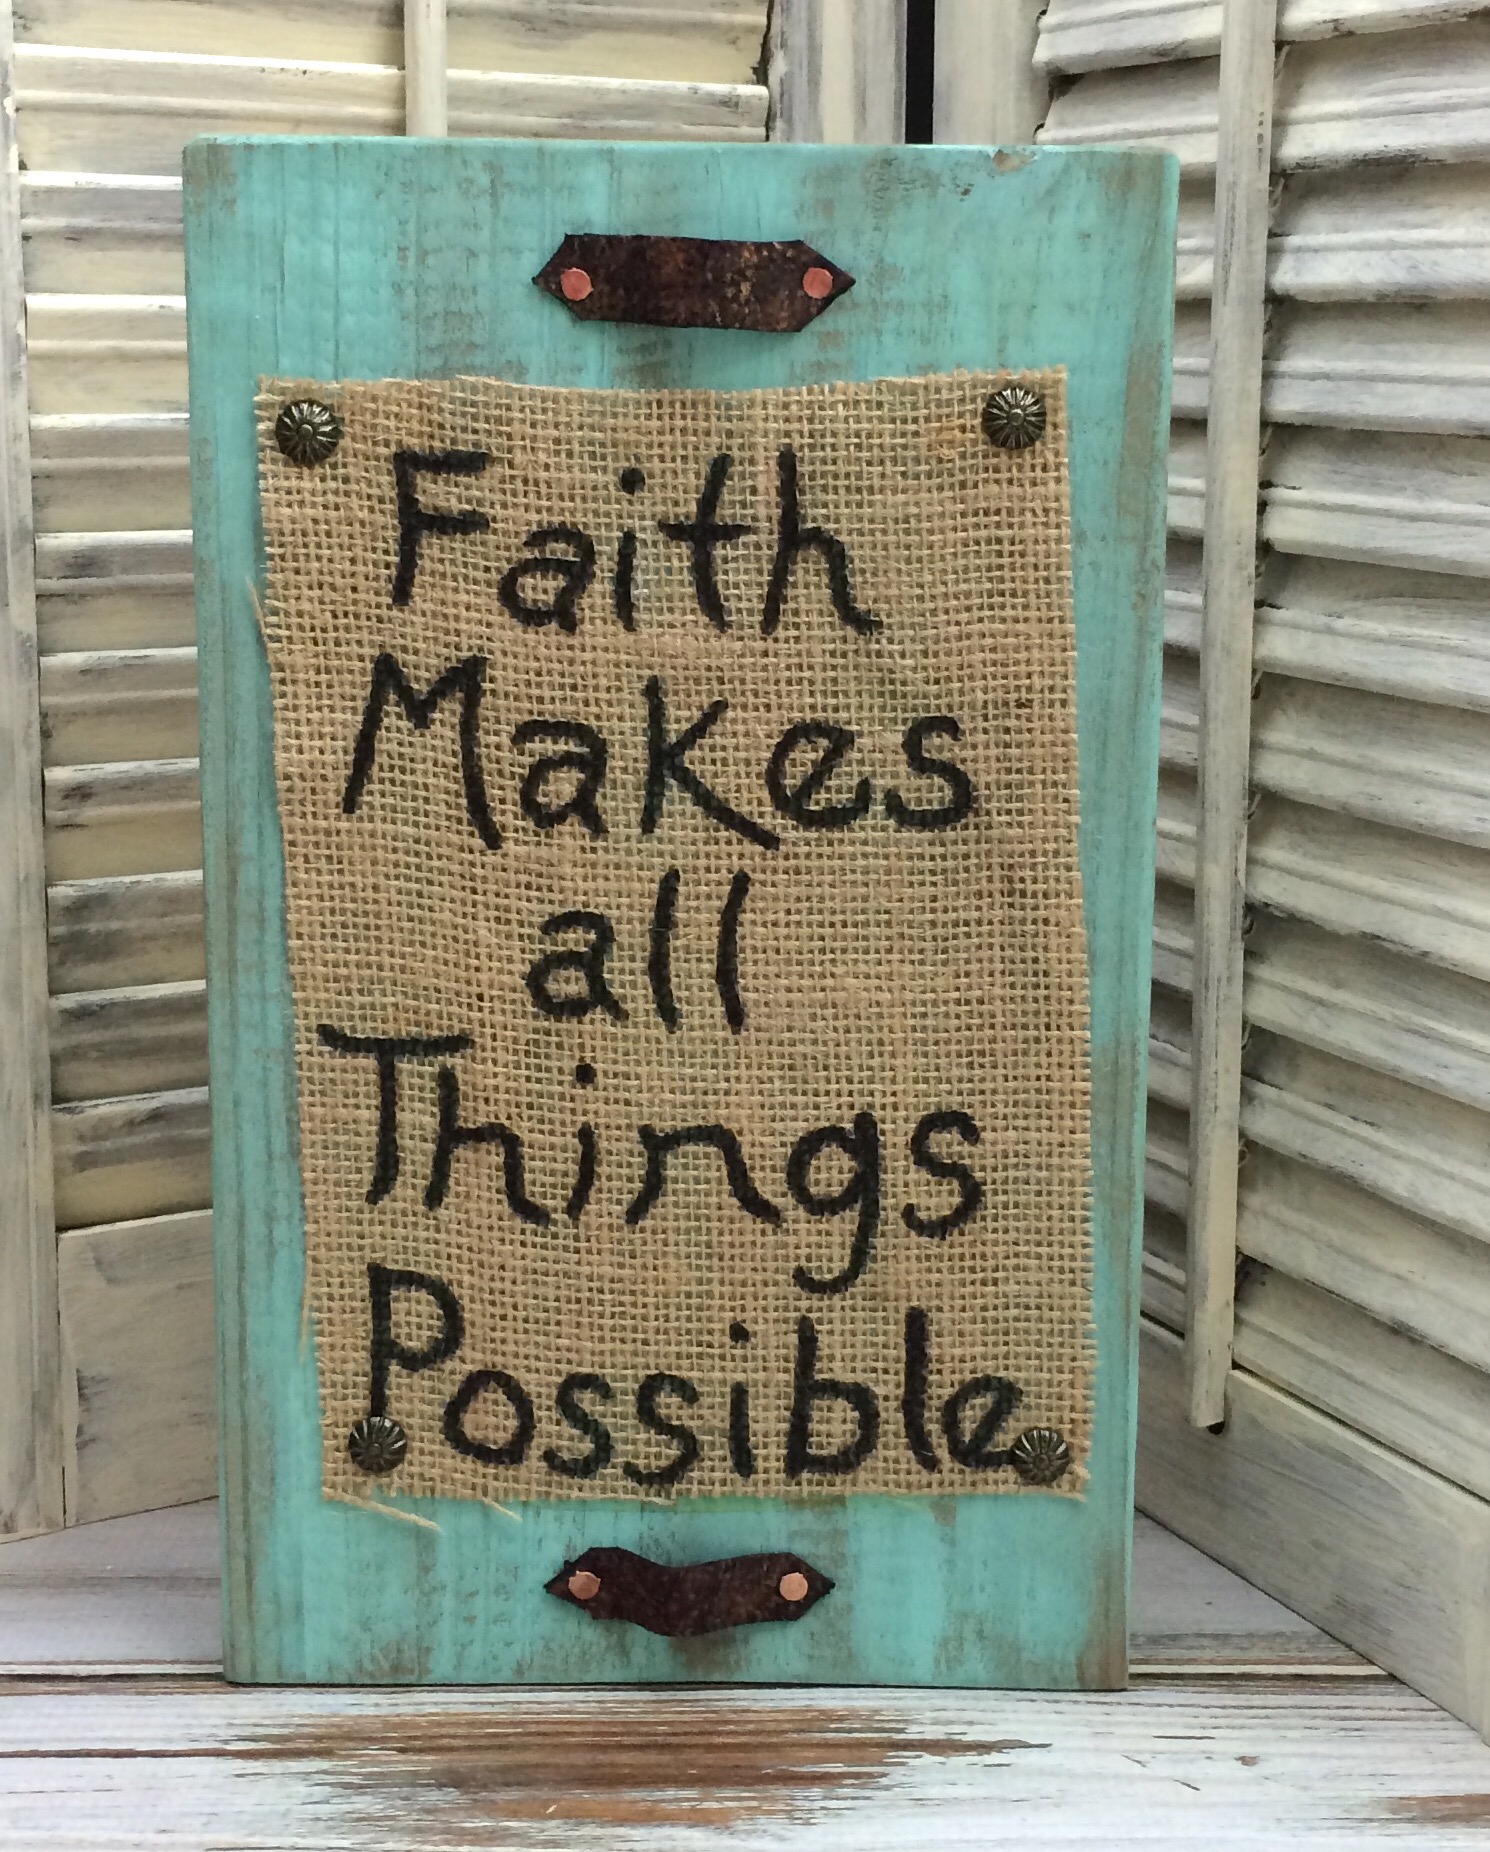
Hammer the upholstery tacks in each corner of the burlap to help hold your burlap in place. Then secure your leather strips in place with the copper tacks, and that’s it for your easy rustic sign!
No comments
Write a comment