Diy Shabby Terra Cotta Coasters
Looking to add a touch of whimsy to your coffee table? Why not try making DIY shabby terra cotta coasters! These charming coasters are not only a fun and creative craft project but also a practical way to protect your furniture from pesky water rings. So grab your paintbrush and let your imagination run wild as you create personalized coasters that will add a cozy vibe to your home decor!
Material List For Terra Cotta Coasters
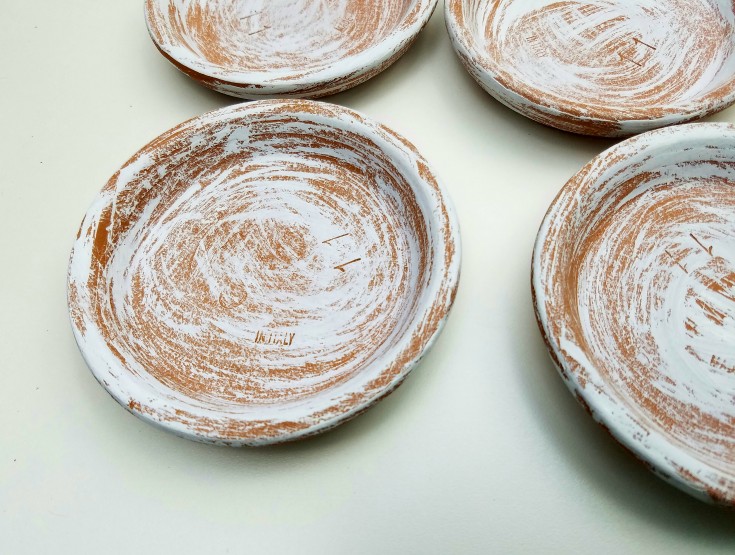
Start off by dry brushing some chalk paint on your terra cotta saucers.

Once dry flip the saucers over and dry brush chalk paint onto the other side as well.
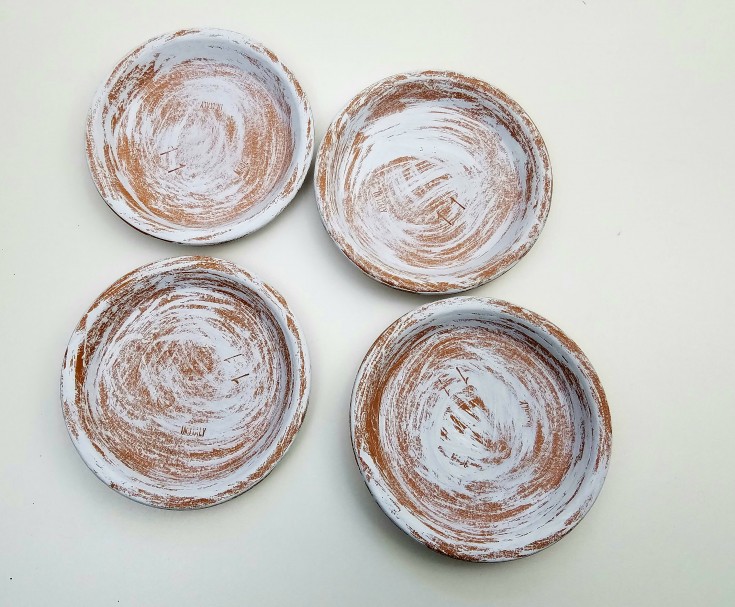
Add more or less chalk paint to your liking.
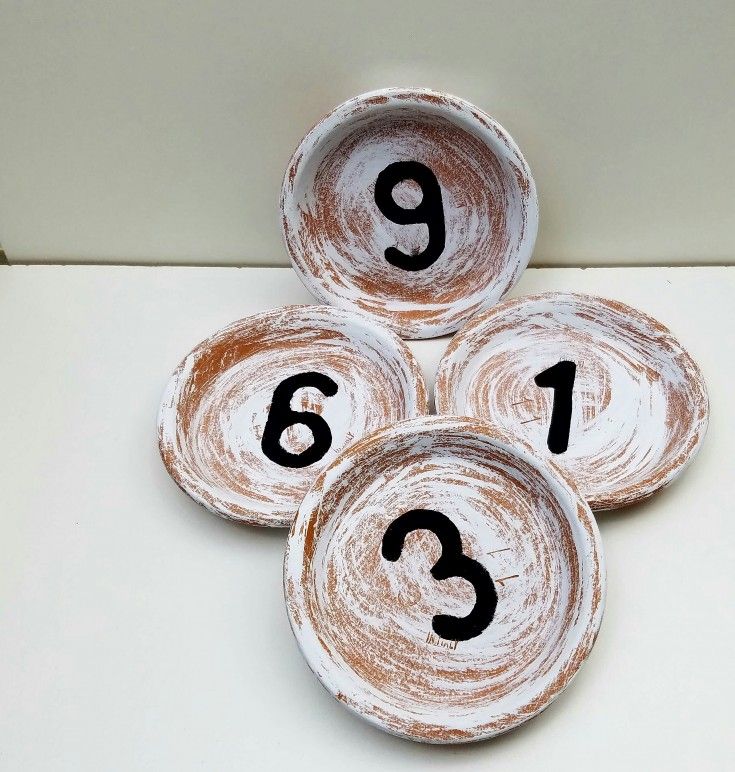
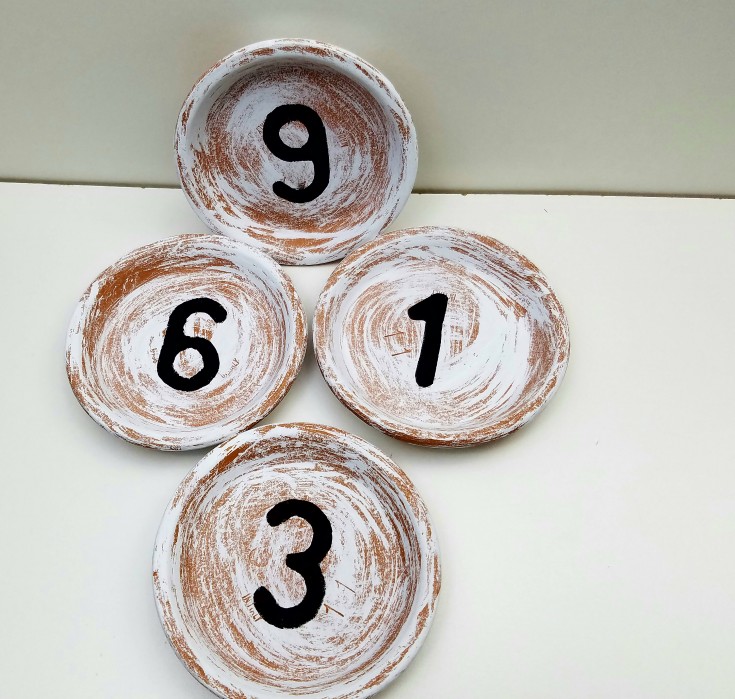
I wanted to stencil some numbers onto my shabby terra cotta coasters, but I didn’t have any stencils that would fit inside the saucers so that it would lay flat. So I improvised and made my own out of typing paper.
I cut my homemade stencils in a circle so that they would lay flat in the little saucers.

Using a small stencil sponge, and black chalk paint I started stenciling my numbers in the center of my terra cotta coasters.
I continued until I had all the numbers stenciled in the center of each saucer.
I then went back and filled in the opening on my number 6 and 9.
Next I gave a coat of Mod Podge to each coaster for protection.
For the bottom of the coasters you can cut a round piece of felt and glue to the bottom, or you can use some small Super Sliders to protect your furniture from the coaster bottoms.