DIY Tie-Dye Chalkboard Signs
If you're looking to add a personal touch to your events or home decor, DIY tie-dye chalkboard signs are a fantastic way to do just that! They are not only fun and easy to make but also allow you to unleash your creative side. By combining the vibrant and unique patterns of tie-dye with the practicality of chalkboard signs, you can create eye-catching and customizable decorations that are perfect for any occasion. So grab some chalkboard paint, tie-dye kit, and let your imagination run wild as you create beautiful and personalized signs that will surely impress your guests. Get ready to add a pop of color and creativity to your space with these DIY tie-dye chalkboard signs!
Supplies Needed:
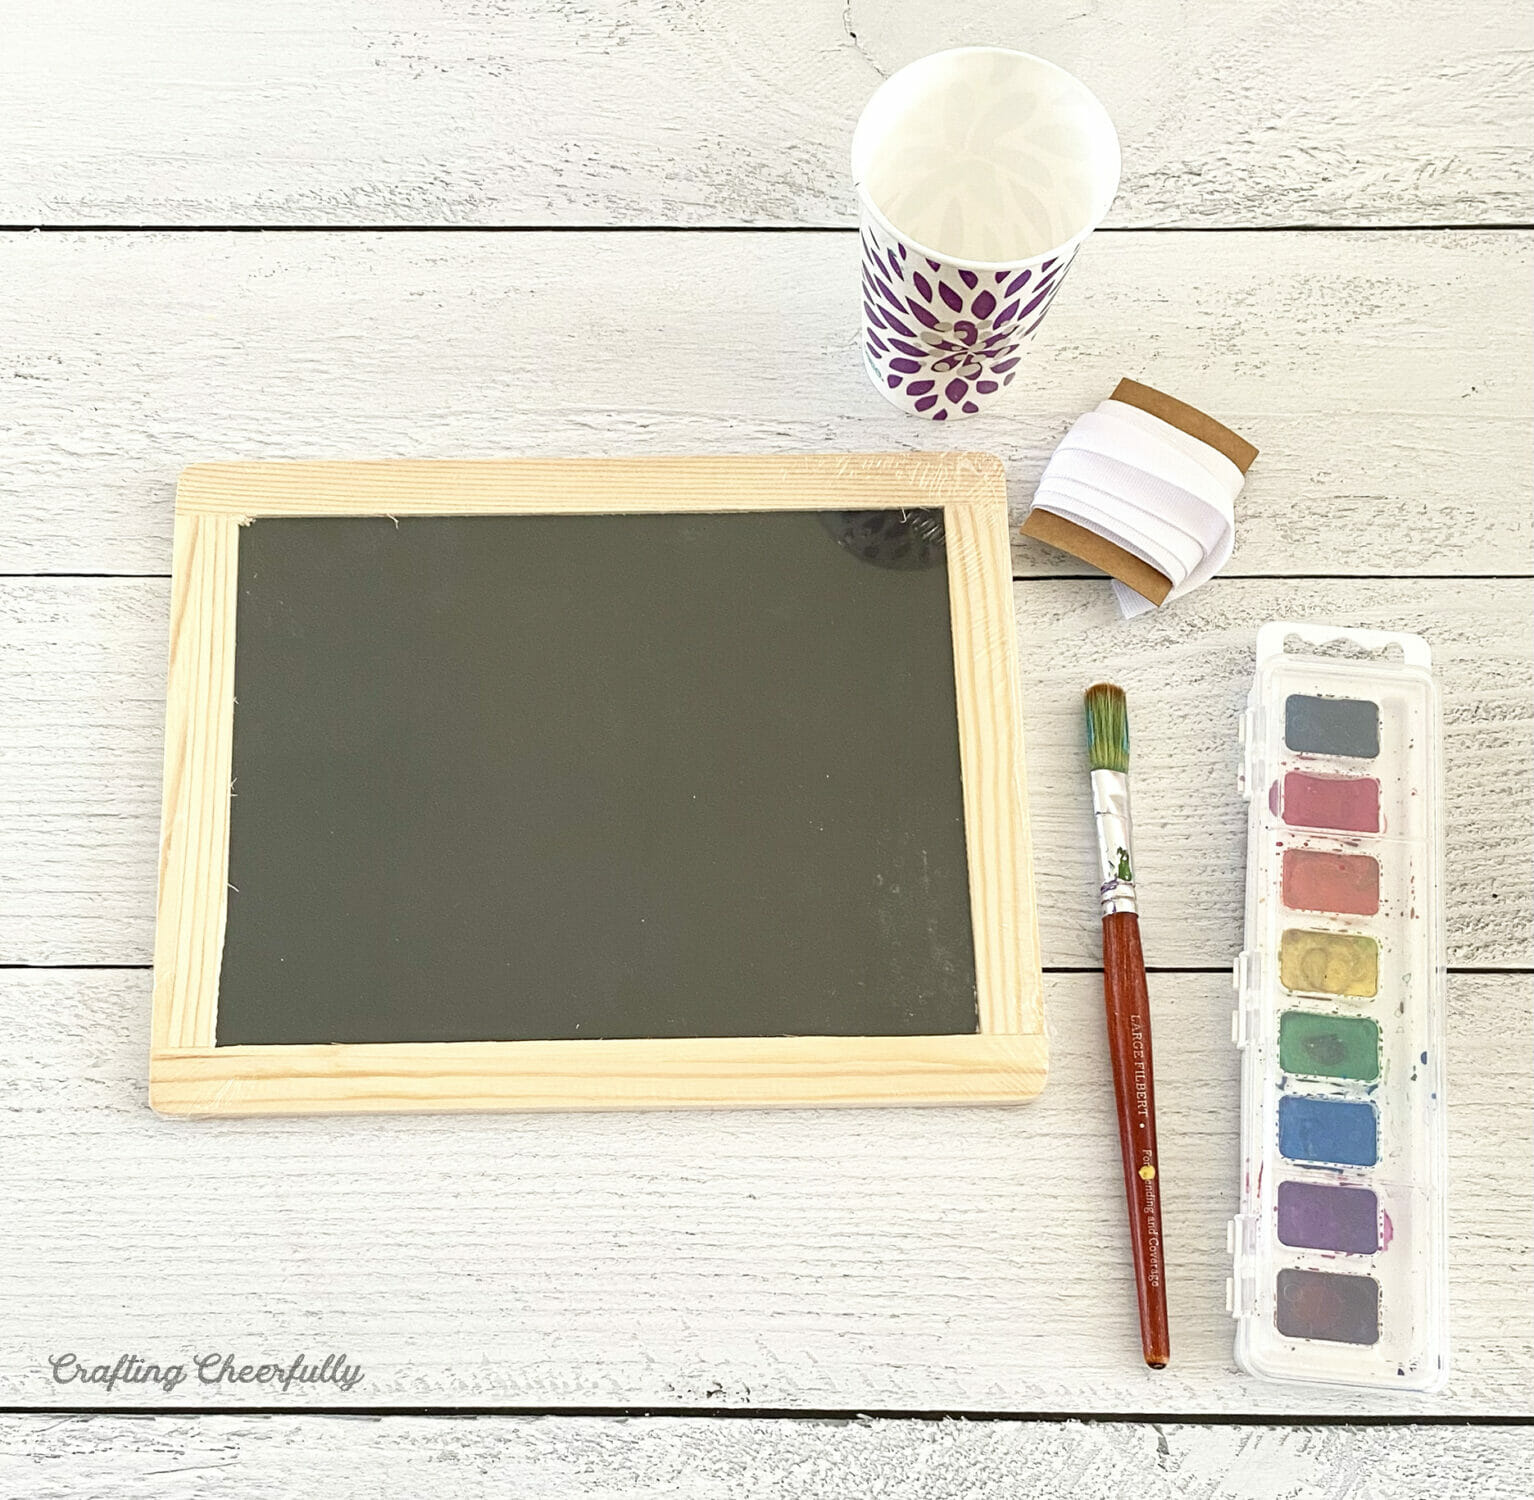
Start by setting up a workspace for painting. We used a self-healing cutting mat as our work surface, which was easy to wipe up after we were done.

Tips for Getting a Great Tie-Dye Effect
- The paint will spread so be sure to use colors next to each other that will look nice when mixed.
- Some colors may need more than one layer of paint to show up.
- Press your paint brush into the paint palette a little harder than you usually would to grab more pigment from the pods.
- Let the chalkboard door sign dry for about 24 hours.
Use the ribbon to create a hanging loop and fun bow accents.
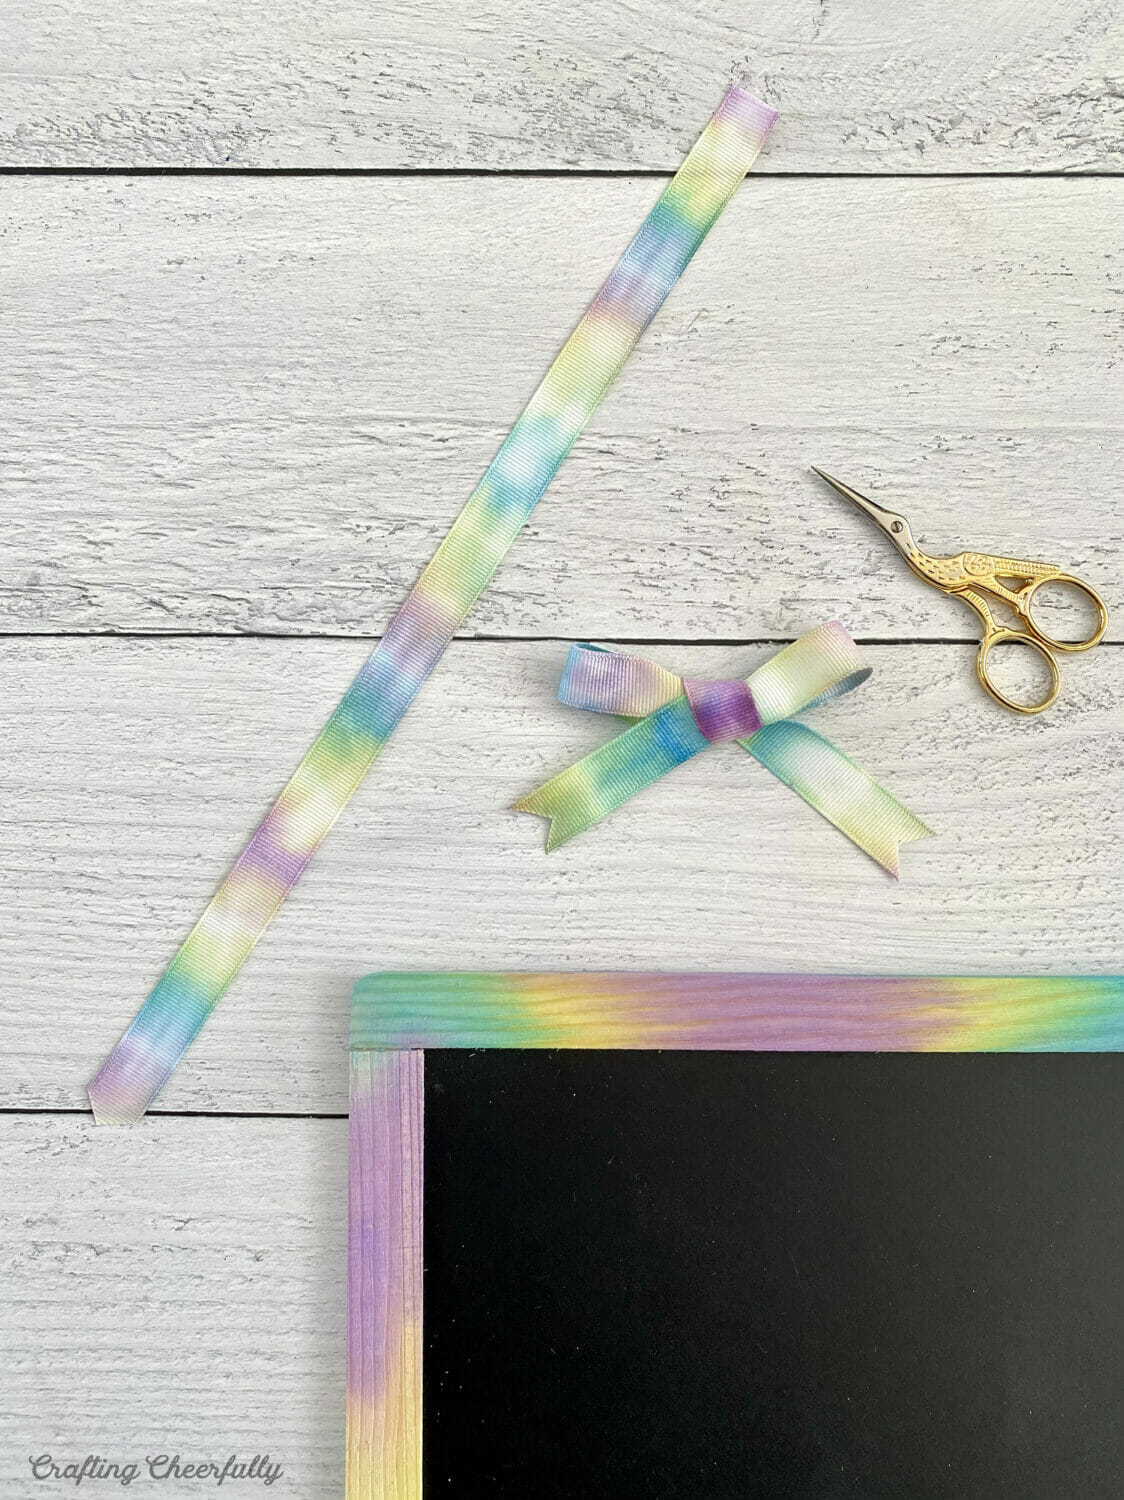
Attach the hanging loop to the back of the chalkboard using strong double-sided tape (I used 1/2″ Scor-Tape) or use hot glue. Add a bow to the bottom corner for a cute detail!
You can skip the tie-dye ribbon and just use colorful ribbon to add a hanging loop.
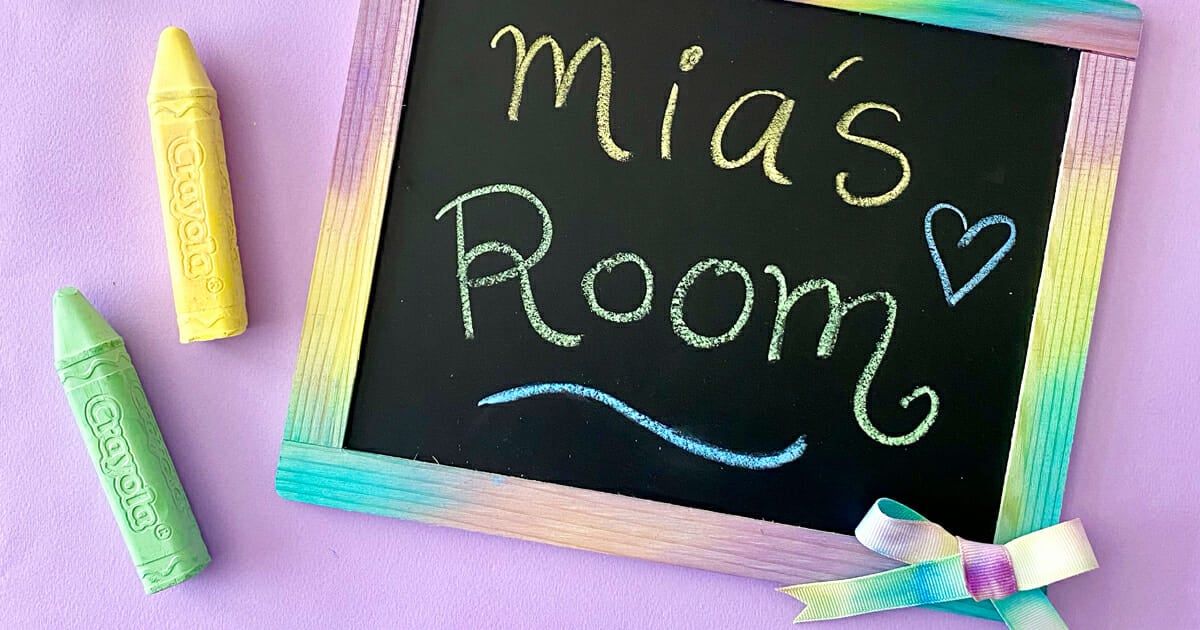
The chalkboard bedroom door sign is finished!