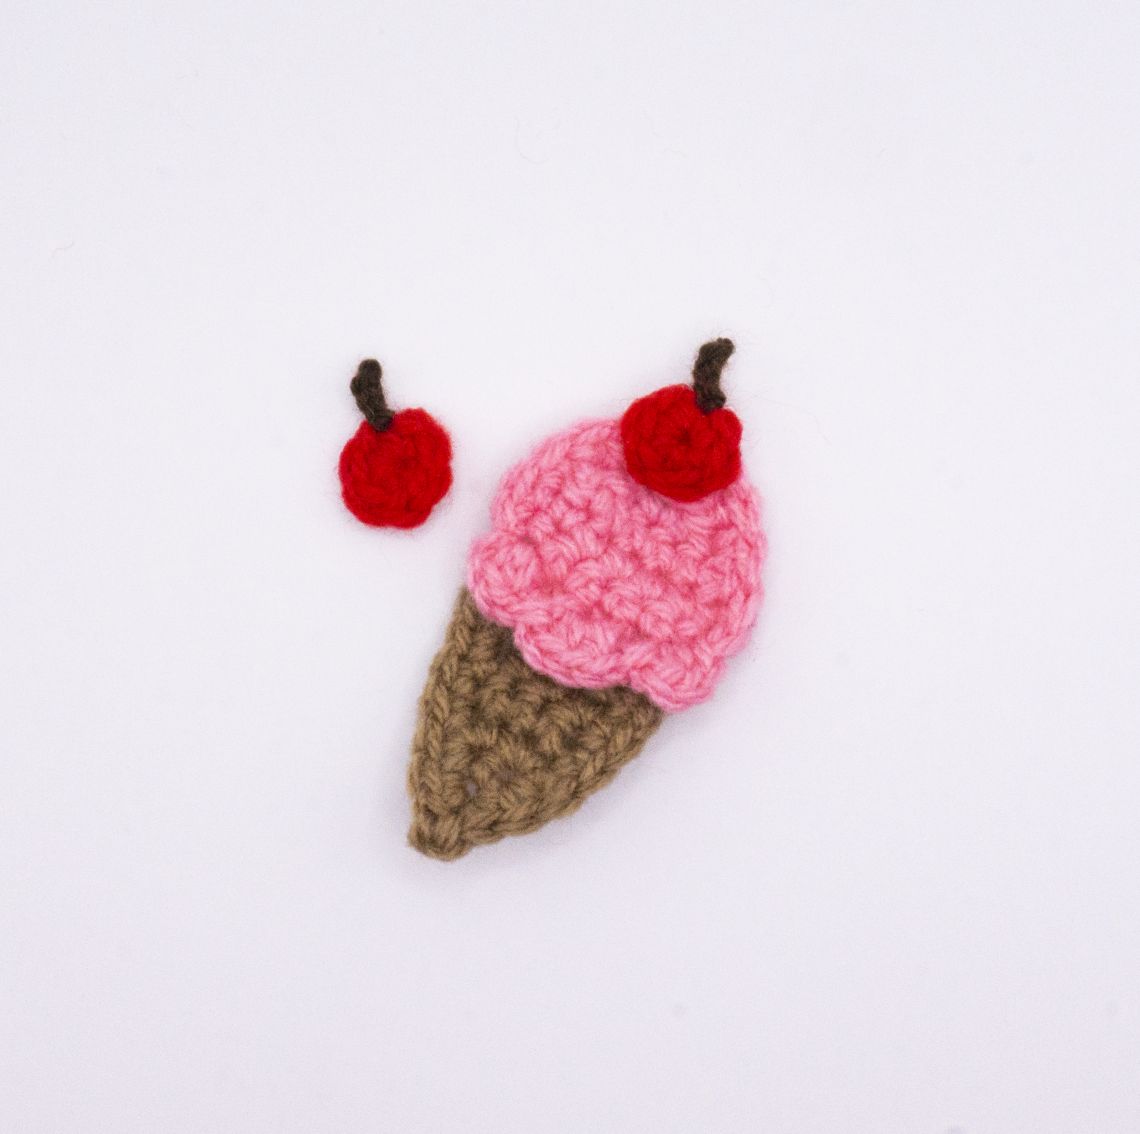
The crochet ice cream cone is an adorable and creative twist on a classic summer treat. With its pastel colors and intricate details, this whimsical accessory brings a cheerful and playful touch to any outfit or home decor. Whether you use it as a fun keychain, a cute decoration, or a unique gift for a friend, the crochet ice cream cone is sure to bring smiles and joy wherever it goes. Its tiny stitches and sweet design make it a delightful addition to any collection of handmade crafts, perfect for those who appreciate the charm of handmade items and whimsical touches in their everyday lives. Whether you're a seasoned crocheter looking for a new project or someone who simply adores all things cute and cozy, the crochet ice cream cone is a must-have.
Materials:
3.00 mm Crochet Hook
1.80 mm Crochet Hook
DK Weight Yarn
Lace Weight Yarn
Tapestry Needle
A Pair of Scissors
Stitch Marker
Small Safety Pin (7/8″) Optional
Note: The numbers in the brackets represent the number of stitches in each round.
Abbreviations
CH – Chain
SC – Single Crochet (DC in UK terms)
SC2TOG – Single Crochet Two Stitches Together (DC2TOG in UK terms)
SC3TOG – Single Crochet Three Stitches Together (DC3TOG in UK terms)
HDC – Half-Double Crochet (HTR in UK terms)
FLO – Front Loop Only
SLST – Slip Stitch
ST(s) – Stitch(es)
FO – Finish Off
Pattern:
Cone:
CH 2.
Row 1: SC in 2nd ST from Hook. Turn. (1)
Row 2: CH 1. 2 SC in ST. Turn. (2)
Row 3: CH 1. 2 SC in each ST. Turn. (4)
Row 4 – 6: CH 1. SC in each. Turn. (4)
Change colour to ice cream flavour. FO for cone colour.
Row 7: CH 1. SC in next. SC in next. SC 1 in next 2. Turn. (5)
Row 8: CH 1. In FLO: SC 2, SC in next 3. SC 2. Turn. (7)
Row 9: CH 1. SC in each ST. Turn. (7)
Row 10: CH 1. SC2TOG. SC 3. SC2TOG. Turn. (5)
Optional: When you reach the SC 3. SC around a safety pin.
Row 11: CH 1. SC2TOG. SC 1. SC2TOG. Turn. (3)
Row 12: CH 1. SC3TOG. (1)
FO.
With ice cream held upside down. Attach ice cream flavour to first stitch in extra loop from Row 8.
CH 1. HDC in same ST. CH 1. SLST in next. CH 1. HDC 2 in each. CH 1. SLST in next. CH 1. HDC in next CH 1. SLST in same ST.
Border for Ice Cream:
SC 10 around top of ice cream. SLST into shell Row. FO. Leave tail for sewing on pin if you didn’t in Row 10.
Border for Cone:
Attach yarn in left side of ice cream cone.
SC 6 down side. CH 2. SLST into 1st CH. SC 6 up side. SLST into cone and FO.
Cherry:
With DK weight yarn and 3 mm (D) hook:
Round 1: 6 SC in MR. (6)
FO with Insivible FO in first ST. Leave tail for sewing onto ice cream.
Stem:
With lace weight yarn and 1.8 mm hook
Attach yarn onto top of cherry and CH 4. SLST into the 3 remaining CHs and the ST you attached the yarn to.
FO. Weave in ends.