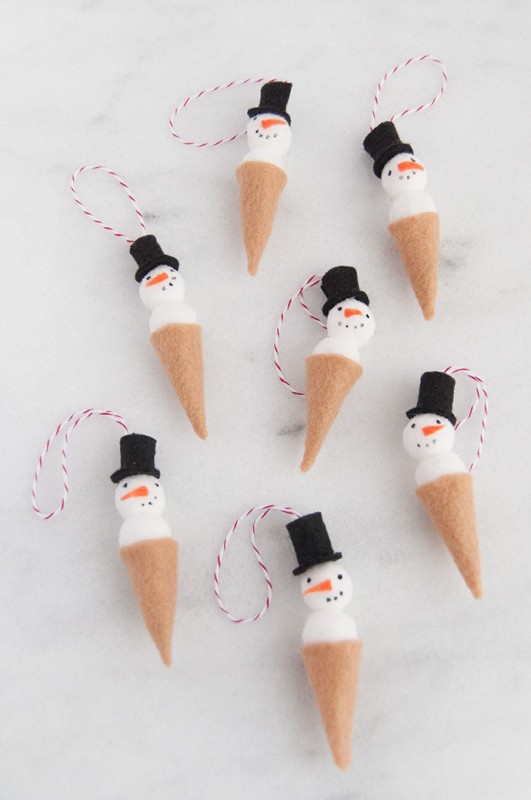
DIY Snowman Ice Cream Cone Ornament
Looking to get crafty this holiday season? Why not try making your very own DIY Snowman Ice Cream Cone Ornament! It's a fun and festive project that's guaranteed to bring some cheerful vibes to your Christmas tree. This DIY project is perfect for getting the whole family involved and making cherished memories together. So grab your supplies and let the holiday crafting begin!
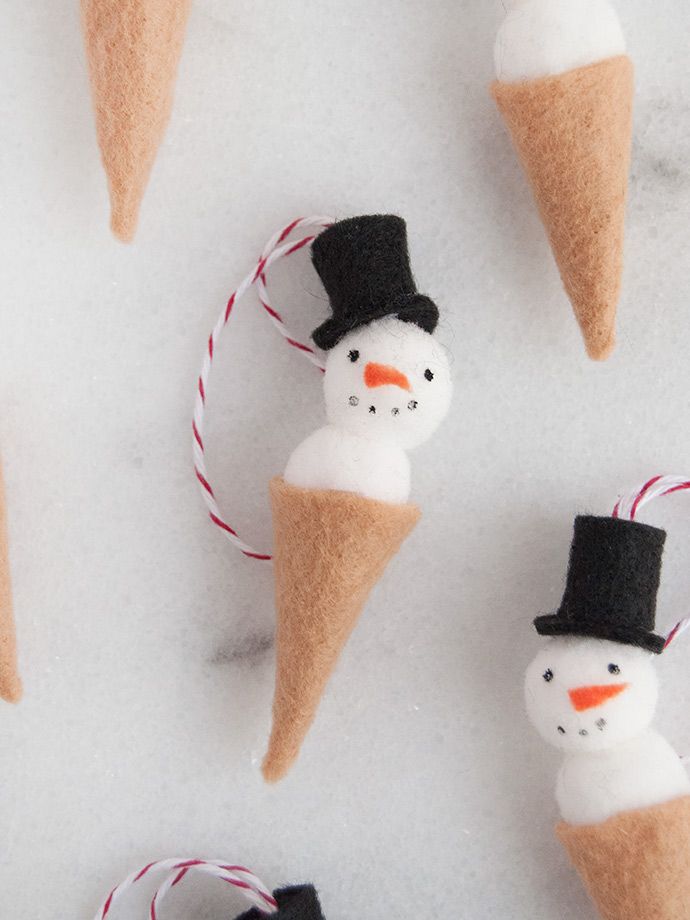
Materials:
- White pom poms
- Felt (orange, tan, and black)
- Martha Stewart Multi-Surface Satin Acrylic Paint in Beetle Black
- Hot glue gun
- White glue
- Scissors
- Toothpick
- String
How To:
Step 1
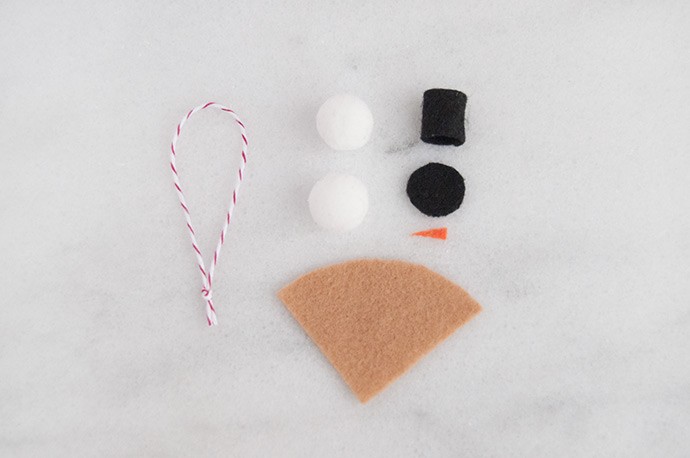
Prepare your pieces – the image above shows what you’ll need for one snowman ornament. Cut the tan felt into a 90-degree wedge with a curved edge, testing it by rolling it into a cone shape. Cut a tiny triangle from orange felt to be the carrot nose. For the top hat, cut a black felt circle about the size of a penny for the brim and for the top hot glue a black felt rectangle into a tube. Gather two white pom poms and tie a piece of string into a loop.

Step 2
Use hot glue to assemble the felt cone, and attach the two white pom poms inside.
Step 3
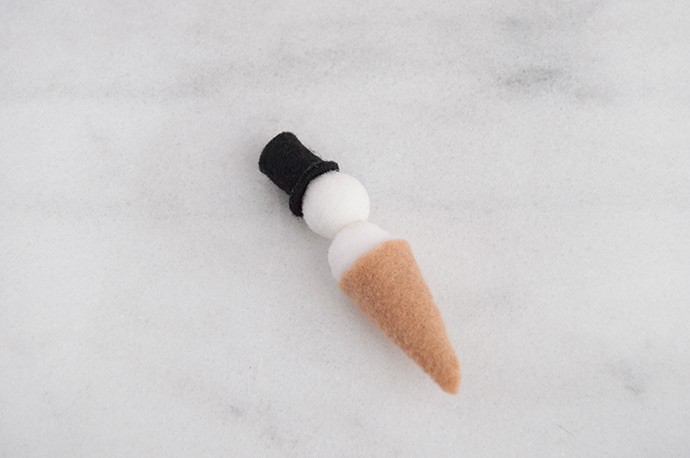
Hot glue the top hat onto the brim, and then hot glue the entire thin onto the top of the snowman’s head. You can put this straight on, or off to the side for a jaunty angle.
Step 4
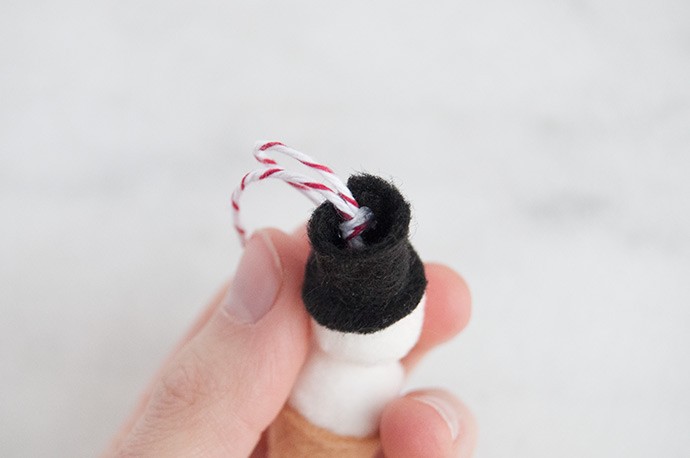
Hot glue the knot of the loop into the hollow top of the hat.
Step 5
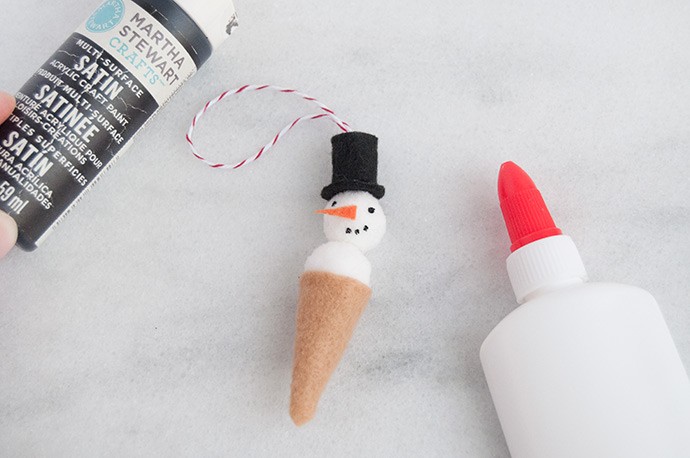
Use white glue to attach the carrot nose to the snowman’s face – hot glue is tricky here as you just need the tiniest dab and you might have it dry before you can attach it to the pom pom. Use a toothpick and black paint to add the snowman’s coal eyes and mouth. Let dry.